Hey there, beautiful souls! 💖 Today, I’m sharing a project that’s super close to my heart – a stunning clay art wall hanging mirror! 🌿 I adore creating home decor that not only adds beauty but also reflects my love for handmade crafts. This mirror will be a perfect addition to your home, bringing in a touch of elegance and personal flair. So, let’s dive into this delightful DIY!

Materials You’ll Need
Before we get started, here’s what you’ll need:
- Round mirror (small to medium size)
- Cardboard or MDF board (for the base)
- Air-dry clay
- Glue
- White paint
- Paintbrush
- Tweezers (optional but helpful for intricate work)
- Pencil and ruler
- Decorative stones or beads (for extra sparkle ✨)
Step-by-Step Guide to Crafting Your Clay Art Mirror
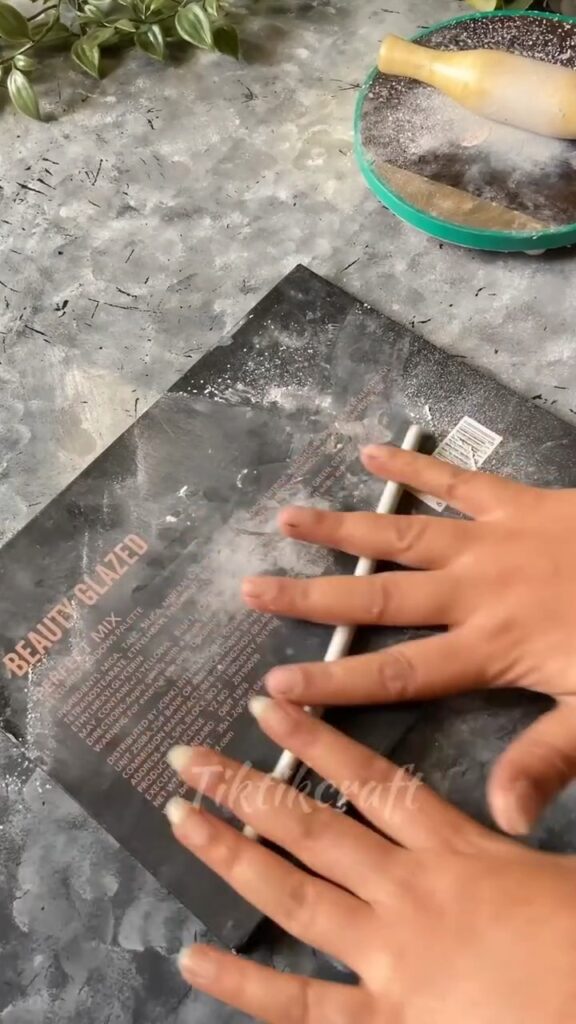
Step 1: Preparing the Base 📏
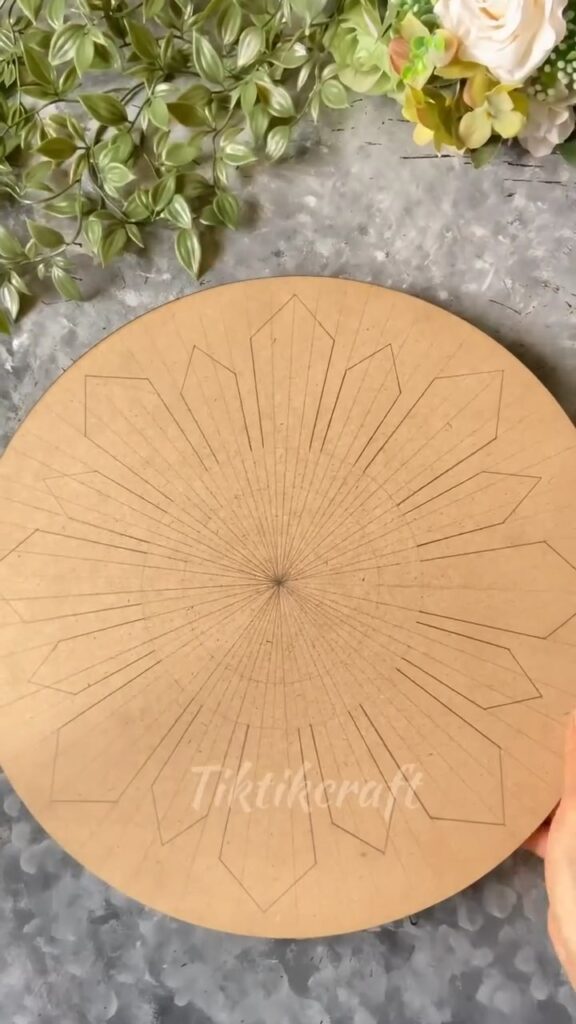
Start by cutting a round piece of cardboard or MDF board slightly larger than your mirror. The size of the board will determine the final size of your wall hanging. I like to make the base about 2 inches larger than the mirror for a nice border.
Image Reference: The first frame shows the round base prepared for the mirror.
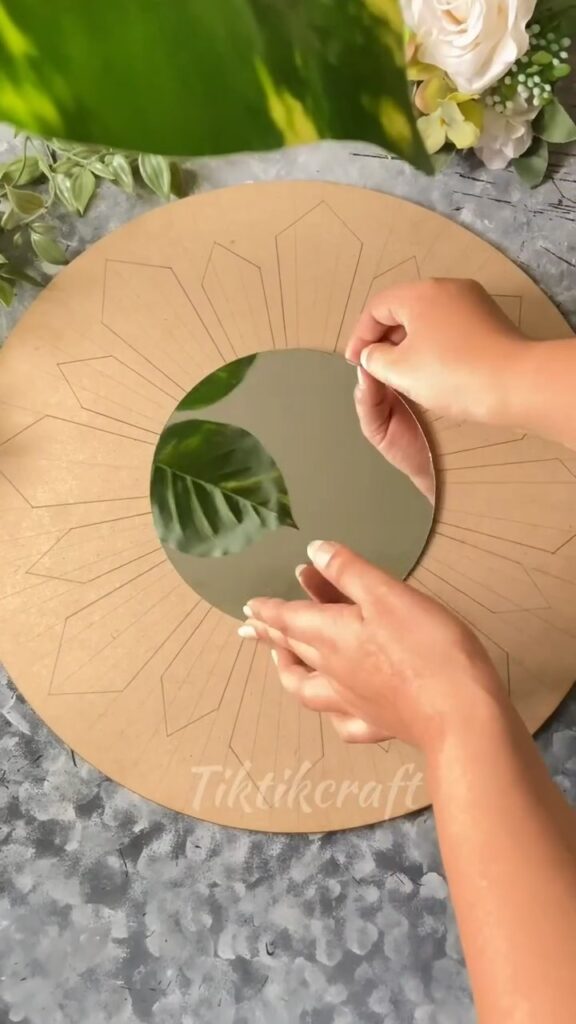
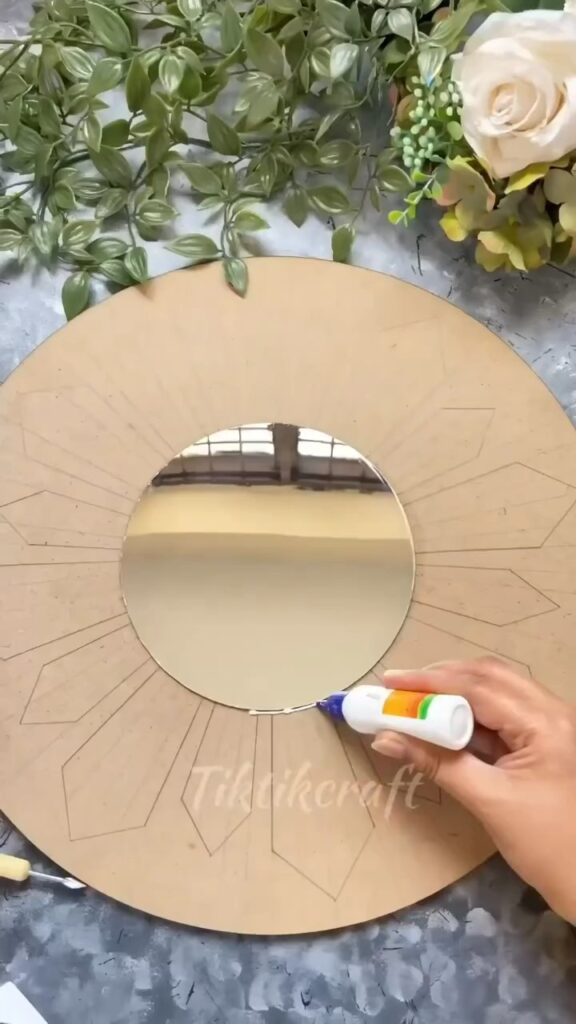
Step 2: Centering the Mirror 🎯
Place the mirror in the center of the round base. Use a pencil to trace around the mirror’s edge, marking its position on the board. This will serve as your guide for later steps.
Image Reference: The second frame shows the mirror being centered on the base.
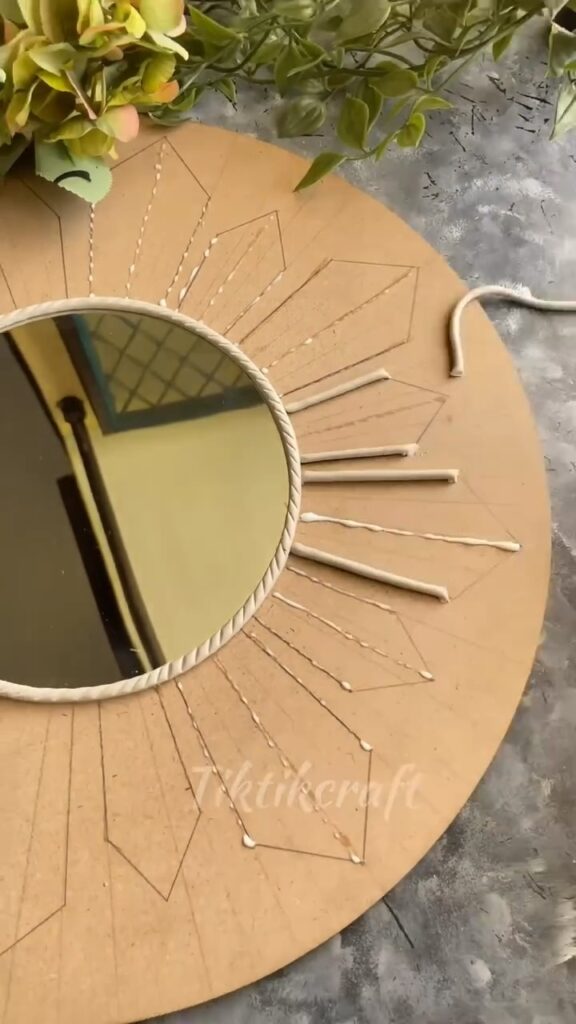
Step 3: Sketching the Design ✍️
Now comes the fun part! Using a pencil, lightly sketch your desired pattern around the mirror. This could be geometric shapes, floral designs, or anything that catches your fancy. Don’t worry about perfection; this is your art, and it should reflect your unique style!
Image Reference: The third frame shows the design being sketched around the mirror.
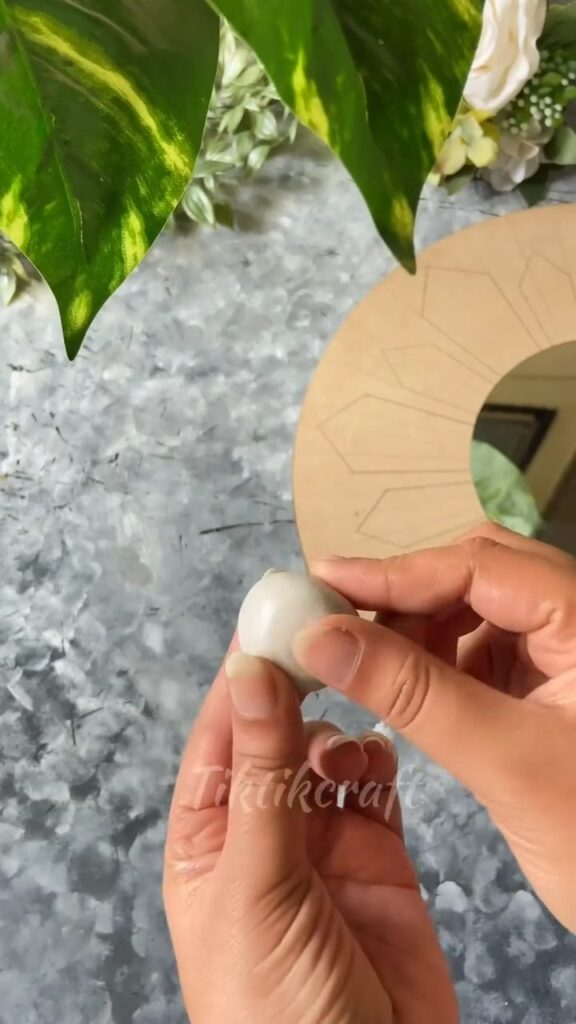
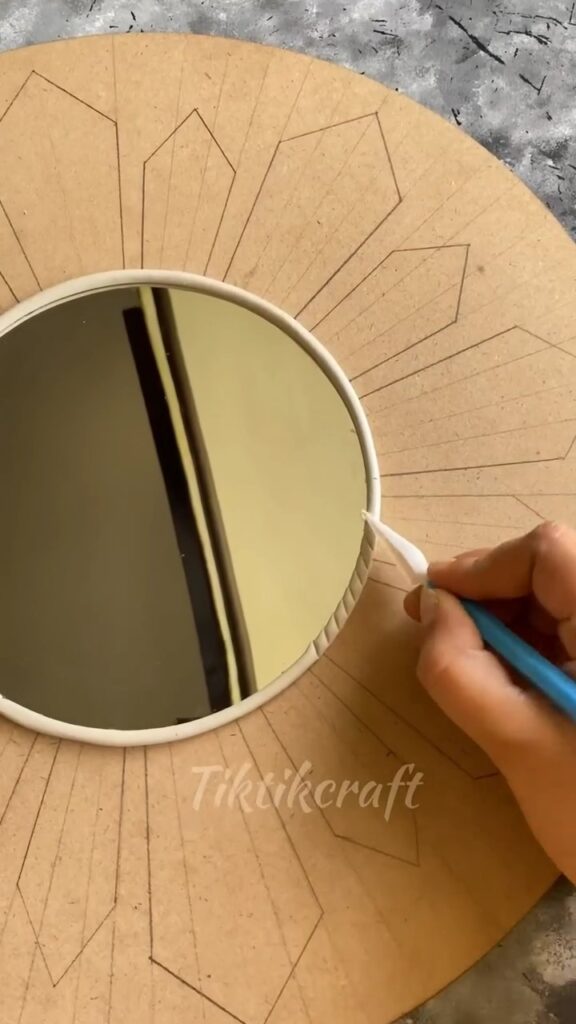
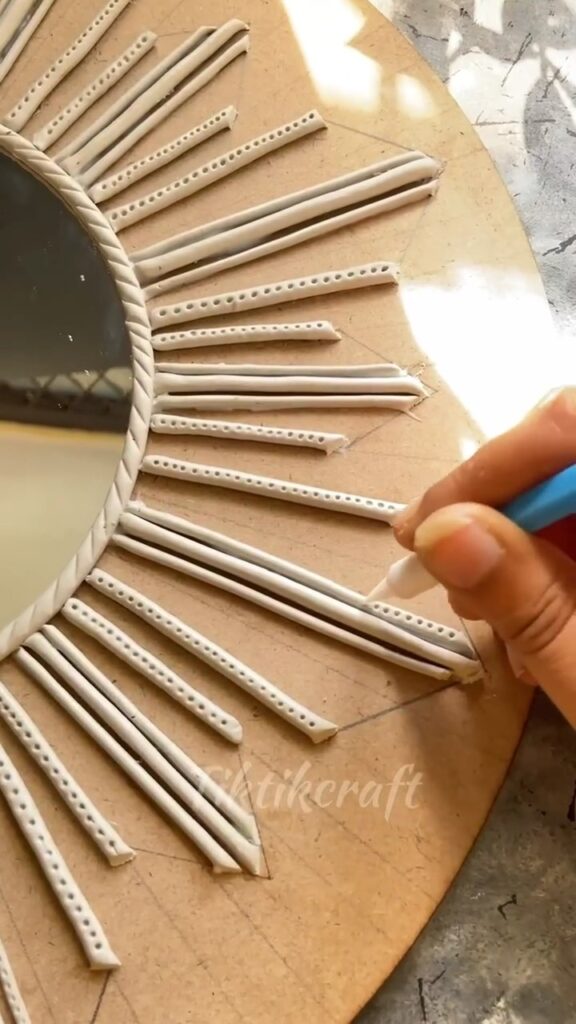
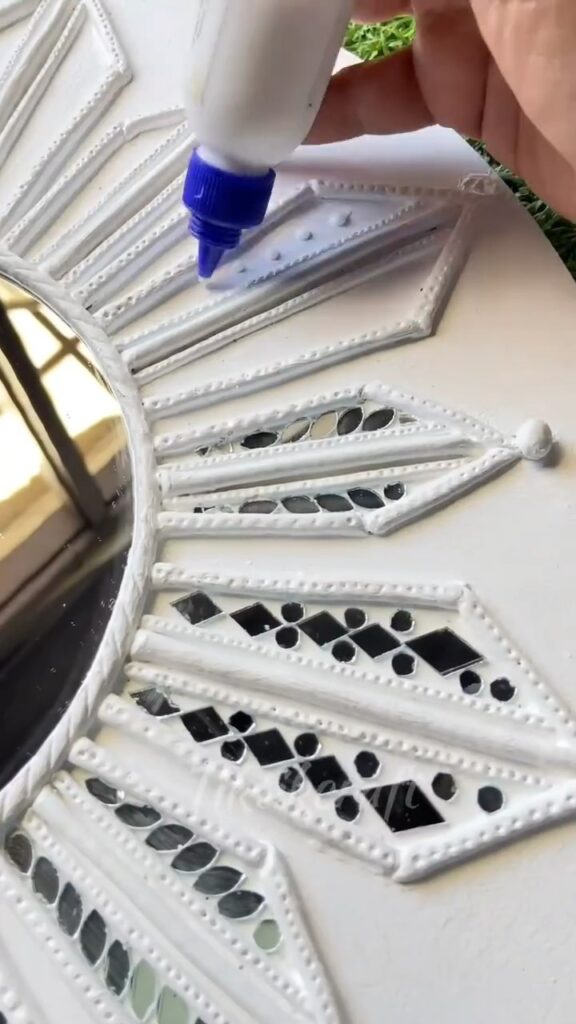
Step 4: Creating the Clay Details 🌿
Roll out thin strips of air-dry clay and start shaping them according to the design you sketched. This is where you can get creative! Make sure to press the clay gently onto the board, following your pencil lines closely.
Image Reference: The fourth and fifth frames show the clay being applied to the board in detailed patterns.
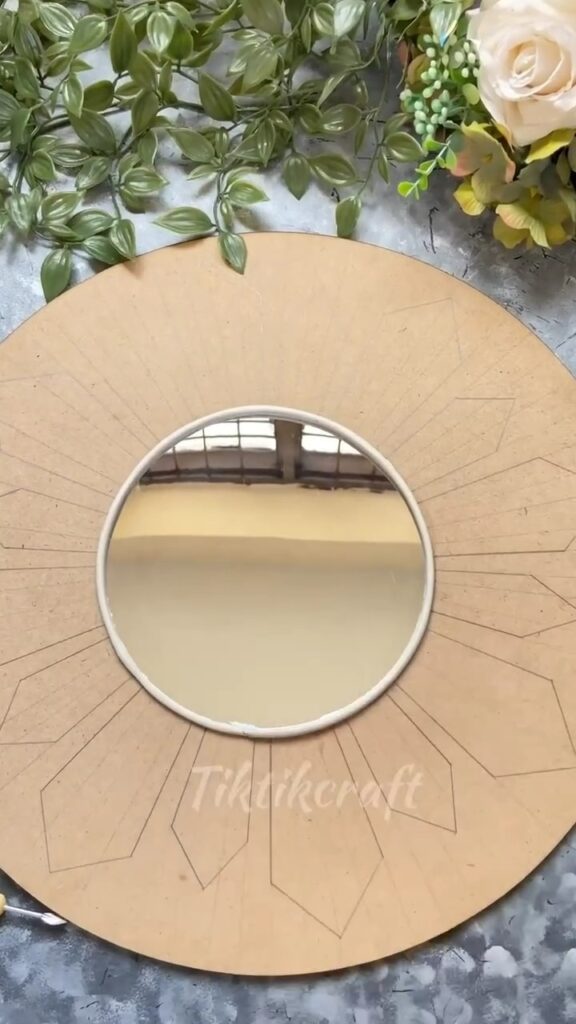
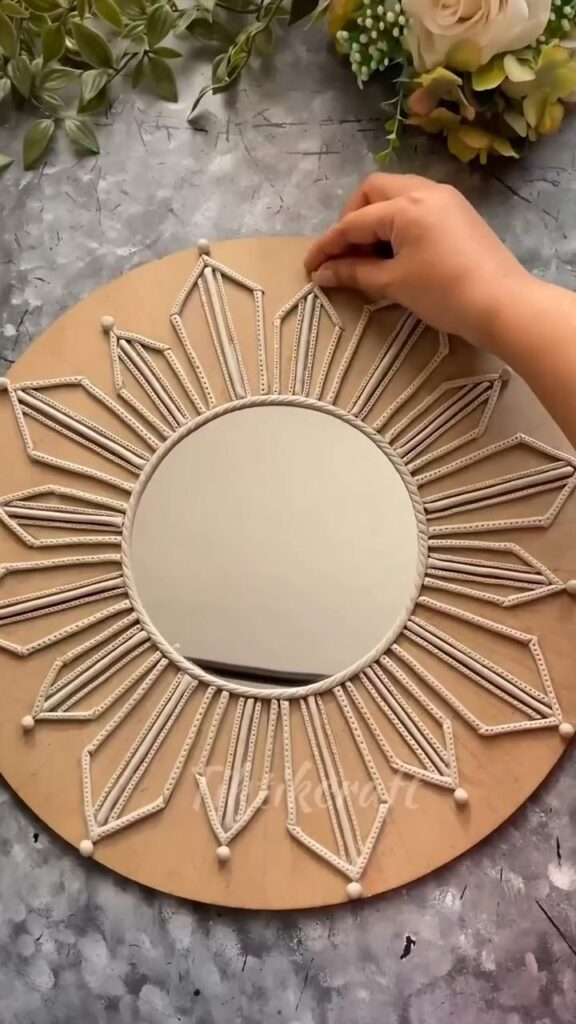
Step 5: Attaching the Mirror 🪞
Once your clay design is in place and has dried a bit, it’s time to attach the mirror. Apply glue to the back of the mirror and place it within the traced circle on your base. Press firmly to ensure it sticks well.
Image Reference: The sixth frame shows the mirror being glued into place.
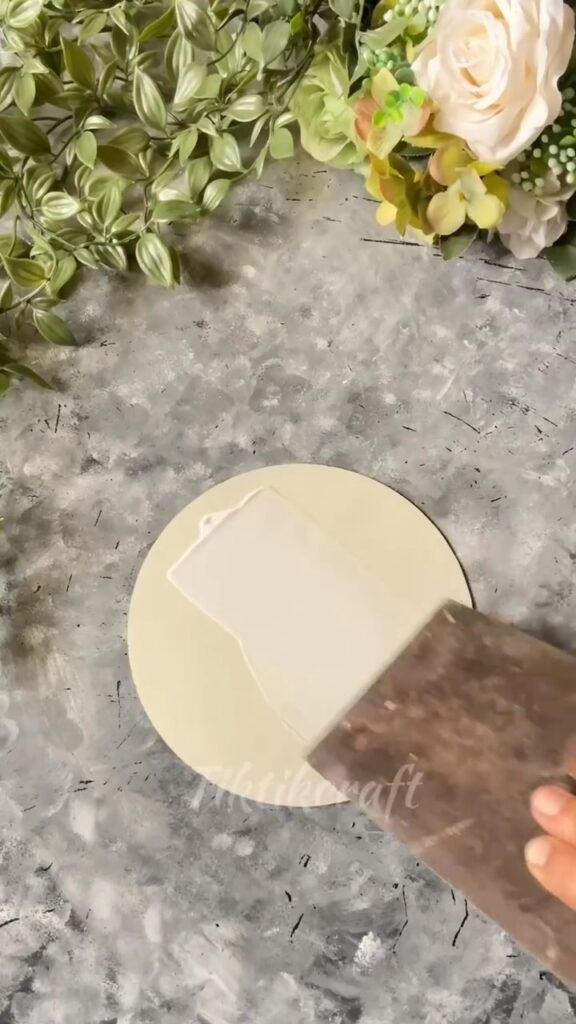
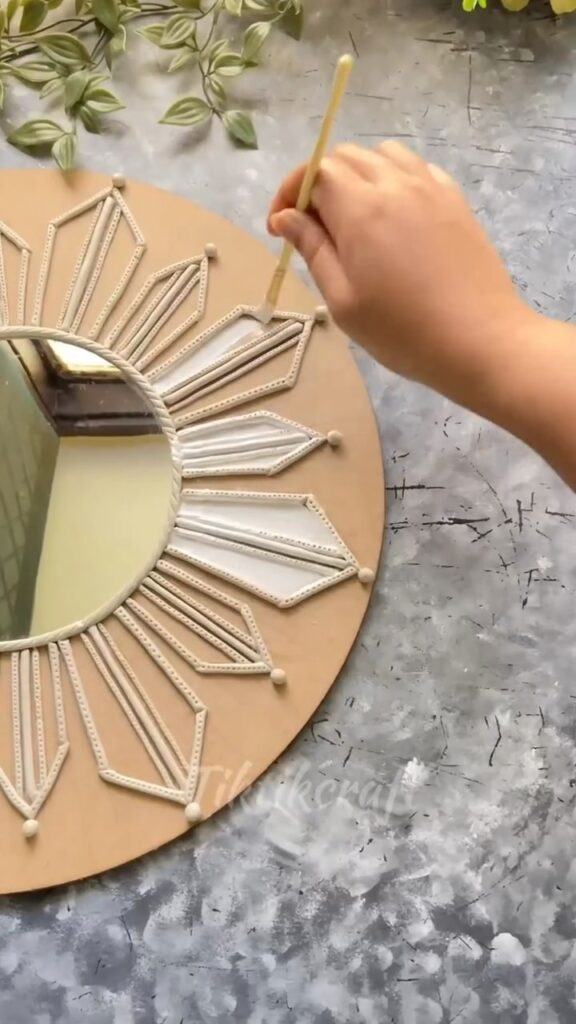
Step 6: Painting the Design 🎨
After the clay has completely dried (this may take a few hours, so patience is key), paint the entire design with white paint. This gives the piece a clean, elegant look. You could also experiment with other colors depending on your decor theme.
Image Reference: The seventh and eighth frames show the white paint being applied to the clay design.
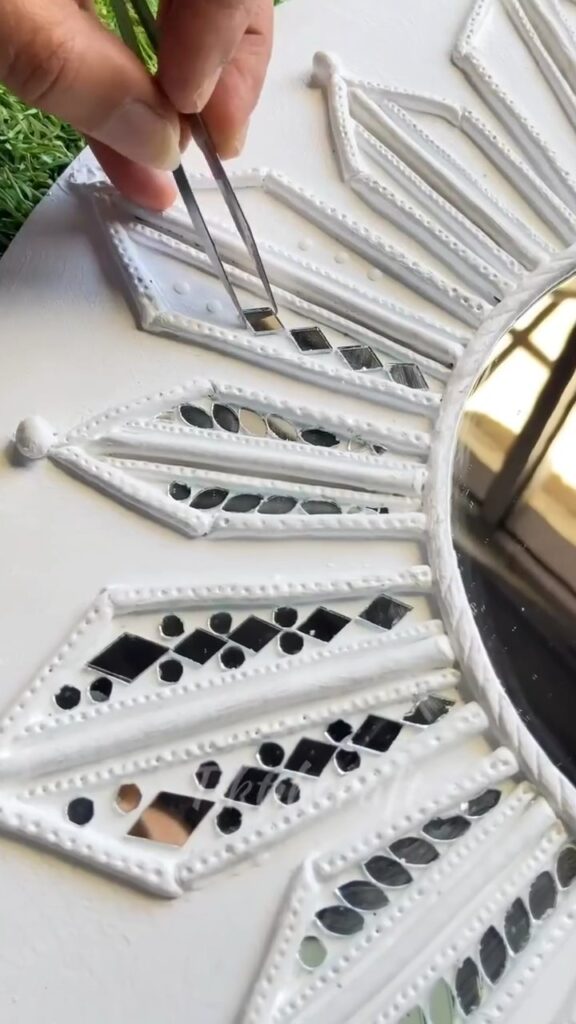
Step 7: Adding Decorative Elements ✨
Now for the finishing touches! Use glue to attach small decorative stones or beads to the design. This adds a bit of shimmer and makes your mirror truly unique. I love using a mix of textures for a more luxurious feel.
Image Reference: The ninth and tenth frames show the stones being carefully placed onto the design with tweezers.
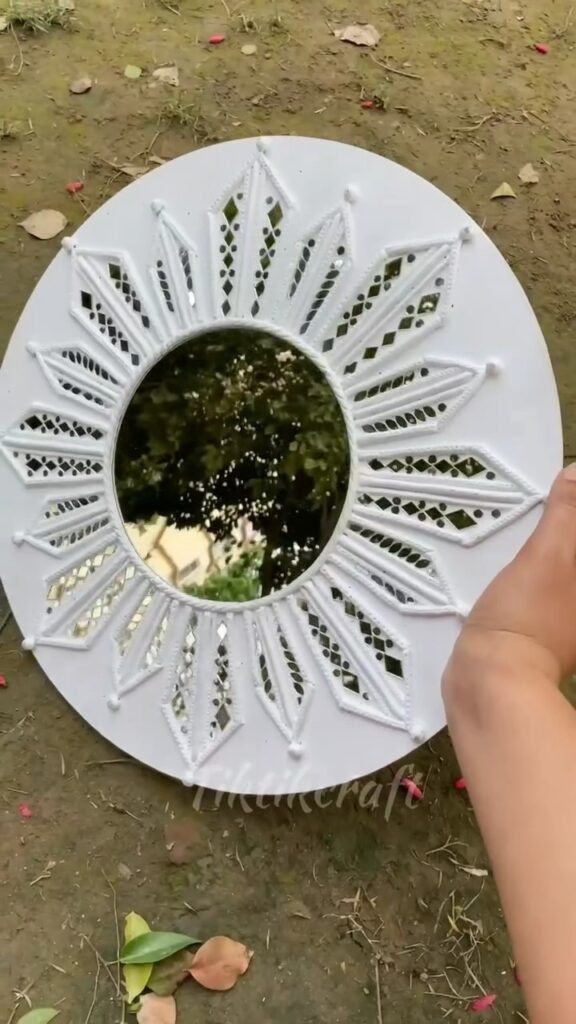
Step 8: Final Touches and Hanging 🌟
Once everything is dry and securely in place, your wall hanging mirror is ready to be displayed! Add a hook or a string to the back for easy hanging. Step back, admire your work, and find the perfect spot on your wall.
Image Reference: The last frame shows the finished mirror, ready to be hung and admired.
Why I Love This Project
This project is one of my favorites because it combines my love for crafting with home decor. Every time I walk by this mirror, it reminds me of the peaceful moments spent creating something with my own hands. It’s not just a mirror; it’s a piece of art that reflects a part of who I am. Plus, it’s such a conversation starter when friends come over! 😊
Tips for a Perfect Finish
- Patience is Key: Let the clay dry fully before painting or adding stones to avoid smudges.
- Personalize It: Don’t be afraid to customize the design to suit your style.
- Have Fun: The process is just as important as the final product. Enjoy each step!
Share Your Creations!
I hope this tutorial inspired you to create your own clay art mirror. I’d love to see your beautiful creations! Feel free to share pictures in the comments or tag me on social media. Let’s keep this creative journey going together! 🌸💖

Leave a Reply