
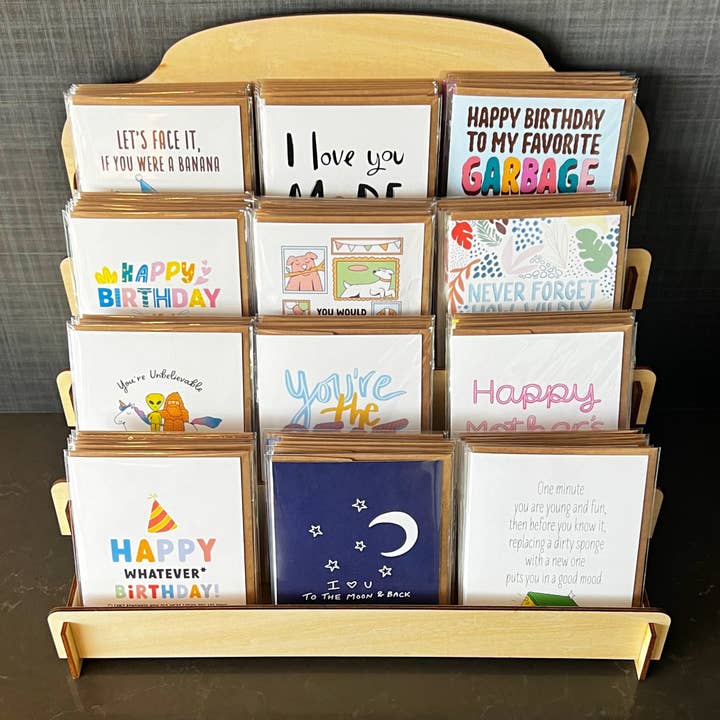
Old greeting cards hold sentimental value long after the occasion passes, and turning them into functional or decorative items keeps those memories visible in daily life. The following approaches focus on simple cuts, layering, and basic supplies you already own or can find at any craft store.
Greeting Card Bookmarks
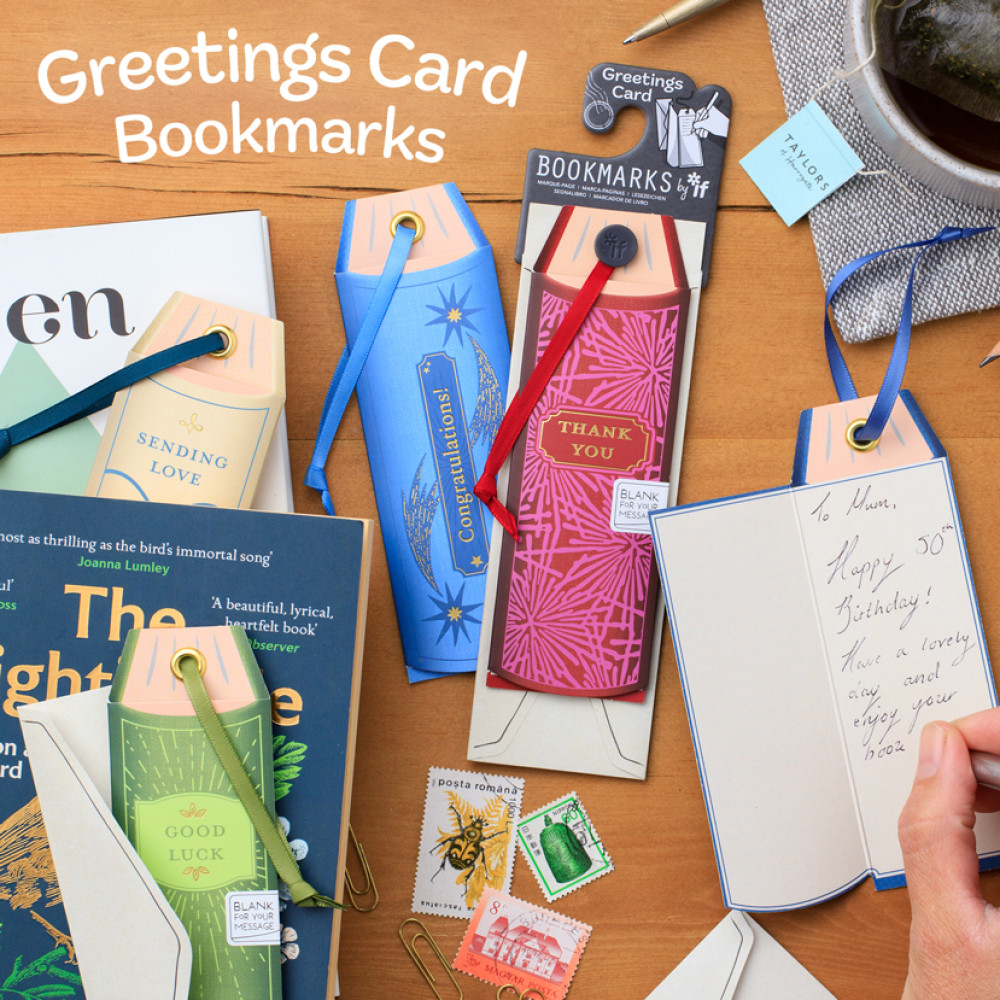
Cut a greeting card into a long, narrow strip roughly two inches wide and six inches tall, then reinforce the back with cardstock or thin cardboard so the bookmark stays flat inside a book. Add a ribbon or tassel at the top by punching a small hole and threading through it. This creates a durable marker that fits most paperback and hardcover spines without adding bulk.
You can vary the shape by rounding the bottom corners or trimming the top into a banner point for easier gripping. Some cards already feature suitable artwork like florals or illustrations that look finished once isolated, while others benefit from a thin border of washi tape to prevent fraying. Store finished bookmarks in a small box or clip them to a ribbon for gifting.
A single card can yield two or three bookmarks when you plan the cuts around the central image.
Greeting Card Gift Tags
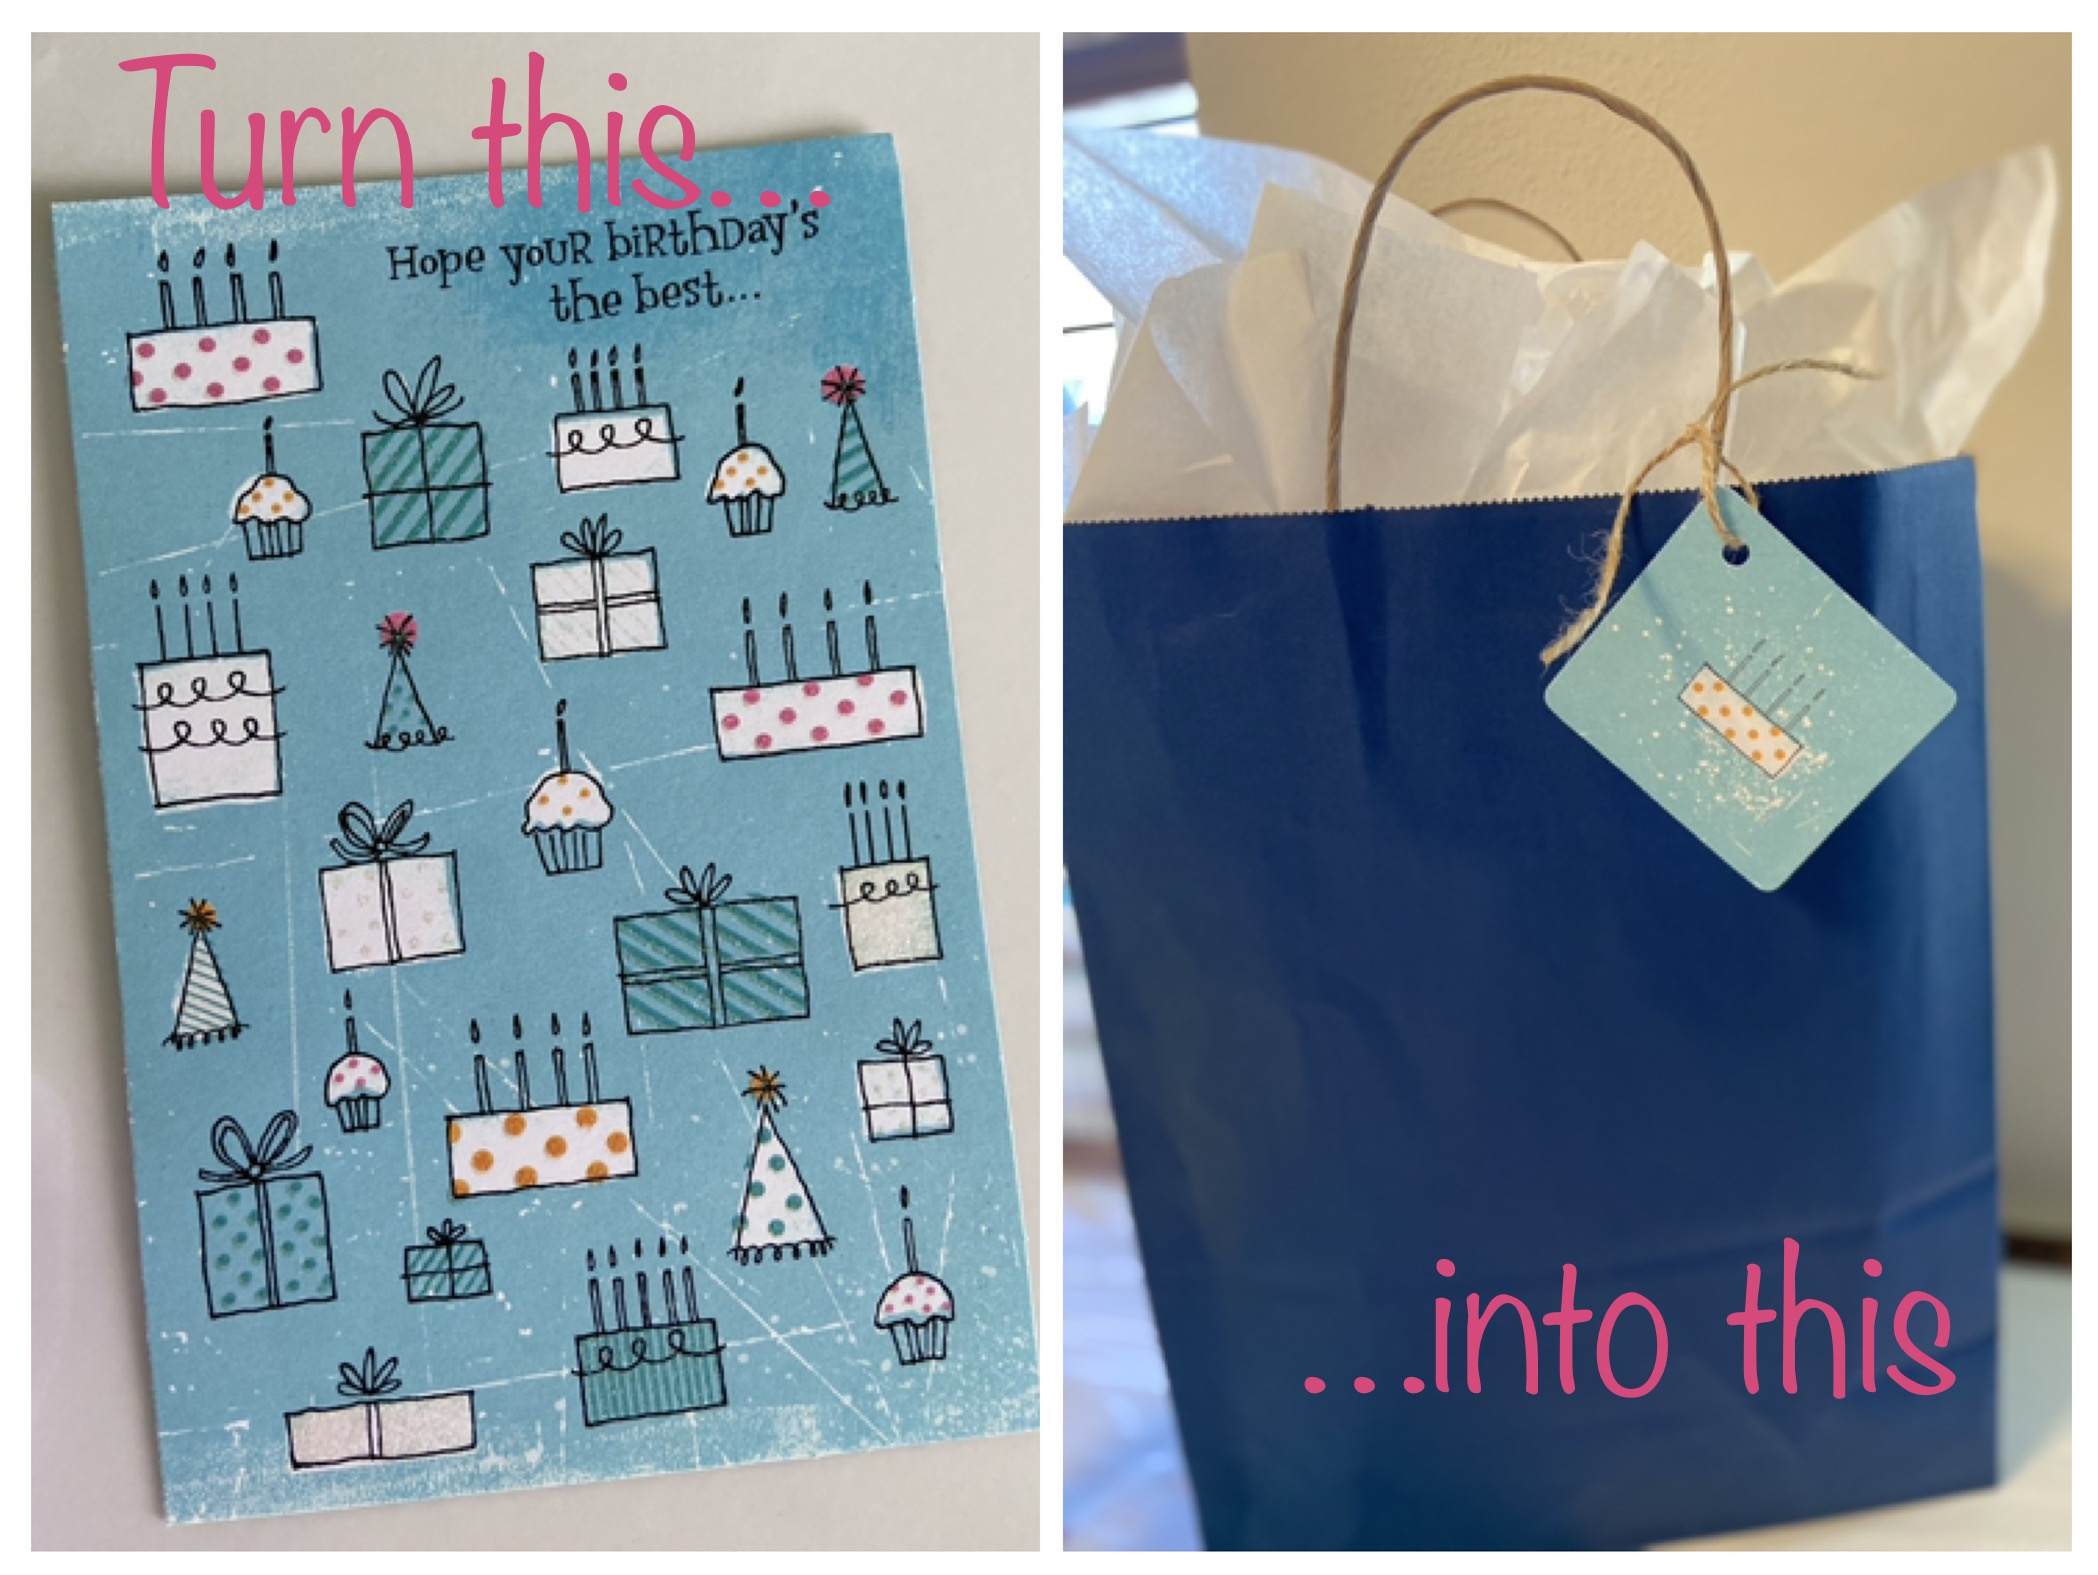
Punch or cut small shapes such as circles, rectangles, or tags from the front of cards, then punch a hole near one edge for string or ribbon. Layer two different card pieces together for added thickness and visual interest before attaching the tag to a wrapped present. The pre-printed messages or artwork often read as intentional rather than leftover.
These tags work especially well for small gifts where a full card would feel oversized. Choose cards with metallic elements or embossing if you want the tag to catch light on the package. Keep a stack ready in a desk drawer so you always have custom tags on hand instead of buying plain ones.
Greeting Card Ornaments
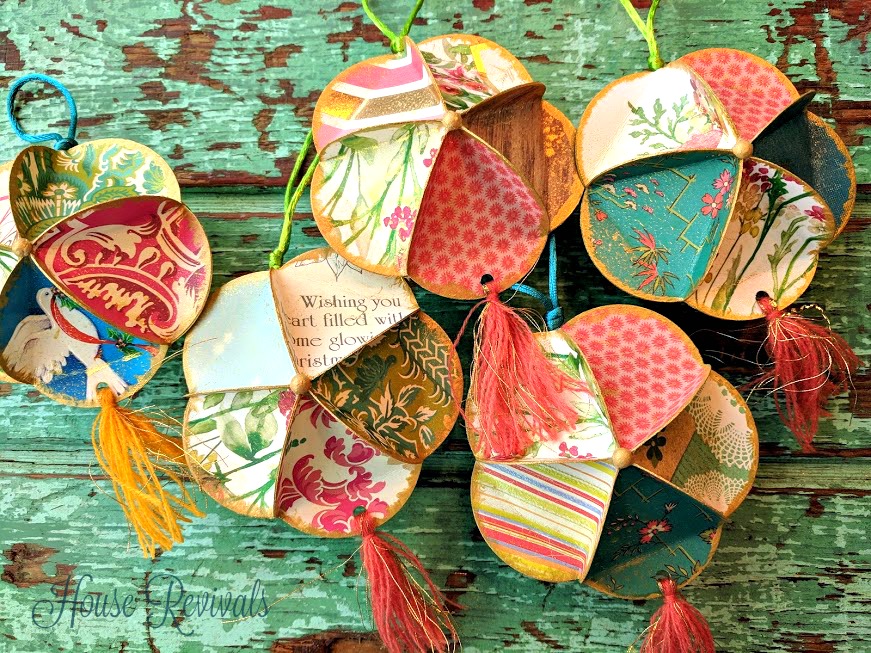
Cut card fronts into circles, stars, or hearts and sandwich two matching pieces together with a loop of string or thin wire between them for hanging. Add a thin coat of clear sealant if the ornament will hang near a window or on a tree exposed to light. The layered construction gives the ornament enough weight to hang straight without twisting.
Place these on a holiday tree, attach them to wrapped packages as toppers, or string several together into a garland for a mantel. Cards with glitter or foil details translate especially well because the reflective surfaces catch tree lights. Rotate the designs each year so different memories surface during the season.
How do I keep the edges from fraying on paper ornaments?
Seal the cut edges with a quick swipe of clear nail polish or a thin line of white glue before assembling the ornament. This step takes under a minute per piece and prevents the paper from softening over time.
Greeting Card Collage Frames
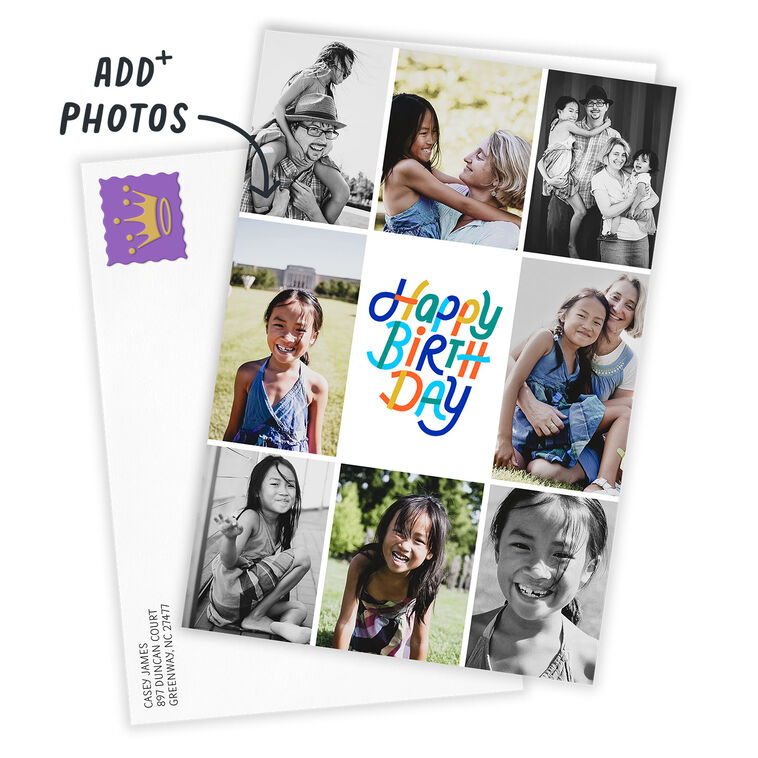
Select several cards with complementary colors or themes and cut them into strips or shapes that fit inside a standard picture frame. Arrange the pieces on the frame backing like a puzzle, overlapping edges slightly, then secure with glue or double-sided tape before reassembling the frame. The result turns a plain frame into a one-of-a-kind piece that displays multiple memories at once.
This approach works in any room where you want a personal touch without hanging individual cards. Mix horizontal and vertical card pieces to create movement across the frame. If the frame glass reflects too much light, swap it for a matte acrylic sheet to reduce glare on the finished collage.
Greeting Card Scrapbook Pages
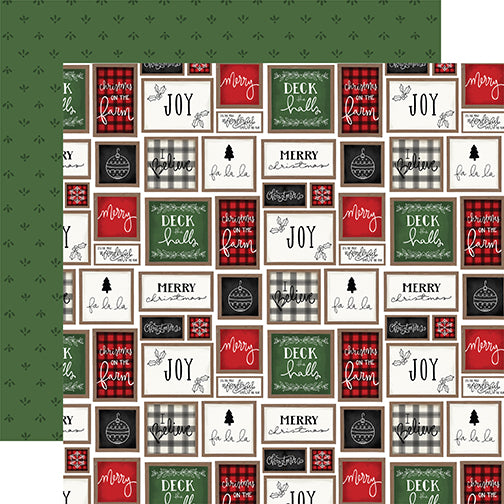
Trim card fronts to fit standard scrapbook page dimensions and use them as focal points or background layers. Tuck smaller card snippets behind photos or use the backs for journaling notes about the original occasion. The varied textures and printed sentiments add instant depth that plain paper cannot match.
Combine cards from the same event across multiple pages to build a visual story. Cards with envelopes can supply extra paper for mats or pockets that hold ticket stubs or notes. Rotate the orientation of the card pieces so the eye travels naturally across the spread.
Greeting Card Coasters
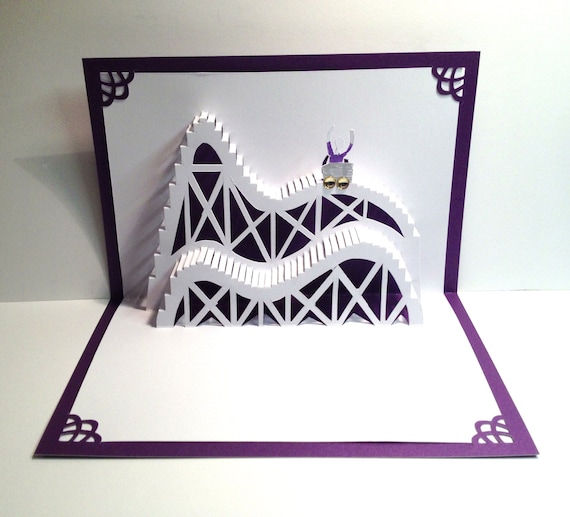
Cut card pieces to square or round shapes slightly smaller than your coaster blanks, then adhere them to ceramic tiles or heavy chipboard with strong glue. Apply several coats of clear resin or decoupage medium over the top to create a waterproof surface that protects both the card and your furniture. Let each coat dry fully before adding the next.
These coasters suit coffee tables or desks where you want a reminder of a special event without displaying the full card. Choose cards with darker backgrounds if spills are likely, since light colors show water rings more readily. Make sets of four or six using cards from one occasion for a coordinated look.
| Card Type | Best For Coasters | Durability Notes |
|---|---|---|
| Glossy photo cards | High-traffic surfaces | Resin seals well but shows scratches |
| Matte printed cards | Light-use desks | Takes glue evenly but needs extra sealant layers |
| Foil-embossed cards | Decorative trays | Reflective surface resists fading but edges need careful sealing |
Choose cards printed on heavier stock when possible, because thin paper buckles under resin more easily than cardstock.
How long do sealed coasters last with daily use?
Properly sealed coasters hold up for several years before the top layer needs refreshing. Reapply a thin coat of resin every twelve to eighteen months if the surface starts to cloud.
How do I store extra card pieces between projects?
Keep trimmed scraps in a divided craft organizer sorted by color or occasion so you can quickly pull matching pieces later.
FAQ
How do I remove writing from the back of a card without damaging the front?
Lightly sand the back with fine-grit sandpaper or cover it entirely with decorative paper before cutting your project pieces. Test any method on a corner first.
Can I use old greeting cards in a printer for new messages?
Most card stock feeds through home printers without issue, though thicker cards may need manual feeding. Print a test on scrap paper first to confirm alignment.
What adhesive works best on glossy card surfaces?
Use a glue stick formulated for photos or a thin layer of craft glue applied with a brush. Avoid standard white glue because it can cause buckling on glossy finishes.
How should I display finished projects so they do not fade?
Keep items out of direct sunlight and rotate them seasonally. UV-protective spray adds another layer of defense for pieces that stay in bright rooms.
Your old greeting cards already carry the right colors, textures, and memories, so the next project is simply a matter of choosing which format lets them reappear in your space.
Leave a Reply