
Every January I end up with a shoebox of Christmas cards — the glossy photo ones from relatives, the glittery shop-bought ones, a few handmade by small hands that I absolutely cannot throw away. Keeping all of them forever isn’t realistic, but tossing them in the recycling feels wrong too. The good news is that card stock is one of the most useful craft materials you already own: it’s heavy enough to fold, cut and glue, it comes with free printed artwork, and most of it costs you nothing.
These eight projects are the ones I actually come back to year after year, roughly in order from “I have twenty minutes” to “I’ll make an afternoon of it.” Before you start, sort your pile: keep the ones with big single images, the ones with nice patterned backs, and any with handwritten messages you want to preserve. Those three piles feed almost everything below.
Cut Them Into Gift Tags
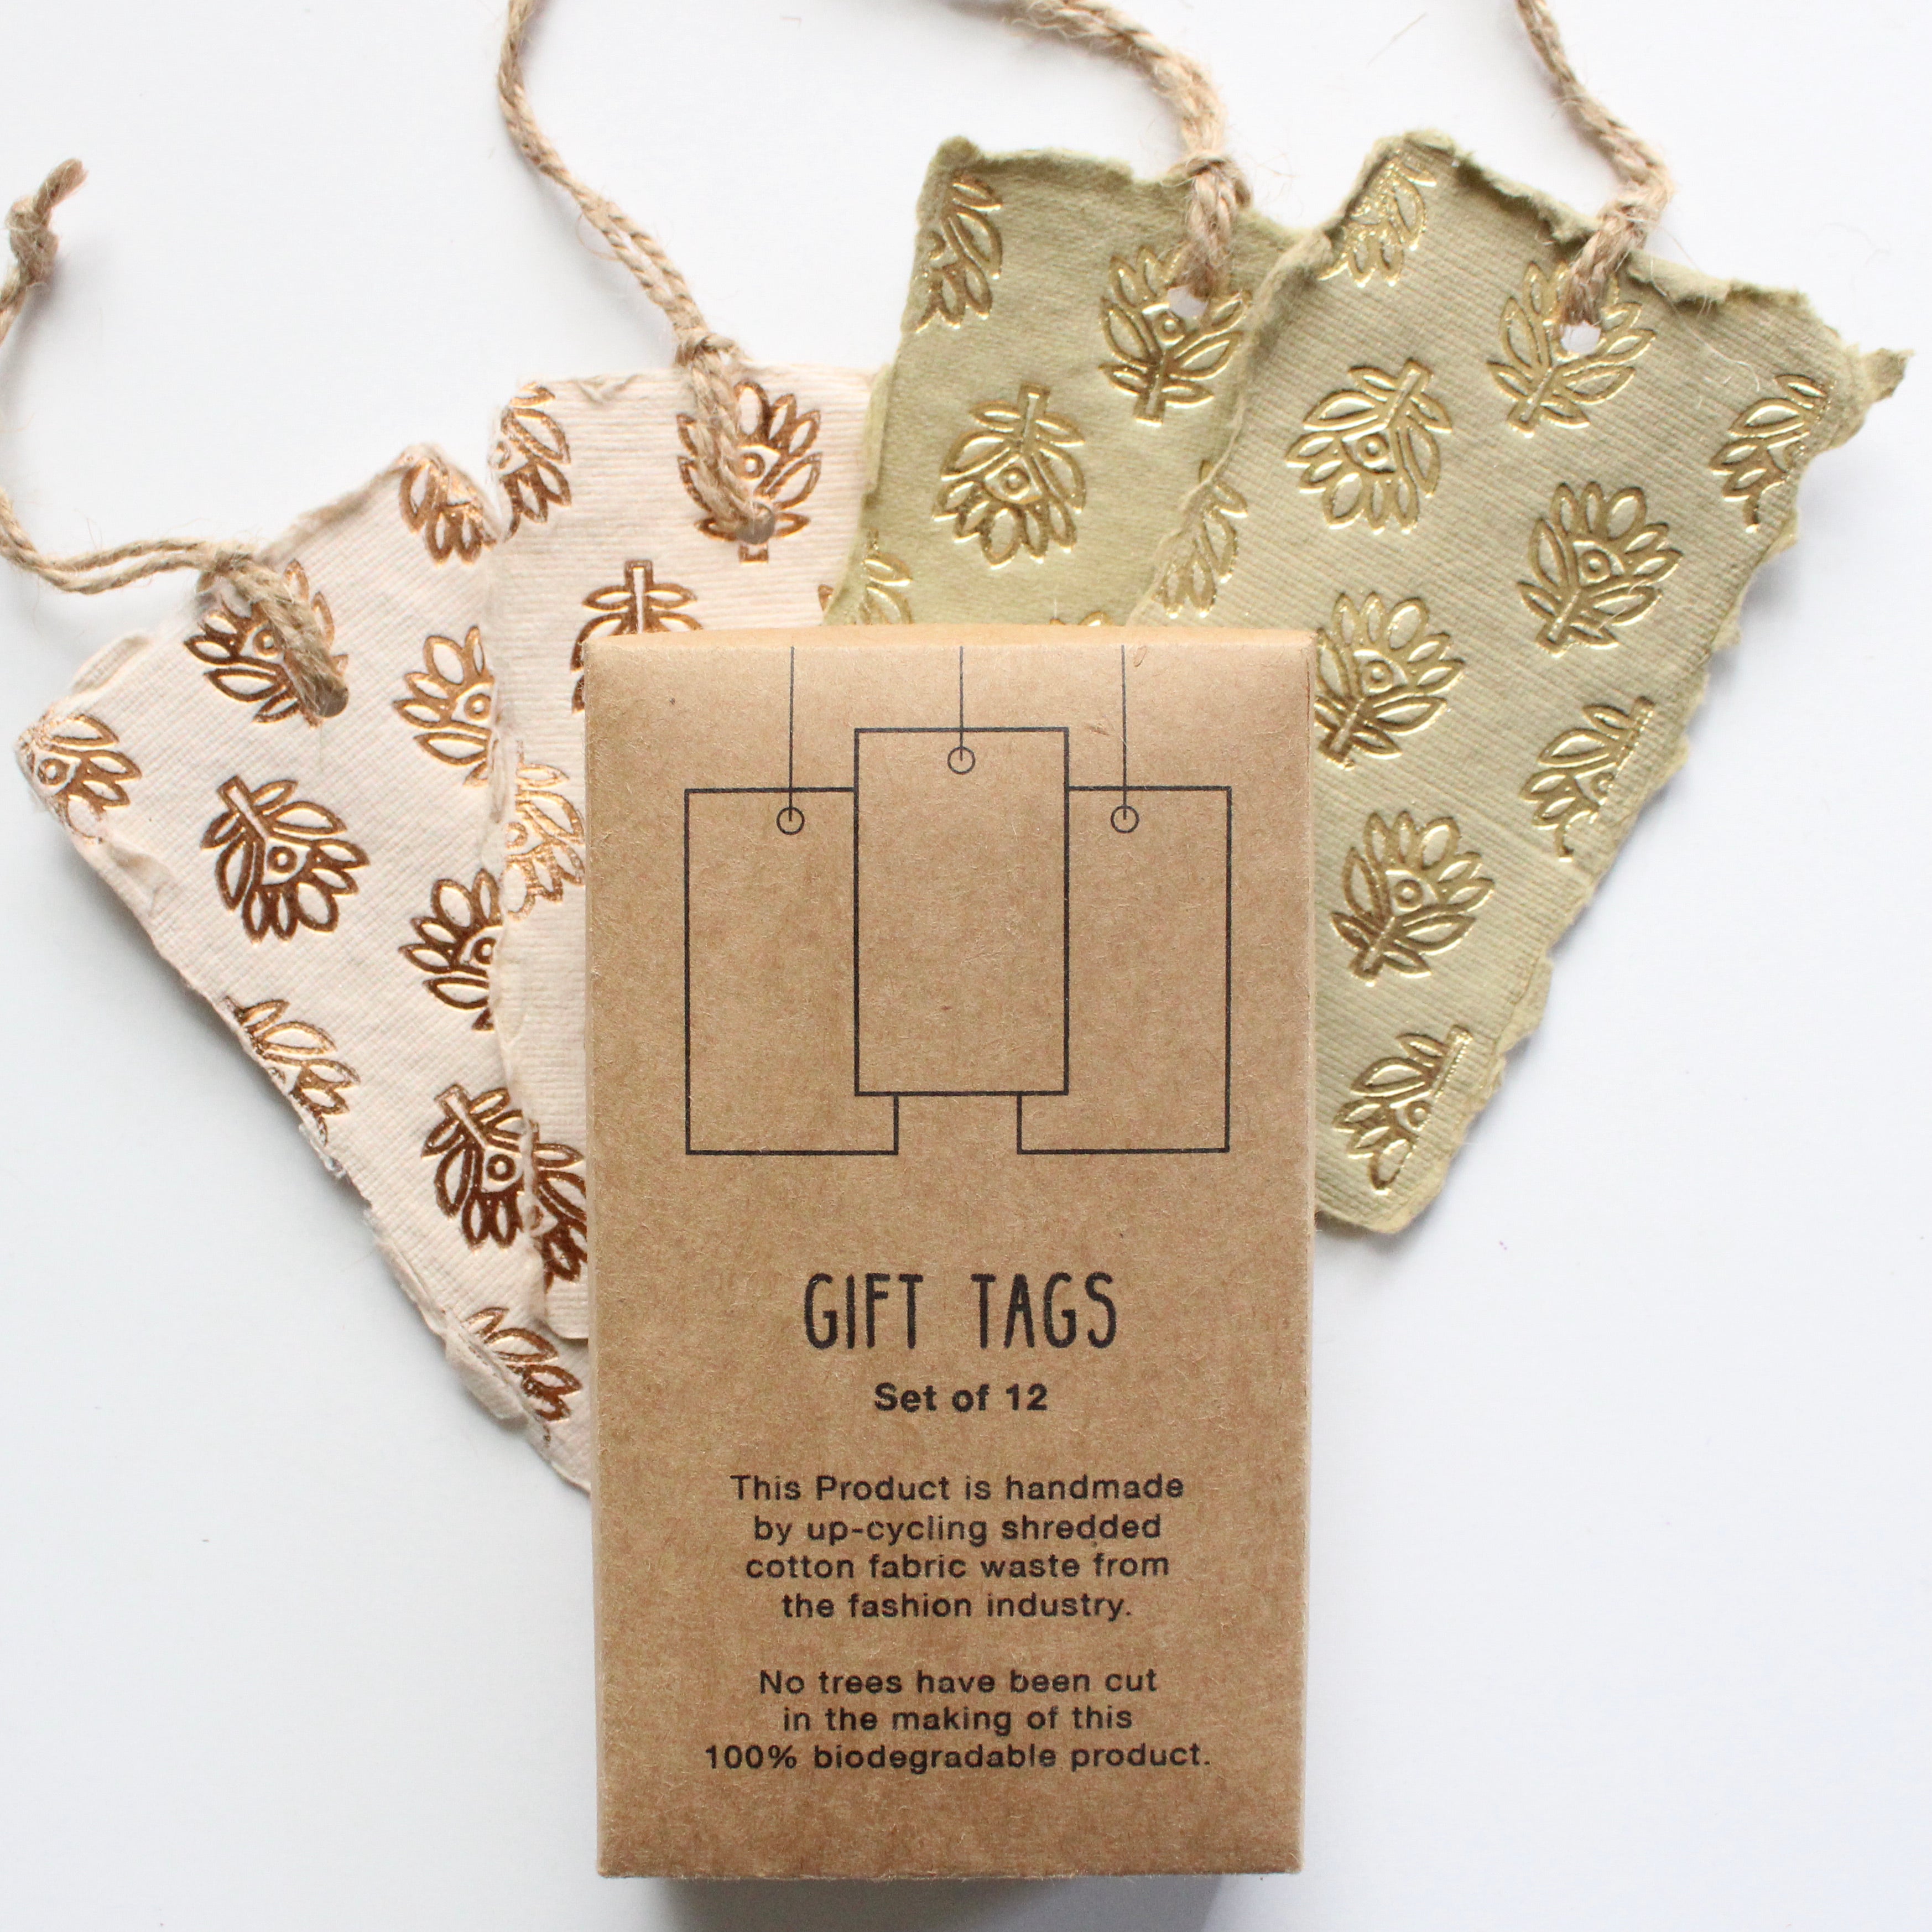
This is the fastest win on the list and the one that saves me the most money — decent tags are £4–£6 a pack and I go through dozens every December. Grab a corner punch or a tag punch (the Fiskars medium tag punch is my workhorse), press out the image sections of your cards, punch a hole at the top, and thread through baker’s twine or a thin satin ribbon. Photo cards work beautifully here: the front becomes a tag you can write “To Dad” on the back of, and suddenly the family photo has a second life on someone’s present.
Watch out for cards where the picture is printed right to the fold — you’ll end up with white slivers of the inside. Aim for the flat front panel, or fold the card in half and punch through both layers at once for a double-sided tag with the pattern on the reverse. If you’re doing a big batch, do all the punching first and all the threading second; swapping between tasks is what turns twenty minutes into an hour.
String a Card Garland
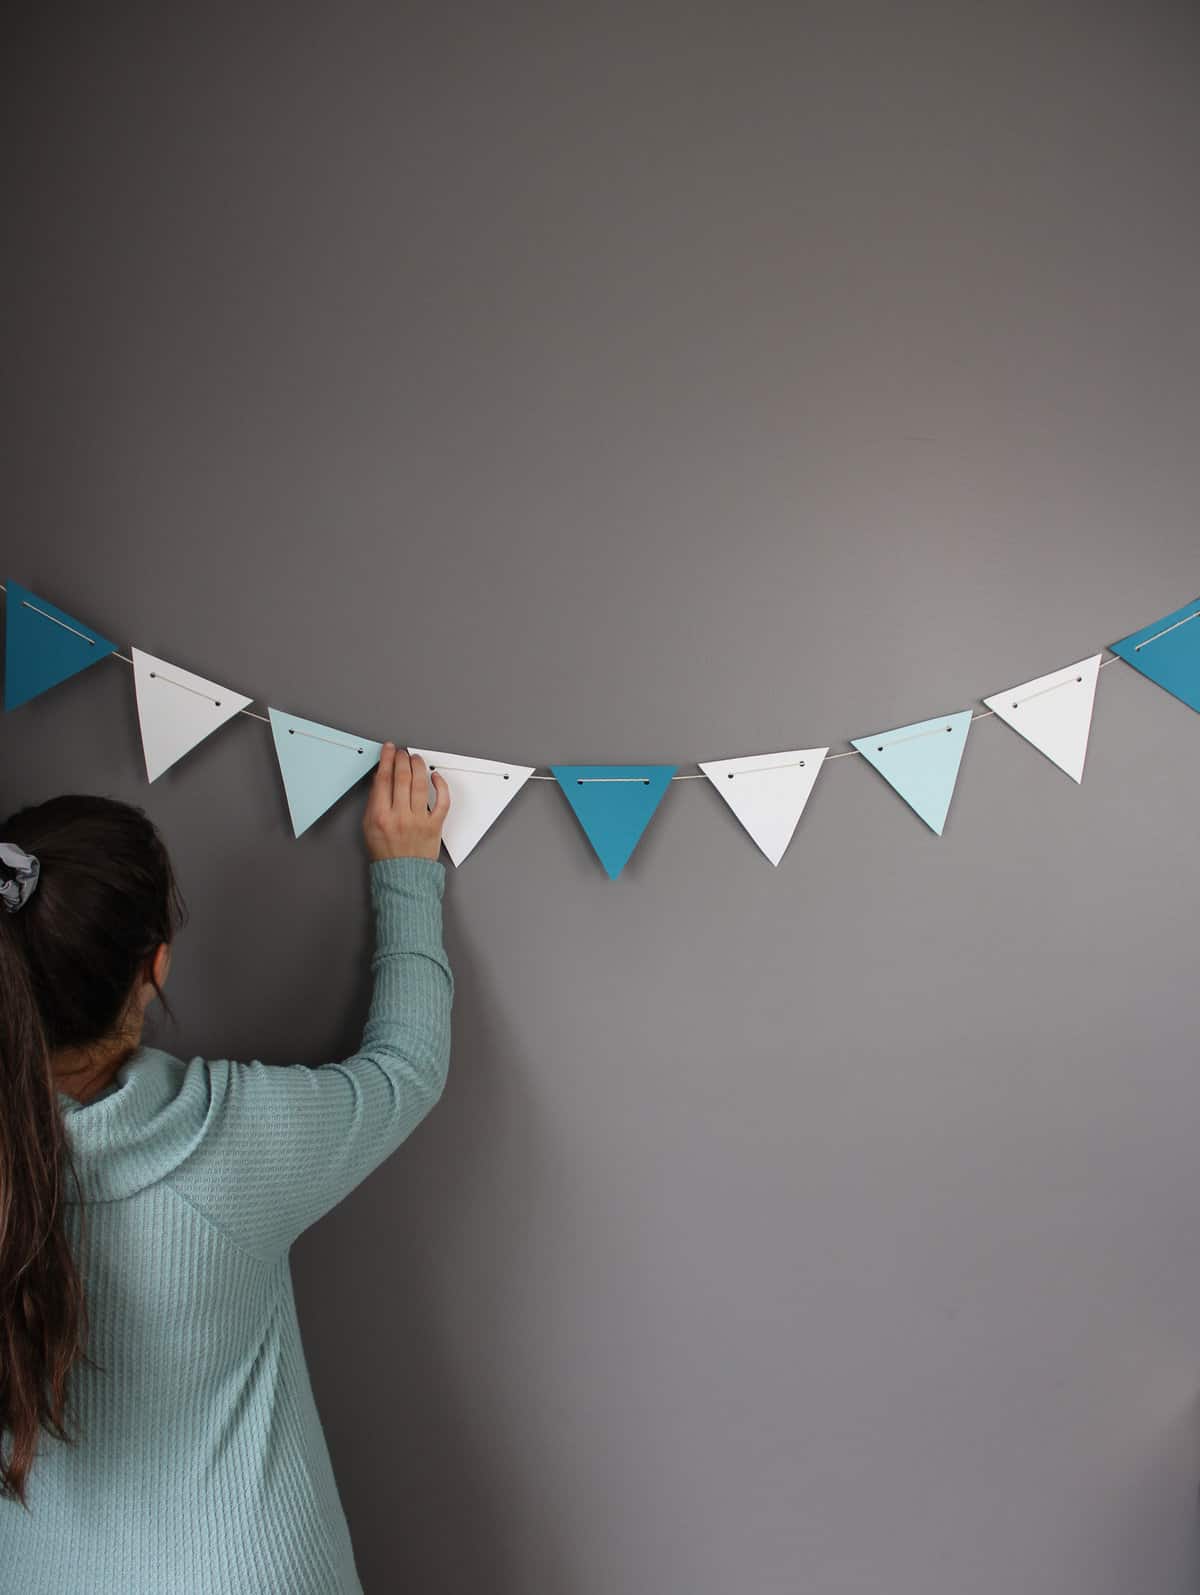
A garland is the easiest way to use the bulk of your pile in one go, and it looks genuinely lovely hung across a mantelpiece or a window. Cut the card fronts into uniform shapes — triangles, circles, or simple rectangles — and either sew them through with a sewing machine set to a long straight stitch (a few seconds each, and the thread acts as your string) or punch two holes in the top corners and thread them onto ribbon or jute twine.
Mix patterned card fronts with solid-coloured card in between so the garland doesn’t read as visual chaos. And keep the garland somewhere dry — indoor use only, since most card stock goes soft and the glitter sheds if it gets damp. I usually hang mine with 3M Command hooks so nothing ends up with a nail hole in it.
Fold New Gift Bows and Toppers
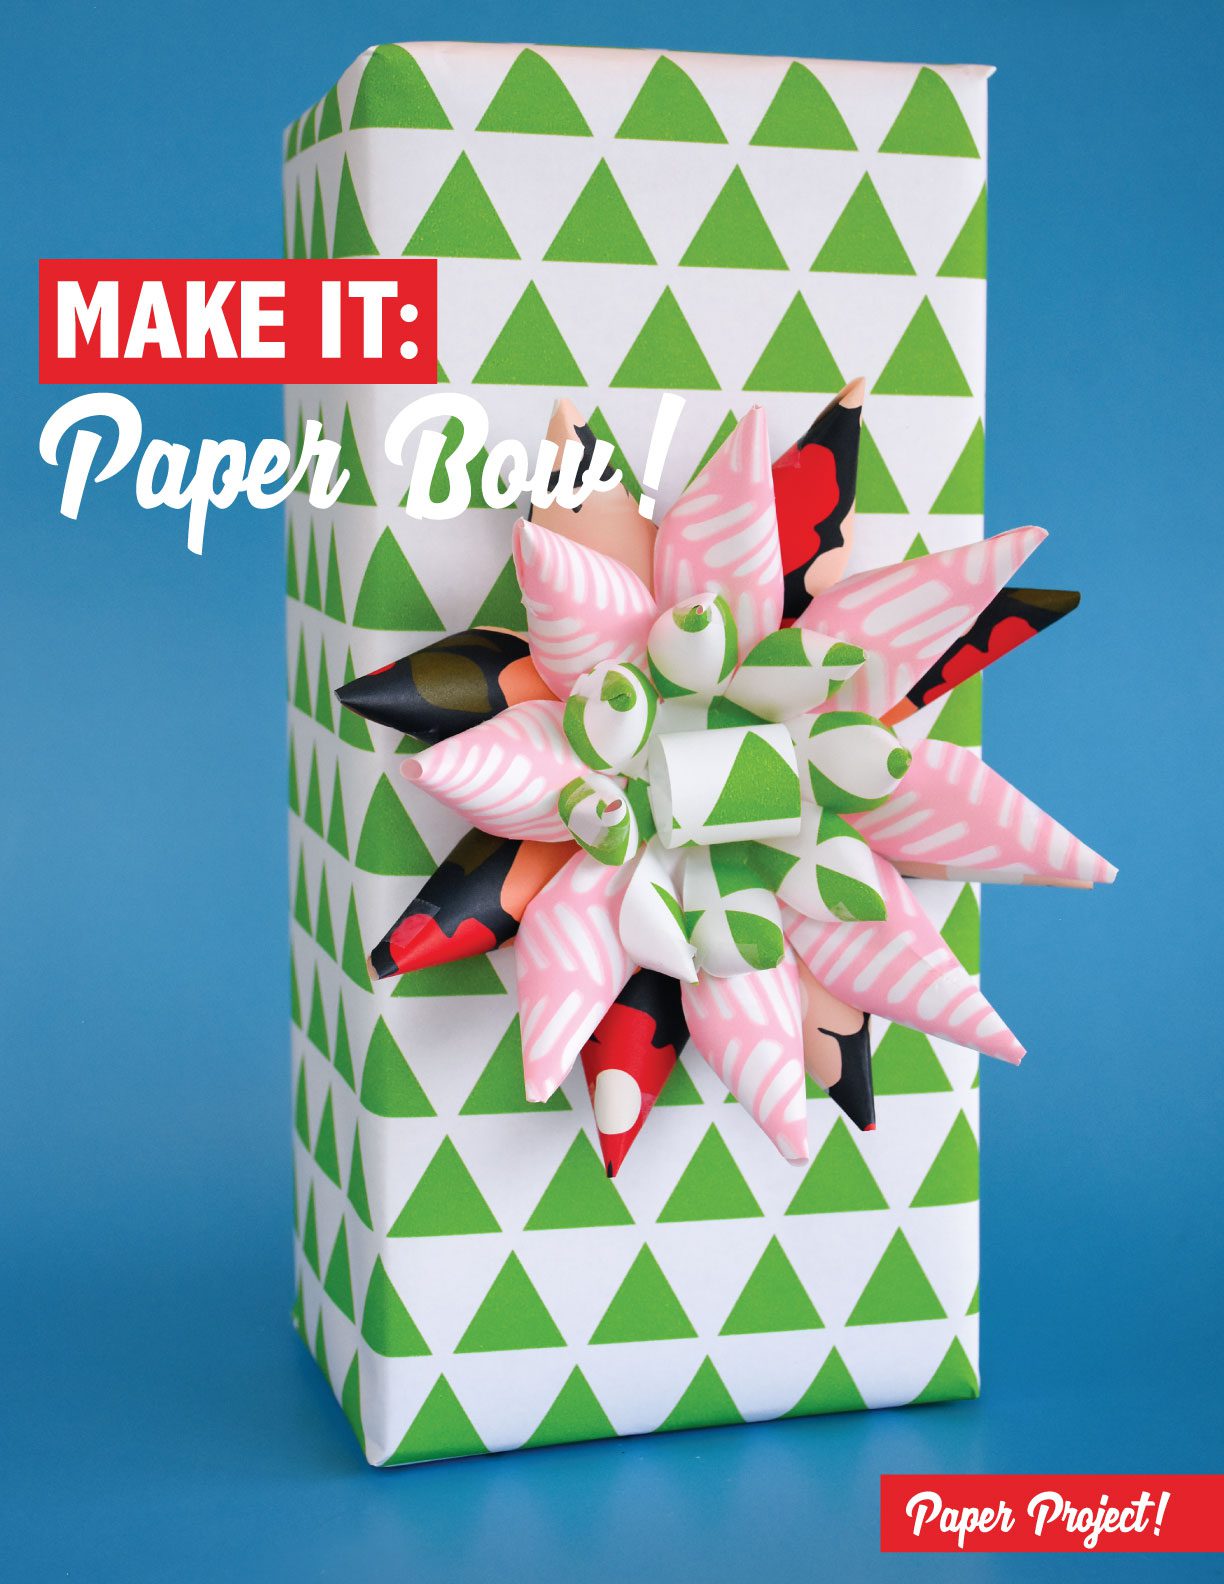
If you’ve ever bought a bag of paper bows, you know how silly it feels when you can make one from a card you already have. Cut the card front into eight to ten strips of equal width, curl each one gently around a pencil, and staple them in a loop around a small central circle — that’s a classic round bow. For something flatter and more modern, cut thin strips and loop them into a figure-of-eight.
Thinner, more flexible cards fold and curl far better than the heavy textured ones, so save the stiff glittery stock for the ornaments and tags instead. This is also a great project for the kids, since the only real skill involved is keeping your strips even.
Make Paper Star Ornaments
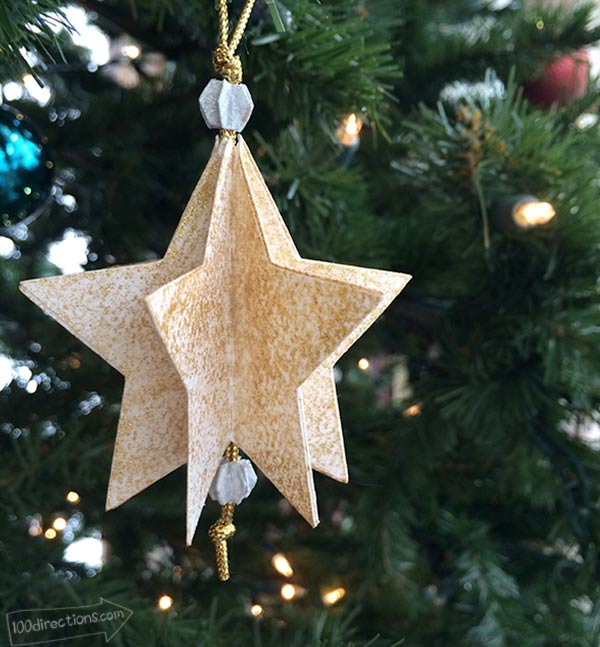
Cards with a large central image — snowflakes, baubles, a single robin — are perfect for this. Cut six identical circles (a 3-inch circle punch keeps them consistent), fold each one in half, and glue the folded halves back to back so they fan out into a 3D star.
Add a loop of thread before the last two halves close and you’ve got an ornament. A variant I like even more: cut a snowflake from a single folded square using the same technique you’d use for paper snowflakes, then back it with a second card in a contrasting colour so it reads from both sides.
Use a proper craft glue like Tombow Mono Multi or a hot glue gun here — a glue stick won’t hold the tension at the folds and the star will spring open overnight. Keep them in a flat box between seasons and they’ll last years.
Decoupage a Tray, Box, or Votive
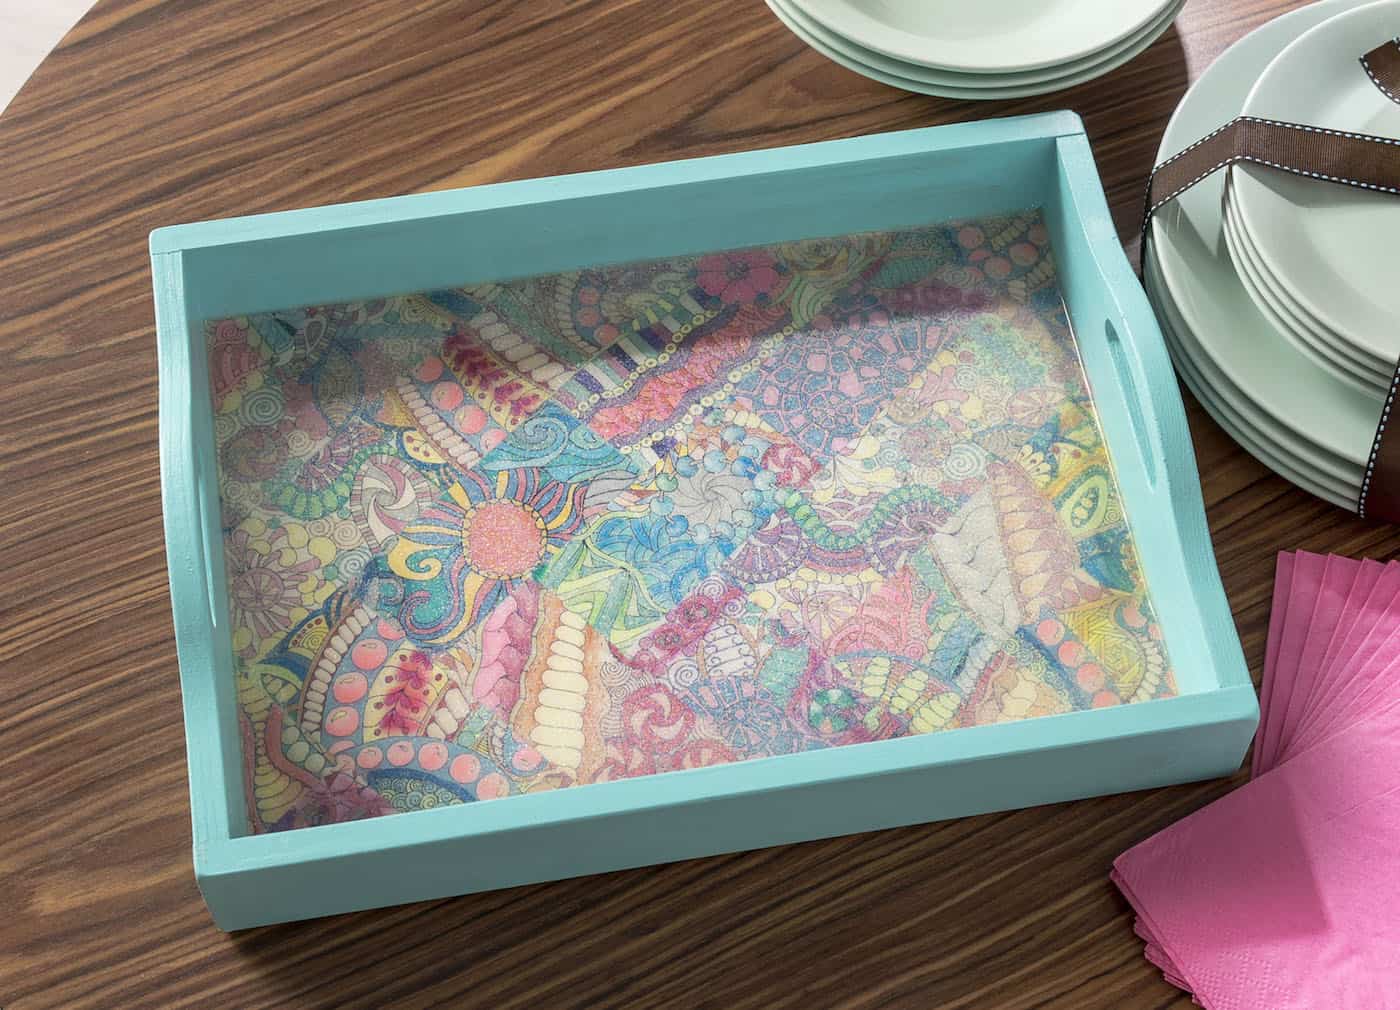
This is the one project where leftover cards really do look expensive when it’s done. Take a plain wooden tray, a MDF box, or a set of glass votives from a craft shop, tear or cut your card fronts into pieces, and glue them down with Mod Podge (Matte for a soft look, Gloss for something more festive). Paint a coat of Mod Podge over the top as well — that’s what seals everything and gives you one even surface instead of a lumpy collage.
Some choices worth making before you start:
- ✦Matte Mod Podge on a tray you’ll actually use, so glasses sit flat and fingerprints don’t show.
- ✦Gloss Mod Podge or a spray sealer on glass votives, where the shine helps the card artwork pop through.
- ✦Torn edges if you want a soft, painterly look; cut edges if you want the collage to read as crisp and deliberate.
Watch the paper weight — very thick card with a folded spine won’t lie flat, and any bubble left under the paper will stay there forever. Press from the centre outwards as you go, and let each layer dry before you add the next coat.
Turn Them Into Bookmarks
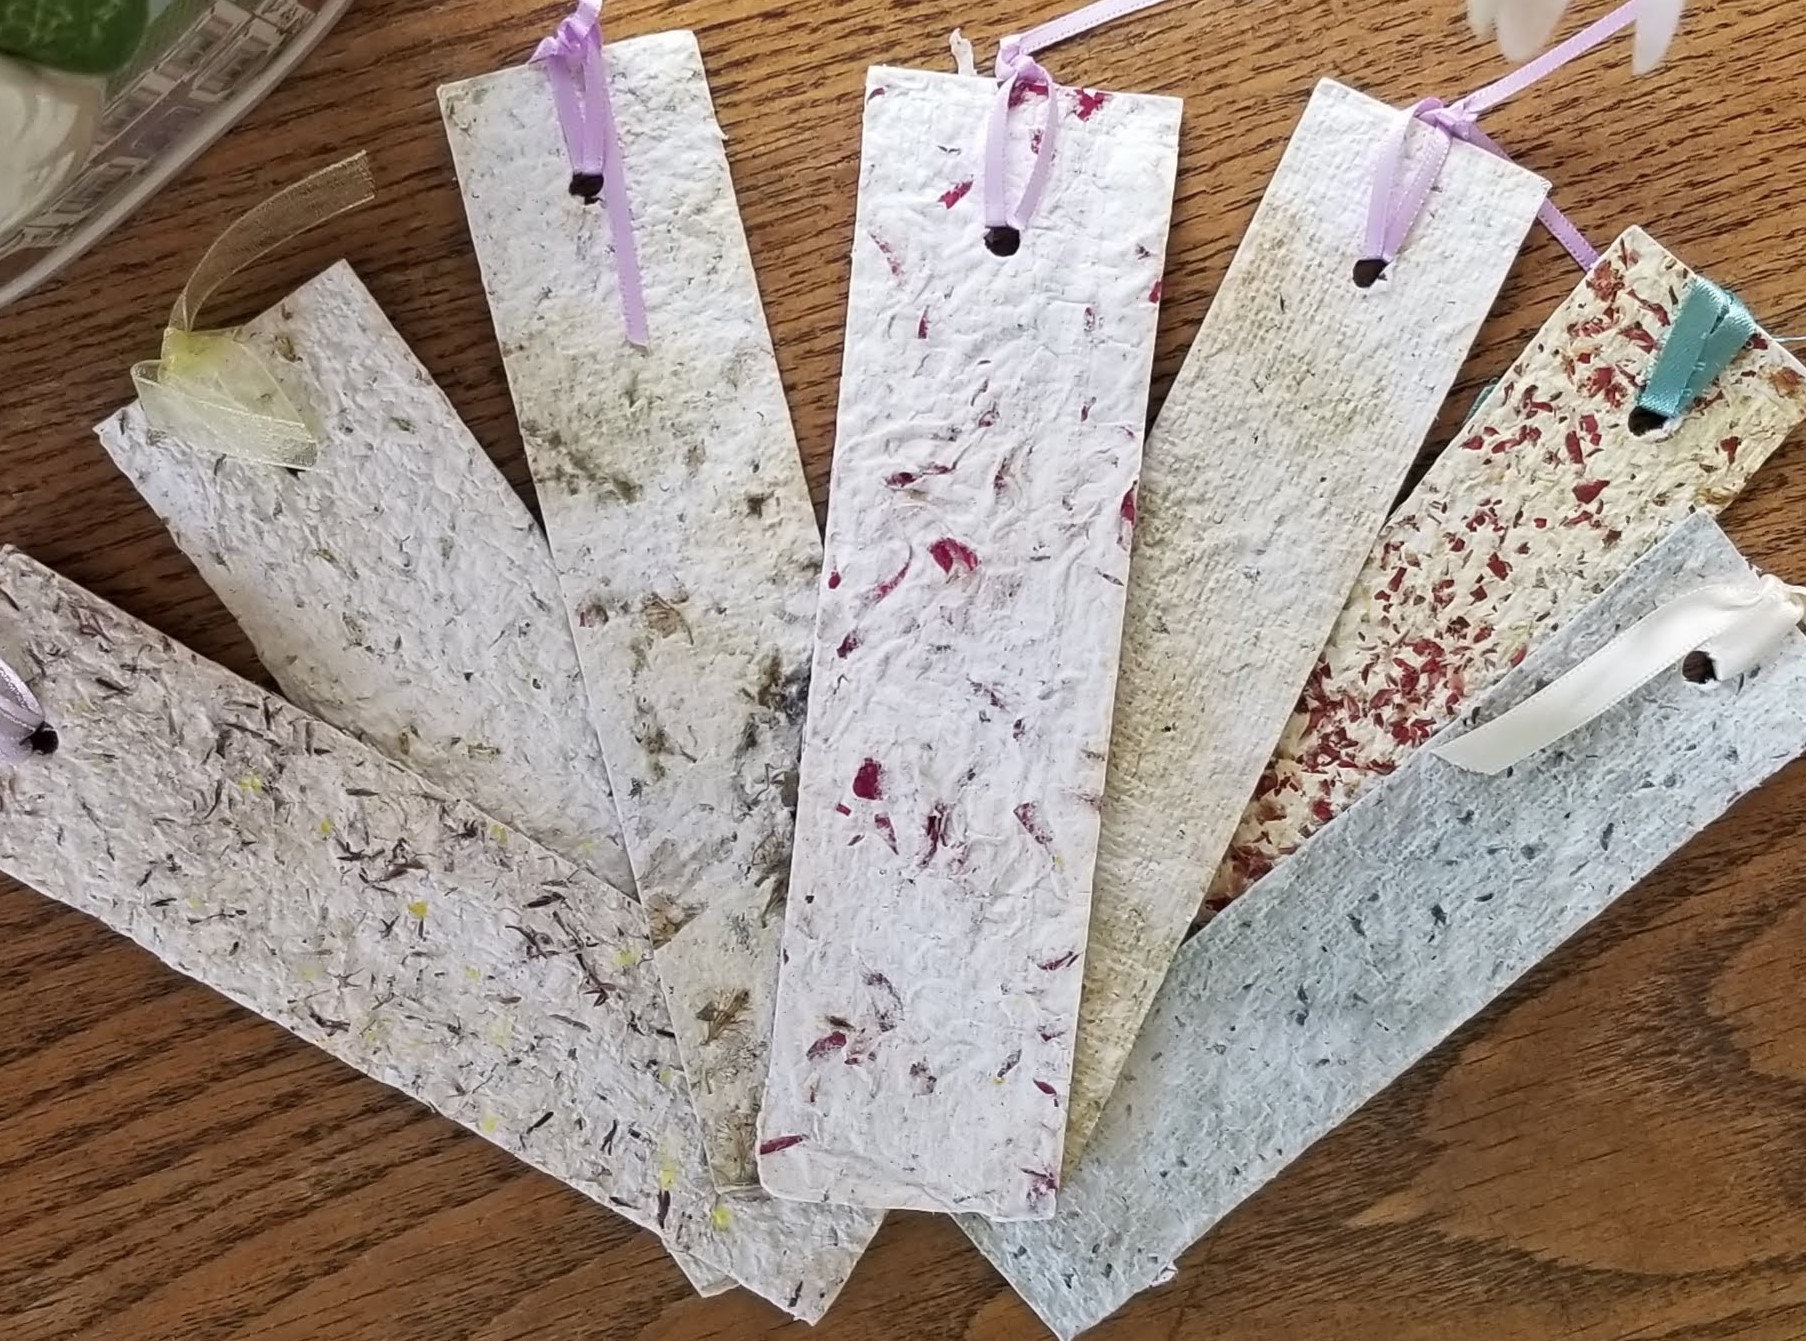
Bookmarks are the perfect size for card stock and they make lovely small gifts, especially for teachers and grandparents. Trim the fronts into roughly 2 × 6 inch strips, round the corners with a corner punch, punch a hole at the top, and add a tassel or a length of ribbon. For a sturdier finish, glue two strips back to back with the patterned sides facing out — the card stock is already heavy, so laminating is optional and honestly overkill.
If you’re making these with children, corner rounding is the step that makes them look finished rather than hastily cut. I do that part myself and let them handle the punching and ribbon. And keep bookmarks away from anything that will spend time in a warm windowsill — a few of my earlier ones faded quite badly.
Build a Christmas Scrapbook Page
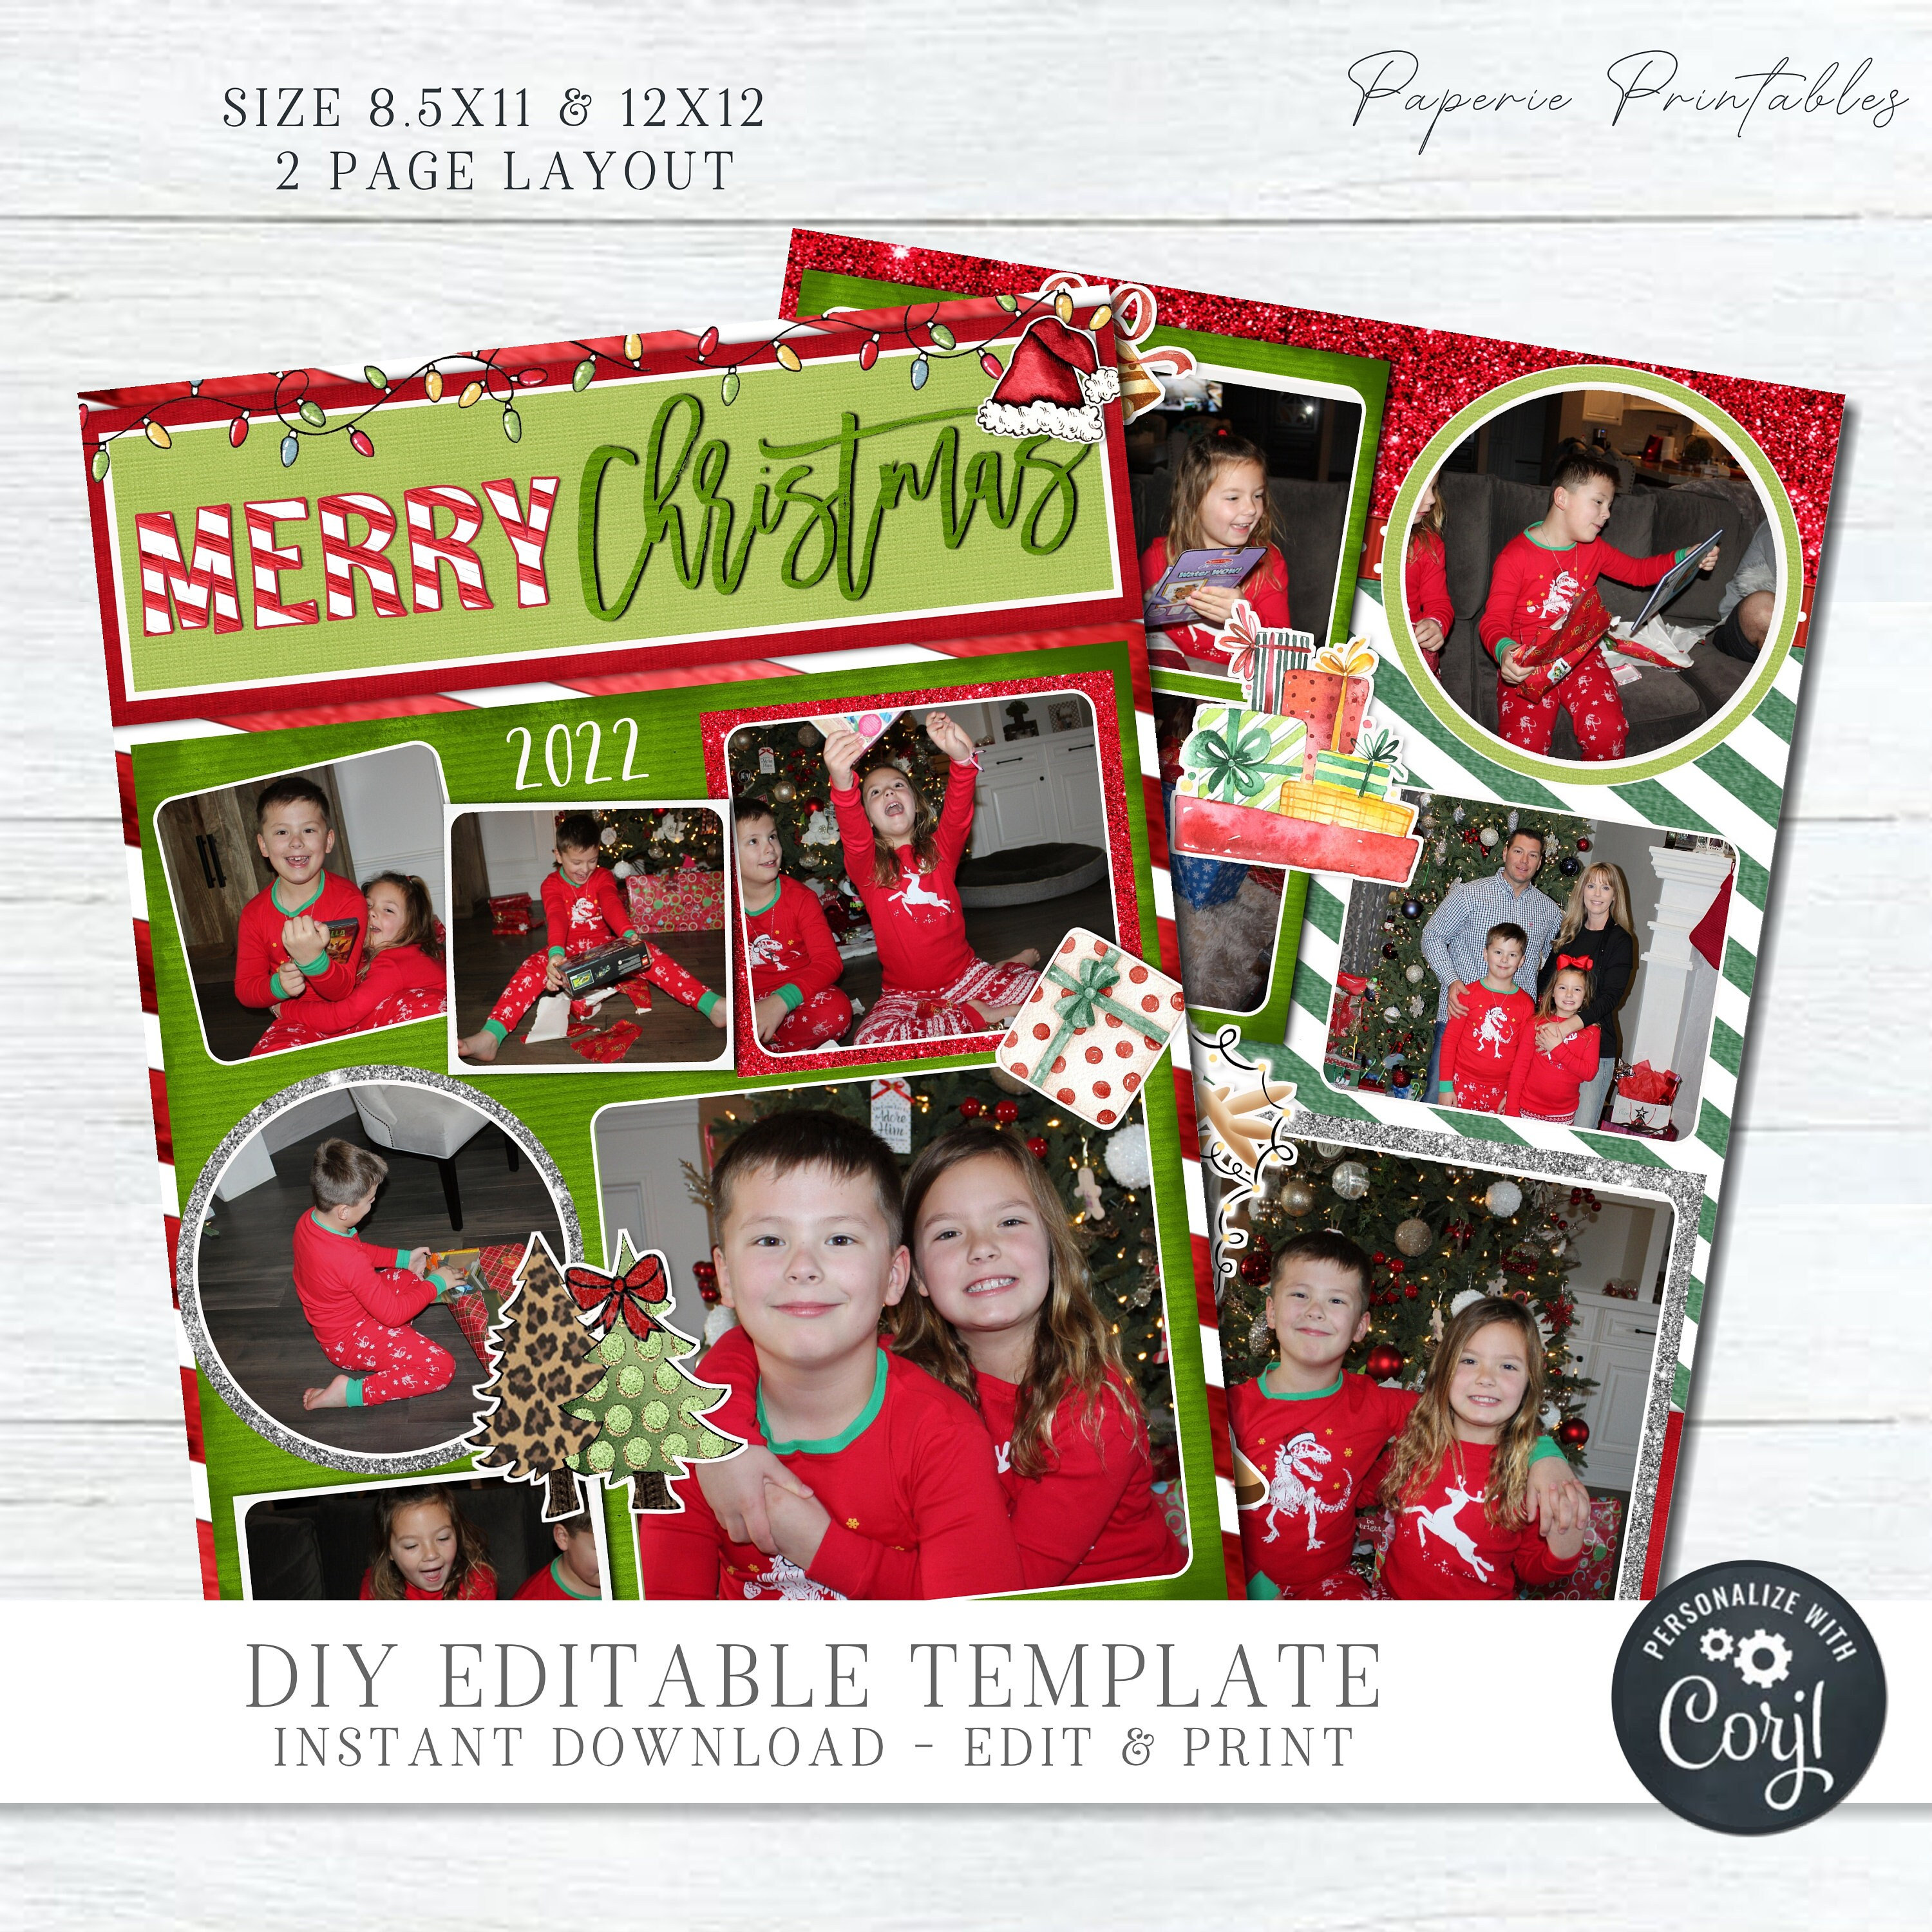
If the handwritten messages are what you can’t bear to lose, this is where they go. Take one or two of the most meaningful cards, trim the front and the message panel, and build them into a scrapbook page with the year’s Christmas photos.
The card front becomes your page’s main image; the handwritten inside becomes a journalling block alongside it. It takes about half an hour per page and it turns a shoebox into an album.
What’s the best way to keep the handwriting intact?
Photograph or scan the messages before you cut anything, so you have a digital backup in case the page gets damaged later. Then use photo-safe adhesive — a tape runner like Scotch Create — rather than a wet glue, which can make ink bleed and yellow with age.
Glue Them Into a Puzzle for Kids
A card front glued onto a thin piece of cardboard and cut into pieces makes a genuinely good homemade puzzle, and it’s one of the few projects here that keeps toddlers occupied on a wet afternoon. Glue the card front onto a cereal box panel or some thin craft cardboard, let it dry flat under a heavy book, then draw puzzle-piece shapes on the back and cut through with a craft knife and a metal ruler. Start with 8–12 pieces for little ones and go up to 25 or so for older kids.
Two things matter here. First, the glue has to dry completely under weight, or the card front will curl away from the cardboard at the corners.
Second, cut from the back using the shapes you’ve drawn, not from the front — trying to eyeball piece shapes on a printed image is where most homemade puzzles go wrong. Store each one in a labelled ziplock bag, or you’ll be finding missing corners under the sofa until spring.
FAQ
Should I throw away Christmas cards?
Not if there’s a use left in them, and there usually is. Card stock is recyclable, so nothing here is wasted forever — but the sentimental ones are worth keeping specifically, and the rest become gift tags, garlands and puzzles that save you buying new. If you’re genuinely not going to craft with them, remove any glitter or foil sections and put the plain card in your household recycling.
How do you store Christmas cards to reuse?
Sort them flat into a shoebox or an A4 magazine file, grouped by how you’ll use them: photo fronts, patterned fronts, and handwritten panels you want to keep. Take the cards out of their envelopes first, since the envelopes are bulkier and you rarely need them. A cool dry cupboard is enough — damp is what ruins card stock.
Can you recycle glittery Christmas cards?
Most councils ask you not to, because glitter and foil can’t be separated from the paper pulp. Cut those sections out and use them in a project where they’ll be sealed under Mod Podge or laminated — that keeps the glitter out of the waste stream entirely and puts it somewhere it can’t shed.
What glue works best on card stock?
A tape runner for anything flat and photo-based, since it doesn’t wrinkle the paper. PVA or a craft glue like Tombow Mono Multi for folded and 3D pieces where you need real strength. Hot glue only where the joint will be hidden, because it leaves visible ridges on paper.
Whatever you decide to make, the trick is to do the sorting first and the crafting second — once the pile is down to a few shapes and a pile of messages you love, the projects practically pick themselves. Half an hour on a January evening and the box is empty, the wrapping drawer is stocked, and none of those cards ended up in the bin.
Leave a Reply