
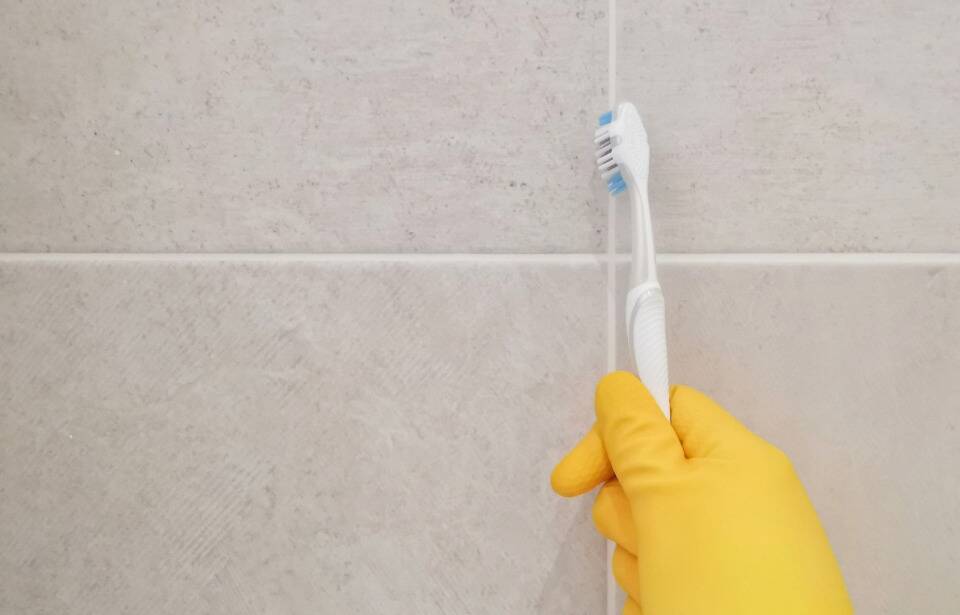
Old toothbrushes excel at reaching tight spaces and removing built-up grime that larger brushes miss. Their stiff bristles hold up well to repeated scrubbing while the narrow handle gives precise control in corners and crevices. Stockpiling a few in a cleaning caddy turns an everyday discard into a reliable tool for multiple household tasks.
Tile Grout Restoration
Grout lines collect soap scum, mildew, and mineral deposits that standard sponges cannot reach. An old toothbrush lets you work baking soda paste or a mild bleach solution directly into the narrow channels without damaging surrounding tile. Regular passes every few weeks keep discoloration from returning and extend the time between deep cleans.
The technique works best on unsealed grout where the bristles can lift embedded particles. Wet the area first, apply your chosen cleaner, and let it sit briefly before scrubbing in small circular motions. Rinse thoroughly and dry the surface to prevent water spots from forming on the tile.
A slightly damp toothbrush reduces the chance of scratching glazed tile edges during aggressive scrubbing.
Computer Keyboard Dust Removal
Dust and crumbs settle between keyboard keys and interfere with switch response over time. The compact head of an old toothbrush reaches under keycaps and along the edges of laptop keyboards where compressed air alone falls short. A gentle brushing motion lifts debris without risking bent pins or static buildup.
Many users combine this step with a vacuum on low suction to catch loosened particles immediately. Work row by row and tilt the keyboard to encourage debris to fall out. Finish by wiping the key surfaces with a microfiber cloth lightly dampened with isopropyl alcohol.
How often should I clean my keyboard with a toothbrush?
Keyboard grime builds gradually from skin oils and food particles, so monthly brushing prevents sticky keys. If you eat at your desk or work in a dusty environment, increase frequency to every two weeks. Always power off the device and remove the battery if possible before starting.
Delicate Jewelry Polishing
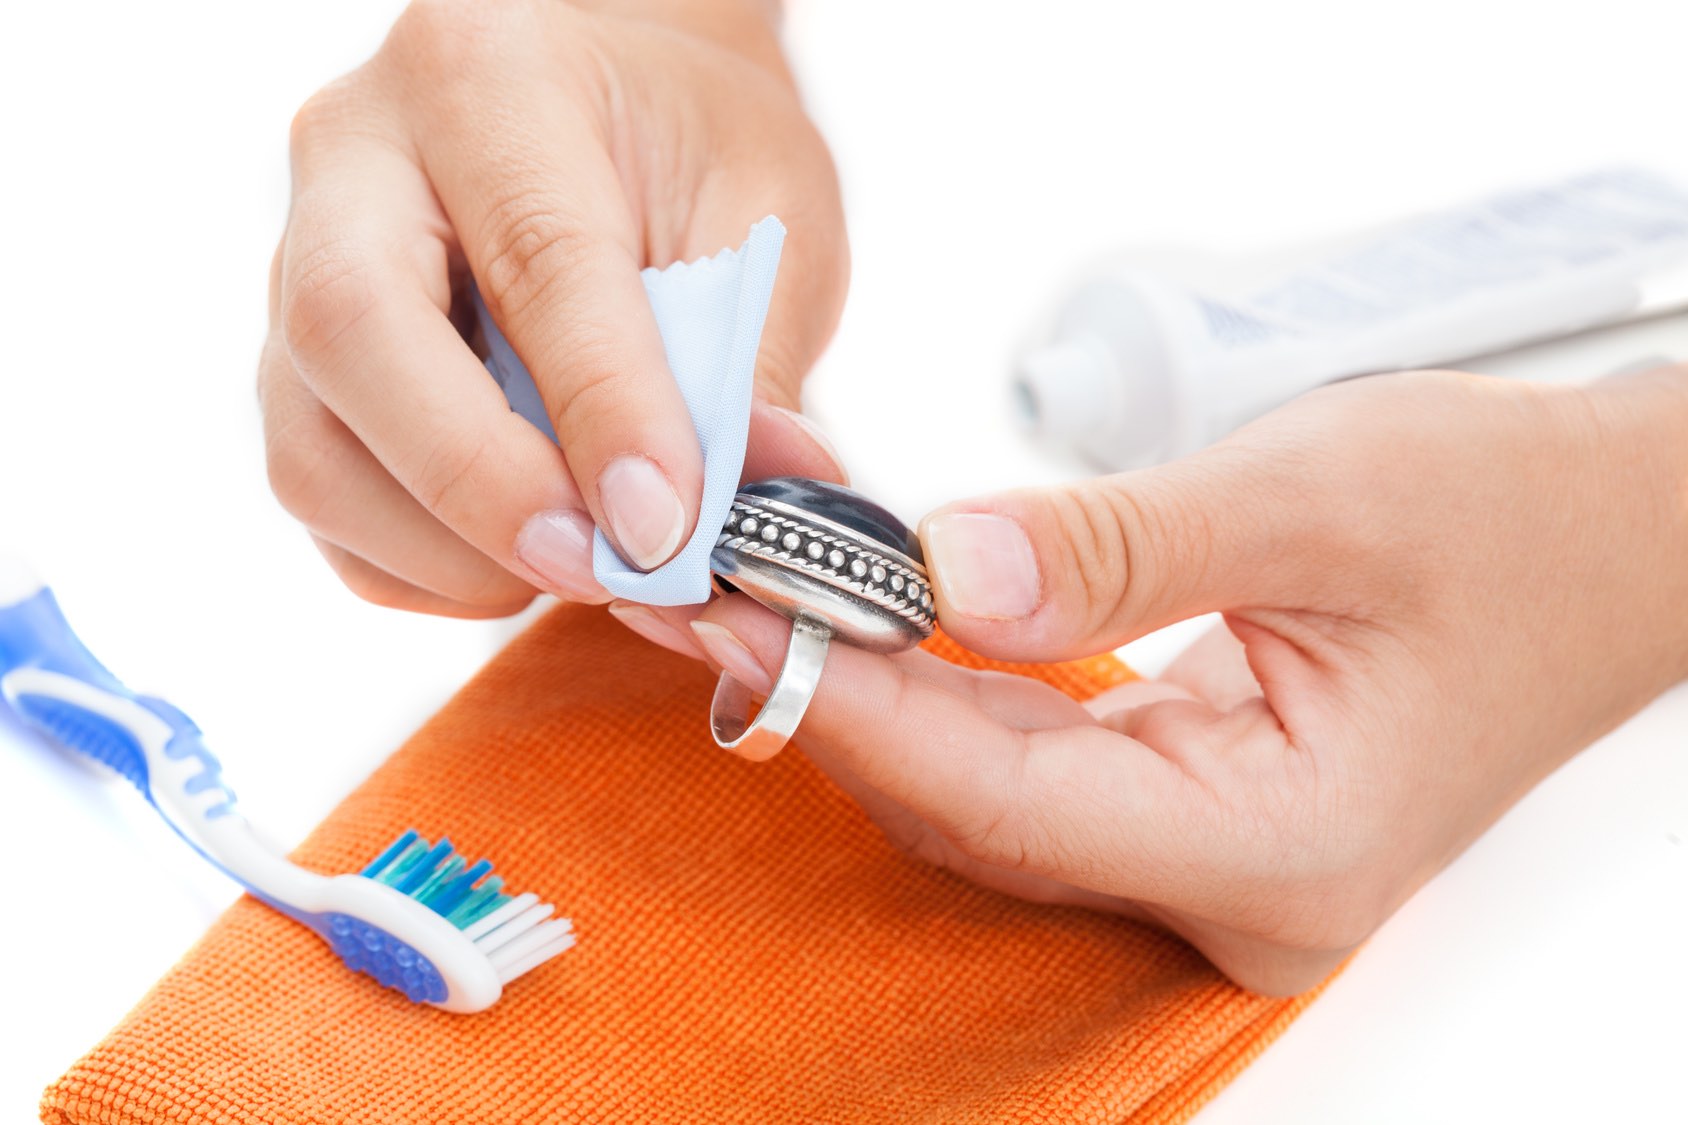
Chains, settings, and engraved details trap polish residue and tarnish that cotton swabs cannot fully extract. An old toothbrush works the cleaning paste into every link and groove while the soft bristles avoid scratching softer metals. Rinse pieces under warm water and lay them on a towel to air-dry completely.
This method suits sterling silver, gold-filled items, and costume jewelry with intricate patterns. Avoid using the same brush on gemstones that might loosen under pressure. Store cleaned pieces separately to slow future tarnish.
Sneaker Sole Scrubbing
White rubber soles pick up black scuff marks from pavement that ordinary wipes leave behind. The pointed bristles of an old toothbrush reach into the tread pattern and along the foxing strip where dirt settles. A paste of baking soda and hydrogen peroxide applied with the brush restores brightness without harsh chemicals.
Work on a protected surface and allow the paste to sit for five minutes before rinsing. Repeat on heavily stained areas rather than pressing harder. Dry sneakers in a well-ventilated spot away from direct heat.
Bathroom Faucet Shine
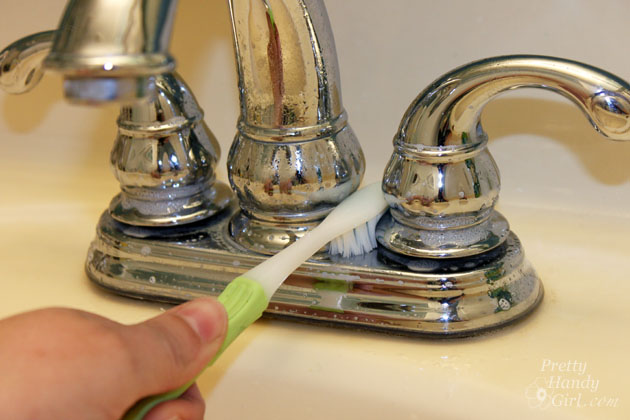
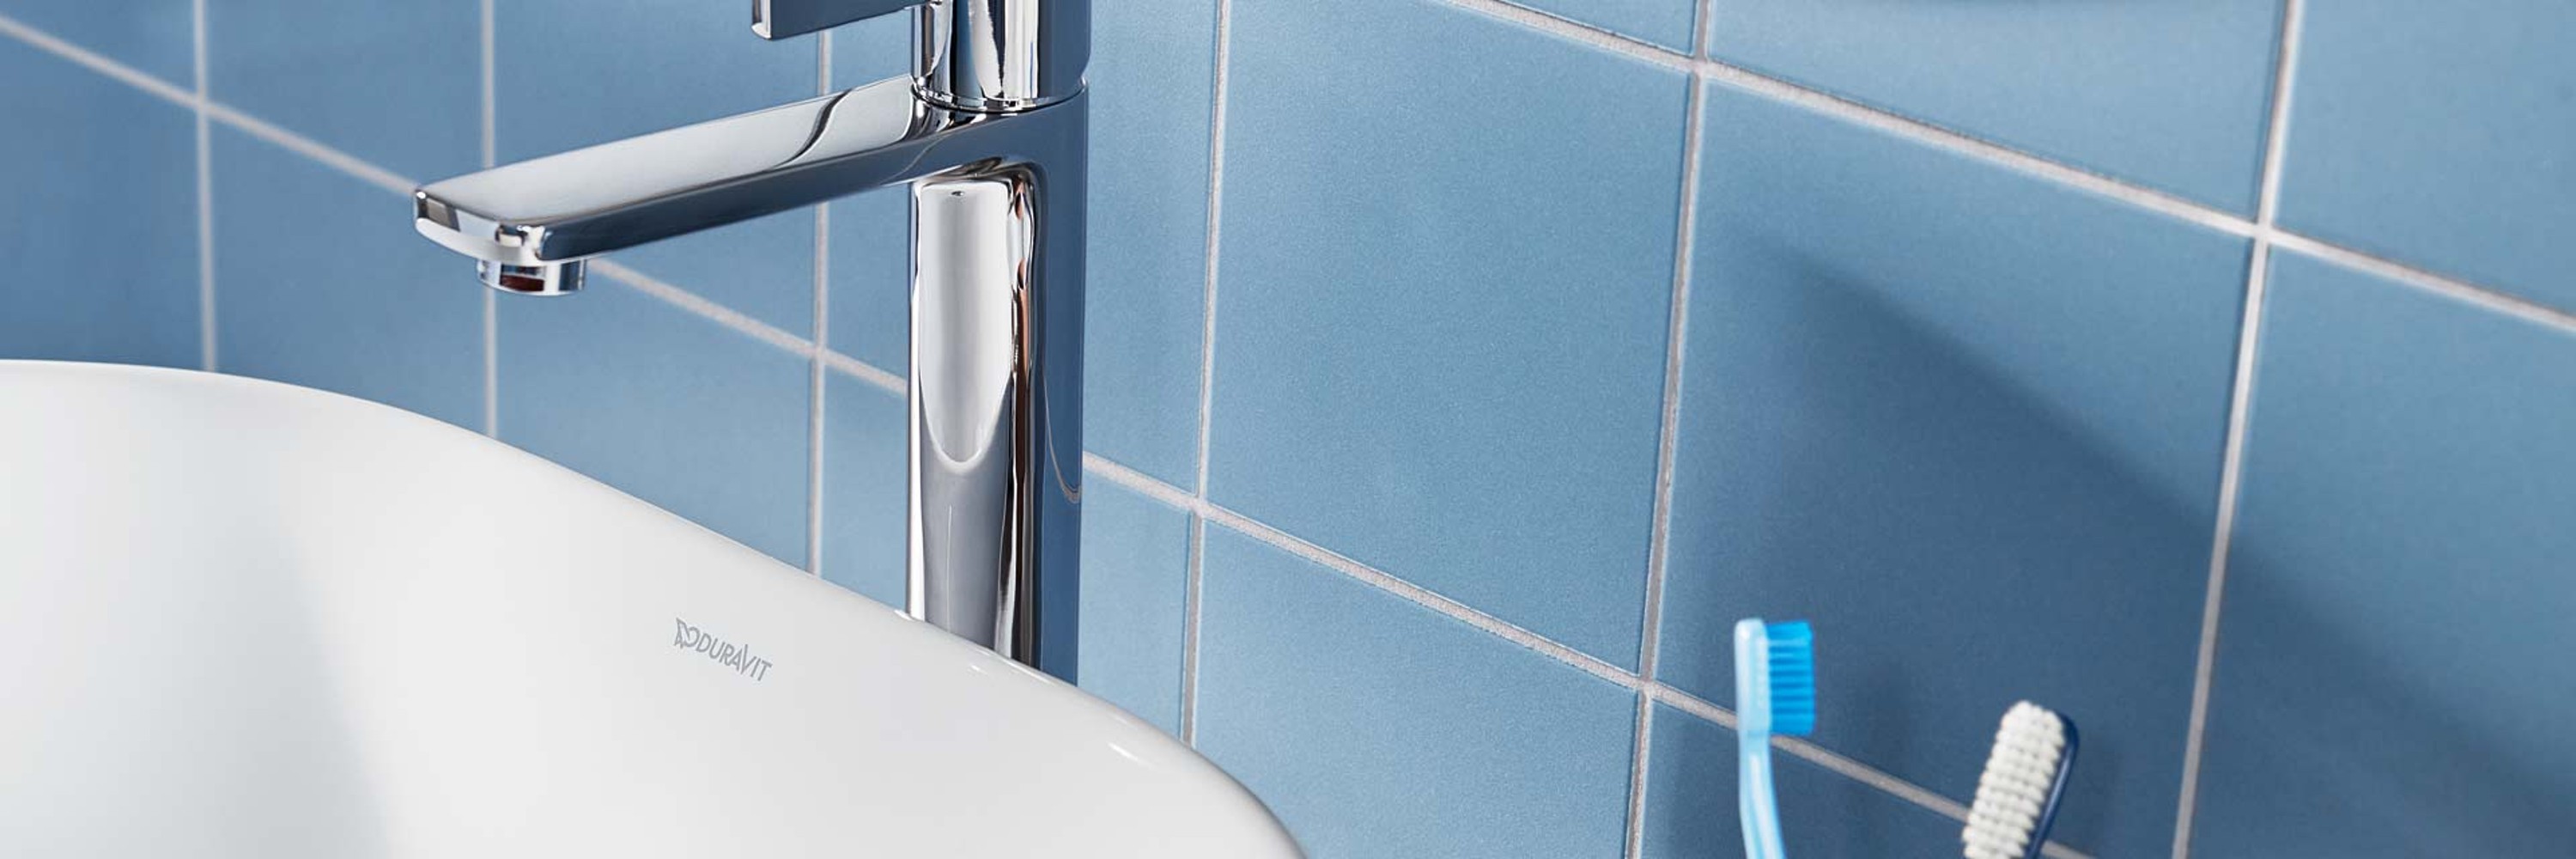
Mineral deposits form rings around faucet bases and aerators that larger cloths smear rather than remove. An old toothbrush reaches behind the handles and into the spout threads where limescale collects. A few drops of vinegar on the bristles dissolve the buildup before a final polish with a dry cloth.
This approach prevents the cloudy film that appears after repeated water exposure. Pay extra attention to the seam where the faucet meets the sink deck. Wipe the entire fixture dry after each cleaning session to maintain the shine longer.
Car Air Vent Dusting
Dashboard vents trap dust that recirculates through the cabin and triggers allergies. The narrow profile of an old toothbrush slips between the slats without forcing them out of alignment. A quick brushing followed by a vacuum nozzle removes the loosened particles in one pass.
Work with the fan on low to pull dust outward while you brush. Avoid pressing too firmly on plastic louvers that can crack. Finish by wiping the surrounding dash with an interior cleaner to keep the area consistent.
Silverware Tarnish Removal
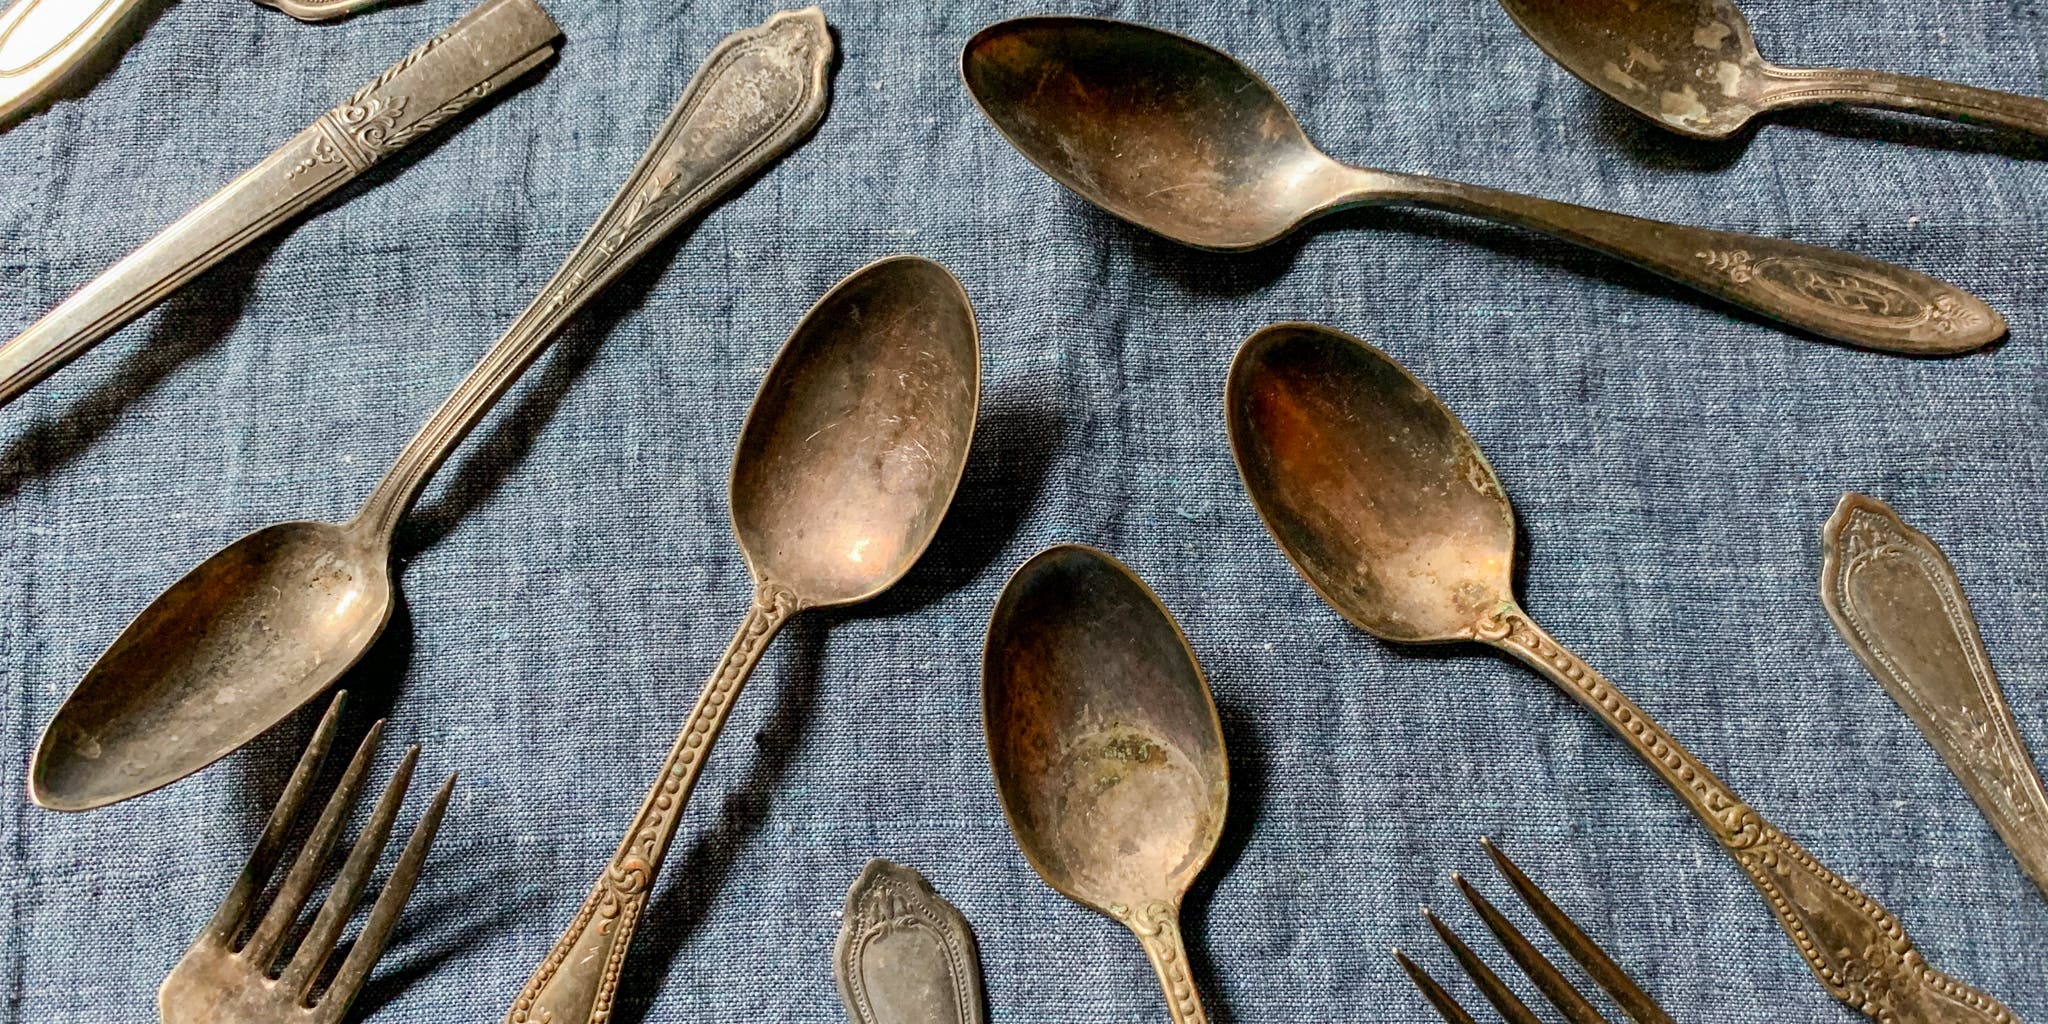
Tarnish settles into the decorative patterns and fork tines of silverware faster than flat surfaces. An old toothbrush applies polishing cream evenly without rounding delicate edges. Rinse each piece under warm water and buff dry immediately to prevent water spots.
Group similar items together so you can maintain consistent pressure across the set. Change to a clean section of the brush head when bristles become loaded with polish. Store silverware in anti-tarnish bags after cleaning to reduce future maintenance.
Terracotta Pot Cleaning
White mineral rings appear on terracotta pots from repeated watering and hard water exposure. An old toothbrush removes these deposits from the porous surface without stripping the natural finish. A solution of equal parts water and white vinegar applied with the brush lifts the buildup before a thorough rinse.
Empty and dry pots completely before scrubbing to avoid pushing dirt deeper into the clay. Focus on the rim and drainage holes where salts concentrate. Allow pots to air-dry fully before replanting to discourage mold.
| Task | Bristle Firmness | Recommended Additive | Frequency |
|---|---|---|---|
| Grout lines | Medium | Baking soda paste | Every 2 weeks |
| Keyboard dust | Soft | None | Monthly |
| Jewelry polishing | Soft | Silver polish | As needed |
| Sneaker soles | Medium | Baking soda + peroxide | Monthly |
Using separate brushes for food-contact surfaces and bathroom areas prevents cross-contamination that a single shared tool can spread.
- ✦Choose nylon-bristle brushes for most household surfaces because they resist moisture absorption.
- ✦Reserve natural-bristle versions for dry dusting tasks where static helps lift fine particles.
- ✦Replace brushes once the bristles splay or discolor to maintain effective contact with surfaces.
How can I sanitize an old toothbrush after cleaning?
Rinse the bristles under hot water, then soak the head in a 1:1 solution of water and white vinegar for ten minutes. Air-dry upright in a holder so moisture does not remain trapped near the handle. Store brushes in a labeled container away from new toothbrushes to keep them dedicated to cleaning tasks.
What surfaces should never be cleaned with an old toothbrush?
Avoid using them on high-gloss lacquered furniture or delicate painted finishes that can show micro-scratches. Do not apply them to electronic screens or touch-sensitive panels where pressure may cause damage. Skip natural stone surfaces that require pH-neutral cleaners incompatible with most scrubbing pastes.
How do I store used toothbrushes for future cleaning projects?
Rinse and dry them thoroughly after each use, then place them in a small jar or bin marked for cleaning tools. Keep the container in a utility closet or under the sink so they remain separate from personal care items. Rotate through your stock so older brushes get used first and maintain good bristle condition.
Old toothbrushes turn a routine replacement into an ongoing supply of precision cleaning tools that handle jobs larger brushes overlook.
Leave a Reply