Upcycled winter ornaments turn everyday household discards into hanging decorations that capture seasonal light and texture without extra purchases. Each idea below starts from a single common item and builds a finished piece ready for the tree or garland.
Egg Carton Snowflakes
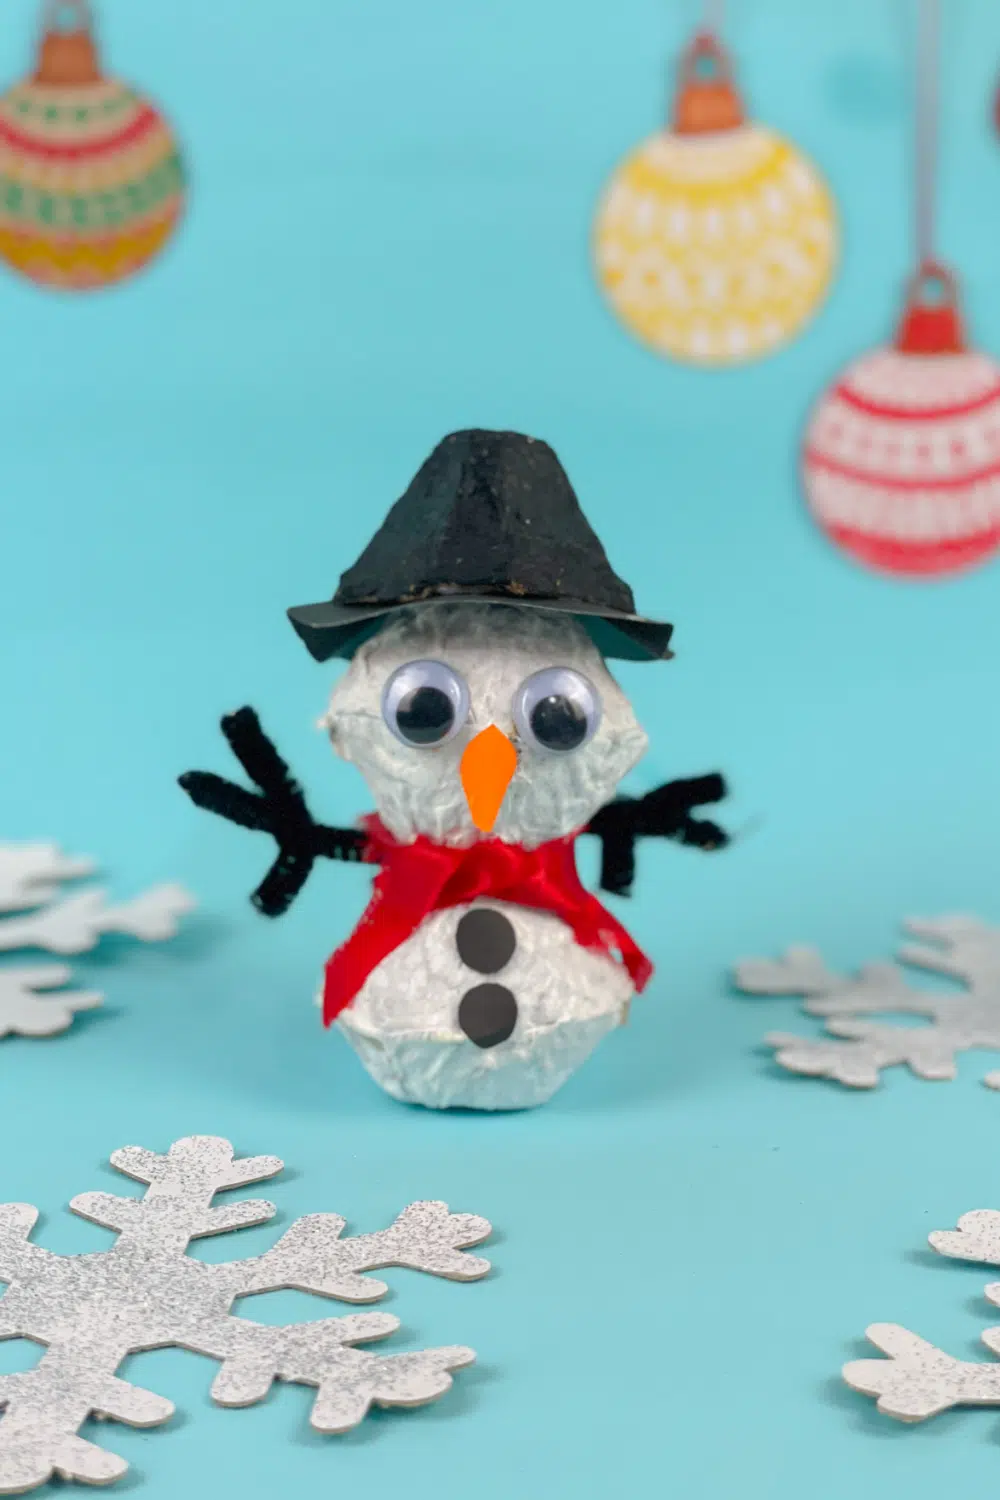
The cups from a cardboard egg carton already hold a natural six-pointed shape once cut and layered. Trim the individual cups into petals, glue two layers together with a slight offset, and dust the edges with white paint for frost. A loop of string through the center turns the piece into a lightweight ornament that catches light from multiple angles.
These snowflakes hang evenly because the carton material stays rigid yet thin. Place them in groups of three or five on a branch to mimic falling flakes. Avoid soaking the cardboard in water-based finishes, since moisture causes warping that ruins the crisp points.
Plastic Bottle Penguins
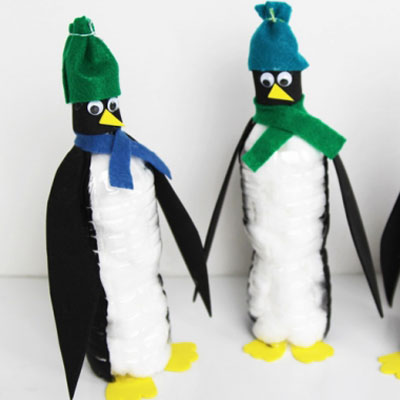
Clear plastic bottles from soda or water become rounded penguin bodies when cut just below the shoulder. Paint the lower half black, add a white belly oval, and attach small felt or paper wings and a beak. Thread ribbon through a hole punched near the cap for hanging.
The curved plastic surface reflects indoor lights like real ice. Position these penguins at varying heights on the tree so the black-and-white contrast stands out against green branches. Skip heavy glitter on the plastic, because it flakes off during storage and creates mess.
Sock Snowmen
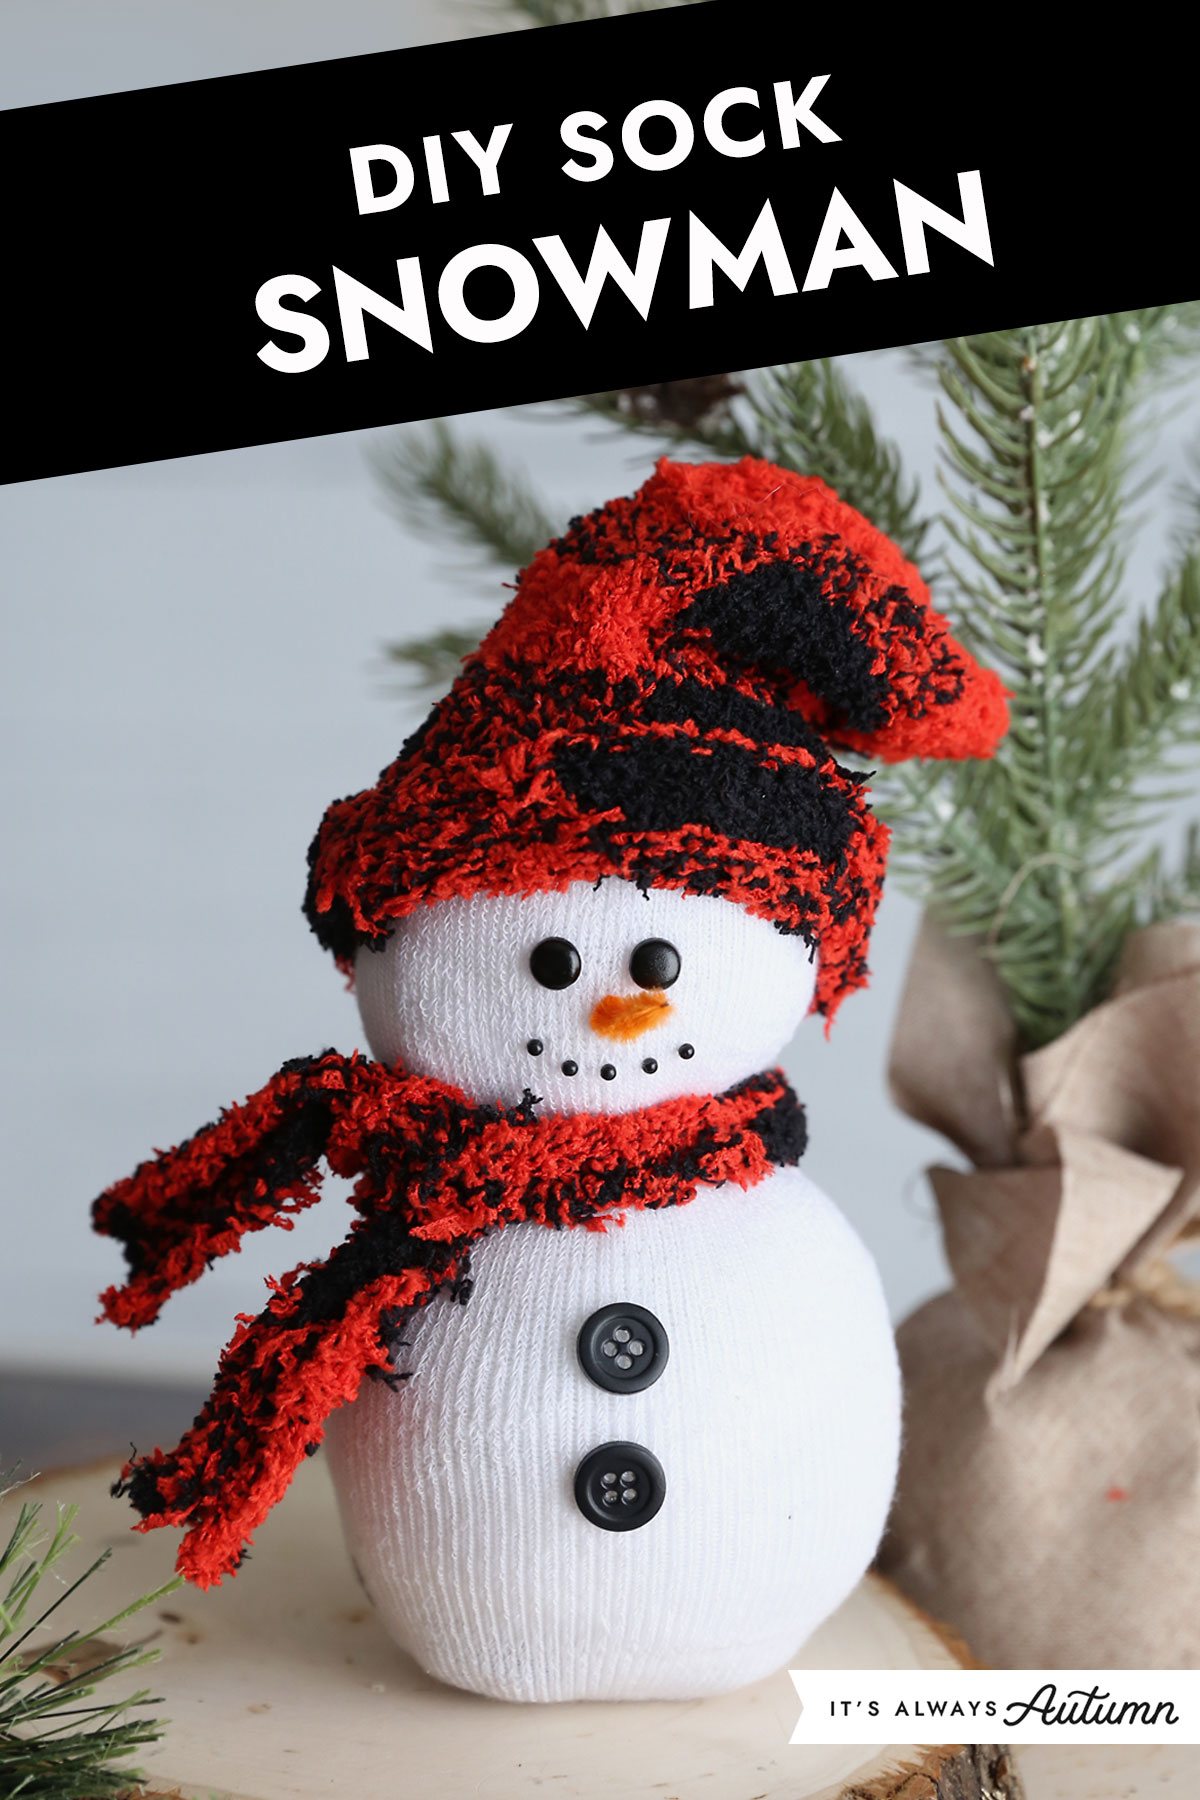
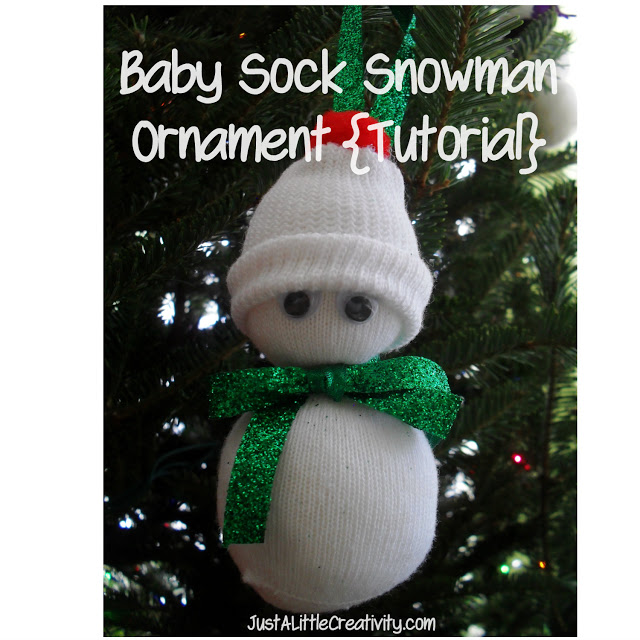
Old white or cream socks stuffed with rice or fiberfill create soft, rounded snowman forms. Tie off sections with string to form the classic three-ball shape, then add button eyes and a scrap-fabric scarf. A small loop sewn into the top hat keeps the ornament secure on the branch.
The fabric gives a gentle, matte finish that contrasts with shiny store-bought balls. Rotate the snowman slightly so the scarf faces forward when viewed from the room. Choose socks without heavy patterns, since printed designs distract from the simple winter silhouette.
Cork Reindeer
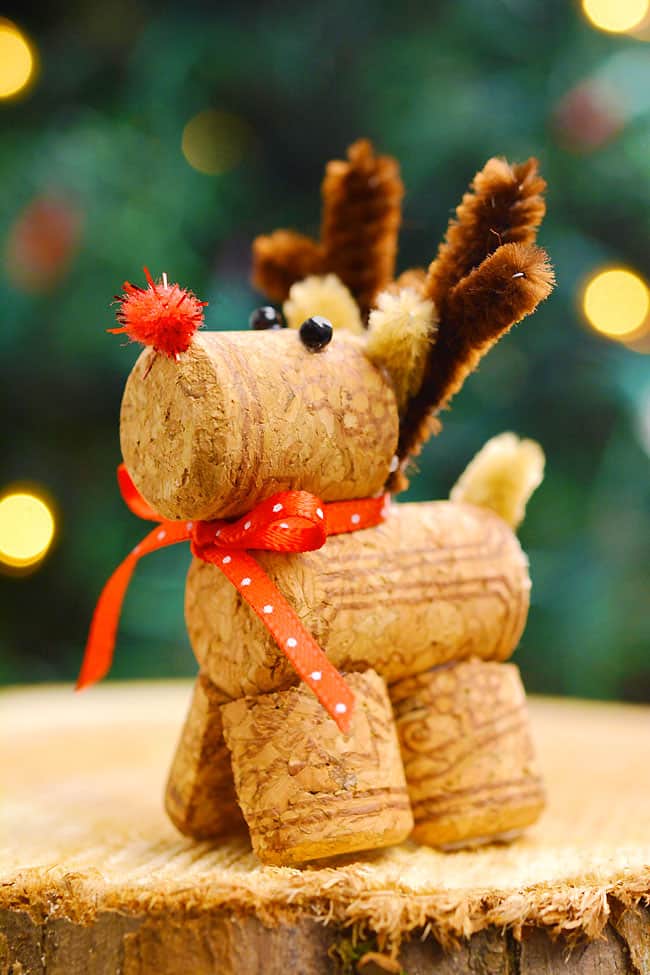
Wine corks supply ready-made bodies and heads for miniature reindeer. Glue four short twig legs to the body cork and attach a smaller head cork at one end. Add tiny twig antlers and a red bead nose, then tie a thin ribbon loop around the neck.
Cork’s natural texture reads as fur from a distance. Cluster several reindeer together on a lower branch to create a small herd scene. Keep the legs short so the ornament does not tip forward when hung.
CD Ice Crystals
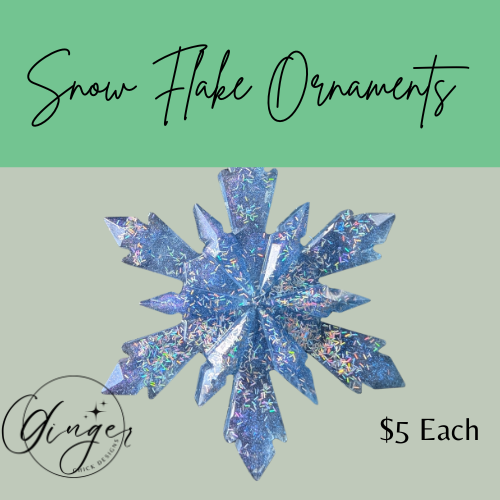
Old CDs reflect rainbow colors that mimic ice when cut into irregular shards. Score the disc with a craft knife along straight lines radiating from the center, snap the pieces apart, and glue them into a starburst shape. A jump ring through one outer hole allows hanging.
The iridescent surface shifts with every turn of the tree lights. Hang these crystals near the back of the tree so the reflections bounce forward. Wear gloves during cutting, because the edges stay sharp after snapping.
Button Baubles
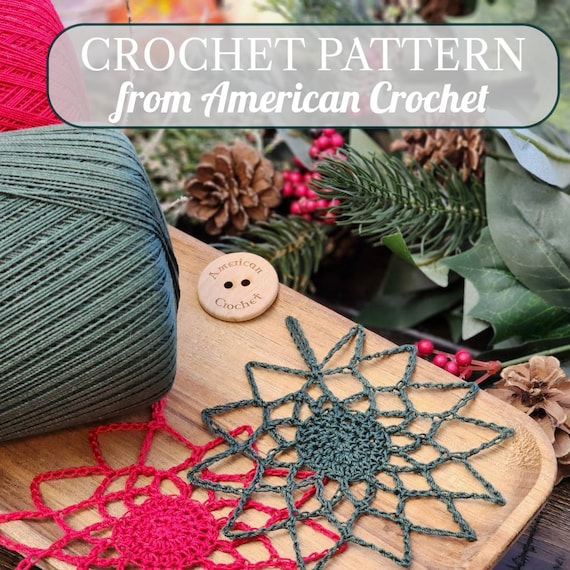
A collection of mismatched buttons can be stacked and wired into compact spheres. Thread a thin wire through the holes of larger buttons first, then layer smaller ones on top until the shape rounds out. Finish with a ribbon loop at the top.
The varied button sizes create natural texture and depth. Mix matte and shiny finishes within one bauble for extra light play. Sort buttons by color family before assembly so each finished piece feels intentional rather than random.
Newspaper Stars
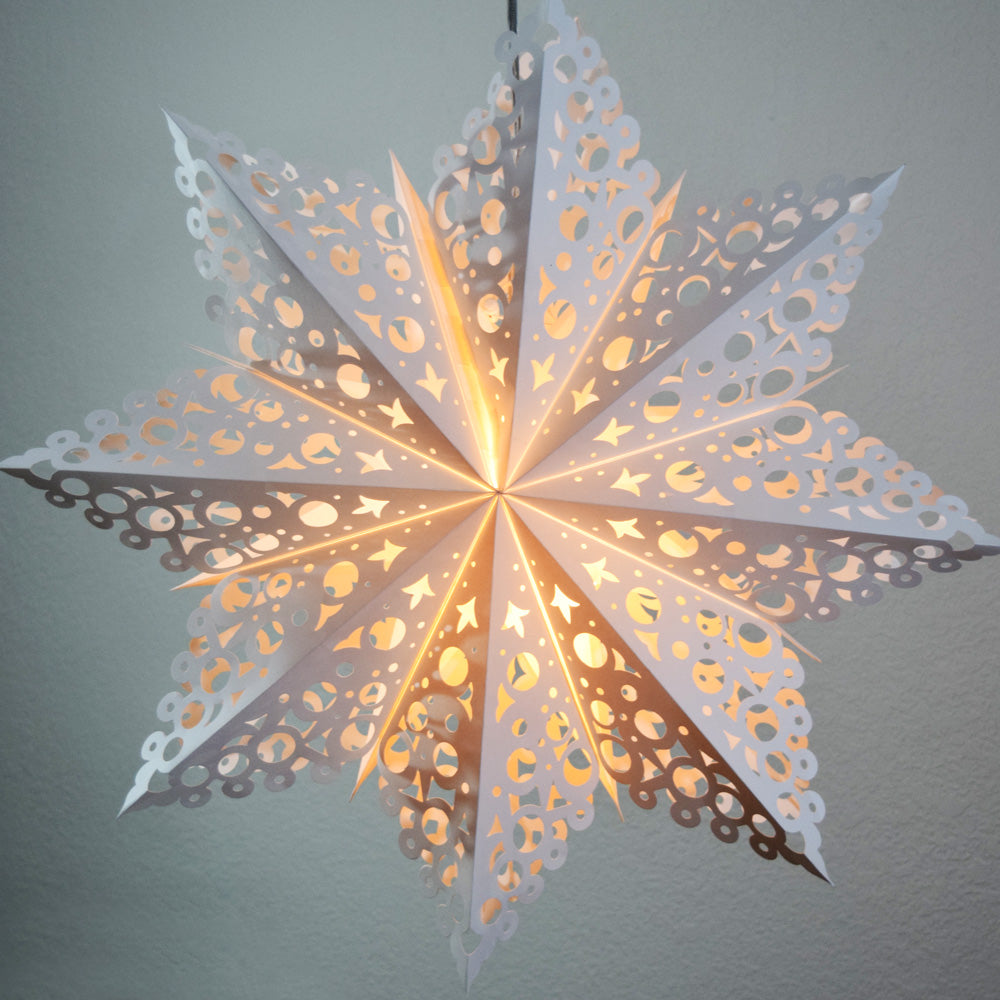
Rolled strips of newspaper form sturdy points for eight-pointed stars. Fold each strip into a tight tube, then glue the tubes together at the center and outer tips. A light coat of white paint unifies the printed text while keeping the layered edges visible.
The finished star stays lightweight enough for thin branches. Position these higher on the tree where their geometric shape reads clearly against the background. Use matte rather than glossy newsprint for better paint adhesion.
Yarn Wrapped Orbs
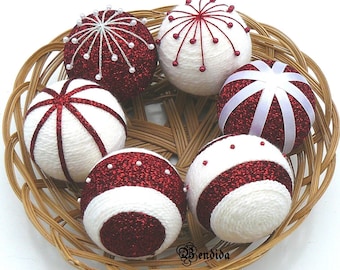
Leftover yarn wound tightly around a foam or plastic ball produces soft, textured spheres. Change yarn colors midway through wrapping to create subtle stripes or color blocks. Secure the end with a dab of glue and add a hanging loop before the final layer.
The yarn surface diffuses light softly compared with glass ornaments. Group three orbs of different sizes together on one branch for visual balance. Avoid thick, chunky yarns that add too much weight and cause sagging branches.
Pasta Snowflakes
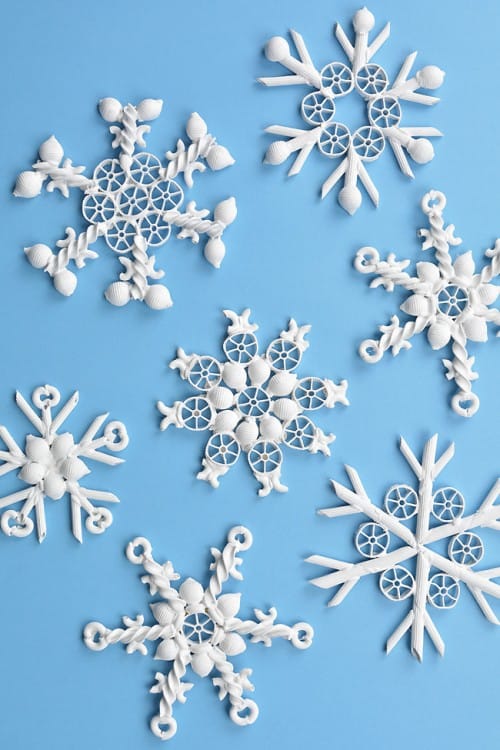
Bow-tie and wheel pasta pieces glue together into intricate snowflake patterns. Arrange the dry pasta on parchment paper first to test the design, then secure the joints with craft glue. Spray the finished shape with white or silver paint and attach a ribbon loop at one point.
The rigid pasta holds its shape well once dry. Place these snowflakes where they can be viewed from below so the openwork pattern shows. Store them flat in a box rather than stacked to prevent broken points.
Light Bulb Snow Globes
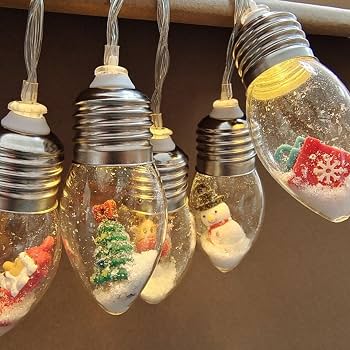
Burned-out incandescent bulbs become miniature snow globes when the base is removed and the glass is painted inside. Drop a pinch of glitter and a small paper tree cutout through the opening, then seal the hole with a cork or wooden plug. A ribbon tied around the metal base finishes the ornament.
The glass bulb magnifies the glitter movement when the tree sways. Keep the interior scene simple so the effect reads from several feet away. Never use live bulbs for this project, since heat will melt the interior elements.
Glove Mittens
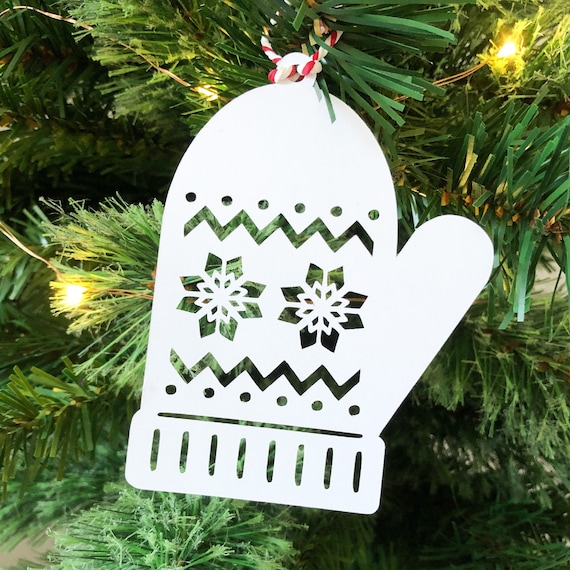
Single gloves from a lost pair convert into hanging mittens with minimal cutting. Stuff the fingers lightly, stitch the cuff closed, and add a small button or embroidery detail on the back. A loop sewn at the cuff turns each mitten into an ornament.
The soft fabric adds warmth to a tree filled with harder materials. Pair left and right mittens from different gloves for a mismatched yet coordinated look. Choose stretchy knit gloves that hold shape after stuffing.
Matchbox Sleds
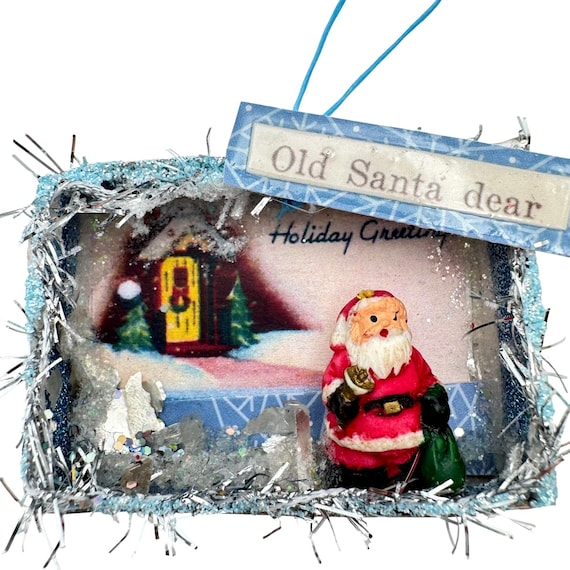
Empty matchboxes become tiny sleds when the drawer is glued at an angle to the sleeve. Paint both pieces red or green, add white stripes for contrast, and attach a thin ribbon loop at the top. Two craft-stick runners glued underneath complete the sled shape.
The small scale works well on lower branches where detail can be appreciated up close. Keep the ribbon short so the sled hangs level. Use only empty matchboxes to avoid any safety concerns with striking surfaces.
Magazine Roll Trees

Tightly rolled magazine pages create tall, tapered tree forms. Cut several pages into strips, roll each into a thin tube, then bundle and glue the tubes together in a graduated stack. Trim the bottom flat and add a star cut from the same pages at the top.
The printed colors inside the rolls give subtle variation without extra paint. These trees stand upright on a branch when the base is weighted with a small bead. Flatten the rolls slightly before bundling if you want a more angular silhouette.
Tea Light Holders Turned Ornaments
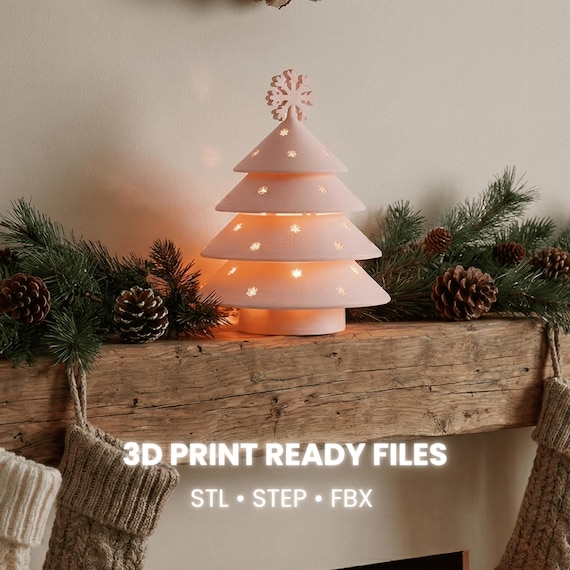
Metal tea light cups gain new life as tiny lanterns when the sides are pierced with a nail. Thread a short piece of wire through two opposite holes to form a hanging bail, then drop a battery-operated tea light inside. The punched holes cast small points of light onto nearby branches.
The metal reflects both the inner light and surrounding tree lights. Use only LED candles to prevent heat damage to the cup or nearby needles. Space these lanterns evenly so the light points do not cluster in one area of the tree.
Pairing heavy and light materials on the same branch prevents sagging while still showing texture contrast.
Material Comparison for Upcycled Ornaments
| Material | Weight Level | Best Finish | Storage Tip |
|---|---|---|---|
| Egg carton | Light | Dry brush paint | Stack flat in shallow box |
| Plastic bottle | Light | Acrylic spray | Nest inside each other |
| Sock | Medium | Embroidery details | Stuff lightly before boxing |
| Cork | Light | Clear sealant | Keep legs detached until use |
| CD shards | Light | None needed | Wrap individually in tissue |
- Choose rigid materials like egg carton or cork when branches are thin.
- Opt for soft items such as socks or yarn when you need to fill visual gaps without adding weight.
- Metal and plastic pieces reflect light best in rooms with strong overhead lighting.
CD shards catch the most color shift when placed near cool-toned LED lights rather than warm bulbs.
FAQ
How long do upcycled ornaments typically last?
Most pieces made from paper, fabric, or lightweight plastic remain intact for three to five seasons when stored in a cool, dry container between holidays. Avoid stacking heavy items on top of delicate shapes, and keep humidity low to prevent warping or mold on natural materials like cork or egg carton. Rotating which ornaments you display each year also reduces wear on any single piece.
Can I use these ornaments outdoors?
Household-item ornaments work best indoors because most materials are not sealed against moisture or temperature swings. If you want to hang a few on a covered porch, choose plastic or metal bases and apply an exterior varnish before assembly. Fabric and paper versions will degrade quickly outside even under shelter.
What household items should I avoid for ornaments?
Skip anything with sharp edges that could cut string or skin, and never use items that contain liquids or food residue that could attract pests. Glass that is already cracked or items with strong chemical odors are also poor choices because they pose safety risks near heat sources or children.
How do I keep the ornaments from looking homemade?
Focus on consistent color palettes across different materials and finish edges cleanly rather than leaving raw cuts visible. Grouping similar shapes together on the tree creates a deliberate collection instead of a scattered craft display. Adding one unifying element, such as the same ribbon or paint color on every piece, ties the set together visually.
These projects prove that winter sparkle does not require new purchases when household items already hold the right shapes and textures.
Leave a Reply