Creating a custom handbag doesn’t require a sewing machine or years of tailoring experience.
By utilizing high-strength fabric adhesives, iron-on bonding tapes, and clever folding techniques, you can craft a durable, stylish accessory that rivals boutique finds.
This guide covers the essential techniques of no-sew construction, providing you with a foundation to upcycle old textiles or transform new remnants into functional art.
The Foundations of No-Sew Construction
Before diving into specific projects, it is essential to understand the “connectors” that replace the needle and thread.
In the world of no-sew DIY, your primary tools are chemical bonds and mechanical fasteners.
Essential Materials for No-Sew Handbags
| Tool/Material | Purpose | Best For |
|---|---|---|
| Fabric Glue (e.g., E6000) | Permanent liquid bond | Heavy fabrics, denim, and canvas |
| Iron-on Hem Tape | Heat-activated adhesive strip | Creating clean, crisp edges and hems |
| Leather Rivets | Mechanical metal fasteners | Straps, handles, and industrial looks |
| Fabric Scissors | Clean cutting | Preventing frayed edges |
| Magnetic Snaps | Closure system | Flap-over bags and clutches |
| Rotary Cutter & Mat | Precision straight lines | Leather, vinyl, and thick felt |
1. The Minimalist Leather Envelope Clutch
The envelope clutch is the pinnacle of “less is more.”
This project relies on the structural integrity of the material rather than complex assembly.
Using a single piece of leather or heavy-duty faux leather, you create a sleek, modern accessory.
How to make it:
Start with a rectangular piece of leather (approximately 12″ x 18″).
Fold the bottom third up to create the pocket.
Use a leather punch to create holes on the side edges and secure them with screw-back rivets.
To create the “envelope” look, trim the top flap into a triangle or a soft curve.
Finish by adding a single magnetic snap or a button stud for the closure.
This bag is perfect for evening events where you only need the essentials: a phone, cards, and lipstick.
2. The Upcycled Denim Pocket Tote
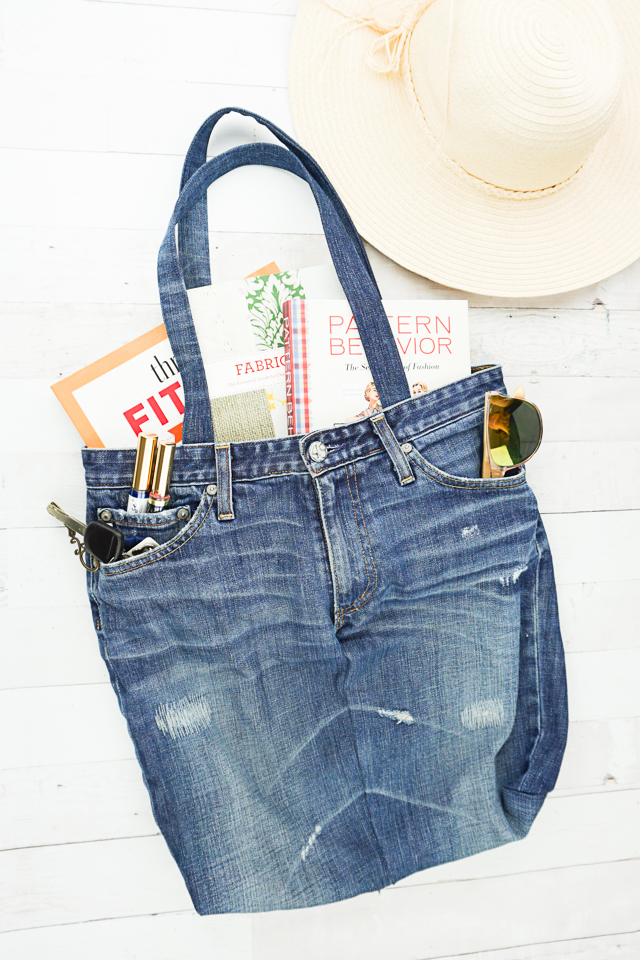
Denim is one of the most durable fabrics for upcycling.
This tutorial focuses on using the legs of old jeans to create a sturdy, casual tote bag.
How to make it:
Cut a leg section from a pair of wide-leg jeans.
Turn the fabric inside out.
Apply a generous line of high-strength fabric glue along the bottom edge and clamp it shut until dry (usually 24 hours).
For the handles, use the waistband of the jeans or braided strips of denim.
Attach the handles using heavy-duty rivets or iron-on bonding tape reinforced with glue.
The natural fraying of denim adds a “boho-chic” aesthetic that hides any minor imperfections in the no-sew process.
3. The Furoshiki Japanese Knot Bag
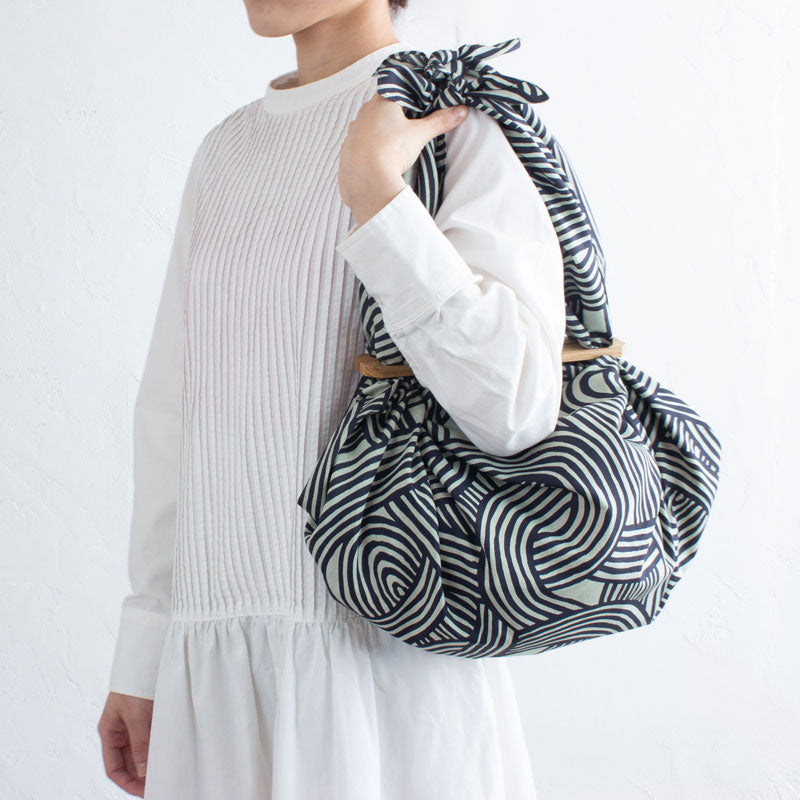
Furoshiki is the traditional Japanese art of fabric wrapping.
This “bag” requires zero glue or hardware—just a square piece of beautiful fabric and a specific folding technique.
How to make it:
Lay a 27″ x 27″ square of silk or cotton flat.
Fold it diagonally to form a triangle.
Tie a simple overhand knot at the two base corners of the triangle.
Flip the fabric so the knots are on the inside.
Finally, tie the two remaining long ends together in a sturdy square knot to create the handle.
This bag is incredibly versatile and can be untied and laundered easily, making it an eco-friendly choice for produce shopping or light errands.
4. The Boho Fringe T-Shirt Bag
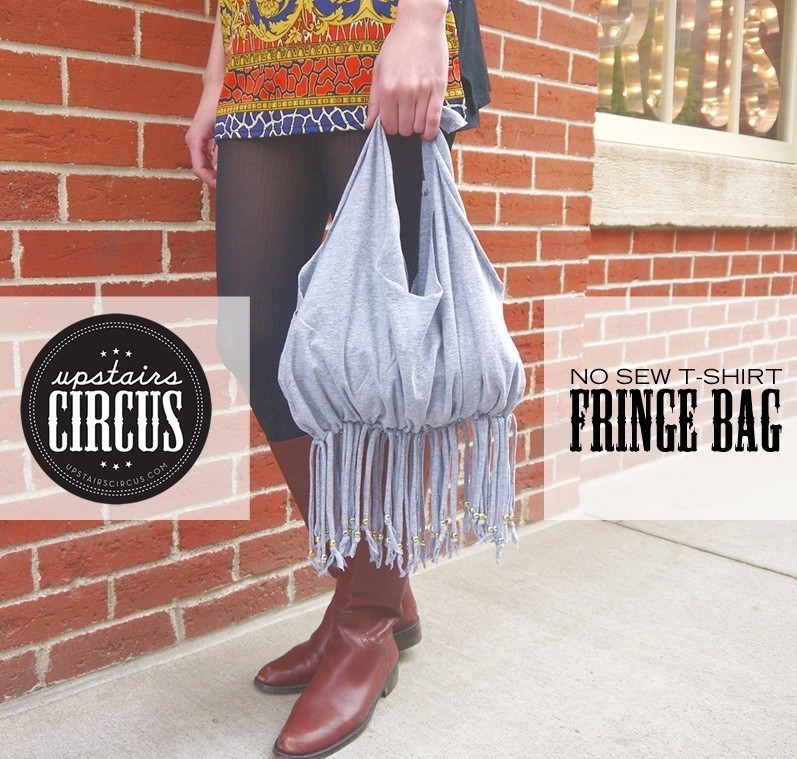
This project is a staple for beginners because it uses the inherent stretch of jersey fabric to create a functional, expandable bag.
It’s an excellent way to save a favorite graphic tee that no longer fits.
How to make it:
Cut off the sleeves and deepen the neckline of a T-shirt to create the “straps.”
Turn the shirt inside out and cut vertical slits (about 1 inch apart and 4 inches deep) along the bottom hem.
Tie the front and back fringe pieces together in double knots.
Turn the bag right-side out, and the knots will sit at the bottom, creating a secure base.
The weight of the items inside will cause the jersey to stretch, creating a stylish, slouchy silhouette.
5. The Placemat Box Clutch
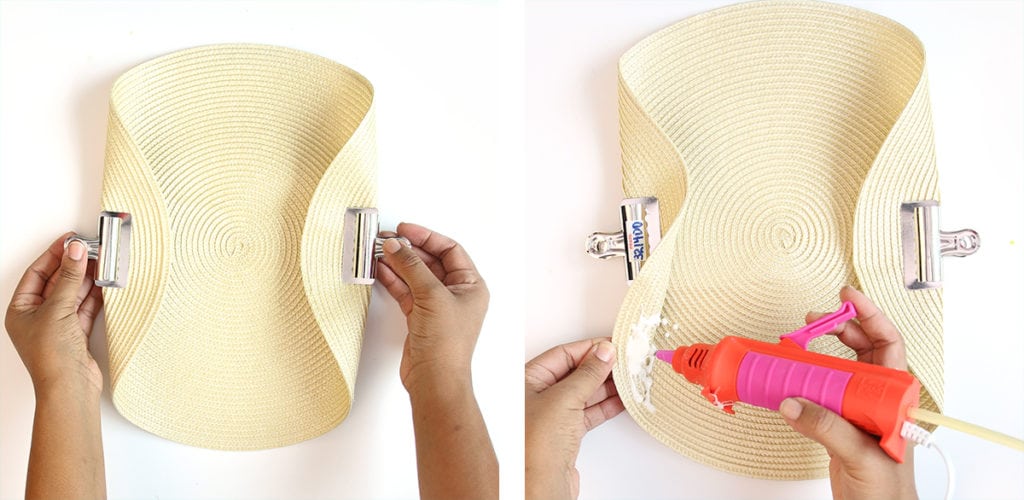
Firm, structured placemats (especially those made of bamboo, heavy canvas, or woven plastic) provide the perfect pre-finished material for a structured clutch.
How to make it:
Fold a rectangular placemat into thirds, leaving a small overlap for the flap.
Use hot glue (for temporary hold) followed by fabric glue (for permanent hold) to seal the sides.
To give the bag “depth,” you can glue small rectangular pieces of matching fabric into the sides to create gussets.
Add a decorative brooch or a large button to the front flap to hide the closure mechanism.
6. The Felt Tech Pouch
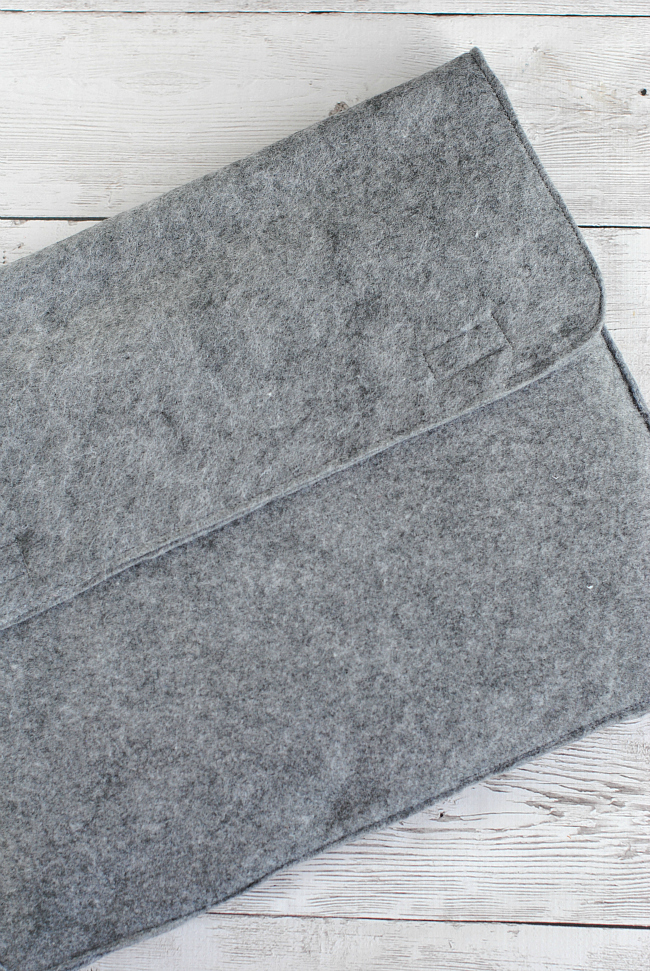
Felt is a non-fraying material, which makes it the “holy grail” for no-sew enthusiasts.
It provides natural cushioning, making it ideal for tablets or e-readers.
How to make it:
Measure your device and add 1 inch to each side.
Cut two pieces of thick (3mm) industrial felt.
Instead of glue, use a crop-a-dile or hole punch to create a series of holes along the perimeter.
“Sew” the pieces together using a thick leather cord or ribbon, weaving it through the holes.
This creates a high-contrast, handcrafted look that is both modern and functional.
7. The Bandana Wristlet
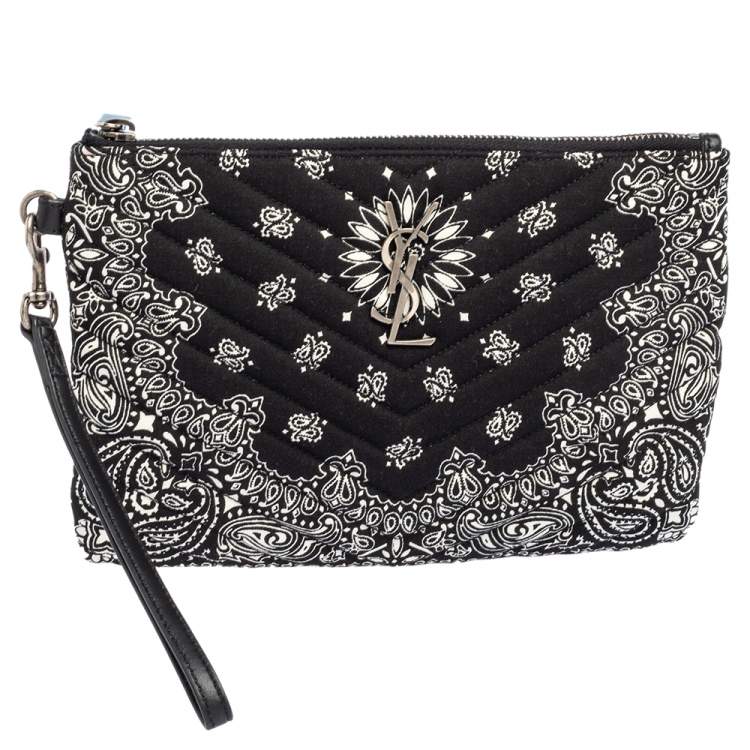
Bandanas are inexpensive and come in iconic prints.
Because they are already hemmed, you save a significant amount of time on finishing.
How to make it:
Fold the bandana in half.
Use iron-on hem tape to seal the two side seams.
For the “wristlet” strap, use a lobster claw clasp attached to a braided strip of fabric.
Glue the strap into the top corner before the hem tape fully sets.
This lightweight bag is perfect for festivals or quick trips to the gym.
8. The Canvas Beach Tote with Rope Handles
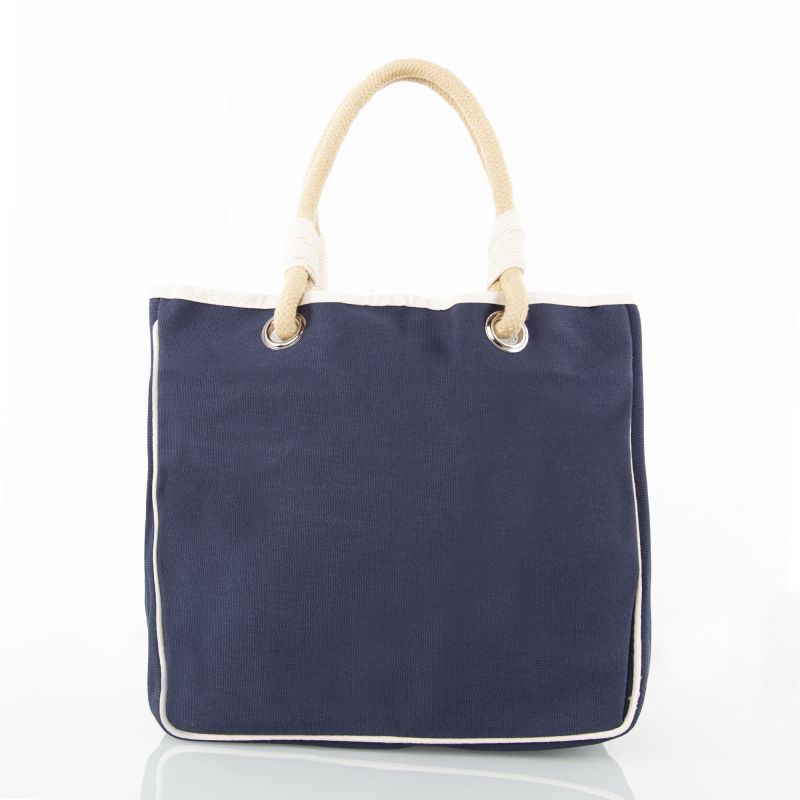
Canvas is a heavy-duty material that requires a strong bond.
This bag focuses on a “utility” look, using grommets and rope to provide structural support.
How to make it:
Take a large rectangle of canvas and fold it in half.
Use “Liquid Stitch” or a similar fabric adhesive to seal the sides, folding over the top edge to create a clean hem.
Use a grommet kit to punch four holes near the top rim.
Feed a thick cotton rope through the holes and tie large knots on the inside.
The rope handles distribute the weight of the bag’s contents, preventing the glued seams from stressing.
9. The Vinyl Clear Stadium Bag
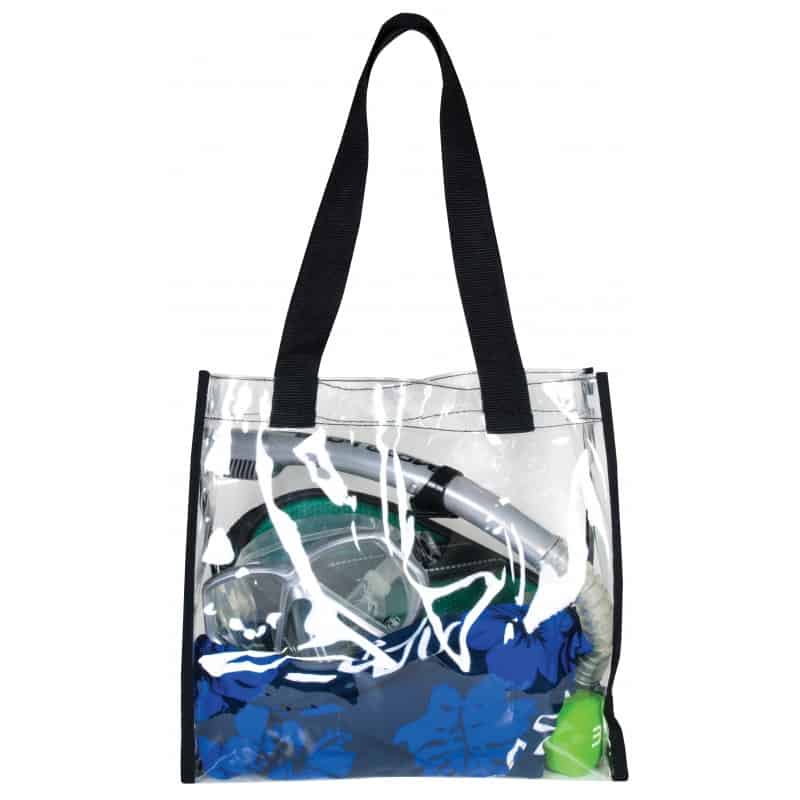
With many venues requiring clear bags for entry, making your own vinyl handbag is a practical and trendy project.
How to make it:
Purchase 12-gauge clear vinyl.
Because glue can look messy on transparent surfaces, this bag relies entirely on colorful duct tape or “Washi” tape reinforced with clear adhesive.
Fold the vinyl into a pouch shape and “bind” the edges with the tape, folding it over the seams for a finished look.
This creates a “color-block” frame around the clear windows of the bag.
10. The No-Sew Macramé Market Bag
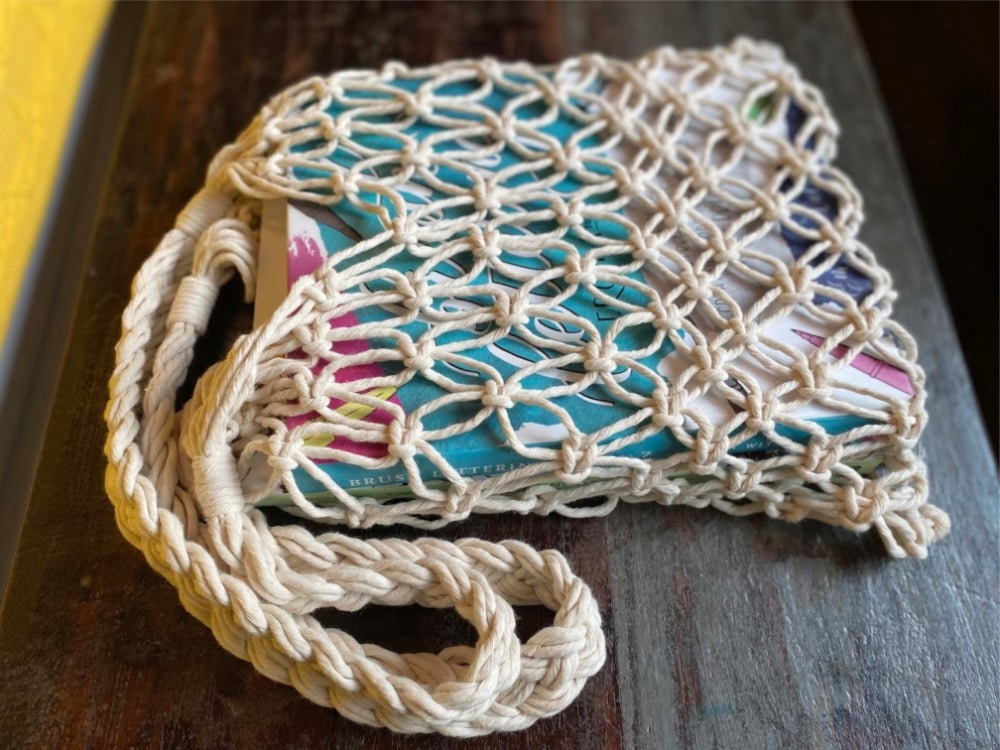
While traditional macramé involves many knots, a simplified version can be made by “looping” cords through a pre-existing hoop or handle.
How to make it:
Attach 12 long pieces of cotton cord to a wooden circular handle using “Lark’s Head” knots.
Pair up the cords and tie simple knots every two inches, alternating pairs as you move down to create a diamond mesh pattern.
Once you reach the desired length, gather all the cords at the bottom and tie one large, decorative “Gathering Knot.”
This creates a flexible, expandable bag perfect for carrying fruit or flowers.
Pro-Tips for No-Sew Success
To ensure your handbag lasts longer than a single season, follow these professional tips:
- ✧ Prep the Fabric: Always pre-wash and dry your fabric (unless it’s leather or vinyl). This removes “sizing” chemicals that can prevent glue from adhering properly.
- ✧ Weight the Seams: When using fabric glue, place heavy books on the glued seams while they dry. This “presses” the fibers together for a deeper bond.
- ✧ Mind the Fray: If using woven fabrics like linen or cotton, apply a thin bead of “Fray Check” or clear nail polish to raw edges before gluing.
- ✧ Test the Heat: If using iron-on tape, always use a pressing cloth. Synthetic fabrics like polyester or nylon can melt under high iron heat.
Frequently Asked Questions (FAQ)
Is fabric glue really strong enough to hold a bag together?
Yes, modern fabric adhesives like E6000 or Tear Mender are formulated to be permanent and washable. However, they are best suited for “static” seams. For high-stress points like handle attachments, reinforcing with rivets or grommets is recommended.
Can I wash my no-sew handbag?
It depends on the adhesive used. Most iron-on tapes and premium fabric glues are machine washable on a gentle cycle. However, you should always air dry your no-sew bags, as the high heat of a dryer can sometimes reactivate the adhesive and cause seams to shift.
What is the best fabric for a beginner no-sew project?
Felt and leather (or faux leather) are the best materials for beginners because they do not fray. This eliminates the need for complex hemming and allows you to focus on the shape and assembly of the bag.
How do I add a zipper without sewing?
You can attach a zipper using iron-on “Ultra-Hold” bonding tape. Apply the tape to the zipper tape (the fabric part of the zipper) and fuse it to the inside of the bag opening. For extra security, add a thin line of fabric glue along the edge.
Conclusion
The world of DIY fashion is more accessible than ever, thanks to innovative adhesives and creative construction techniques.
Whether you are upcycling a pair of vintage jeans into a tote or folding a silk scarf into a sophisticated knot bag, the “no-sew” method allows for rapid prototyping and instant gratification.
By mastering the 10 styles outlined above, you can build a diverse collection of custom handbags that reflect your personal style without ever touching a needle.
Remember to prioritize high-quality adhesives and allow for proper curing times to ensure your creations are as durable as they are beautiful.
Leave a Reply