
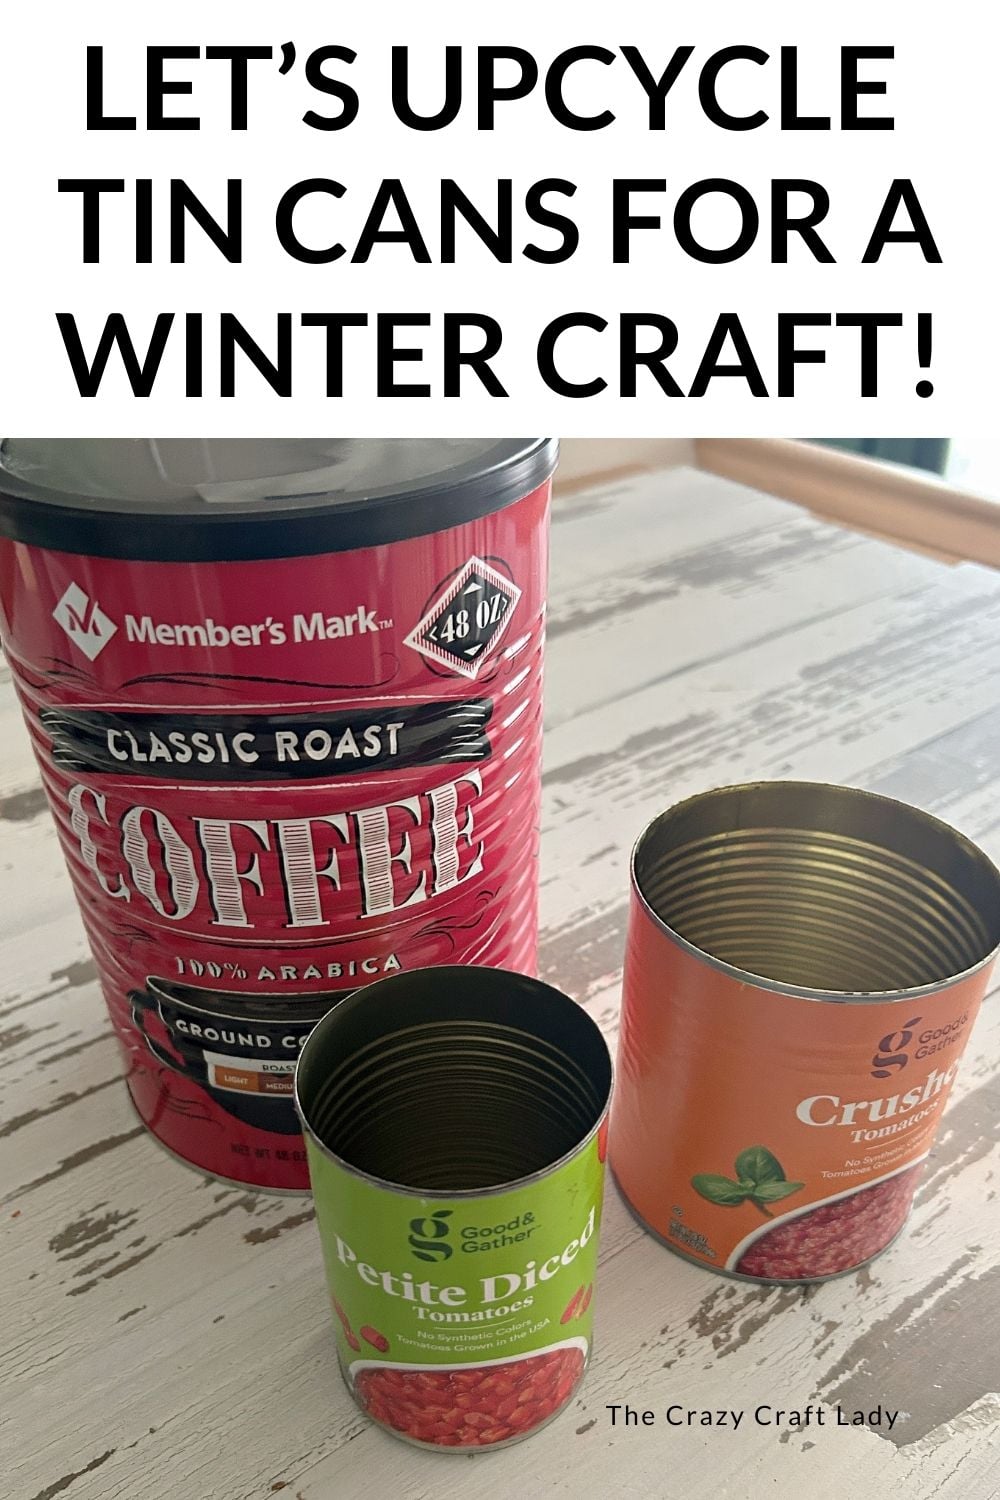
Recycled tin cans turn into durable winter accents that hold up to cold weather and indoor displays without extra cost. These projects focus on simple surface treatments and seasonal add-ons that keep the metal visible while adding texture and light. Each idea uses the can’s natural shape as the base so the finished piece stays sturdy and easy to arrange on shelves, mantels, or tabletops.
Tin Can Snowman Figures
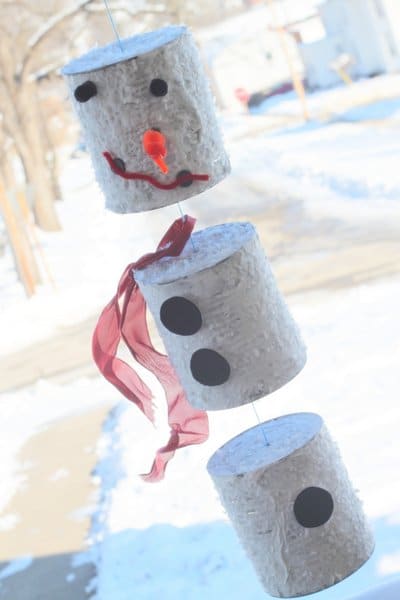
Stacking three cans of graduated sizes creates a freestanding snowman that works as a porch accent or entryway marker. The largest can forms the base while the middle and smallest cans stack on top with a quick bead of outdoor adhesive. Painting each section white and adding a fabric scarf plus a small twig arm gives the figure clear winter character without extra supports.
Position these snowmen in groups of two or three for visual weight on a covered porch. The metal holds paint well after a light sanding and primer step, so the figures survive temperature swings. A small rock or sand weight inside the bottom can prevents tipping in wind.
Frosted Tin Can Lanterns

Punching simple dot patterns into the sides lets light escape in soft winter patterns when a battery candle sits inside. The open top keeps heat from building while the can’s height shields the flame from drafts. A coat of frosted spray paint on the exterior diffuses the glow further and hides any label residue.
Place these lanterns along a windowsill so the light reflects off the glass. The same cans can move to an outdoor table grouping once the weather warms. Choose battery-operated candles to avoid any open-flame concerns around children or pets.
Recycled Can Pine Tree Towers
Cutting the top off several cans and nesting them upside down produces a tiered tree shape that accepts small evergreen sprigs. Each can receives a coat of green paint before assembly so the metal blends with the branches. A wooden dowel through the center keeps the stack aligned and stable on a flat surface.
These towers fit narrow spaces where a full tree would feel crowded. Rotate the cans slightly during assembly so the branches face outward in all directions. Replace the greenery every few weeks to keep the display fresh.
Tin Can Candle Holders with Snowflakes
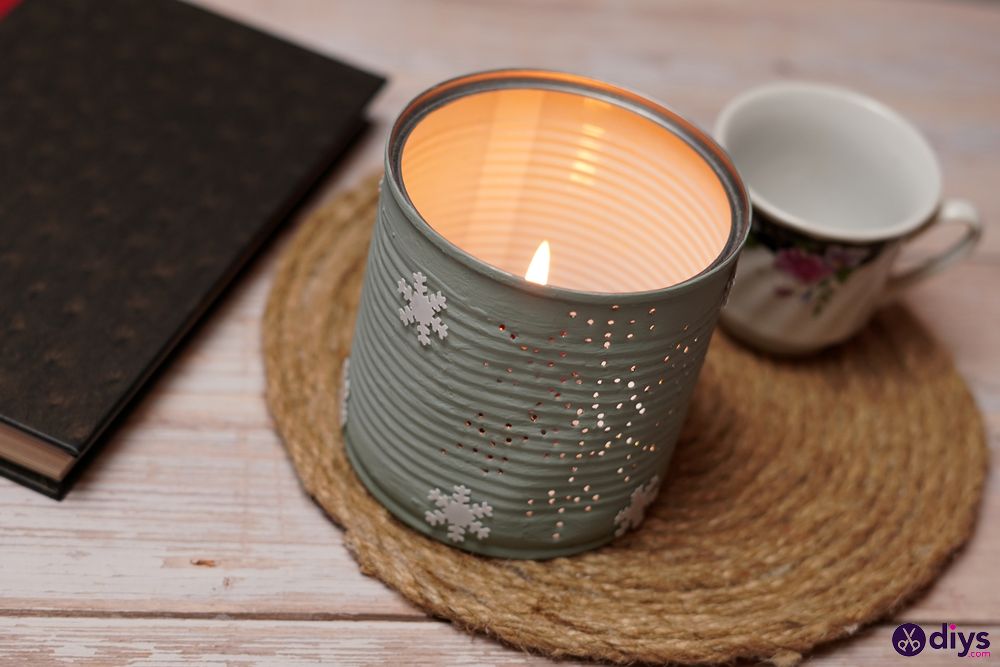
Wrapping a strip of lace or paper snowflake cutouts around the middle of a can and spraying over it leaves a crisp negative pattern once the stencil is removed. The remaining metal shows through as a delicate winter motif. A tea light dropped inside completes the holder in minutes.
Metal retains heat, so always set these holders on a coaster or tray rather than directly on wood surfaces.
Group three different heights together for a staggered centerpiece that still reads as one unit. The pattern stays visible even when the candle is unlit because the cutouts create permanent texture.
Painted Can Winter Vases
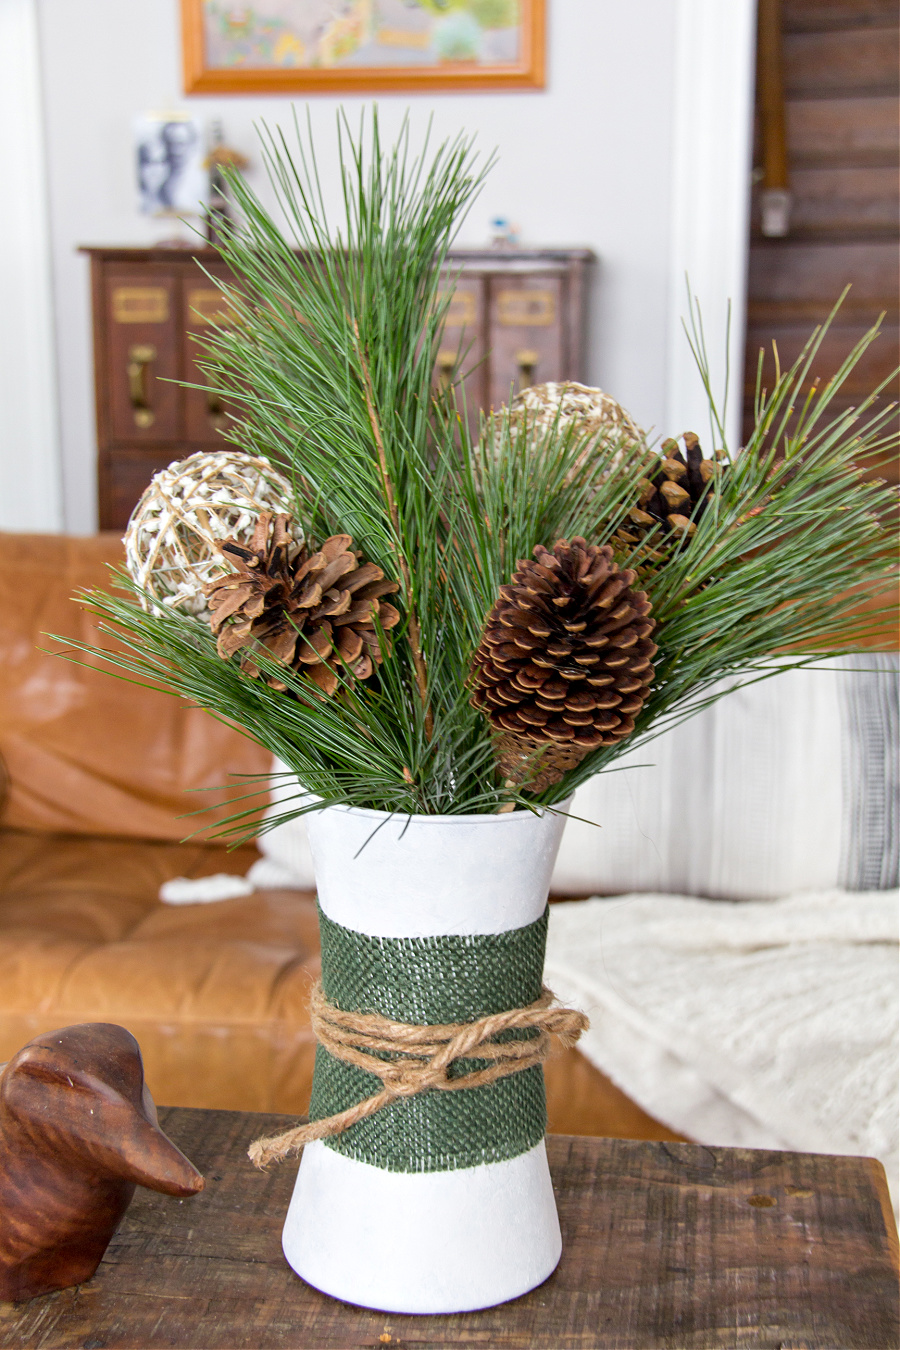
A single coat of chalk paint in icy blue or soft gray turns an ordinary can into a vase that holds birch branches or dried hydrangeas. The paint’s matte finish hides seams and label marks while the can’s depth keeps stems upright. Line the inside with a small glass jar if you plan to add water.
These vases line up neatly on a mantel or sideboard for a uniform winter look. Rotate the placement every few days so one side does not fade from sunlight. The same cans can be repainted in spring colors once the season changes.
Tin Can Wreath Bases
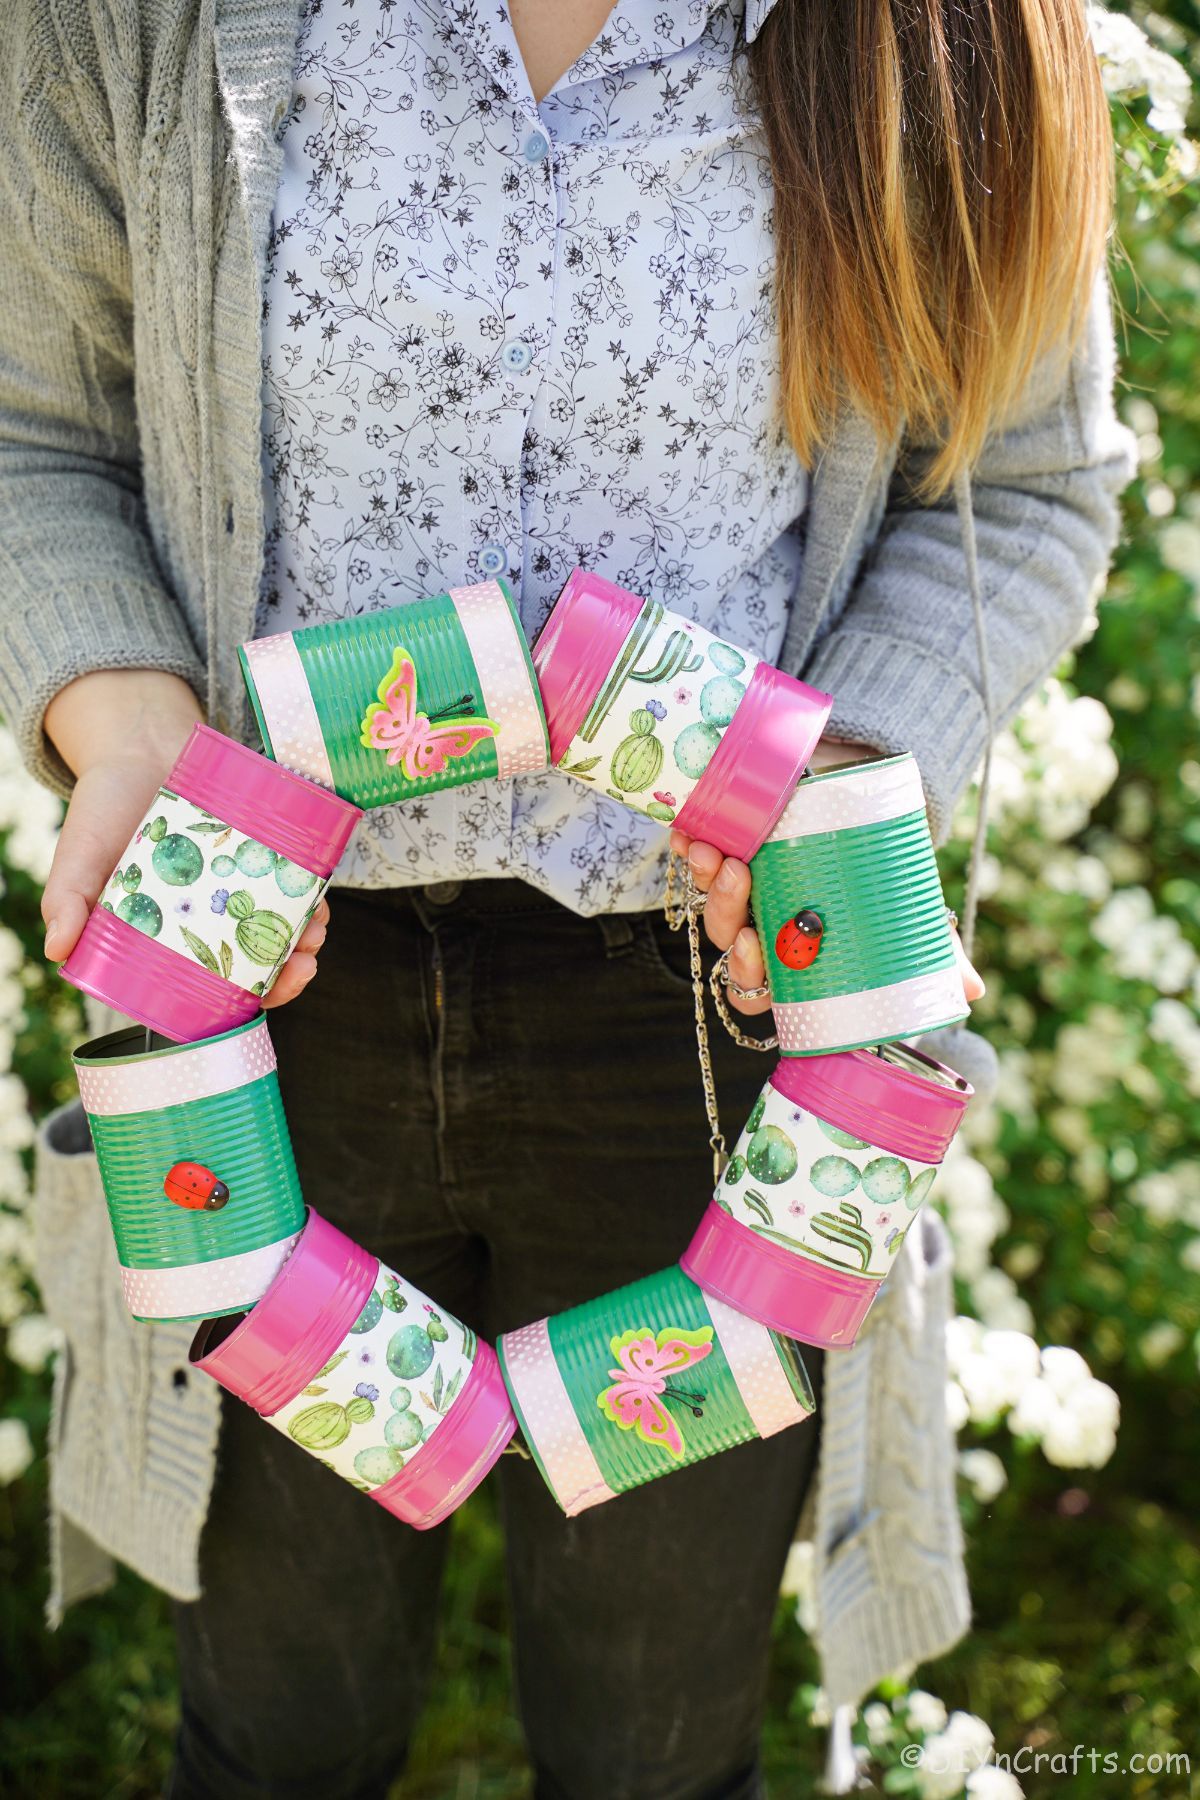
Flattening several cans and wiring them into a circle creates a lightweight wreath form that accepts pine boughs or faux greenery. The metal rings provide built-in attachment points so no extra frame is needed. A quick spray of metallic paint gives the base a frosted appearance that peeks through the foliage.
Hang the finished wreath on an interior door or above a fireplace. The flattened cans add subtle dimension that plain wire forms lack. Store the base flat between seasons to prevent warping.
Stacked Can Snow Globes
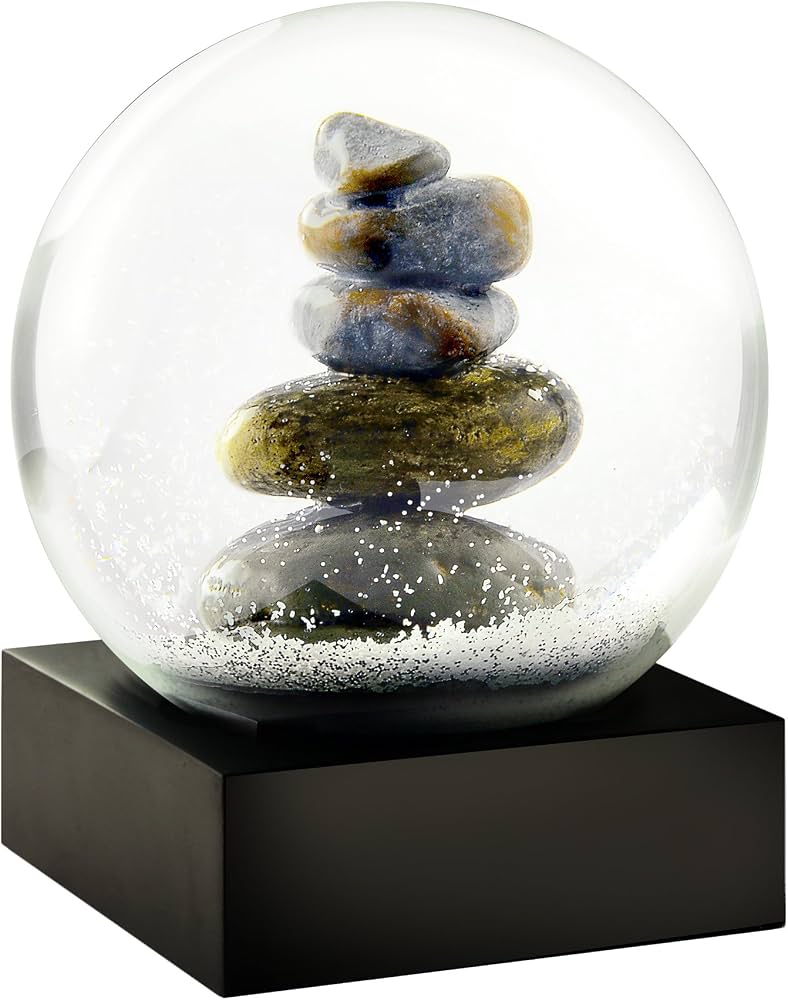
Placing a small glass jar inside a painted can and filling the space between with artificial snow produces a contained winter scene. The can acts as the globe’s sturdy collar while the jar holds the figurines and glitter. Seal the lid with hot glue so the snow stays put during moves.
Shake the globe gently rather than turning it upside down to keep the snow from clumping.
These globes make quick gifts when the recipient’s favorite small trinket sits inside. Choose clear jars that fit snugly so the snow layer stays even around the edges.
Can Lid Ice Crystal Ornaments
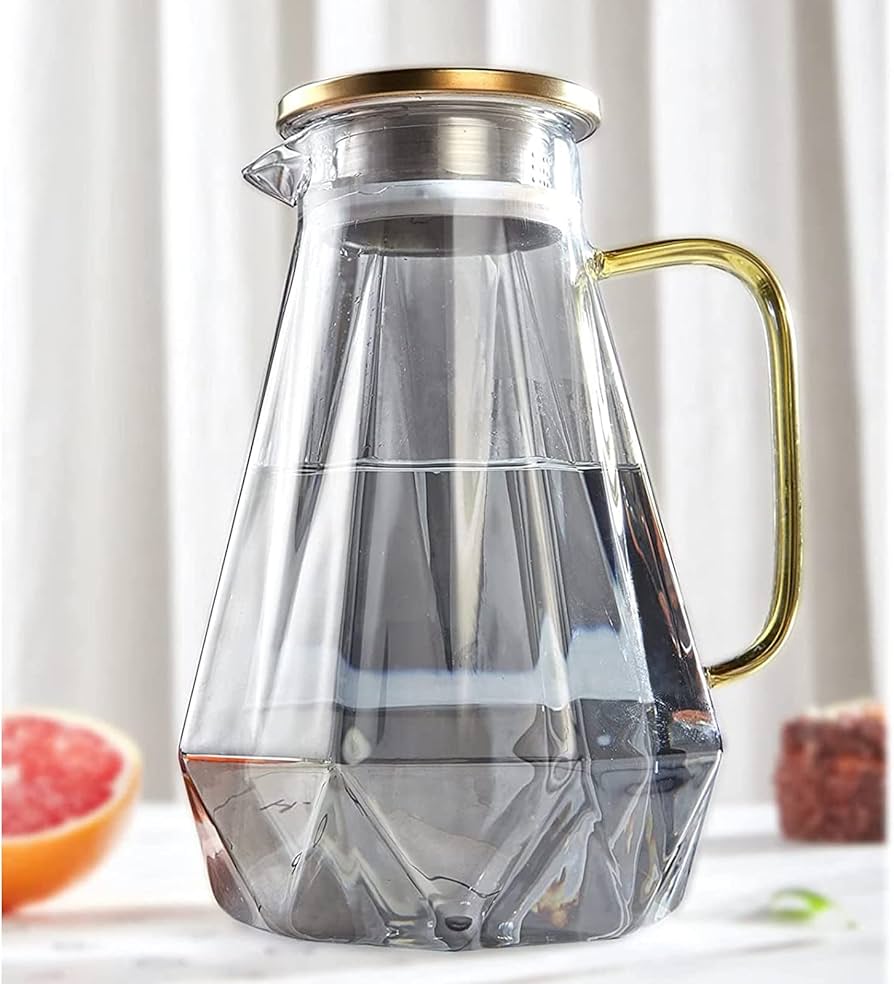
Punching radiating lines into round can lids and adding a hanging loop turns the lids into sparkling crystal shapes. A light coat of silver paint catches light when the ornaments spin on a tree or garland. The metal stays rigid so the shapes hold their form year after year.
Thread ribbon through the punched holes before hanging to avoid sharp edges. Mix sizes on one branch for visual rhythm. The same lids can clip onto gift packages as reusable tags.
Tin Can Bird Feeder Stations
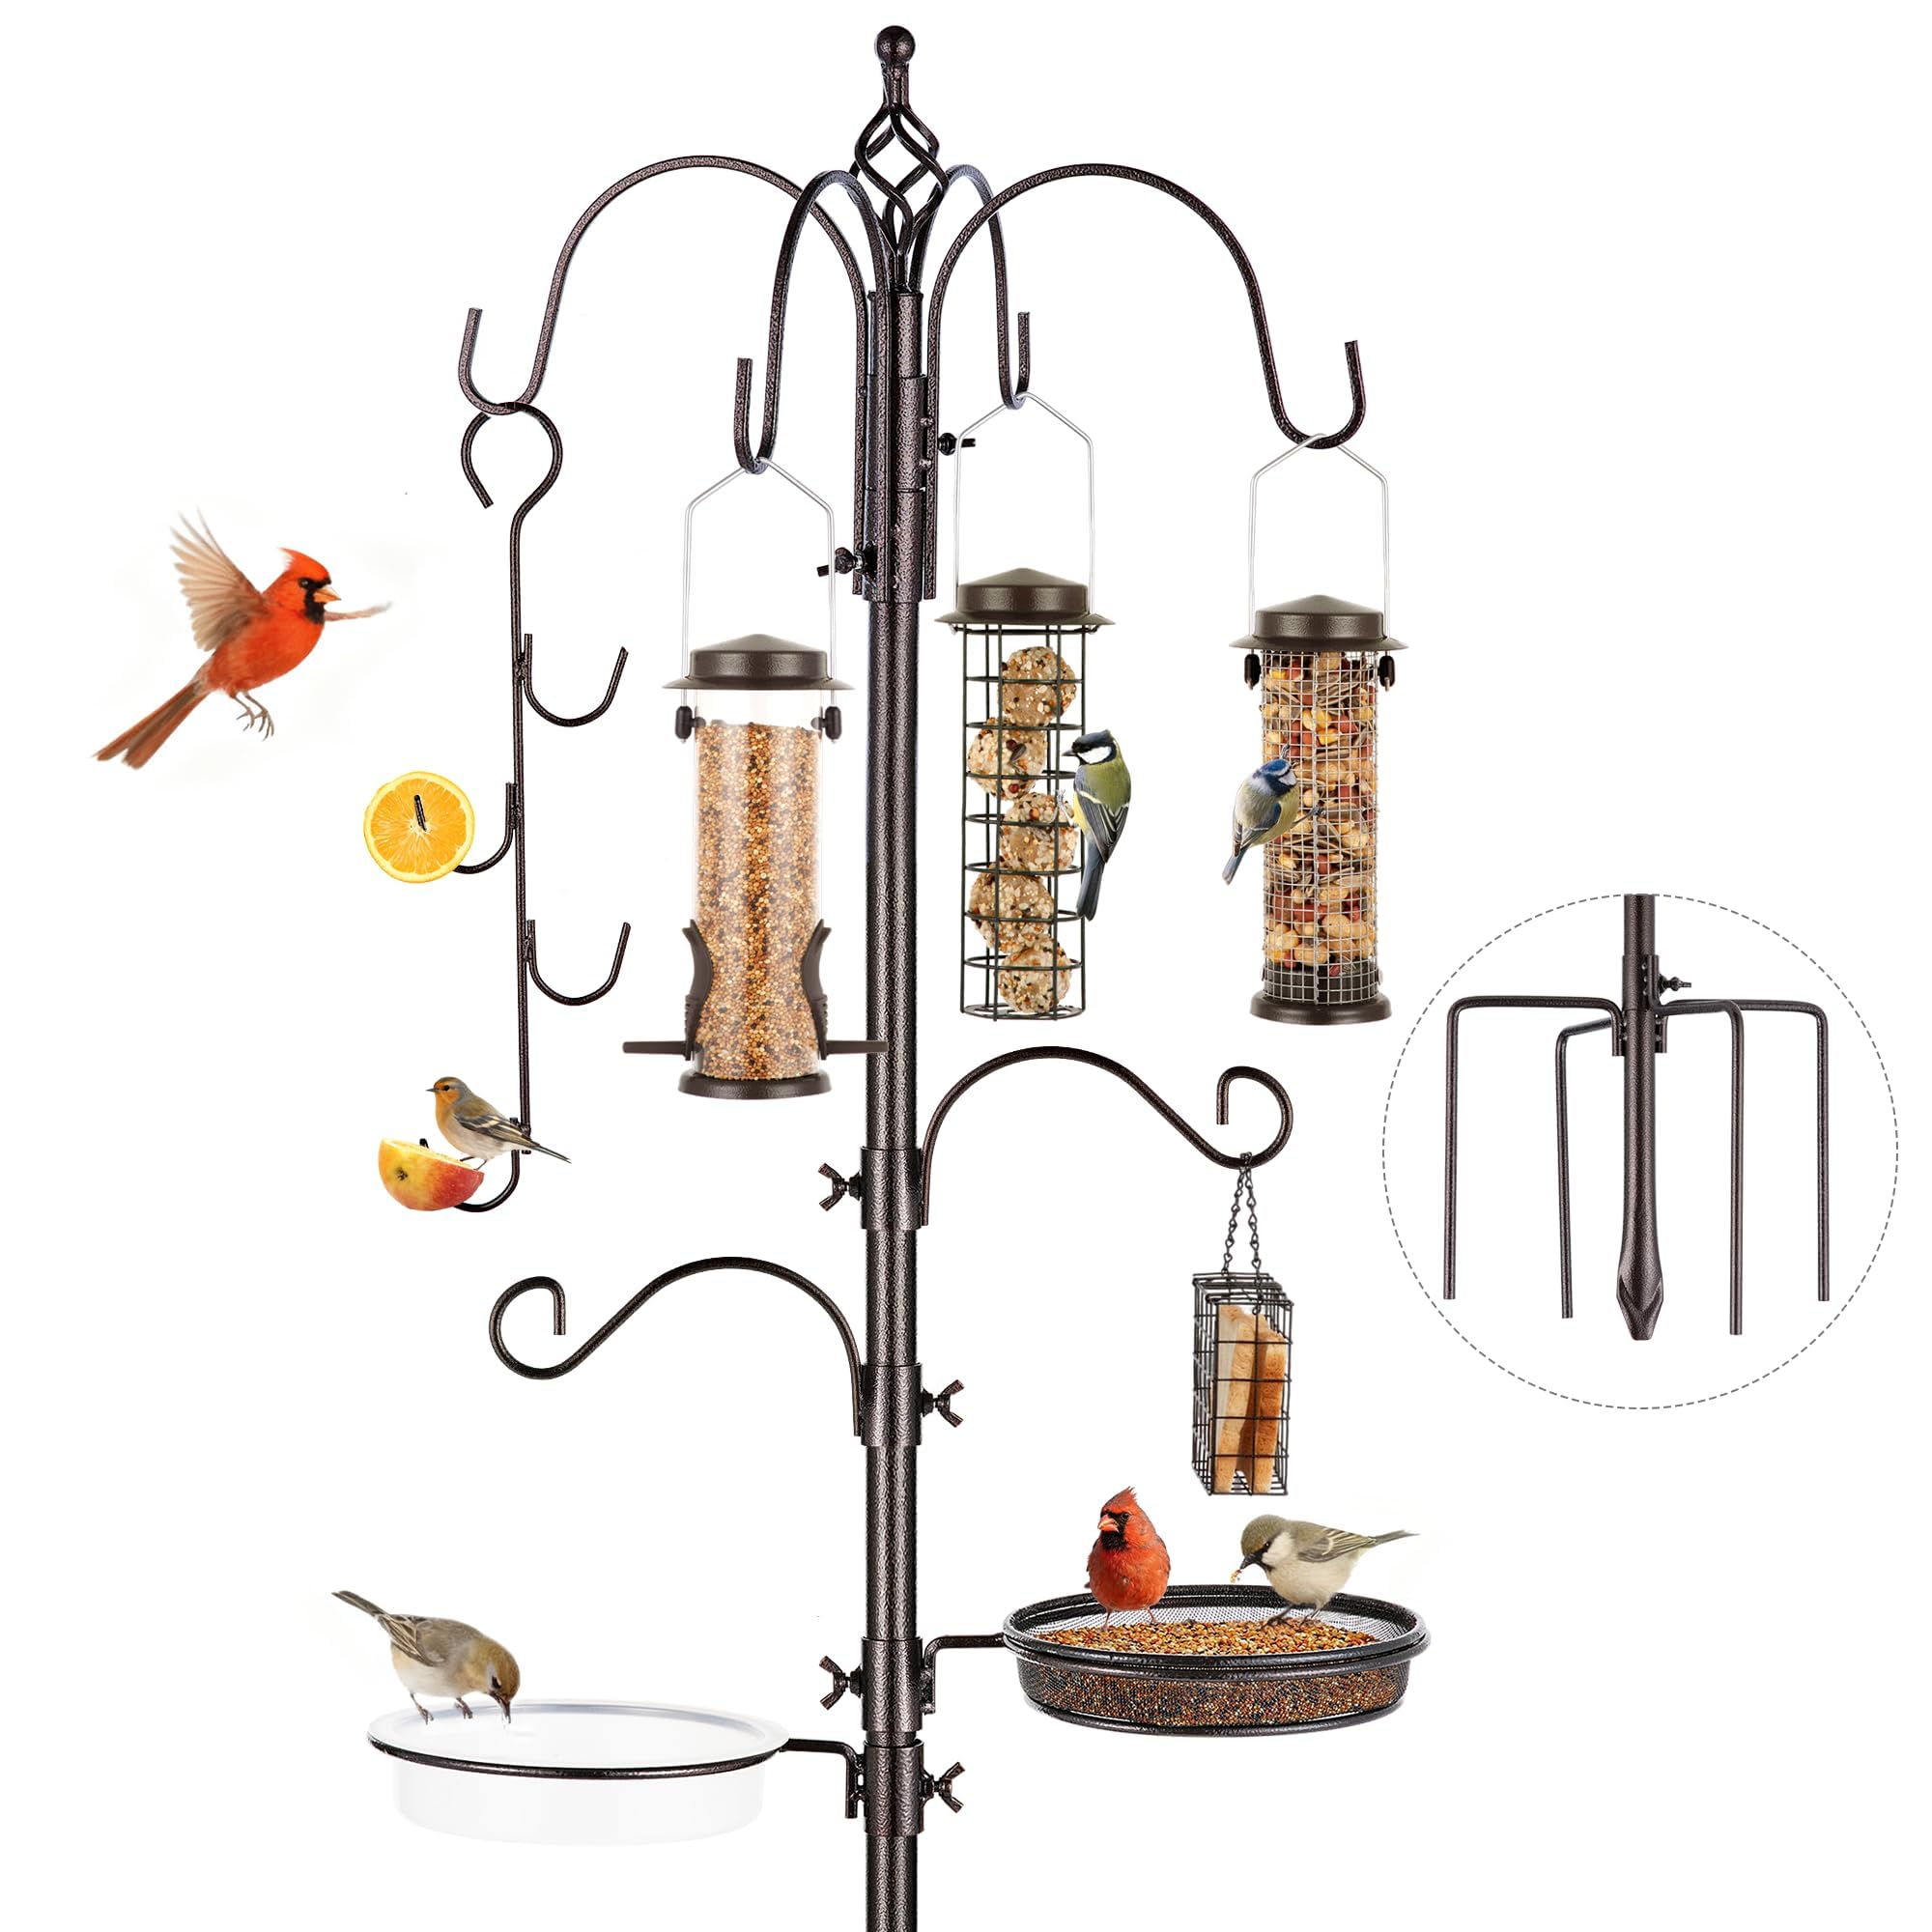
Drilling two holes near the top of a can and threading a dowel through creates a simple perch for winter birds. Filling the can with suet or seed mix turns it into a feeder that mounts on a fence post or tree branch. A second can placed below catches dropped seed and keeps the area tidy.
Position feeders near a window so you can watch visitors without disturbing them. Clean the cans every few weeks with hot water to prevent mold. The metal construction withstands freezing temperatures better than plastic alternatives.
Recycled Can Mantel Displays
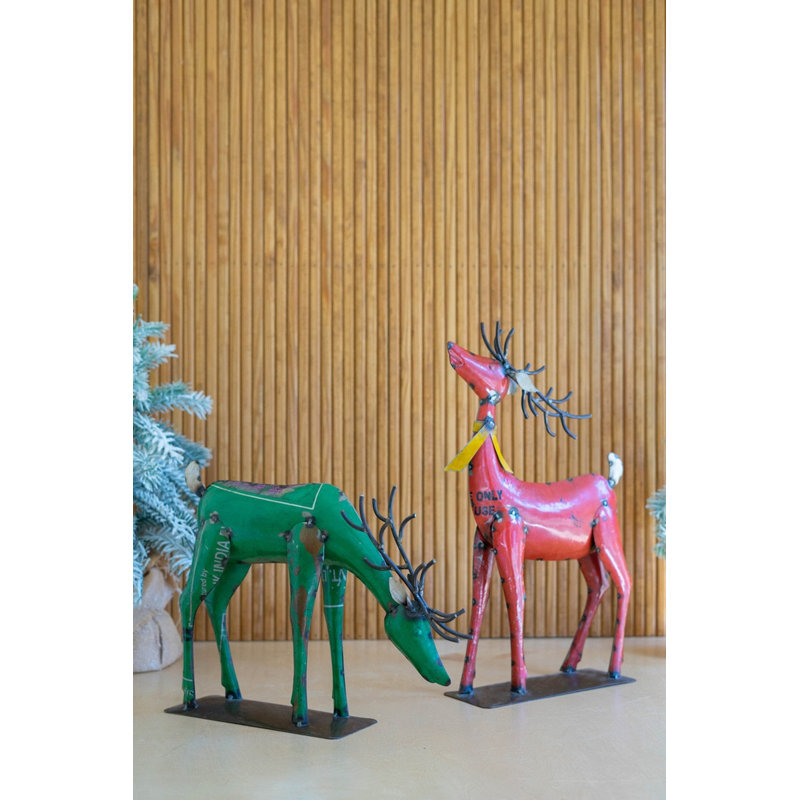
Lining several cans along a mantel and filling each with different heights of white candles creates a glowing winter line. Varying the paint finishes—matte, metallic, or distressed—adds subtle variety while the uniform shape keeps the arrangement cohesive. Battery candles eliminate any fire hazard on wood surfaces.
Group the cans in odd numbers for the most balanced visual weight on a long mantel.
Rotate the display every week so no single section receives constant heat from nearby vents. The cans store flat in a bin once the season ends.
Tin Can Hot Cocoa Stations
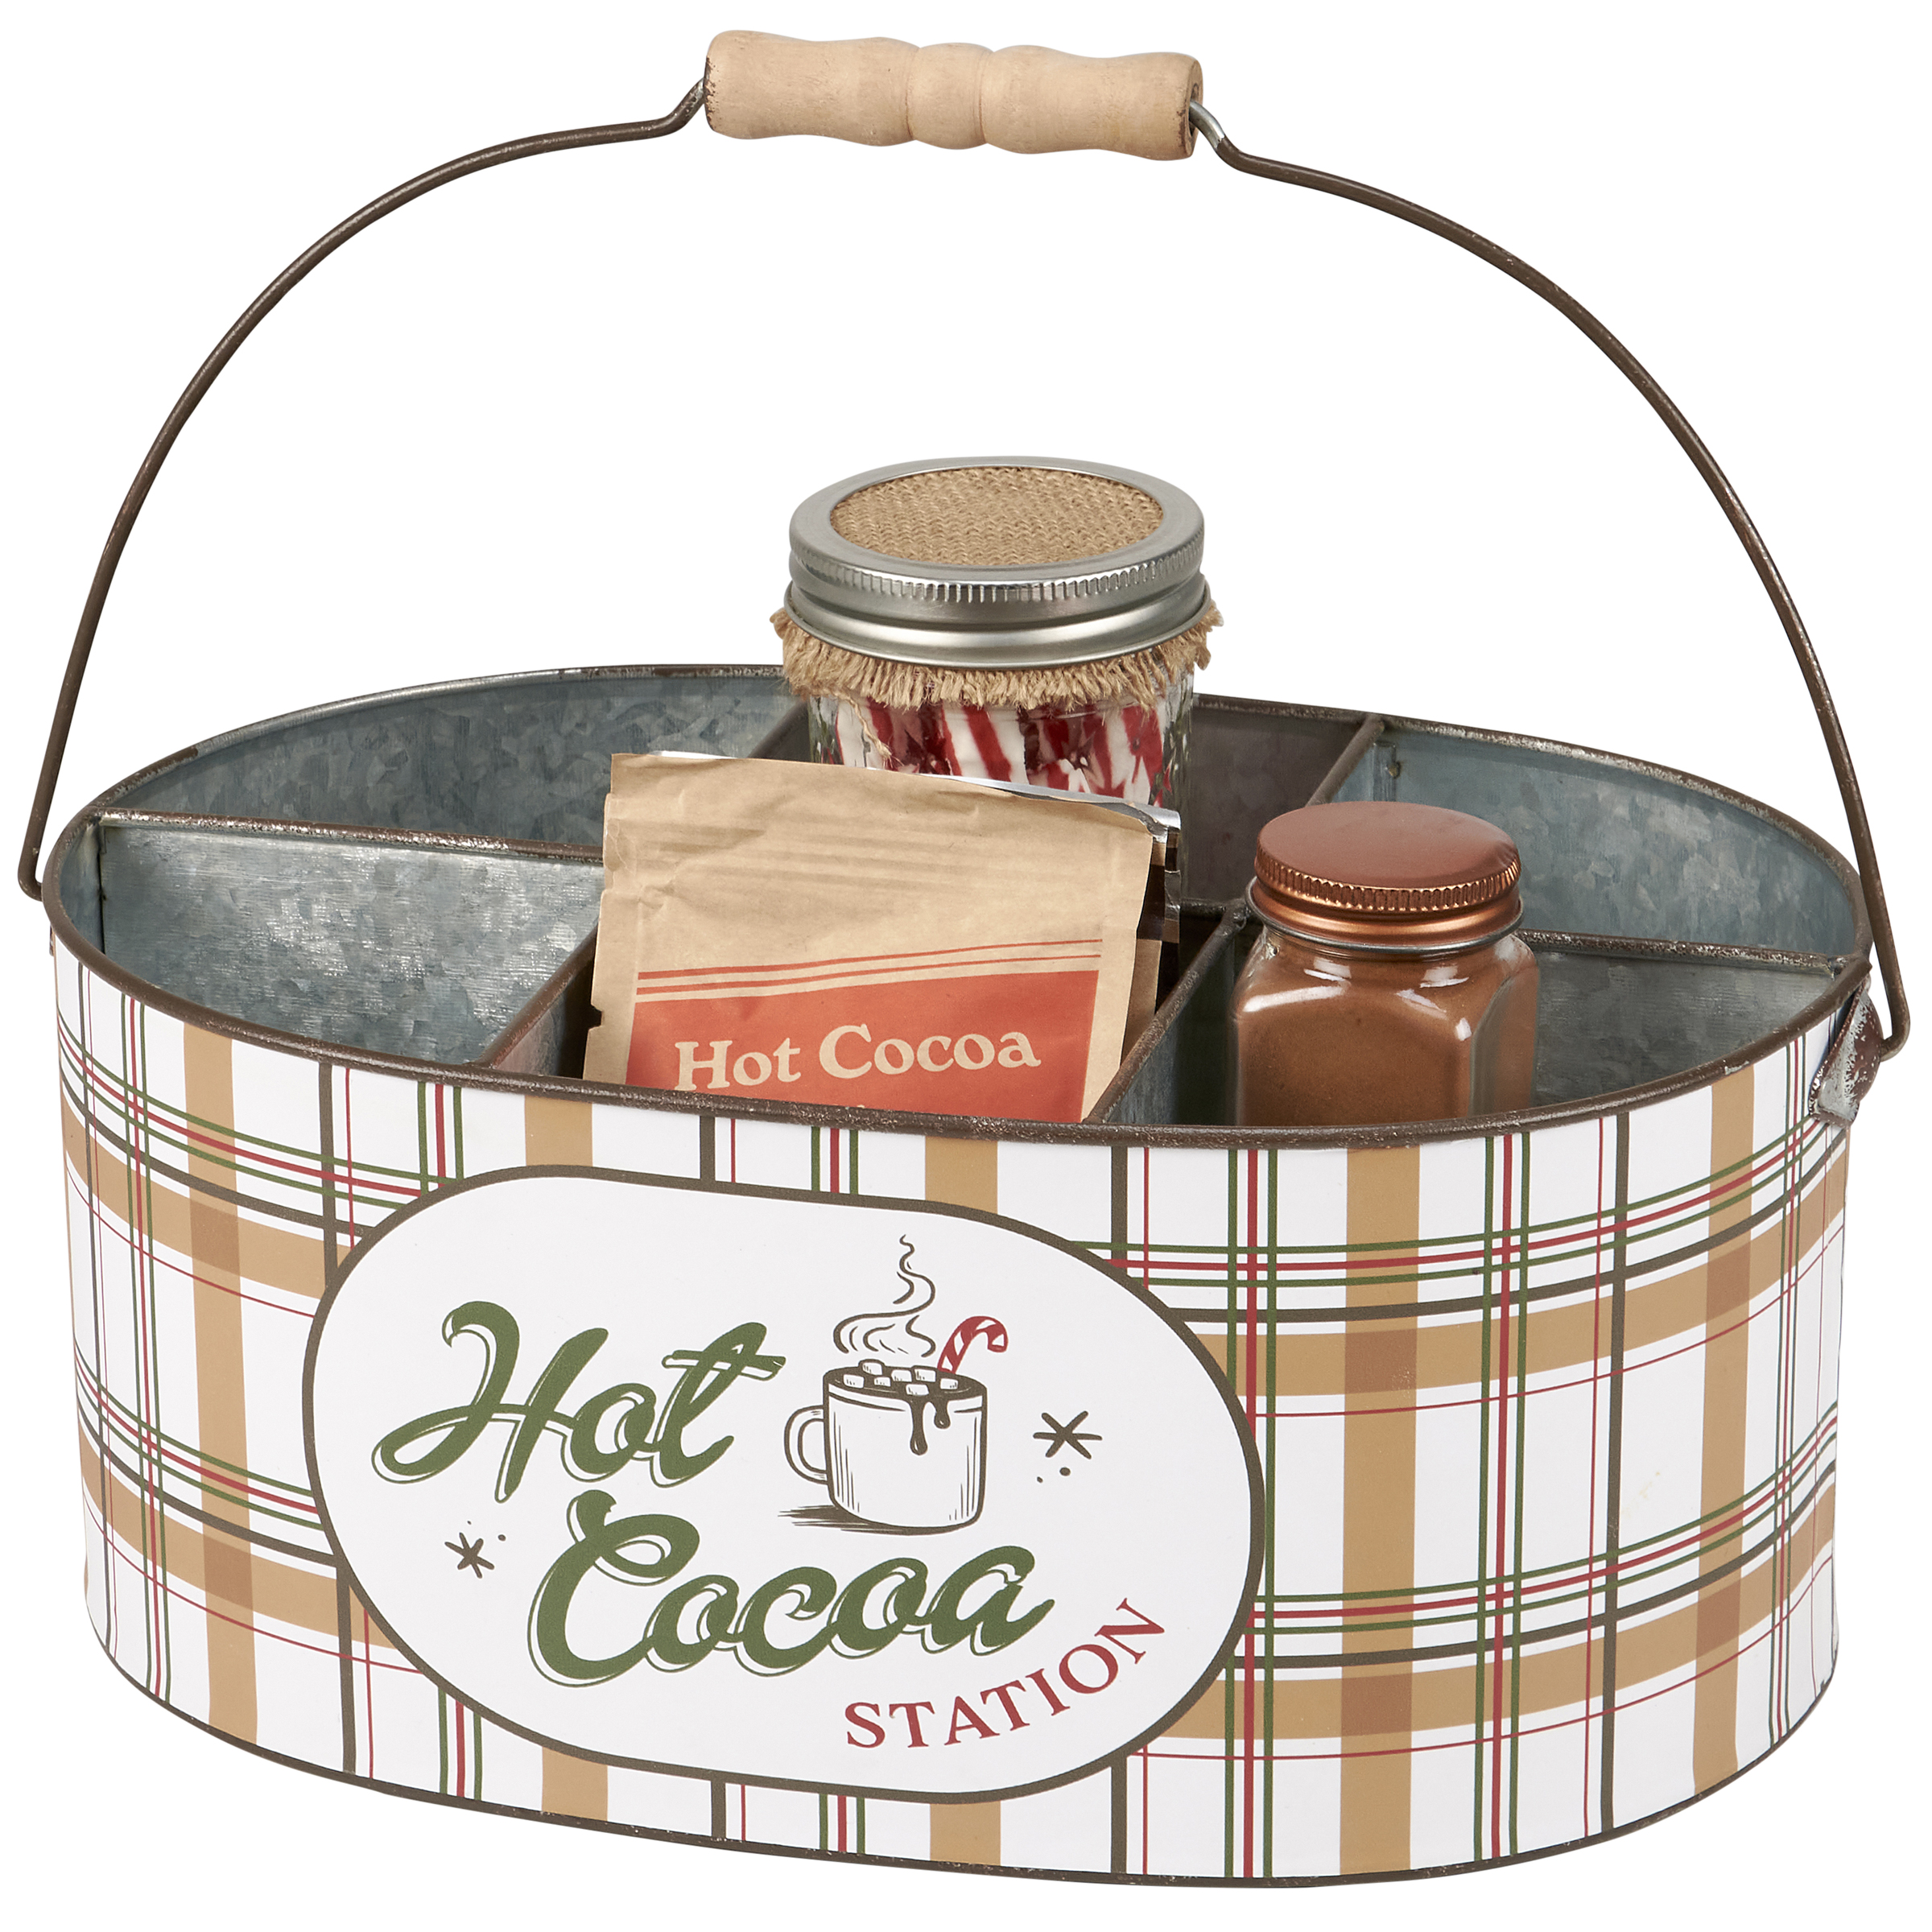
Attaching a small chalkboard label to the front of a can lets you mark it for cocoa packets, marshmallows, or stirrers. Painting the exterior in warm red or deep green ties the set to holiday colors. The cans stack inside one another for compact storage when not in use.
Place the labeled cans on a tray near the kettle so everything stays within reach during gatherings. The metal keeps contents dry and protected from pantry moisture. Swap the labels seasonally to repurpose the same cans for tea or coffee later.
Winter Scene Tin Can Dioramas
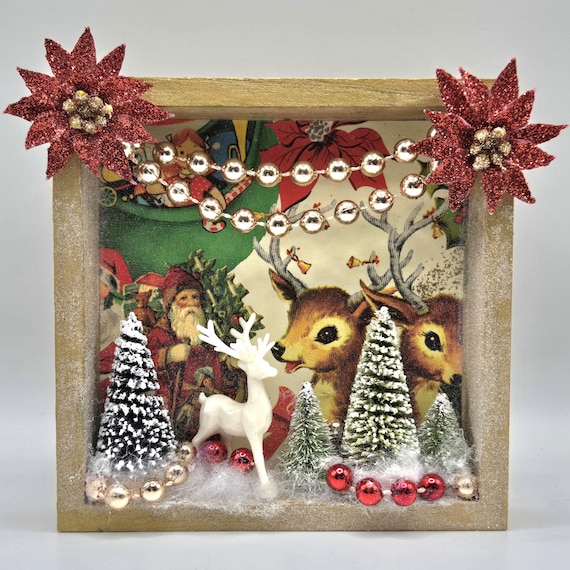
Cutting a viewing window into the side of a can and adding a printed winter scene inside creates a miniature shadow box. A string of battery fairy lights tucked behind the scene adds soft glow without visible wires. The can’s depth gives the diorama natural framing.
Set these on a bookshelf or nightstand where the light can be seen from across the room. Change the printed scene each year to refresh the display. The metal shell protects the paper from dust and fading.
FAQ
How long do painted tin cans last outdoors in winter?
Properly prepped and sealed cans survive an entire season of freeze-thaw cycles when kept under cover. Sand the surface, apply a rust-inhibiting primer, and finish with two coats of exterior paint. Reapply a clear sealer every other year if the pieces sit in direct weather.
Can I use real candles inside the lanterns?
Battery-operated candles are safest because metal conducts heat quickly and can scorch nearby surfaces. If you prefer real tea lights, place the lantern on a heat-safe tile or metal tray and never leave it unattended. Keep the can opening clear so heat escapes upward.
What size cans work best for stacking projects?
Standard 28-ounce cans provide the best height-to-width ratio for snowmen and trees, while 15-ounce cans suit smaller ornaments and feeders. Match diameters closely when stacking so the pieces sit level without rocking. Rinse and dry every can thoroughly before painting to prevent future rust.
How do I remove labels cleanly from recycled cans?
Soak the cans in hot water with a drop of dish soap for twenty minutes, then scrape with a plastic scraper. Any remaining adhesive comes off with a baking-soda paste rubbed in circular motions. Dry the cans completely before sanding or painting.
These projects give new purpose to materials already in your kitchen while adding seasonal warmth to your space. Start with the cans you have on hand and build from there.
Leave a Reply