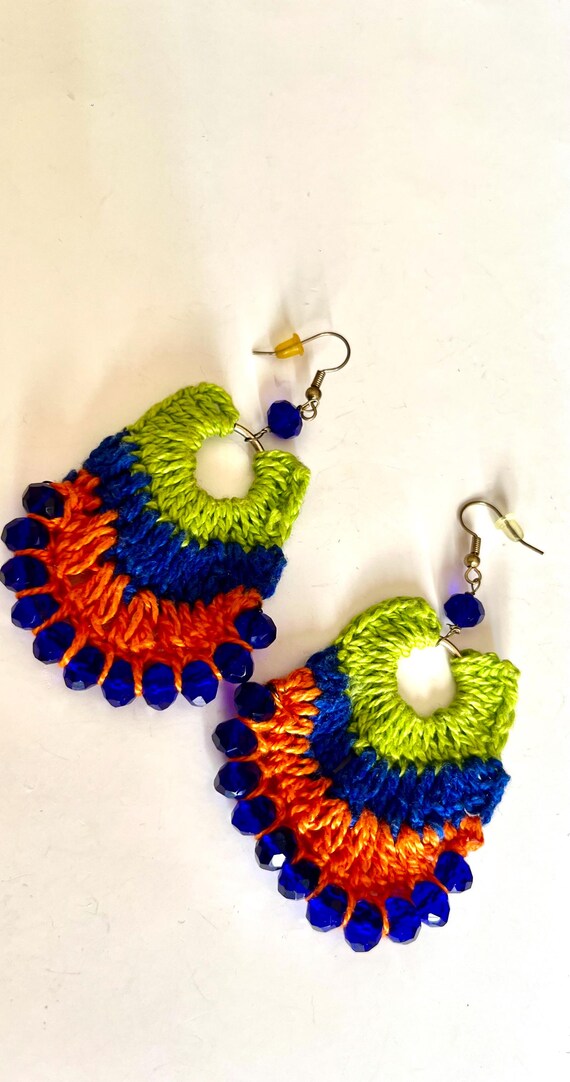
If you’ve ever walked into a high-end boutique and seen a pair of fringe earrings priced at $45, you’ve probably felt that same itch I do: “I could totally make that for three dollars.”
Yarn tassel earrings are the ultimate gateway craft. They are incredibly budget-friendly, take less than 30 minutes to complete, and allow for endless customization.
Whether you are looking for a chunky boho statement piece or a delicate, minimalist drop, the secret lies in your tension and your trimming technique.
In this guide, I’m going to walk you through my personal process—including the mistakes I made so you don’t have to—to help you create professional-quality jewelry from your leftover yarn scraps.
Why Yarn Tassel Earrings Are the Perfect Upcycling Project
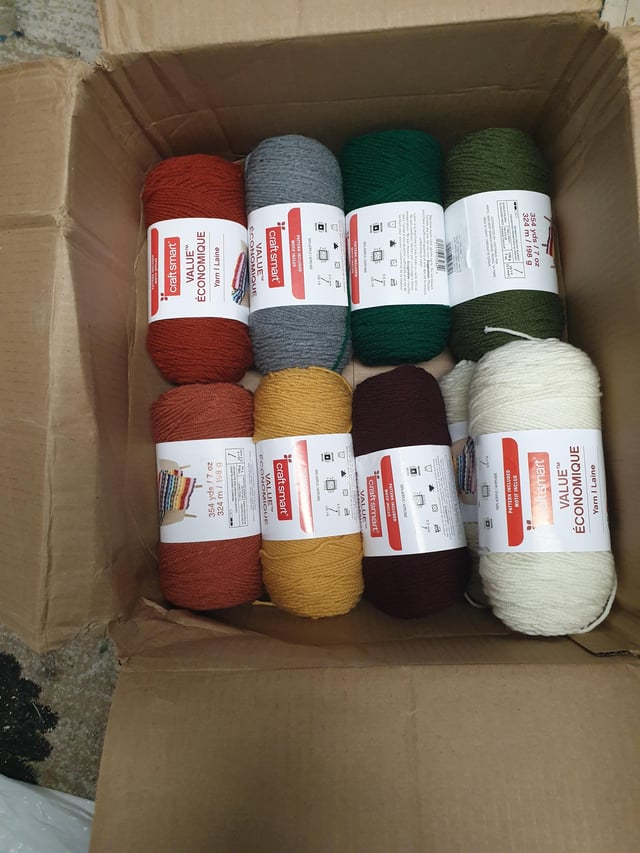
I’ve been crafting for years, and one thing I’ve learned is that the best projects are the ones that use up those “too small to keep, too big to throw away” yarn scraps.
Tassel earrings are the perfect solution for using up high-quality fibers like merino wool, silk blends, or even simple mercerized cotton.
Unlike store-bought tassels that often feel stiff or plastic-like, handmade yarn tassels have a beautiful swing and weight to them. Plus, you can control the thickness.
Want them extra fluffy? Wrap the yarn more times. Want them sleek? Use a thinner embroidery thread. The versatility is what makes this project a staple in my DIY repertoire.
Essential Materials: What’s in My Craft Stash?
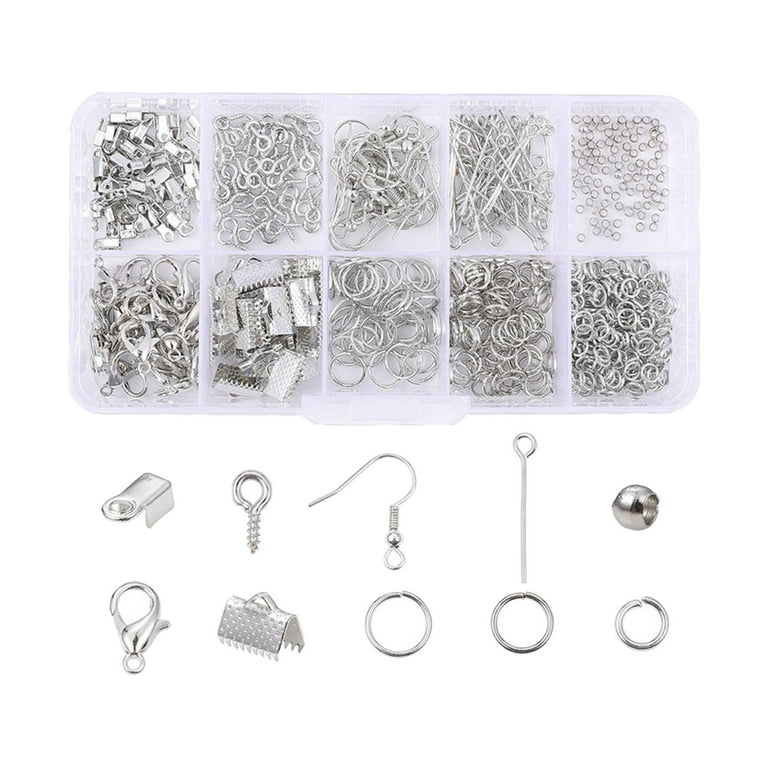
Before we dive into the how-to, let’s talk gear. You don’t need a lot, but having the right tools makes the difference between a tassel that looks like a 5th-grade art project and one that looks like it belongs on a jewelry display card.
The Material Breakdown
| Material | Why You Need It | Pro Tip |
|---|---|---|
| Yarn/Thread | The body of your tassel. | Cotton or silk blends hang better than 100% acrylic. |
| Sharp Scissors | For that crisp, clean bottom edge. | Use fabric shears; dull scissors will cause frizzy ends. |
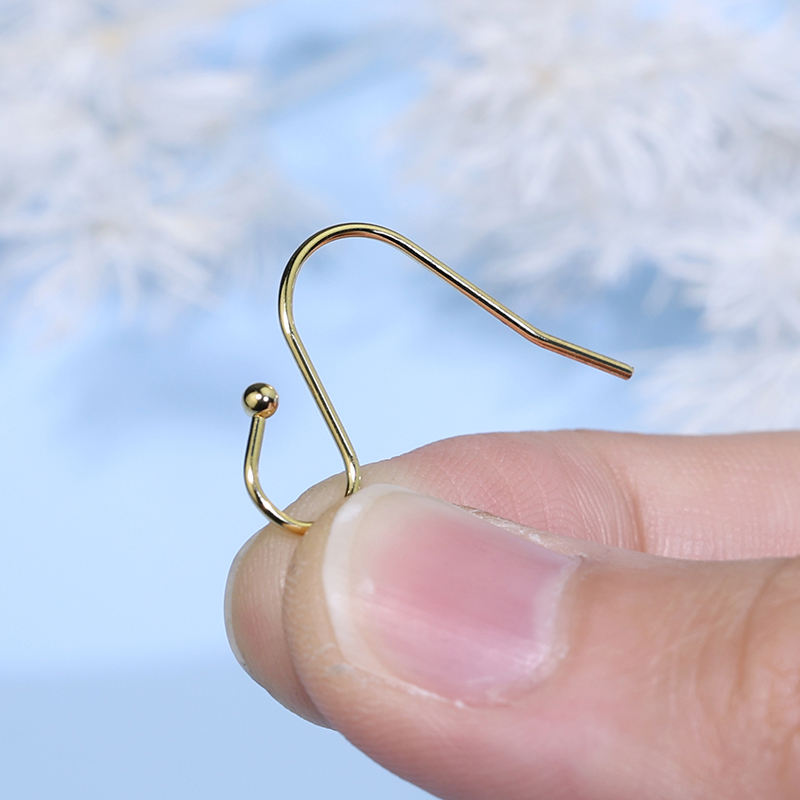
| Earring Hooks | To turn the tassel into jewelry. | Use gold-filled or sterling silver if you have sensitive ears. |
| Jump Rings | Connects the tassel to the hook. | 6mm or 8mm rings are the easiest to work with. |
| Cardboard/Template | Defines the length of your tassel. | An old credit card or a piece of heavy cereal box works perfectly. |
| Pliers | To open and close jump rings. | Jewelry pliers are best, but needle-nose pliers from the garage work too. |
Step-by-Step: The Foolproof Way to Make Your First Pair
Let’s get our hands dirty. This is my tried-and-true method for a standard 3-inch tassel earring.
Step 1: Wrap Your Template
Take your cardboard template (about 3 inches wide for a standard earring). Hold the end of the yarn against the edge and start wrapping.
For a medium-thickness tassel, I usually wrap about 20–25 times. If you’re using thin embroidery floss, you might need 40–50 wraps.
Real Crafter Tip: Don’t wrap too tightly! If you stretch the yarn while wrapping, it will shrink and curl once you cut it off the template, leaving you with uneven ends.
Step 2: Secure the Top
Cut a separate 6-inch piece of yarn. Thread it under all the wraps at the top of your template.
Pull it to the very top edge and tie a tight double knot. This is the spine of your earring. Leave the long tails for now; we’ll hide them later.
Step 3: Cut the Bottom
Slide your scissors under the yarn at the opposite end of the template (the bottom). Snip all the loops in one clean motion.
Your tassel will now fall off the template. It’ll look a bit messy—don’t panic!
Step 4: Create the Neck
Cut another 8-inch piece of yarn (or use a contrasting color/metallic thread for some pop).
Lay your tassel flat and place this string about 1/2 inch down from the top knot. Tie a tight knot, then wrap it around the tassel 3–4 times to create a neck.
Tie it off and use a large-eye needle to tuck the ends into the center of the tassel.
Step 5: The Haircut
This is where the magic happens. Your ends will be uneven. Comb through the tassel with your fingers or a wide-tooth comb.
Using your sharpest scissors, trim the bottom in a straight line.
Hack: If you want a perfectly straight edge, wrap a piece of painter’s tape around the bottom of the tassel and cut along the edge of the tape!
Step 6: Attach the Hardware
Open your jump ring using pliers (twist it sideways, don’t pull it apart). Loop it through the top string of your tassel and then through the loop of your earring hook.
Twist the jump ring closed. Repeat for the second earring!
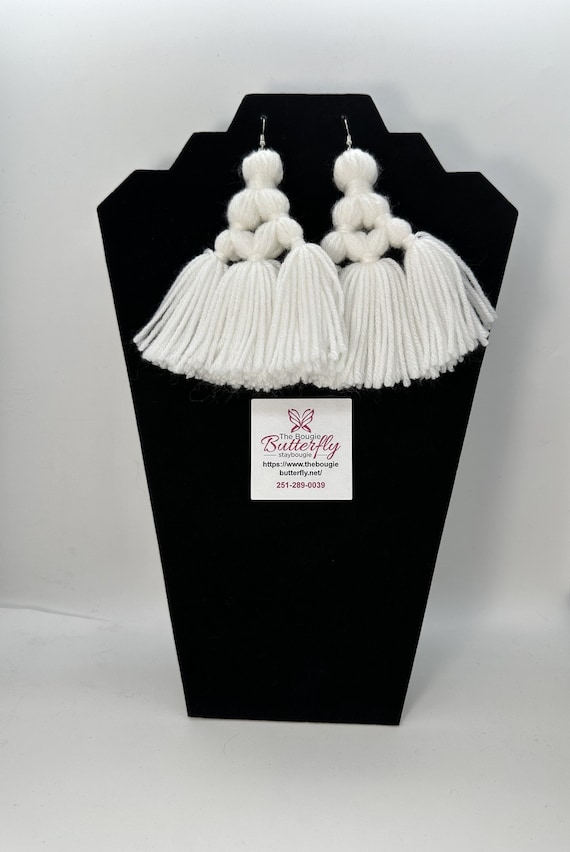
10 Creative Yarn Tassel Earring Styles to Try
Once you master the basic technique, it’s time to get creative. Here are 10 styles I’ve experimented with that always get compliments.
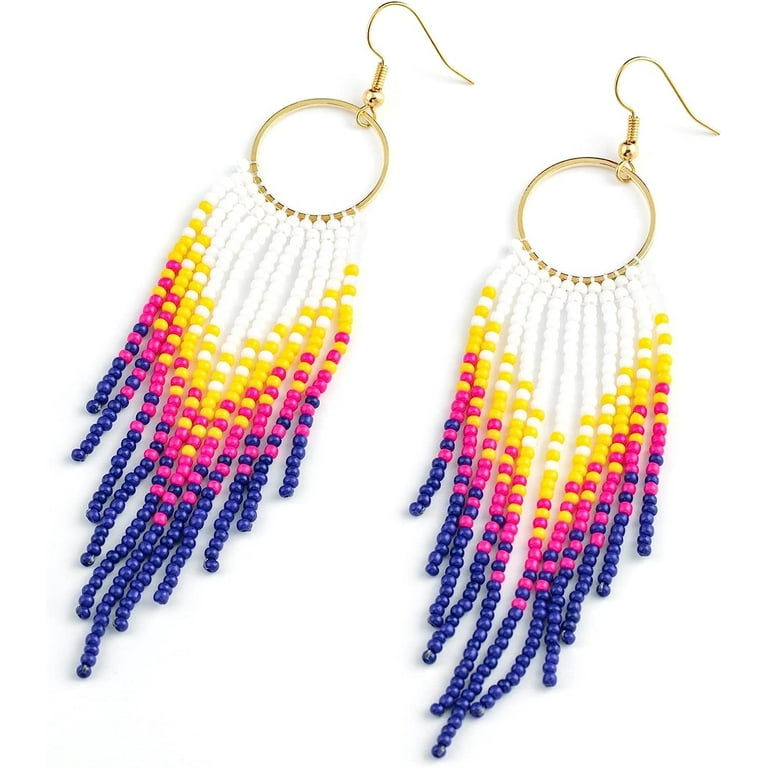
1. The Classic Boho Fringe
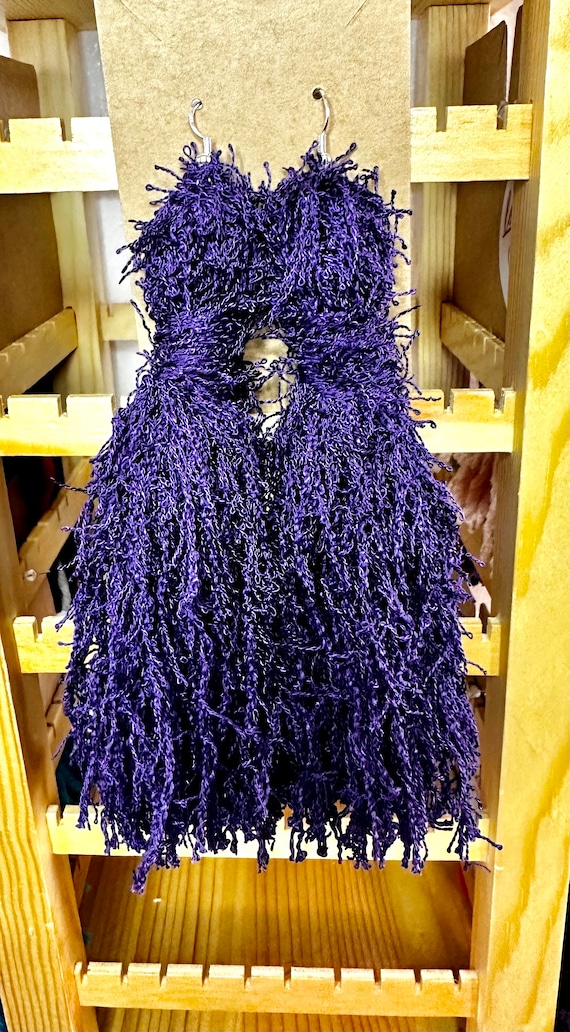
Use a chunky, variegated wool yarn. These are meant to be thick and slightly messy.
They look amazing with a simple white linen dress and give off an effortless art teacher vibe.
2. The Triple-Tiered Ombre
Make three small tassels in three different shades of the same color (e.g., navy, royal blue, sky blue).
Connect them vertically using jump rings. It’s a bit more work, but the movement is incredible.
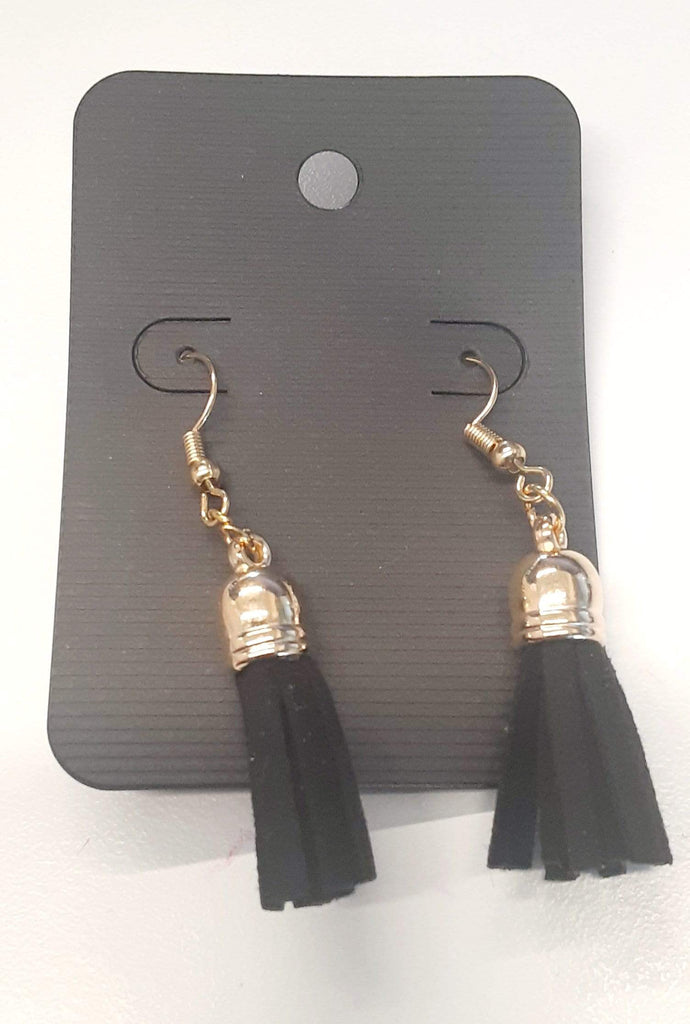
3. The Metallic Glitz
Wrap a strand of gold or silver embroidery thread along with your regular yarn.
It adds just enough sparkle for a night out without being too much.
4. The Minimalist Micro-Tassel
Use a 1-inch template and very fine silk thread. These are subtle, elegant, and perfect for the office.
I like to pair these with a tiny gold bead at the top of the neck.
5. The Geometric Hoop Integration
Instead of hanging the tassel from a jump ring, tie the top of the tassel directly onto a large gold hoop earring.
Space 3 or 5 mini tassels around the bottom curve of the hoop for a fan effect.
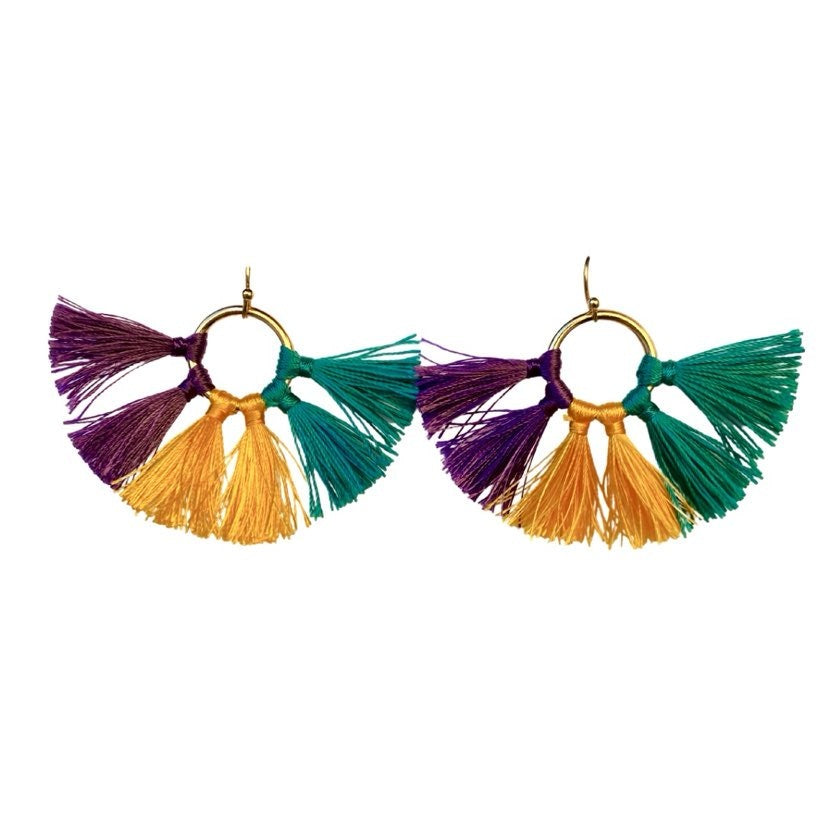
6. The Scrap-Happy Multi-Texture
Mix different types of yarn in one tassel—cotton, eyelash yarn, and ribbon.
The varying weights and textures create a high-end, shabby chic look that hides imperfections well.
7. The Beaded Head Tassel
Before attaching the earring hook, slide a large decorative wooden or glass bead onto the top strings of the tassel.
It acts as a cap and makes the earrings look much more expensive.
8. The Color-Blocked Statement
Wrap half the tassel in one color and the other half in a contrasting color (like black and white).
When you tie the neck, the colors will mingle for a modern, graphic look.
9. The Dip-Dyed Effect
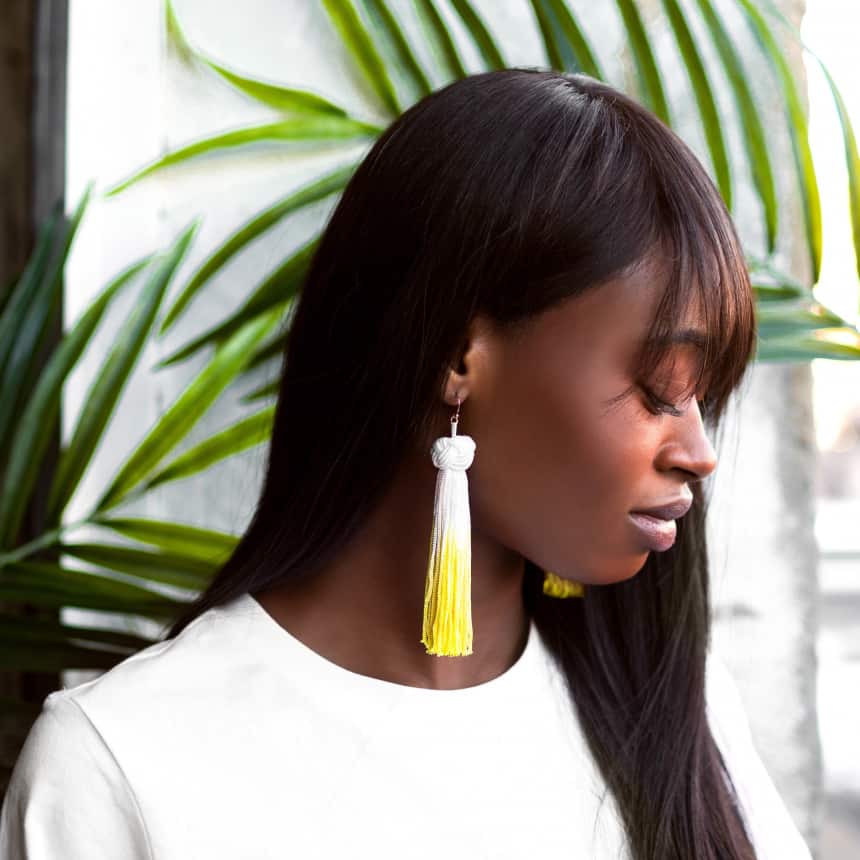
Make a tassel using white cotton yarn. Dip just the bottom 1/4 inch into fabric dye or even strong coffee/tea.
It creates a beautiful gradient that looks very boutique.
10. The Extra-Long Shoulder Dusters
Go bold! Make your tassels 5 or 6 inches long using a very lightweight rayon thread. They should graze your collarbone.
Because rayon is so light, they won’t pull on your ears but will provide maximum drama.
Pro-Tips for Longevity and Professional Finish
- ✓ Steam Them: If your yarn is kinky from being on a skein, hold your finished tassels over a steaming kettle for a few seconds (carefully!). The steam will straighten the fibers instantly.
- ✓ Stiffen the Ends: If you’re using a yarn that tends to fray, dab a tiny bit of clear nail polish or “Fray Check” on the very tips of the yarn after you trim them.
- ✓ Storage Matters: Don’t throw these in a crowded jewelry box. Hang them up or lay them flat. If they get bedhead, a quick spritz of water and a finger-comb will fix them.
- ✓ The Weight Factor: Always test the weight of your yarn. A huge wool tassel might look cool, but if it weighs down your earlobe, you won’t wear it. Stick to cotton for larger designs.
Frequently Asked Questions
Q: Can I use embroidery floss instead of yarn?
A: Absolutely! In fact, embroidery floss is easier for beginners because it’s already measured in a way. One skein usually makes two medium-sized tassels. It also has a nice sheen that mimics silk.
Q: How do I make both earrings exactly the same length?
A: The Tape Trick is your best friend. Lay both earrings side-by-side on your cutting mat. Tape them down at the top so they don’t move. Place a single strip of tape across the bottom of both, then cut across. Perfect symmetry every time!
Q: My tassels keep coming untied at the neck. What am I doing wrong?
A: You need more friction. Instead of a standard knot, try a Surgeon’s Knot (wrap the thread through the loop twice before pulling tight). You can also add a tiny dot of super glue to the knot before tucking the ends away.
Q: Can I wash yarn earrings?
A: I wouldn’t recommend it. The agitation will cause the yarn to felt or frizz. If they get dirty, spot clean with a damp cloth and a tiny bit of mild soap, then steam them back into shape.
Conclusion
Making your own yarn tassel earrings is more than just a way to save money—it’s a way to express your personal style without the constraints of what’s in season at the mall.
Once you get the hang of the wrapping and trimming, you’ll find yourself looking at every ball of yarn as a potential accessory.
Start with a simple pair, master the haircut, and then move on to the more advanced styles like the tiered ombre or the beaded caps.
Your jewelry box (and your friends, who will definitely want a pair) will thank you! Happy crafting!
Leave a Reply