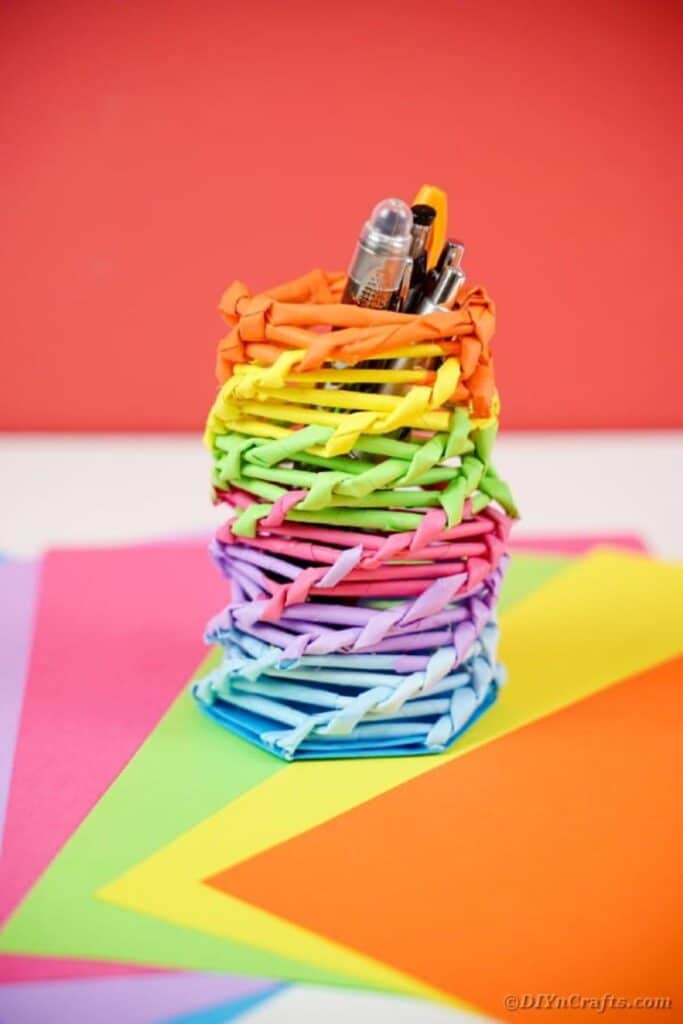
Upcycling everyday items into functional art is the hallmark of a creative home. A DIY paper straw rainbow organizer is more than just a colorful desk accessory; it is a sustainable solution for managing stationery, makeup brushes, or craft supplies.
By utilizing the structural integrity of rigid paper straws and the visual appeal of a spectrum of colors, you can create a sturdy, multi-compartment vessel that adds a whimsical touch to any workspace.
This project is budget-friendly, beginner-accessible, and highly customizable, making it a favorite for those looking to reduce plastic waste while enhancing their interior decor.
The Ultimate Guide to Crafting a Paper Straw Rainbow Organizer
Creating a rainbow organizer requires precision and a bit of patience, but the result is a high-impact piece of decor. Before diving into the construction, it is essential to understand the physics of the “rainbow” shape.
To achieve the arch, straws must be cut at varying heights and glued in a specific sequence to ensure stability.
Essential Materials and Tools
To ensure your organizer is durable and professional-looking, gather the following high-quality supplies:
| Material/Tool | Purpose | Recommendation |
|---|---|---|
| Paper Straws | The main structural element | Use thick, multi-ply straws (50-100 pieces) |
| Heavy Cardboard | The base of the organizer | Upcycled shipping boxes or chipboard |
| Hot Glue Gun | For immediate, strong bonding | High-temp glue for better adhesion |
| Precision Scissors | For clean cuts on straws | Sharp craft scissors or a utility knife |
| Ruler/Measuring Tape | Ensuring symmetrical height | Metric or Imperial ruler |
| Pencil | Marking cut lines | Standard graphite pencil |
| Acrylic Sealer (Optional) | For durability and shine | Clear matte or glossy spray |
Step-by-Step Tutorial: Building Your Rainbow Organizer
Step 1: Sorting and Planning Your Spectrum
Before any cutting begins, sort your paper straws by color. For a classic rainbow effect, follow the ROYGBIV (Red, Orange, Yellow, Green, Blue, Indigo, Violet) sequence.
If you are using patterned straws, group them by “visual weight” to ensure the colors flow naturally from one side to the other.
Step 2: Preparing the Base
Cut a piece of heavy cardboard into a rectangle. A standard size for a desk organizer is 6 inches by 4 inches. This will serve as the foundation.
You may choose to paint the cardboard a neutral color (like white or gold) before attaching the straws to ensure no brown edges peek through.
Step 3: Measuring and Cutting the Straws
To create the rainbow arch, your straws need to vary in height.
- • The Outer Layer: Start with the tallest straws (usually 7-8 inches).
- • The Inner Layers: Each subsequent color layer should be approximately 0.5 inches shorter than the one outside it.
Pro Tip: Use a template. Cut one straw to the desired length and use it as a guide for all other straws of that same color.
Step 4: The Assembly Process
Apply a thin line of hot glue to the bottom of the first straw (the tallest color) and press it firmly onto the edge of your cardboard base.
- 1 Build the Perimeter: Glue the tallest straws around the outer edge to create the “frame.”
- 2 Layer Inward: Move to the next color in the rainbow. Glue these straws directly inside the first row.
- 3 Reinforce: Every 5-10 straws, add a small bead of glue between the sides of the straws to prevent them from “splaying” or leaning.
Step 5: Creating Compartments
If you want your organizer to hold different items (e.g., pens in one section, paperclips in another), use leftover straw pieces to create internal dividers.
Glue these horizontally or vertically inside the main arch to partition the space.
10 Creative Styles for Your Paper Straw Organizer
To make your project truly unique, consider these 10 themed variations. Each style utilizes the same basic construction technique but varies the color palette and finishing touches.
1. The Pastel Dream Desktop Caddy
Perfect for a nursery or a “cozy desk” aesthetic, this version uses soft mint, blush pink, lavender, and lemon yellow straws. The key to this look is low contrast.
Use white glue instead of hot glue (if you have time to let it dry) to avoid visible “webs” and keep the finish looking airy and light.
2. Metallic Luxe Pencil Holder
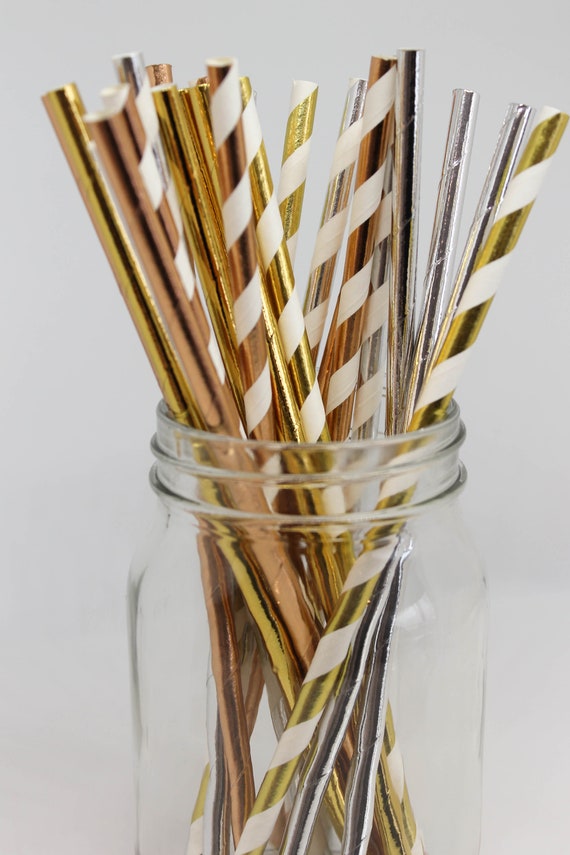
Transform paper into “metal” by using straws with foil finishes. Alternate between gold, silver, and rose gold to create a high-end, sophisticated look that fits a modern office.
This style looks best when the straws are all cut to the same height for a sleek, architectural “grid” feel.
3. Ombre Gradient Tiered Organizer
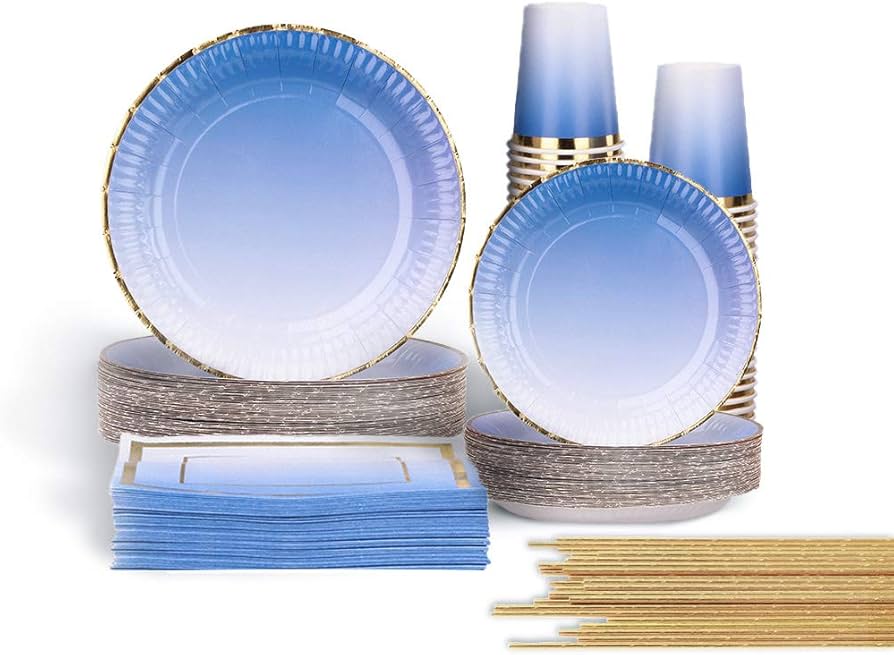
Instead of a full rainbow, choose one color (like blue) and use straws in various shades from navy to sky blue. Arrange them so the darkest straws are on the outside and they gradually get lighter as they move toward the center.
This creates a calming, professional visual effect.
4. Monochrome Industrial Grid
Using only black, white, and grey straws creates a minimalist, Scandinavian-inspired piece. You can create patterns like chevrons or stripes by alternating the colors within the rows.
This is an excellent choice for a minimalist workspace where bright colors might be distracting.
5. Jewel-Toned Makeup Brush Holder
Deep emerald greens, ruby reds, and royal purples give the organizer a regal feel. Because makeup brushes are top-heavy, reinforce the base of this organizer with an extra layer of cardboard or a small wooden plaque to prevent tipping.
6. Boho Natural Jute Wrapped Straws
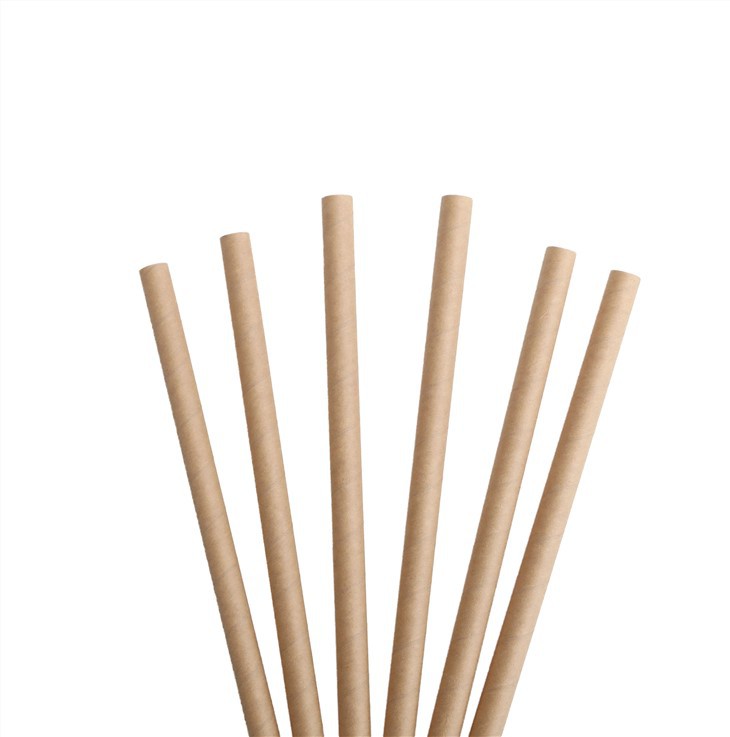
For a rustic or farmhouse look, use plain kraft paper straws. Once the organizer is built, wrap a few strands of jute twine around the center and tie it with a bow.
You can even glue small dried flowers to the front for an organic, earthy touch.
7. Neon Pop Art Stationery Stand
Embrace the 80s aesthetic with neon pink, electric lime, and vibrant orange. This style is perfect for a student’s desk or a creative studio.
To make the colors “pop” even more, use a black cardboard base to provide a sharp contrast.
8. Vintage Floral Patterned Holder
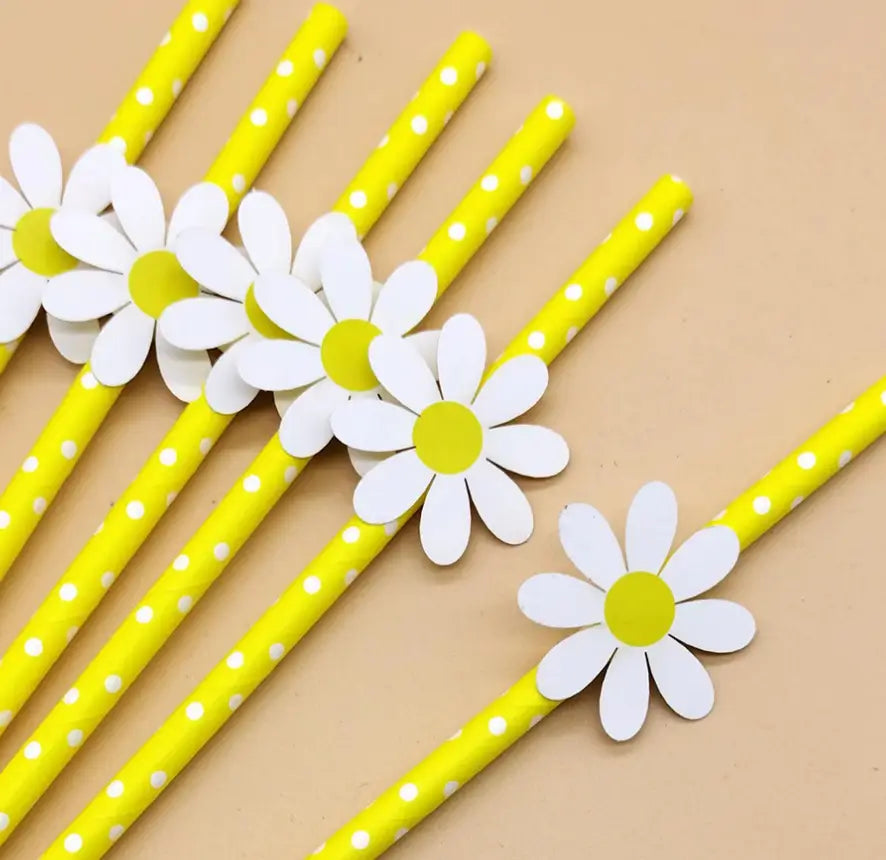
Many paper straws come printed with delicate rose or wildflower patterns. Mixing these with solid-colored straws creates a “shabby chic” look.
This version works beautifully as a vanity organizer for holding combs, brushes, and hair accessories.
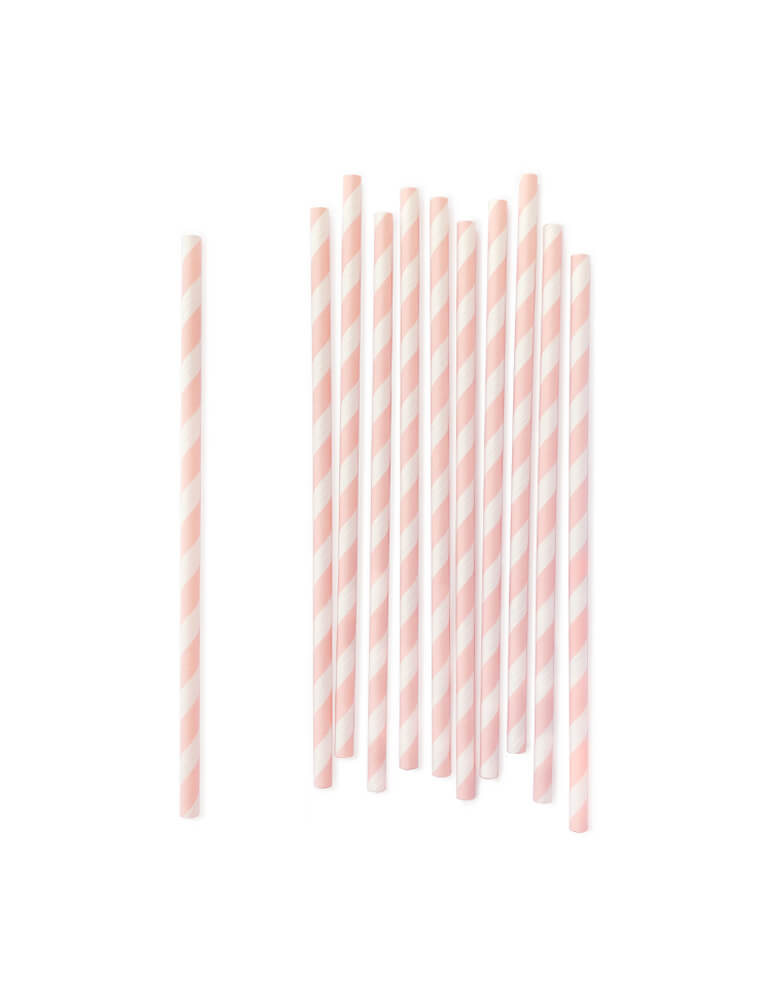
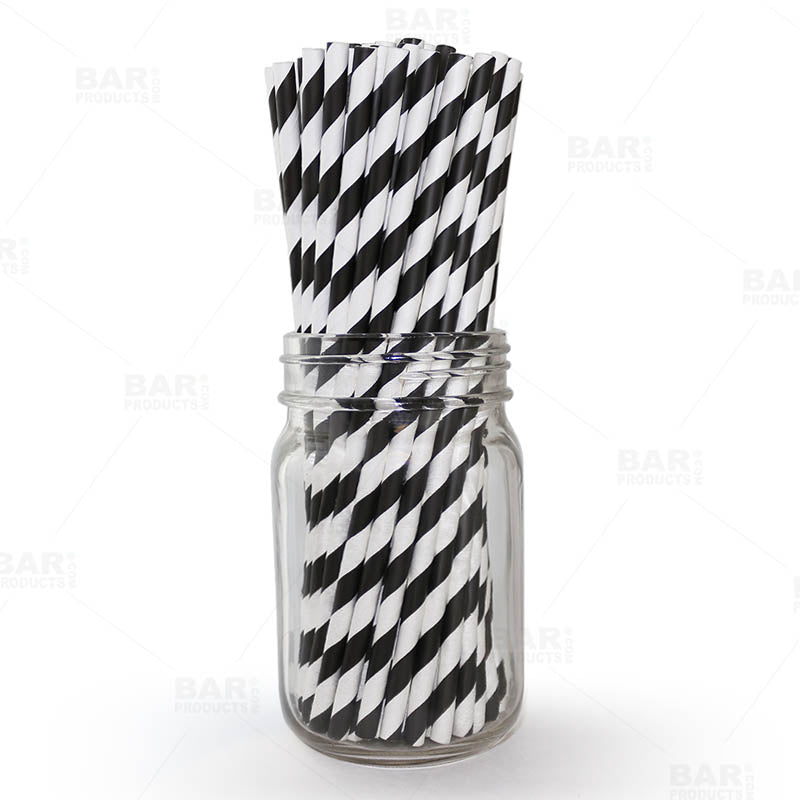
9. Holiday Themed Candy Cane Organizer
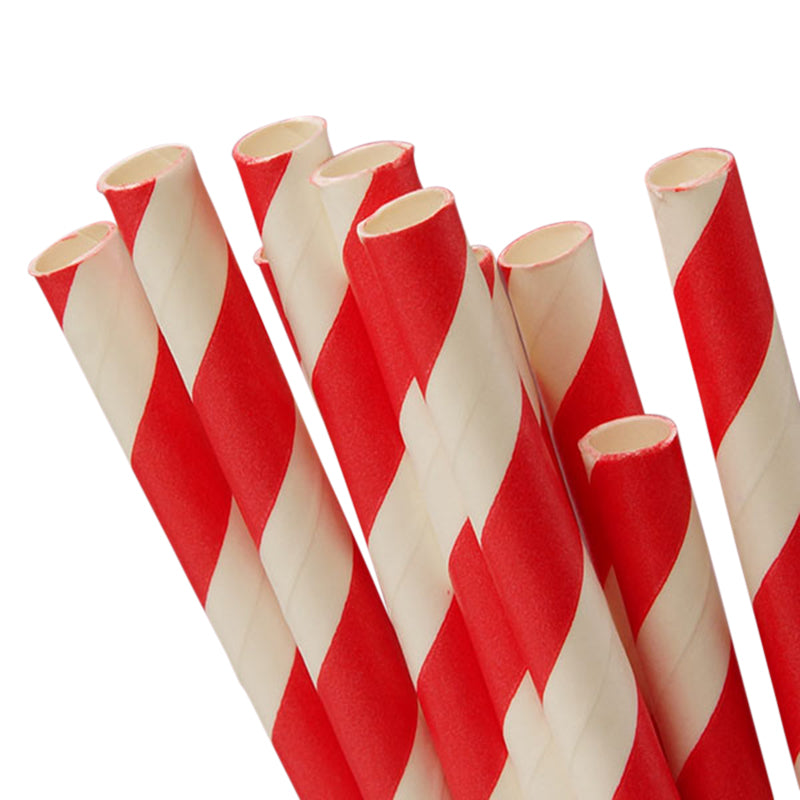
Using red and white striped straws creates an instant festive vibe. You can adapt this for any holiday: orange and black for Halloween, or green and red for Christmas.
It’s a great way to use up leftover party straws from seasonal events.
10. Minimalist Scandi White & Wood
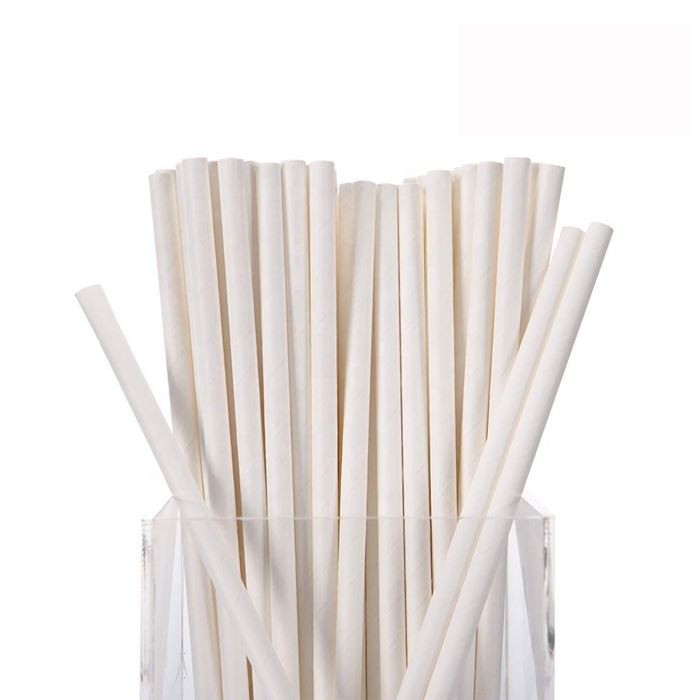
Use pure white straws and pair them with a light wood base (like balsa wood or a bamboo coaster). This ultra-clean look is perfect for those who follow a “less is more” philosophy in their home decor.
It hides the “DIY” nature of the project and makes it look like a designer boutique find.
Expert Tips for a Professional Finish
-
★
Seal the Paper: Paper straws are susceptible to moisture. If you plan to use this in a bathroom or kitchen, spray the finished piece with a clear acrylic sealer. This prevents the paper from softening over time. -
★
Uniform Cutting: If you struggle with straight cuts, use a small miter box or a guillotine-style paper cutter for the straws. A jagged edge will make the organizer look “homemade” rather than “handcrafted.” -
★
Weight the Base: If you are storing heavy items like scissors or large markers, glue a few flat stones or a metal washer to the bottom of the cardboard base before you start gluing the straws. This lowers the center of gravity and prevents the organizer from falling over.
FAQ: Frequently Asked Questions
How many straws do I need for a standard organizer?
For a medium-sized organizer (approx. 6 inches wide), you will typically need between 60 and 80 straws, depending on how many rows of depth you choose to create.
Is hot glue the best adhesive to use?
Hot glue is preferred because it sets instantly, allowing you to build the “walls” of the organizer without the straws sliding around. However, for a more permanent and heat-resistant bond, a strong tacky glue or E6000 can be used, though it requires much longer drying times.
Can I clean the organizer?
Because it is made of paper, you cannot submerge it in water. To clean, use a dry microfiber cloth or a canned air duster to remove debris from between the straws.
How do I prevent the straws from bending?
Ensure you are using “high-durability” or “biodegradable” paper straws which are usually thicker. Avoid the very cheap, thin straws often found in bulk party packs, as they may collapse under the weight of heavy pens.
Conclusion
The DIY paper straw rainbow organizer is a testament to the power of upcycling. By taking a simple, disposable item and applying basic geometric principles and a splash of color, you can create a high-authority piece of decor that is both functional and environmentally conscious.
Whether you opt for a vibrant ROYGBIV spectrum or a sophisticated metallic finish, the key to success lies in the precision of your cuts and the stability of your base.
Start sorting your straws today and transform your workspace into a organized, colorful haven of productivity.
Leave a Reply