Summer paper crafts turn ordinary sheets into pieces that brighten rooms, mark seasonal moments, and give you something tangible to display or gift. Each project relies on basic cutting, folding, and layering techniques that reward attention to color and texture choices rather than complicated equipment.
Paper Flower Bouquets
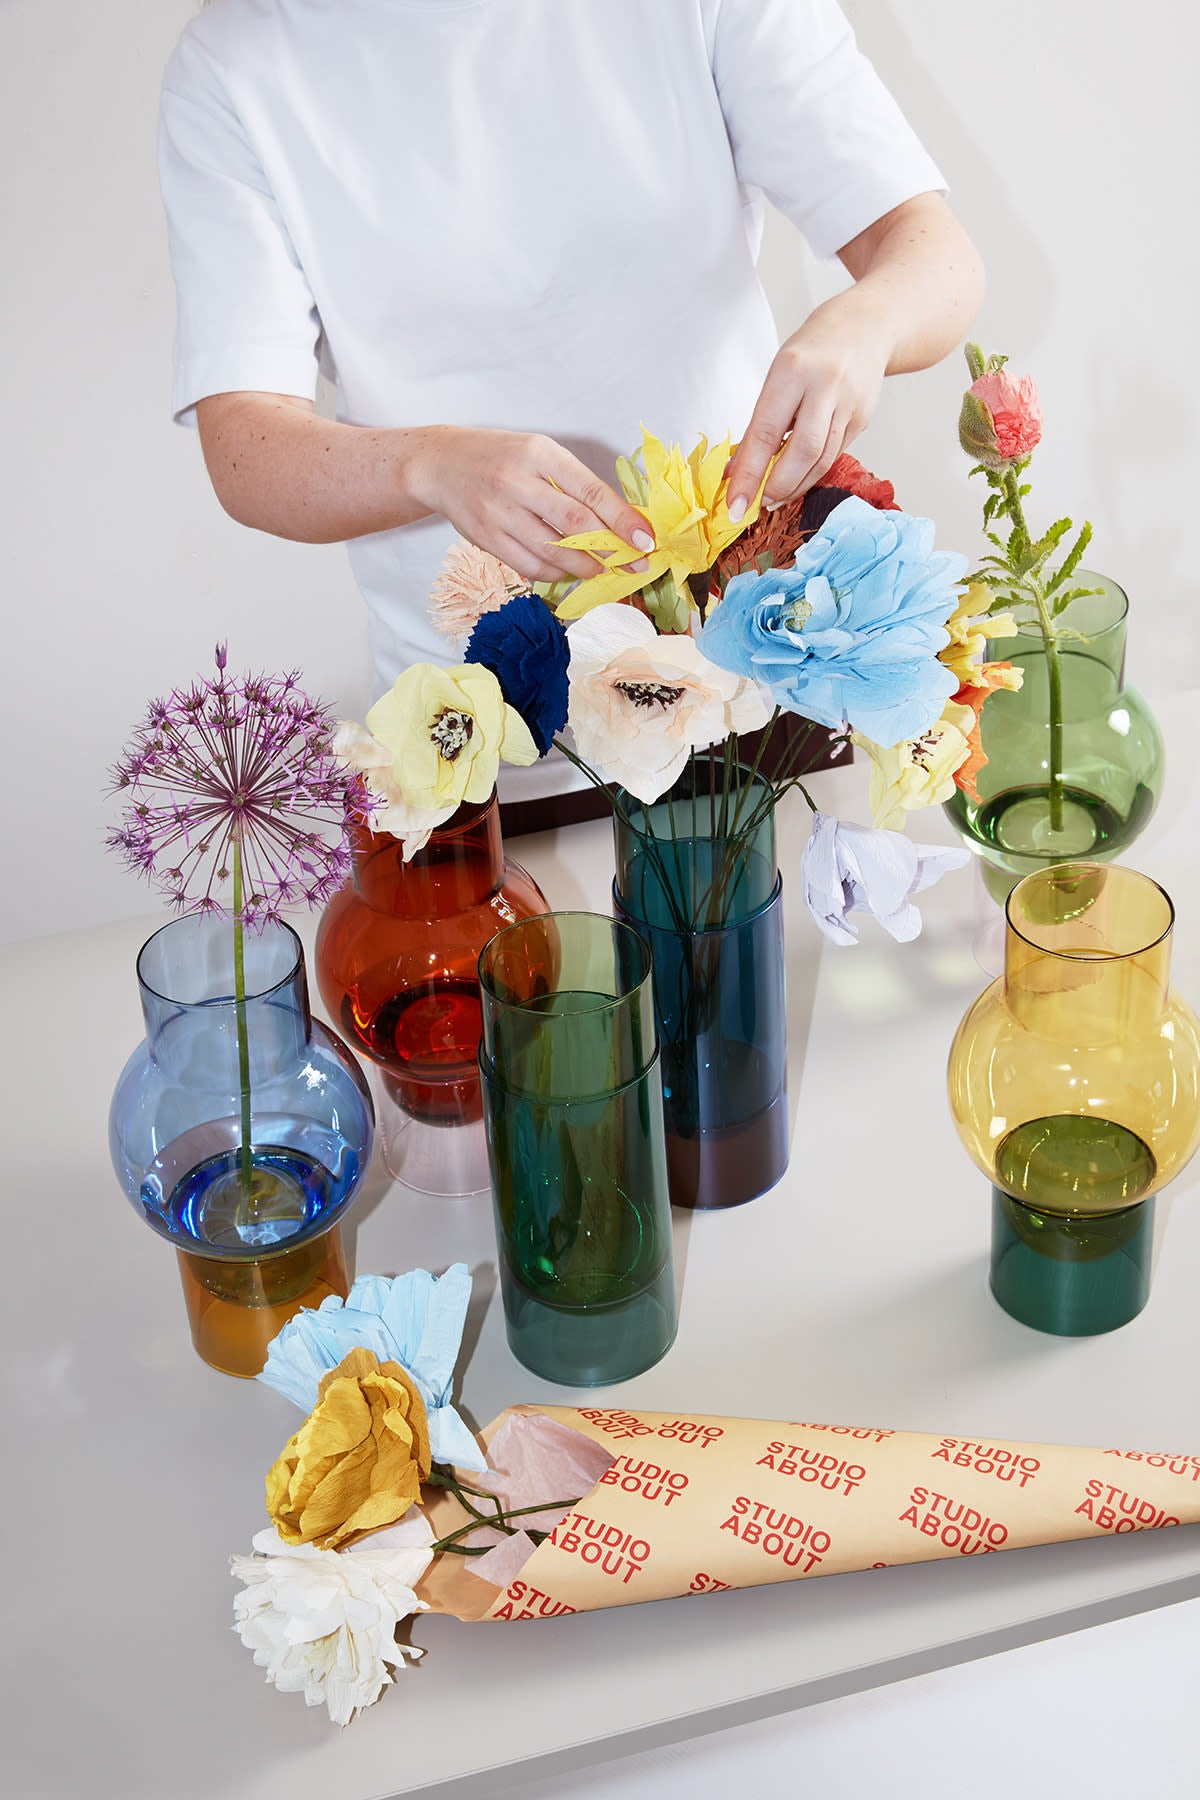
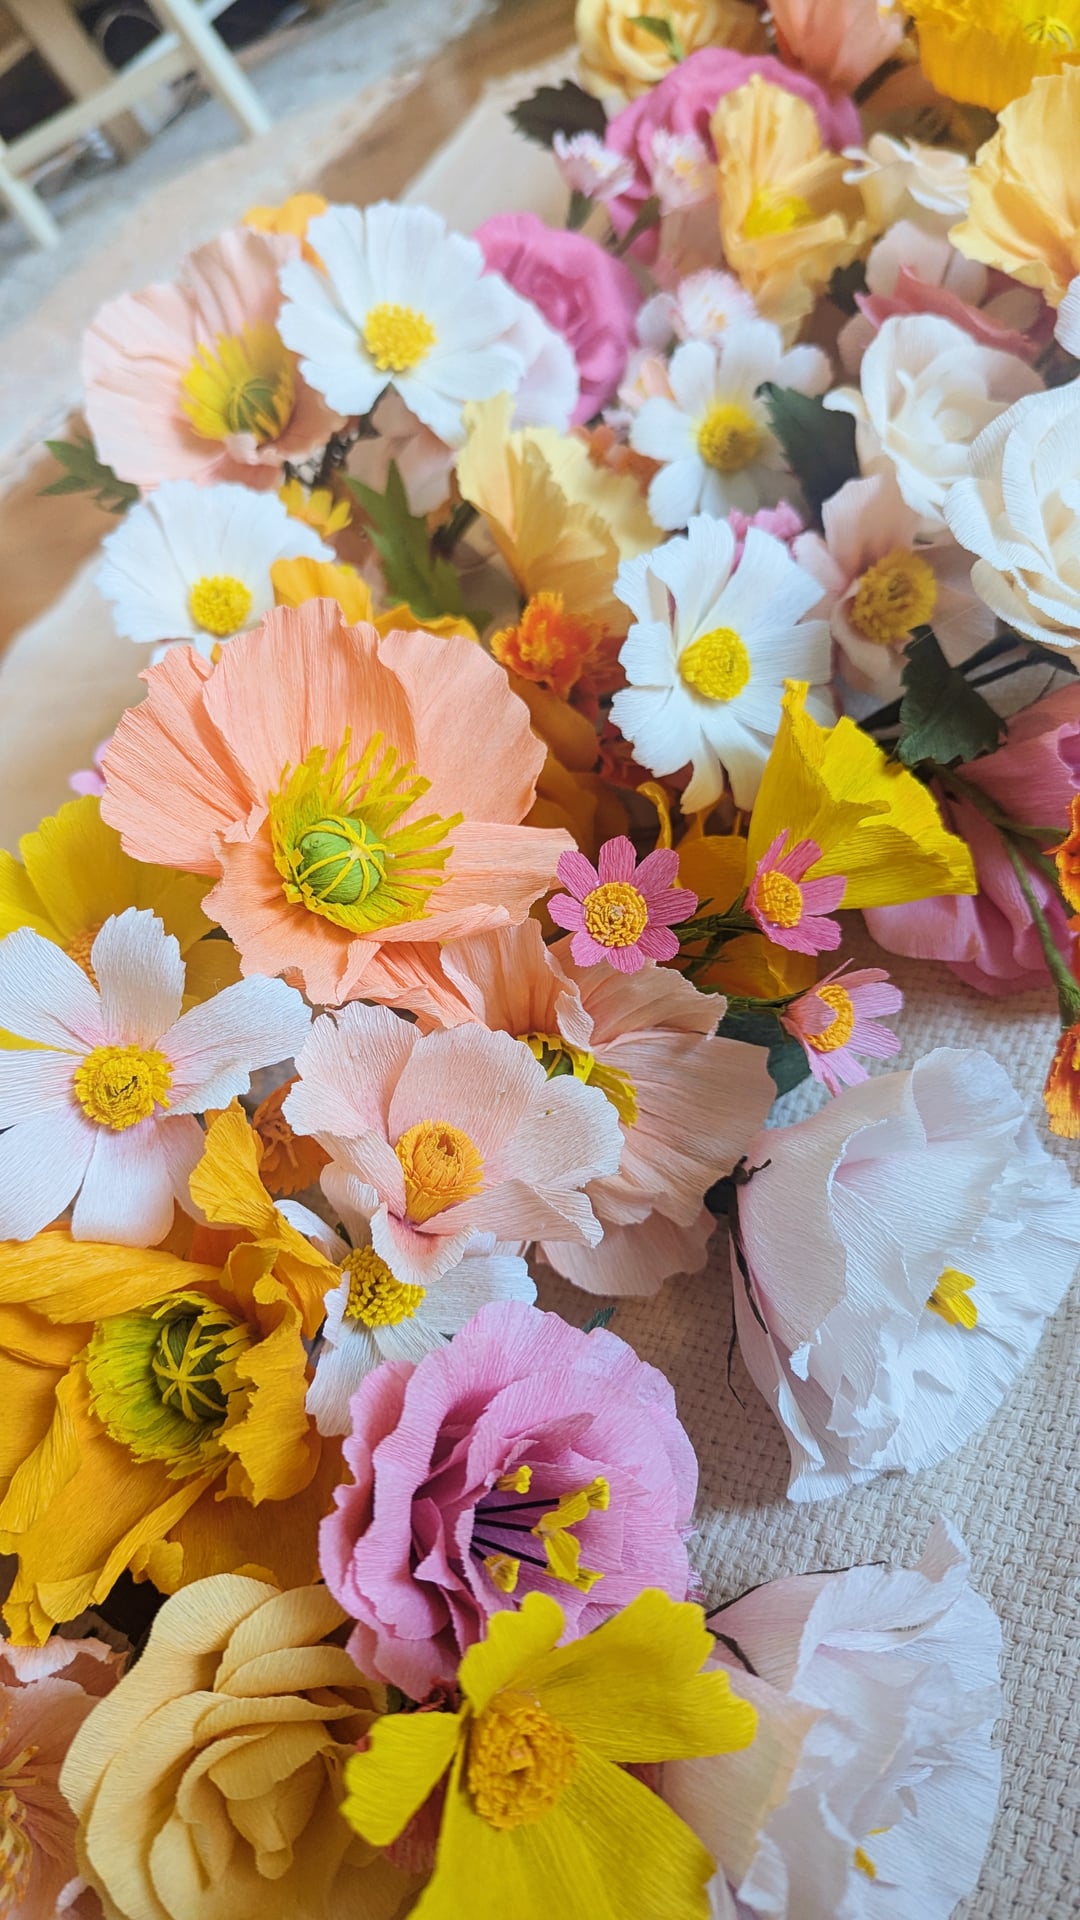
Layered petals cut from cardstock create depth that mimics real blooms without wilting in heat. Choose matte papers in saturated hues for a bold look or mix in metallic accents for evening light reflection. Stems formed from wrapped floral wire let you adjust height and arrangement freely once the blooms are assembled.
Varying petal counts per flower changes the final silhouette dramatically, so test a few versions before committing to a full bouquet. Place finished stems in a low vase with river stones at the base to keep everything upright on a dining table or mantel. One common oversight is skipping the step of curling petal edges with a pencil, which flattens the overall appearance.
How long do paper flowers hold their shape in humid rooms?
Paper flowers retain crisp edges for months when kept away from direct moisture sources such as kitchen sinks or bathroom counters. Store extras in a dry drawer between layers of tissue if you plan to rotate displays seasonally.
Origami Lanterns
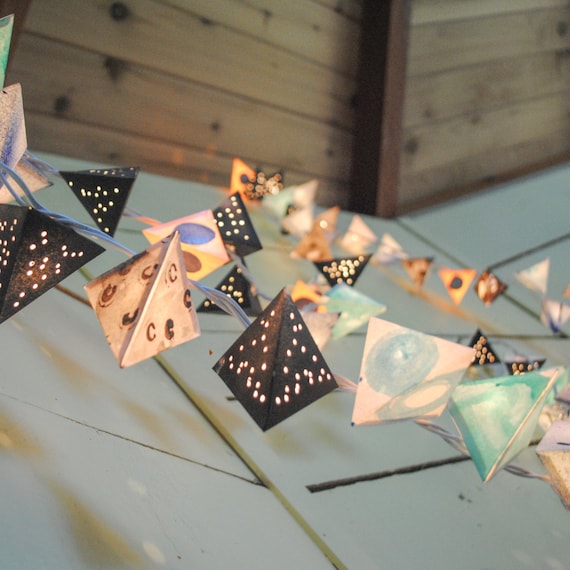
Folding translucent sheets into geometric forms produces soft light diffusers that work equally well indoors or on covered porches. Select papers with subtle patterns so the glow highlights the folds rather than competing with them. Battery tea lights slipped inside avoid any fire risk while still casting gentle shadows on nearby walls.
Scale matters here because larger lanterns need reinforced seams to prevent sagging over time. Hang several at staggered heights above a seating area to create a layered canopy effect. A frequent mistake is using paper that is too thin, which tears at the folds during assembly.
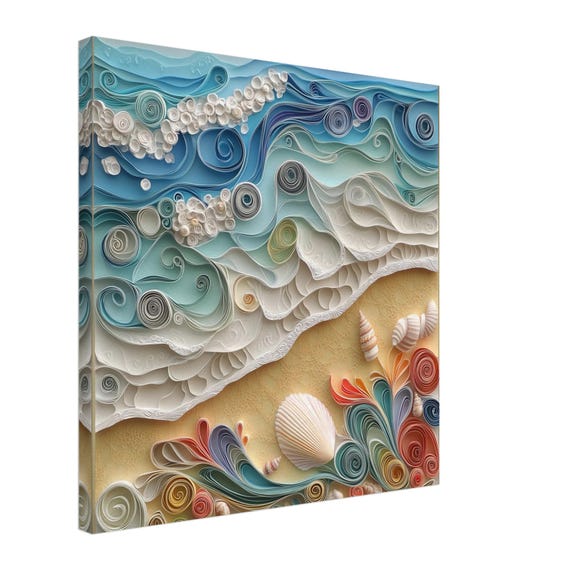
Beach Scene Paper Dioramas
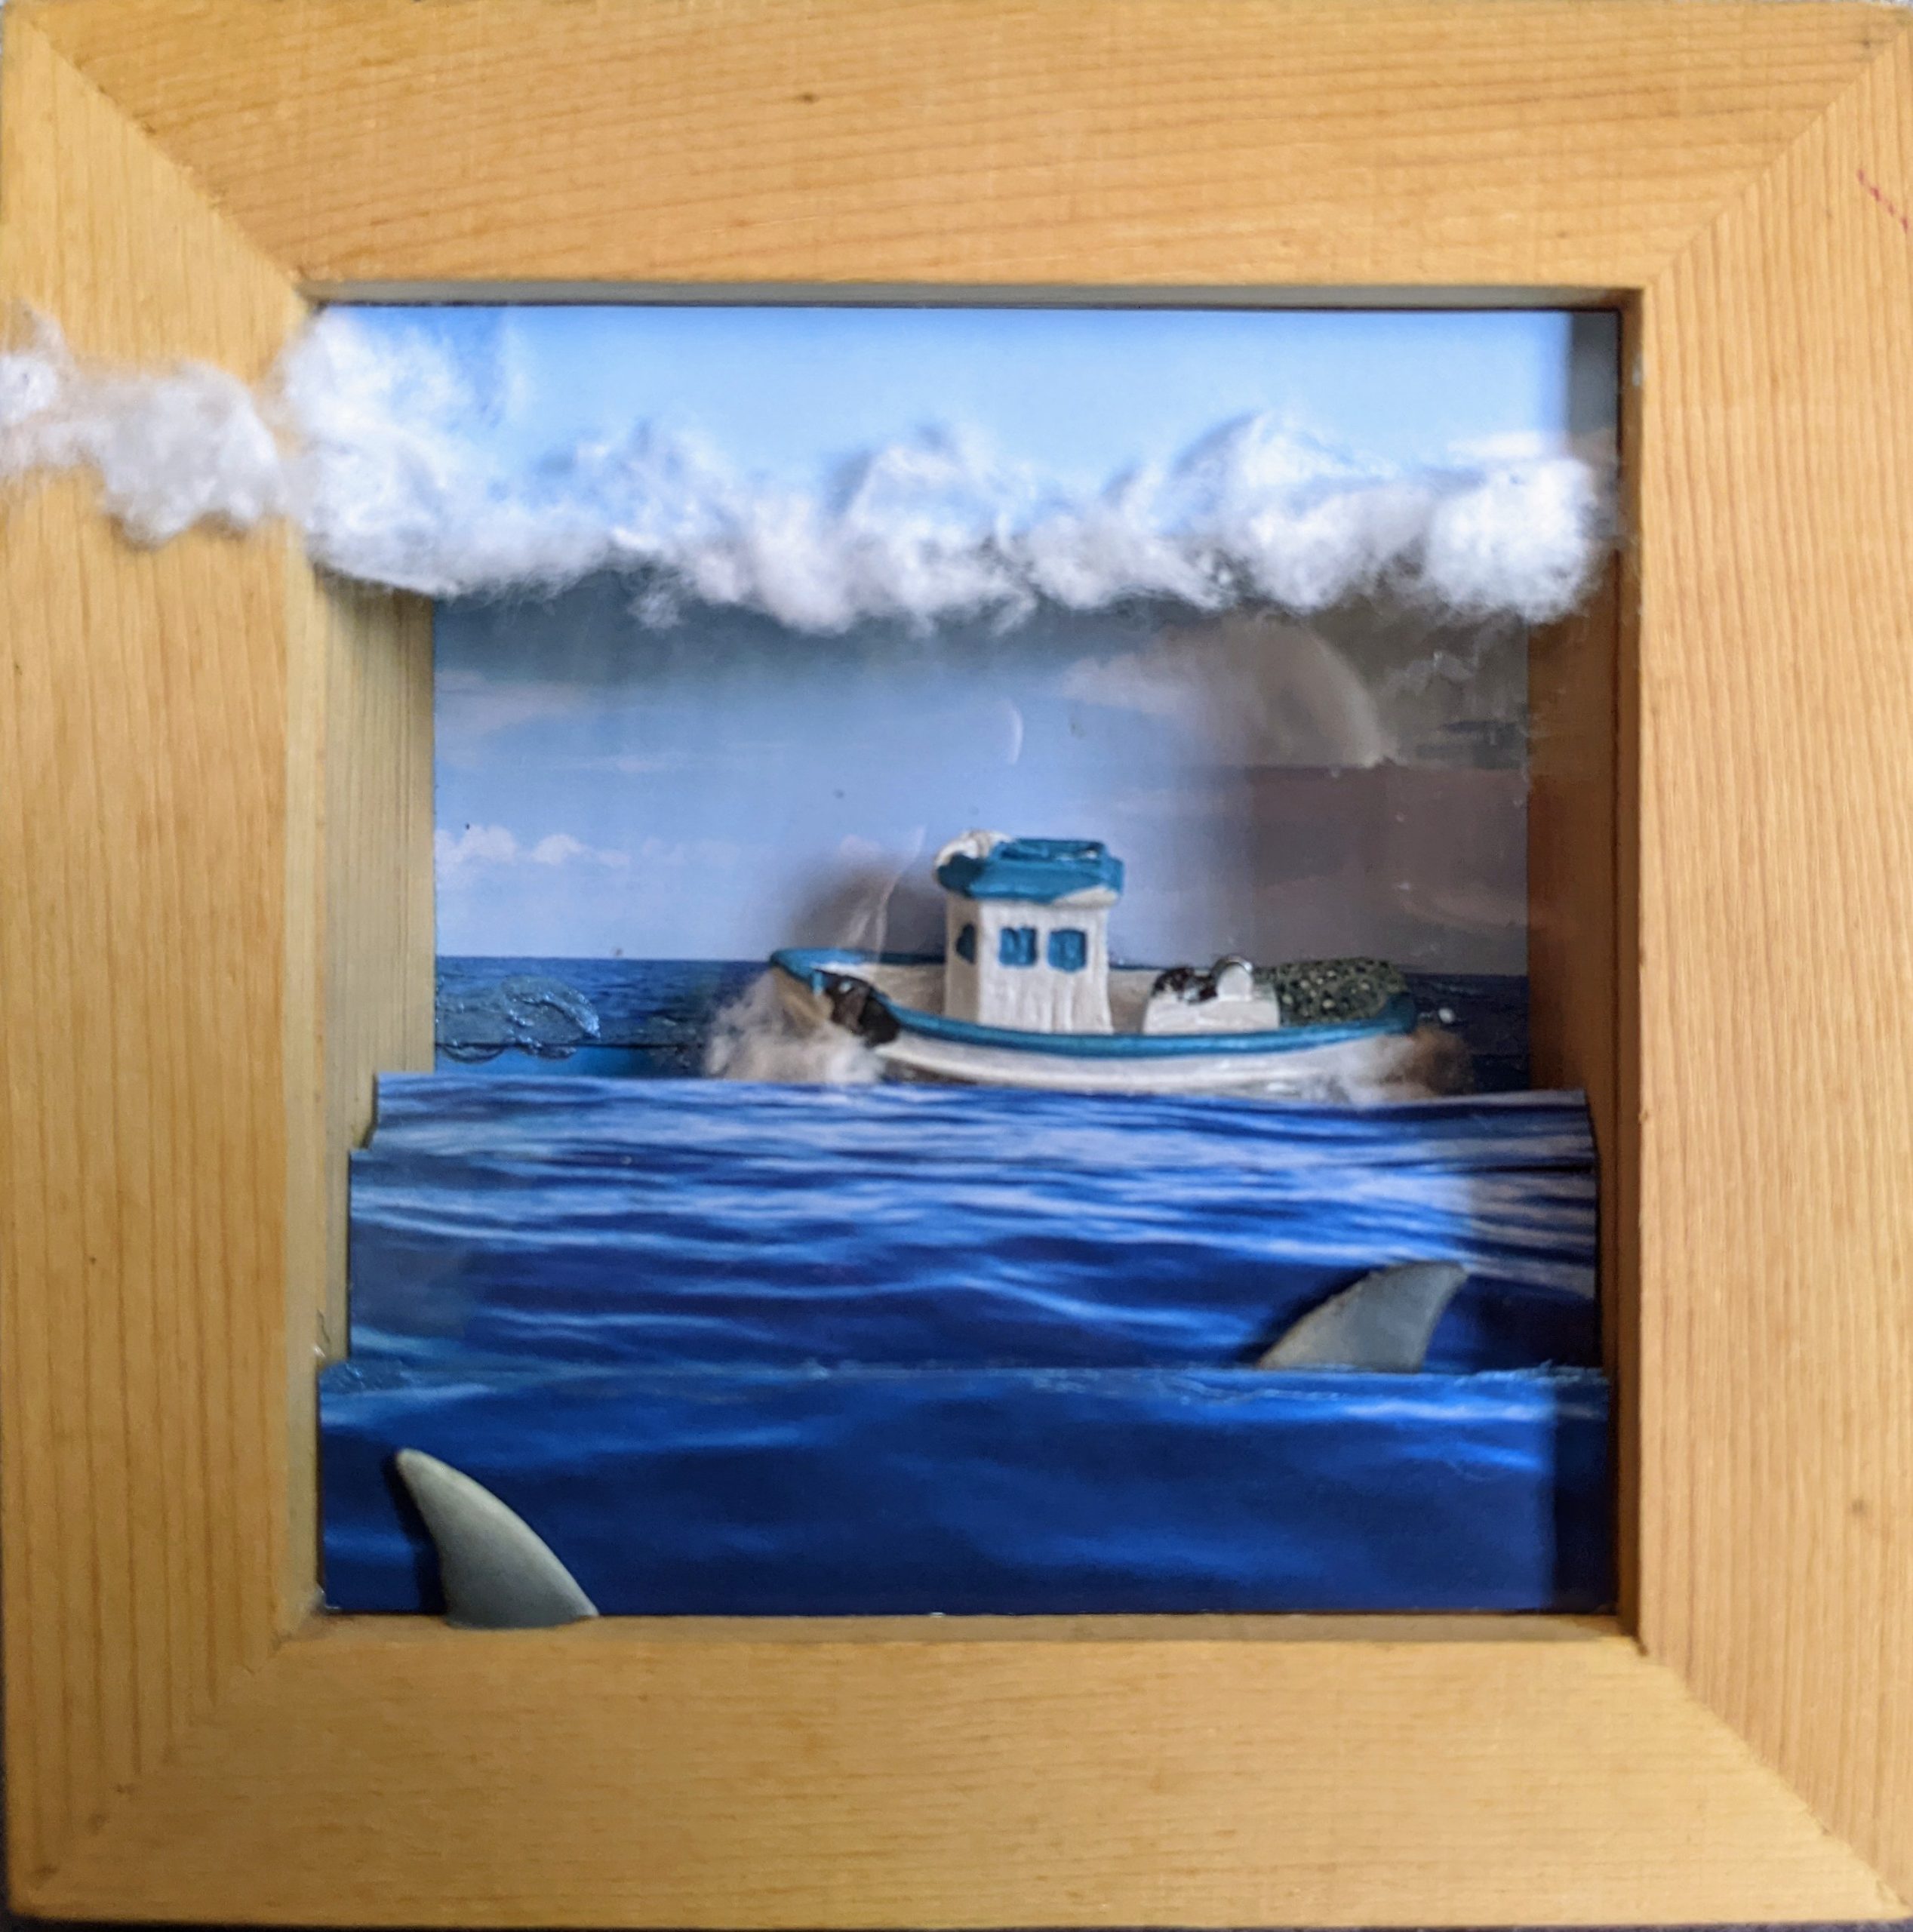
Shadow boxes layered with cut waves, tiny paper umbrellas, and sand-colored backgrounds capture a miniature shoreline view. Position elements at different depths so the scene gains perspective when viewed straight on. Add small shells or driftwood bits glued to the base for extra texture without leaving the paper theme.
These dioramas fit narrow shelves where larger art would overwhelm the space. Rotate the box seasonally by swapping the color palette from bright summer tones to softer autumn shades. Keep the front glass clean so light passes through the layers evenly.
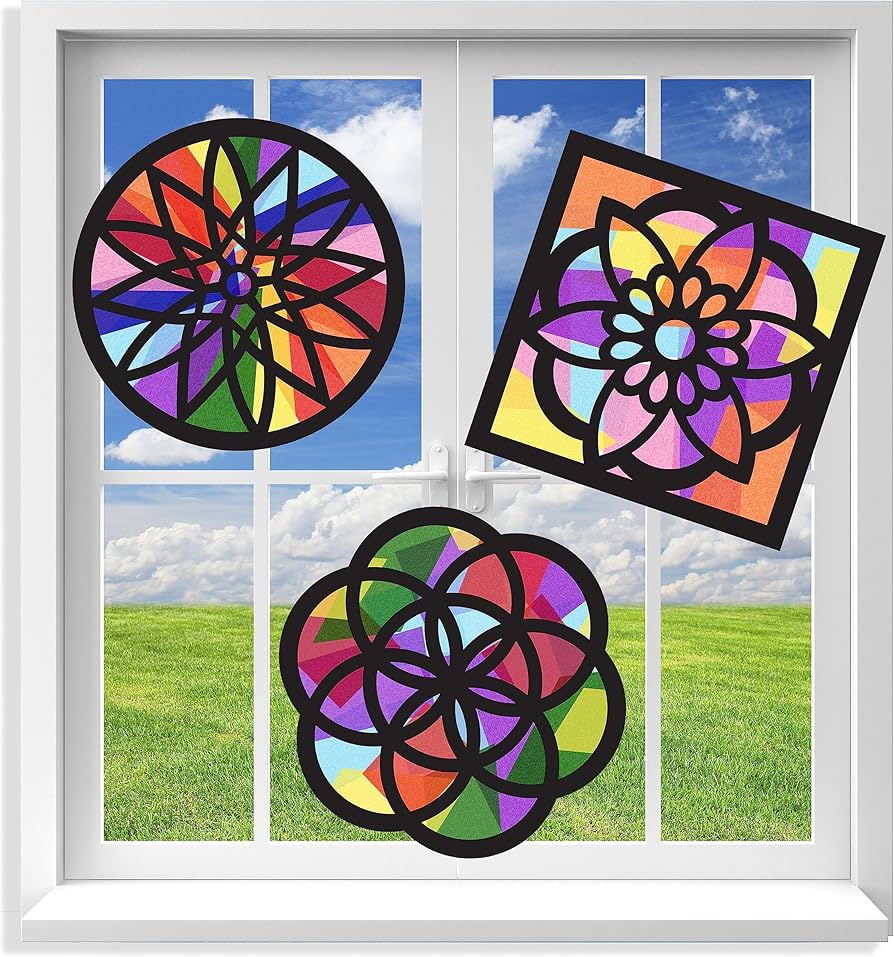
Tissue Paper Window Decorations
Overlapping tissue circles or abstract shapes taped to glass catch morning light and cast colored patterns across floors. Use a clear contact sheet on the back to hold everything in place without visible tape edges. Experiment with gradients by graduating from pale to deep tones within the same panel.
Because tissue is lightweight, these pieces move slightly with air currents and add subtle motion to a static window. Replace faded sections every few weeks if direct sun exposure is constant. Avoid heavy layering that blocks too much natural light from entering the room.
Paper Fan Garlands
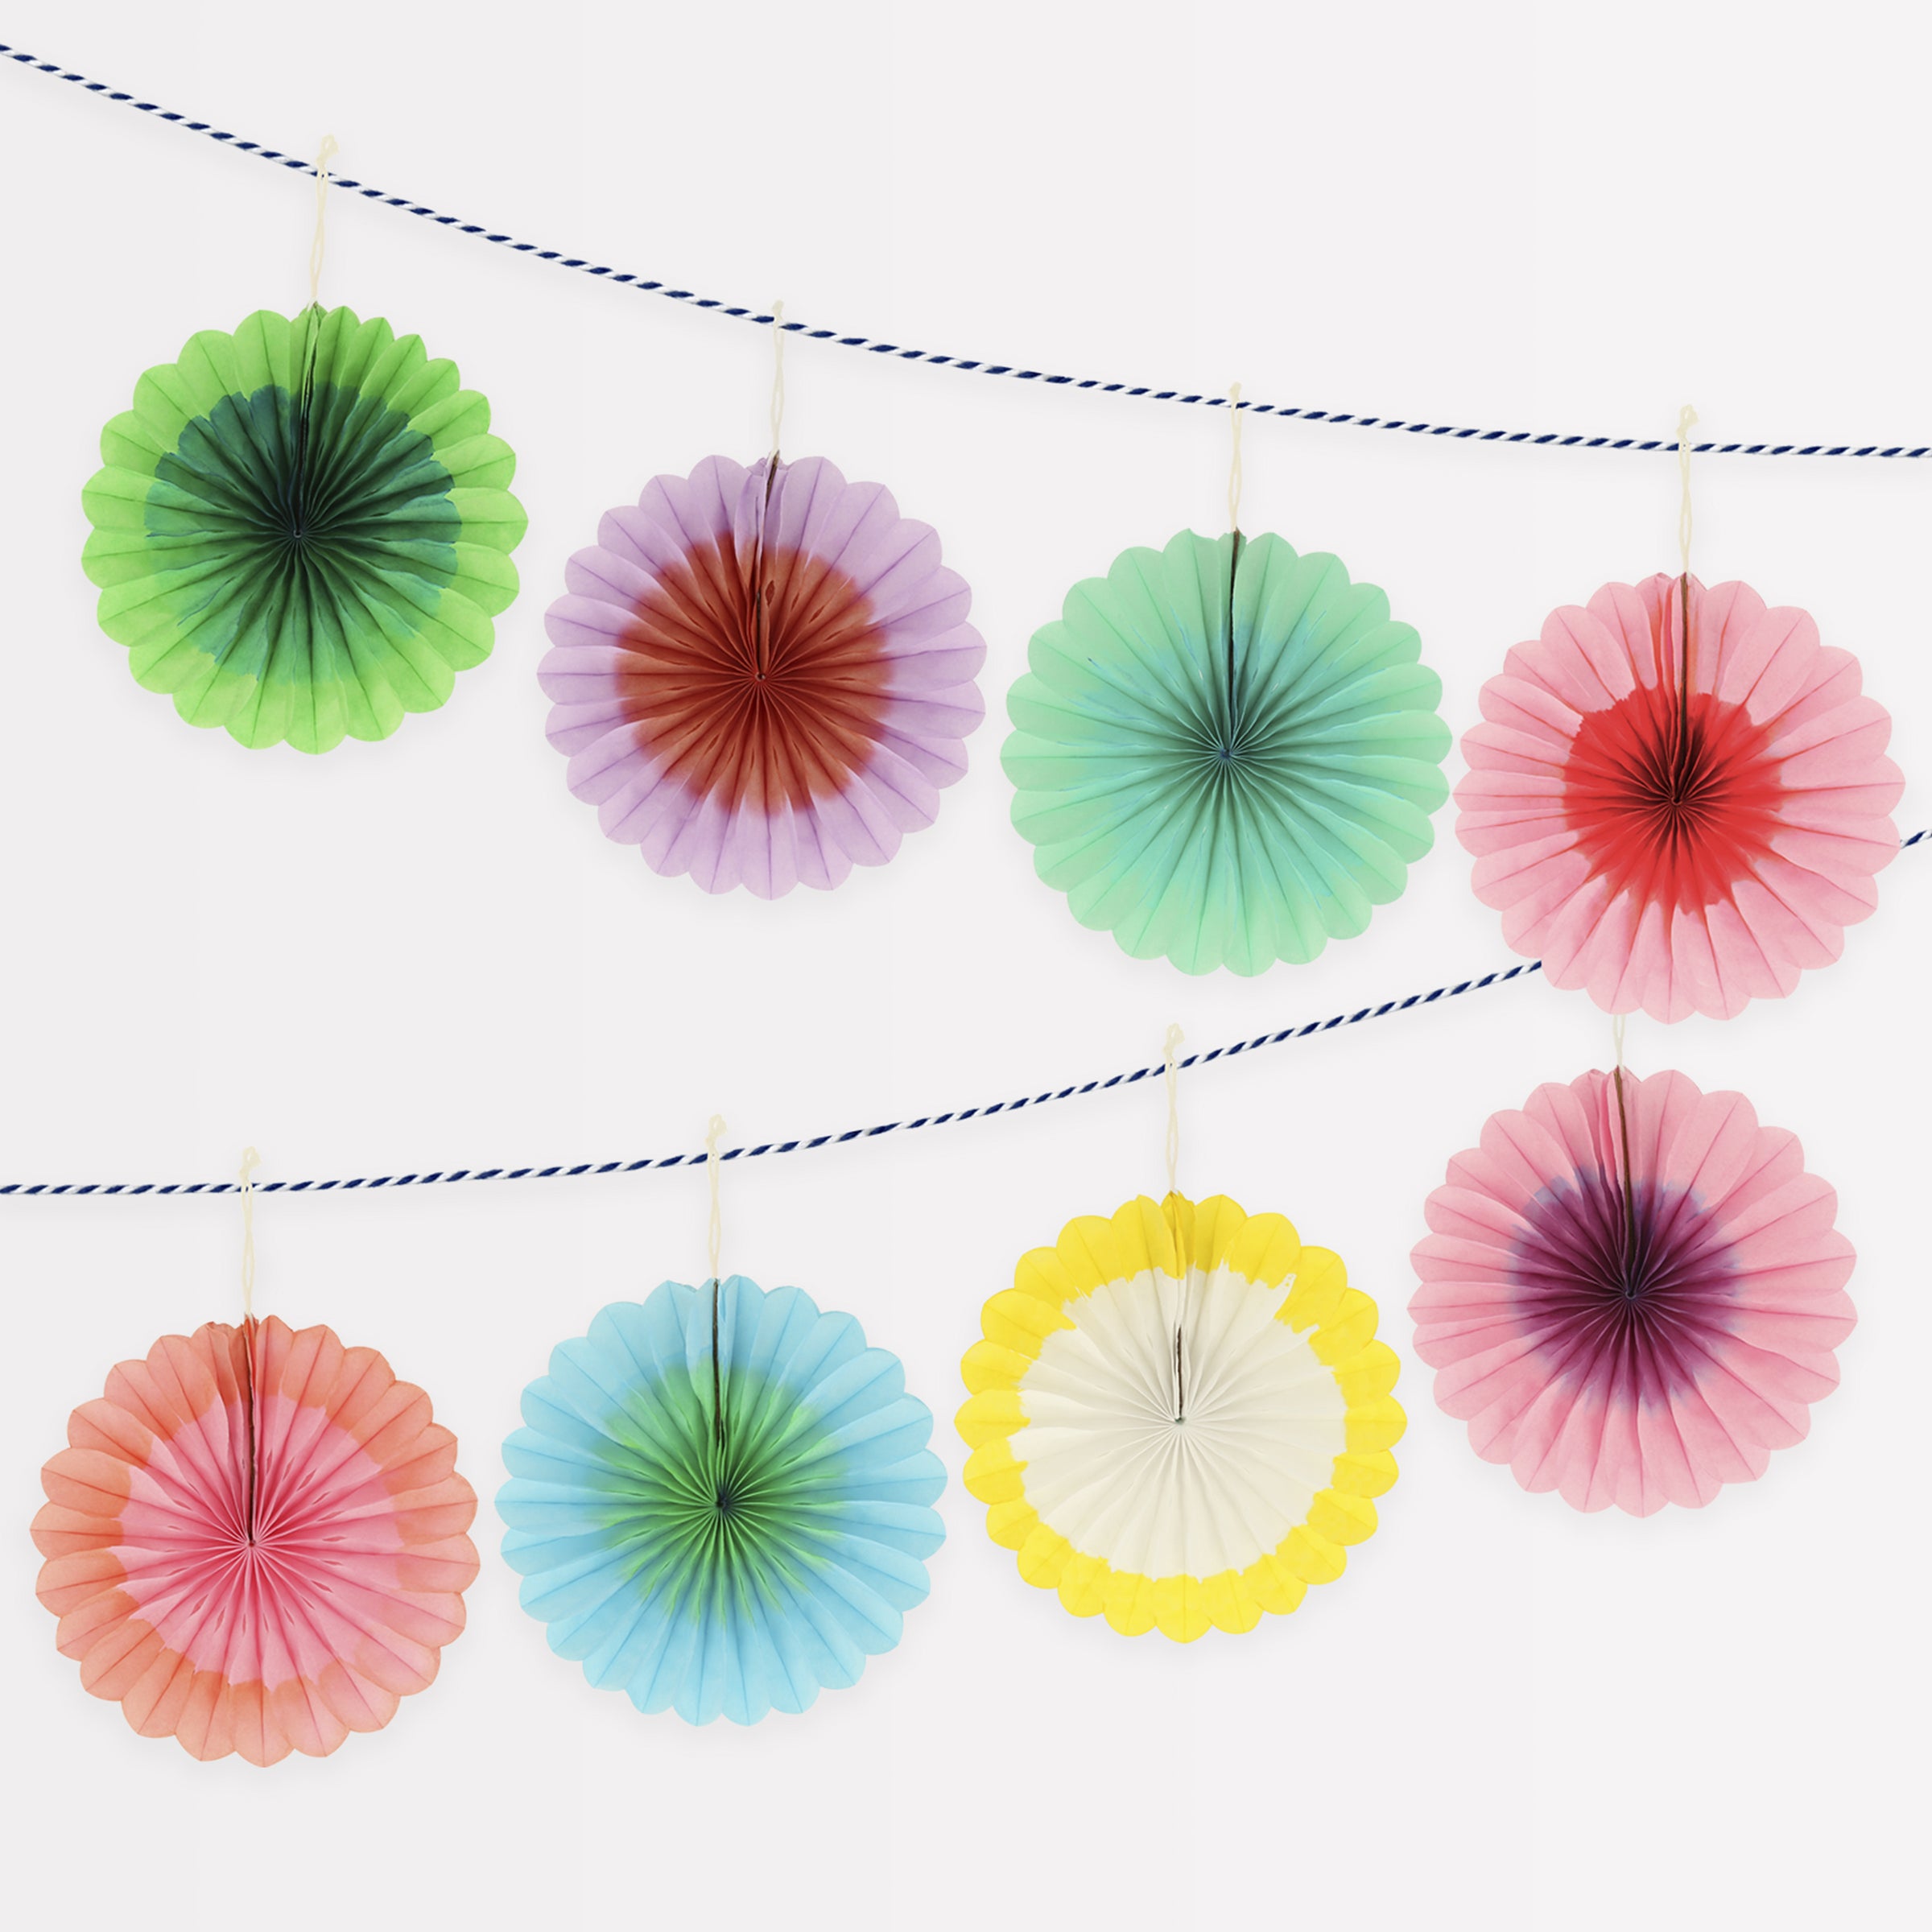
Accordion-folded paper circles strung on twine produce rhythmic texture along mantels or stair rails. Alternate between solid colors and light patterns to keep the line visually interesting without becoming busy. Secure each fan with a small dab of glue at the center before threading so it stays open.
Length adjustments happen easily by adding or removing sections, making the garland adaptable to different wall widths. Store flat between sheets of cardboard when not in use to preserve the pleats. One overlooked detail is choosing cord that matches the paper tones so the string disappears visually.
Quilled Seashell Art
Tight coils and loose scrolls of paper strips form raised seashell shapes that stand out against a neutral background board. Start with a simple outline sketch on the base so placement stays consistent as you build height. Seal finished pieces with a light matte spray to reduce dust collection on the raised edges.
This technique suits small frames that can sit on desks or be grouped into a larger gallery wall. Different strip widths produce varied shell textures, so keep a few widths on hand during a session. Work in good lighting to avoid eye strain from the fine details.
Folded Paper Boats
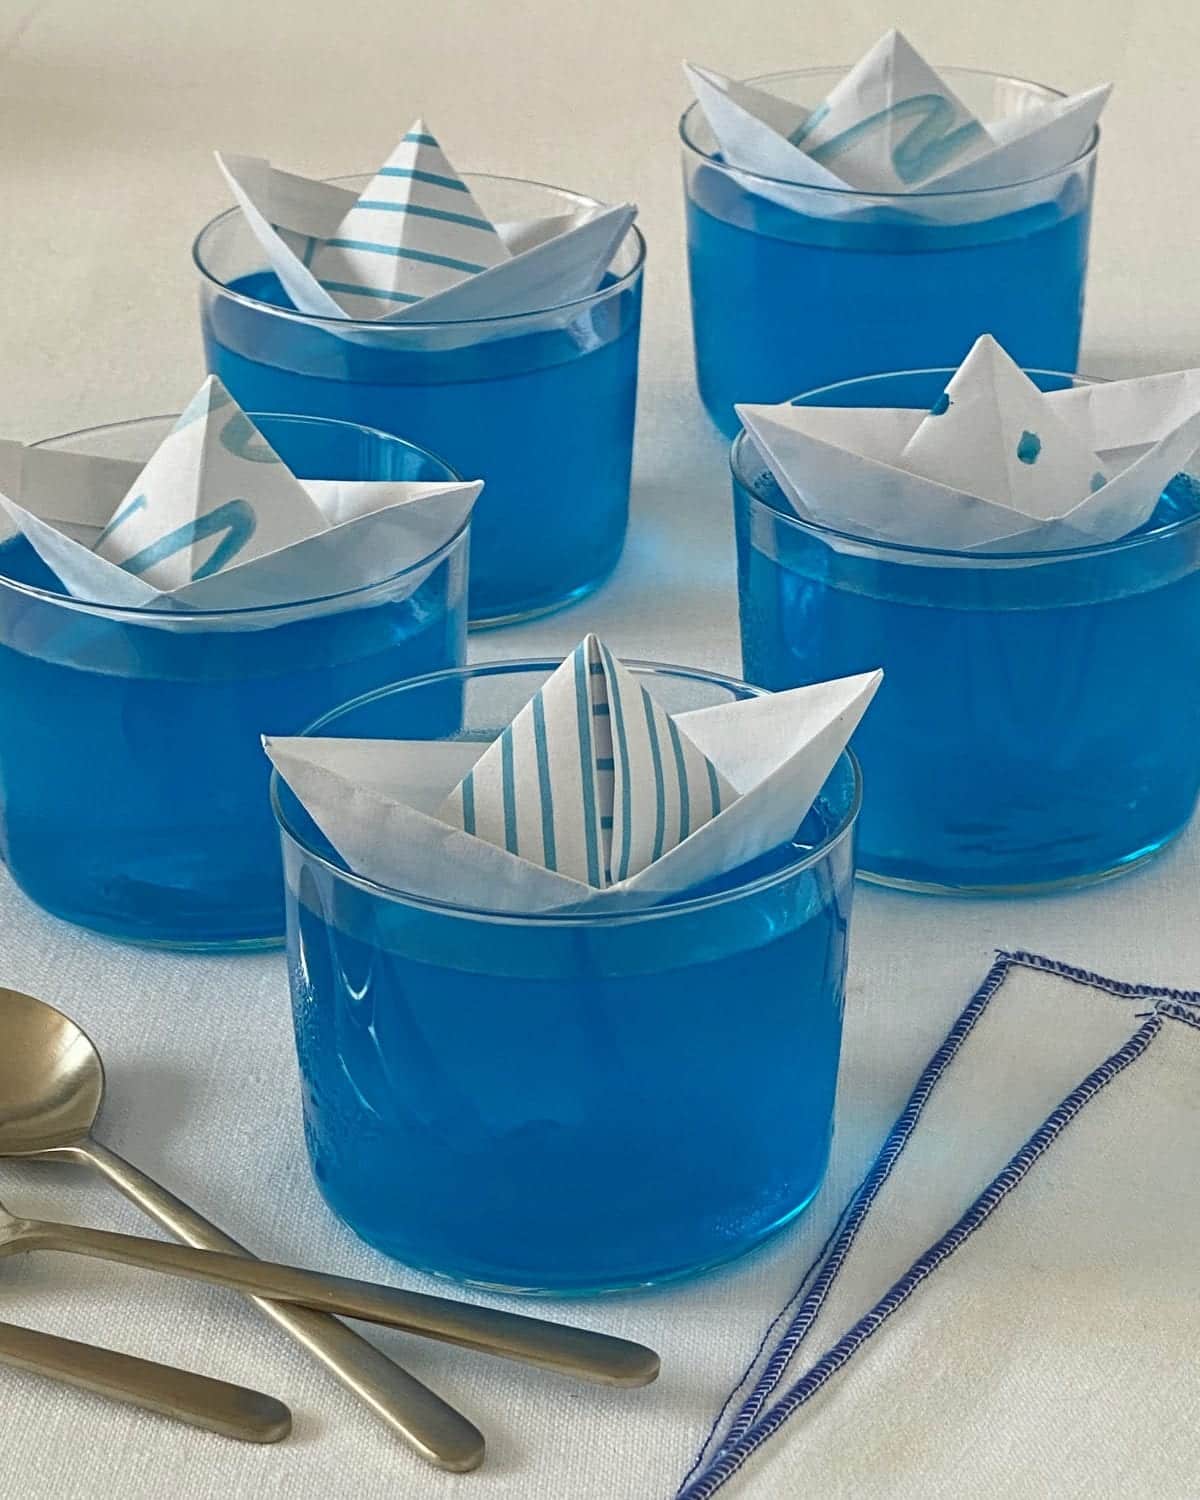
Traditional boat folds scaled up with heavier paper create stable centerpieces that rest in shallow dishes or trays. Add tiny paper flags on toothpicks for extra color without altering the fold structure. These boats also serve as place cards when a name is written on the sail.
Test the paper weight first because overly stiff sheets resist sharp creases while thin paper collapses in water. Display several boats together in varying sizes for a fleet effect on a coffee table. Avoid placing them near open windows where drafts can tip lighter versions.
Tissue Paper Pom Poms
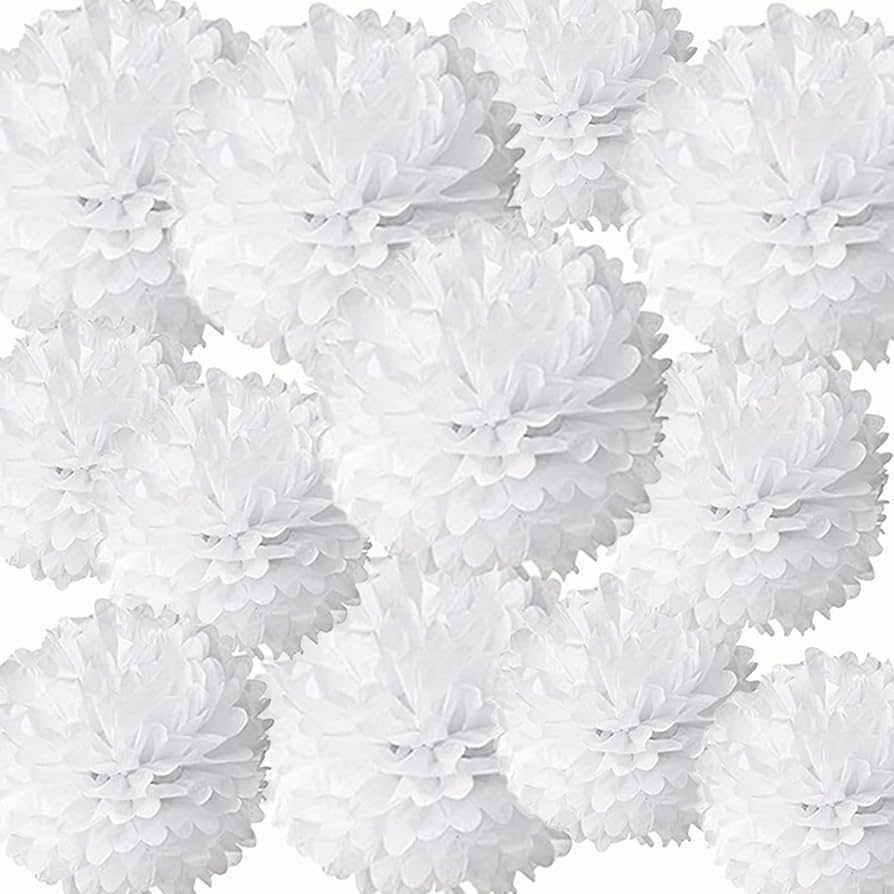
Layered tissue sheets folded and cut into fringe produce fluffy spheres that hang from ceilings or chandeliers. Trim the fringe at slight angles rather than straight across to create more organic edges once fluffed. Group three or five pom poms at different heights above a reading nook for a floating-cloud appearance.
Choose colors that echo existing room textiles so the pom poms integrate rather than clash. Flatten finished pieces between books for storage and re-fluff before reuse. The main risk is over-trimming the center fold, which causes the pom pom to fall apart when opened.
Paper Butterfly Mobiles
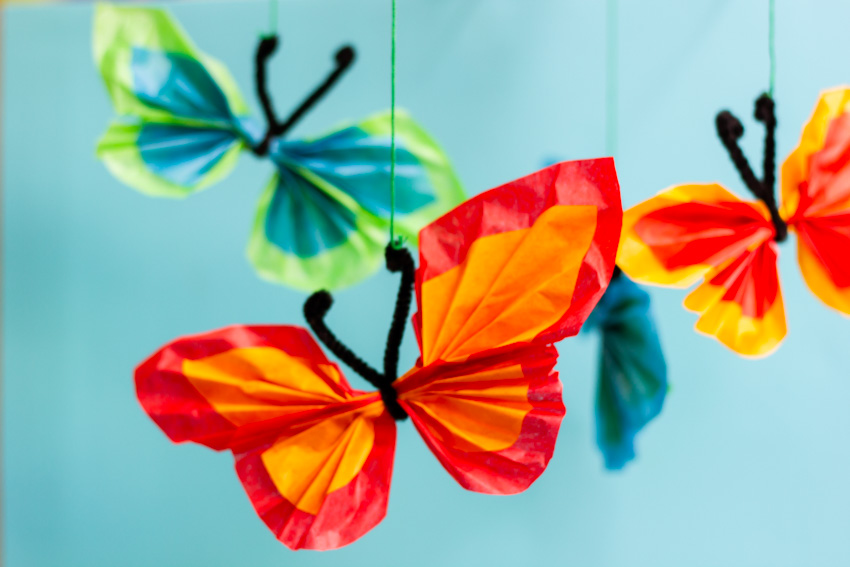
Symmetrical wing cuts threaded onto clear fishing line create movement that responds to ceiling fan breezes. Vary wing sizes within one mobile so the composition feels balanced from every angle. Attach a small bead at the bottom to add gentle weight and prevent twisting.
Position mobiles where they catch both light and air rather than in dead corners. Use matte paper so reflections do not compete with the wing patterns. Check the line length regularly because longer strands tangle more easily during dusting.
Scrapbook Page Layouts

Arranging printed photos with paper mats, washi strips, and stamped dates produces pages that document specific summer days. Leave generous margins around each photo so the eye rests between elements. Add small paper pockets on some pages to hold ticket stubs or pressed leaves.
Work on one spread at a time rather than an entire album to maintain consistent energy. Acid-free adhesives protect photos from yellowing over the years. Store completed albums upright to prevent pages from warping under their own weight.
Paper Lantern Strings
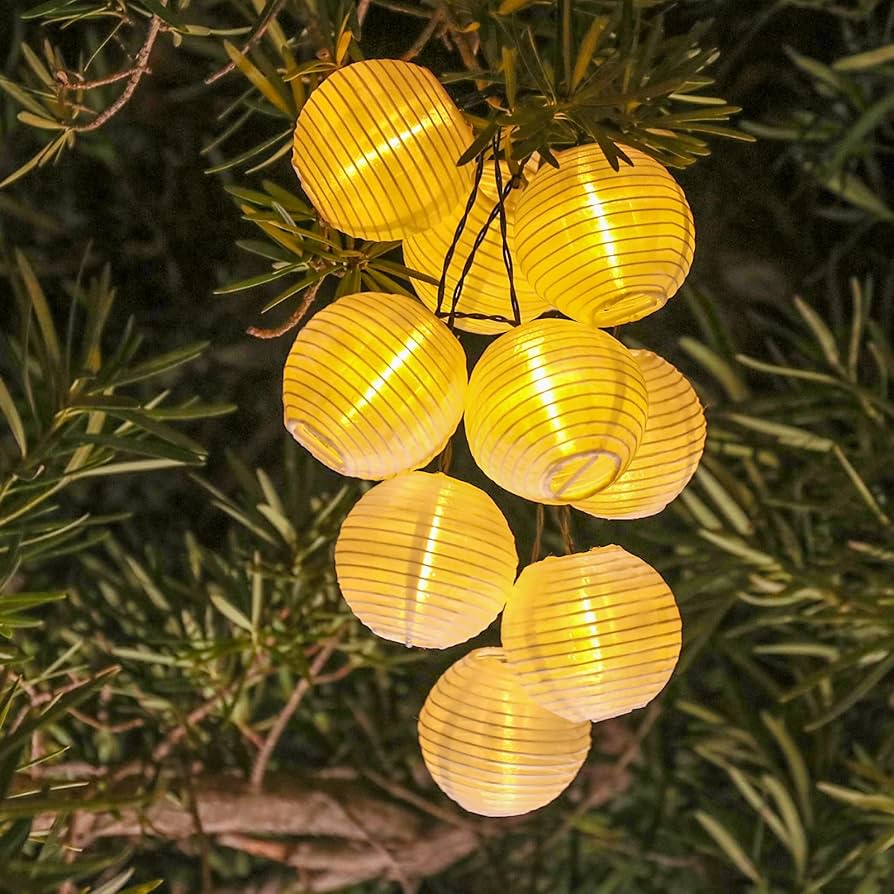
Miniature folded lanterns threaded along a strand of lights soften the harsh glow of bulbs for evening gatherings. Space the lanterns evenly so each one sits over a bulb without touching the heat source. Choose papers that allow some light through for a glowing effect rather than opaque sheets that block illumination.
These strings work indoors above headboards or outdoors under covered eaves. Replace any lantern that shows signs of fading before the whole strand looks uneven. Test the weight on the cord before adding many lanterns to avoid sagging.
Origami Cranes for Mobile
Classic crane folds suspended at varying lengths produce a calm, rhythmic mobile suitable for quiet corners. Select a single color family with subtle tonal shifts so the focus stays on the fold details. Balance the mobile by adjusting string lengths until it hangs level.
Cranes also function as individual gift toppers when attached to wrapped packages. Use slightly heavier paper than standard origami sheets for larger versions that hold their shape better. Dust regularly with a soft brush to keep the folds defined.
Paper Cutout Window Hangings
Intricate negative-space cuts in cardstock cast sharp shadows on walls when placed against glass. Secure the cutouts with small suction cups rather than tape to avoid residue on the pane. Rotate the design seasonally by swapping in new cut patterns without changing the hanging hardware.
These pieces reward precision cutting, so work slowly and keep blades sharp. Position them at eye level so the shadow play is visible throughout the day. Store flat in a portfolio folder between uses to prevent bending.
Handmade Paper Greeting Cards
Folded card bases with layered paper elements and handwritten messages create keepsakes that feel more personal than store versions. Add small envelope liners cut from coordinating paper for an extra finished touch. Keep a few blank versions on hand so you can send notes quickly when plans change.
Experiment with different fold styles such as gate or accordion to change how the card opens. Match card weight to the amount of embellishment so the finished piece stays flat when mailed. Write the message first before adding delicate layers to avoid smudging.
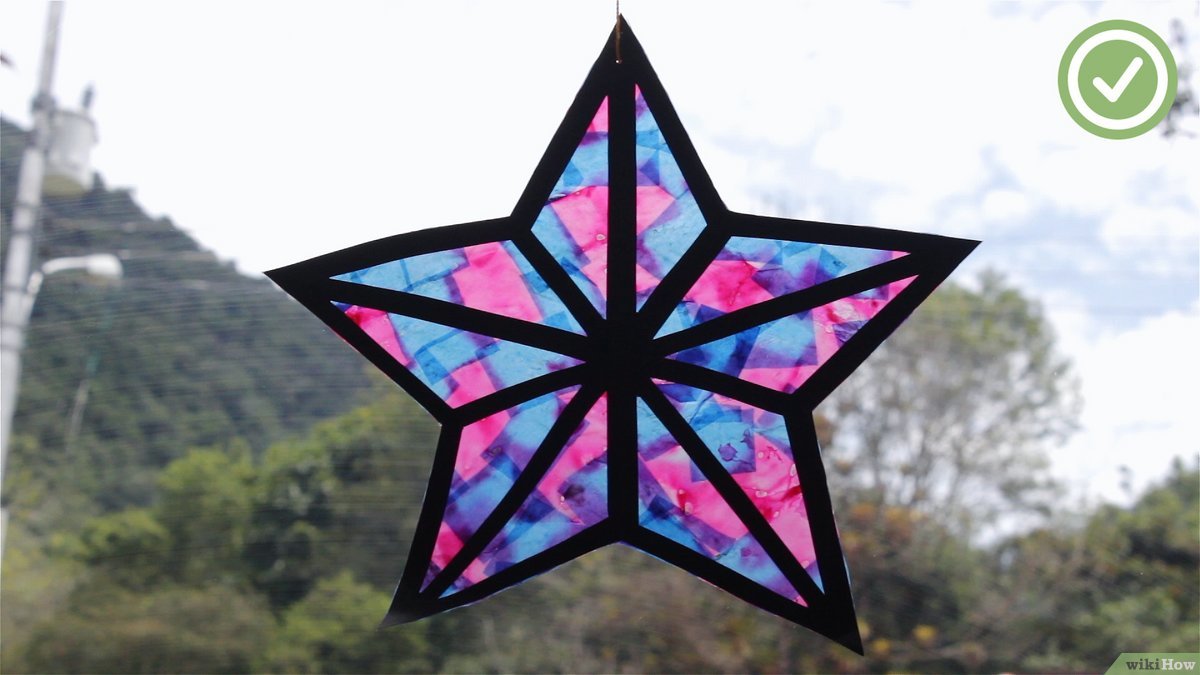
Folded Paper Stars
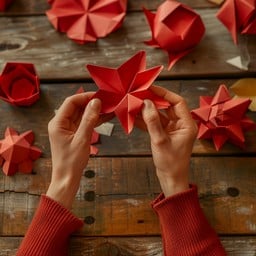
Multiple small folds within a single square produce dimensional stars that sit on shelves or hang as individual ornaments. Mix metallic and matte papers within one star to highlight the geometry. These stars also work as gift wrap accents when tied onto ribbon.
Start with consistent square sizes so finished stars match when grouped. Press each fold firmly with a bone folder to keep edges crisp. Over time, the stars can be gently reshaped if they flatten during storage.
FAQ
What type of paper works best for projects that will hang near windows?
Heavyweight cardstock resists curling better than lightweight printer paper when exposed to temperature swings near glass. Test a small sample piece in the actual location for a day before cutting the full design. Some crafters also coat finished pieces with a clear acrylic spray for added stability.
How do you store finished paper crafts without damaging folds or layers?
Place items between sheets of acid-free tissue inside a flat portfolio or archival box so nothing presses directly on raised elements. Keep the storage area cool and dry to prevent discoloration over months. Avoid stacking heavy objects on top of the box.
Can these paper projects be adapted for outdoor covered spaces?
Yes, but choose weather-resistant cardstock and secure everything with outdoor-rated adhesives or fishing line. Bring pieces inside during heavy rain or strong wind to extend their lifespan. Lanterns and garlands benefit most from this approach when hung under eaves.
Which summer paper craft makes the best last-minute gift?
Handmade greeting cards assemble quickly once you have a few pre-cut bases and can be personalized with a short note inside. Add a simple paper flower or star as an extra element for visual interest. Recipients often keep these cards longer than mass-produced alternatives.
A finished paper piece on a shelf or hanging in a window serves as a quiet reminder that small creative sessions can shape the feel of an entire season.
Leave a Reply