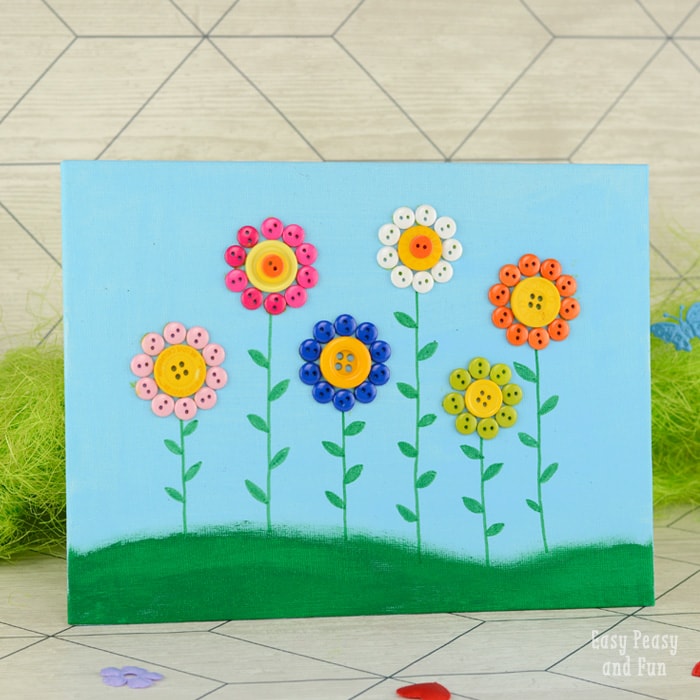
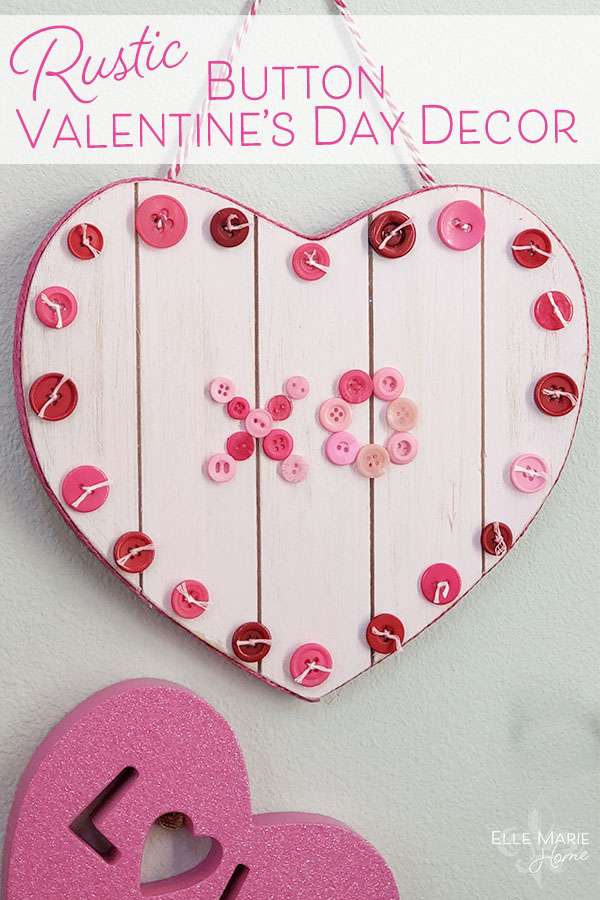
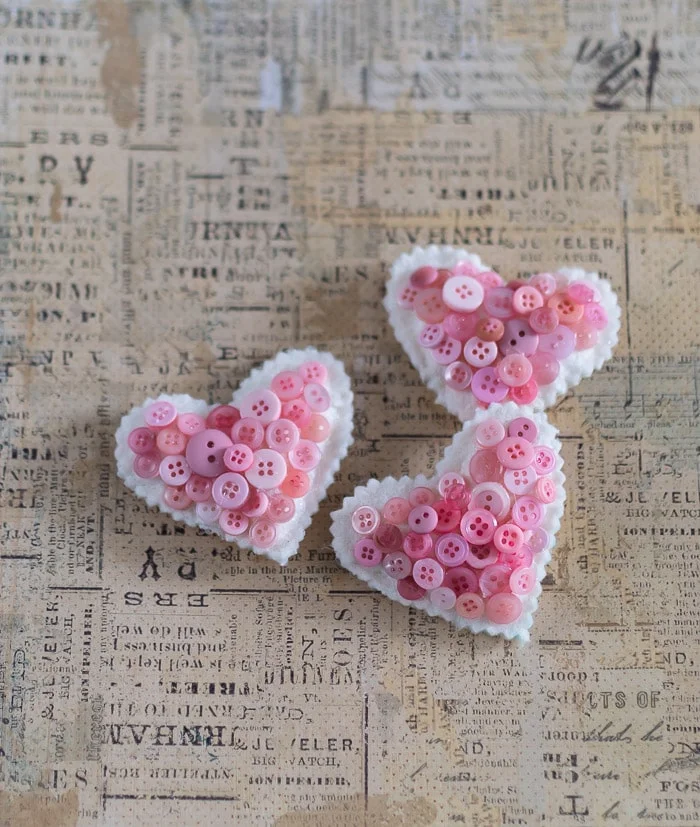
Button heart canvas wall art is one of the most versatile and rewarding upcycling projects for DIY enthusiasts.
By combining simple craft supplies—buttons, glue, and a canvas—you can create a high-texture, visually striking piece of decor that fits any room from a nursery to a modern living area.
This project is particularly popular because it allows you to repurpose sentimental items, such as buttons from a grandmother’s sewing kit, into a lasting piece of art.
Whether you are aiming for a vibrant rainbow aesthetic or a sophisticated monochromatic look, the process is therapeutic, budget-friendly, and yields professional-looking results.
Essential Materials for Button Heart Art
Before diving into the creative process, gathering the right tools is crucial for a clean finish.
While you can use standard school glue, high-quality adhesives ensure your buttons do not pop off over time.
| Material | Purpose | Recommended Type |
|---|---|---|
| Canvas | The base of your artwork | Stretched cotton canvas (8×10 or 12×12) |
| Buttons | The primary medium | A mix of sizes, shapes, and shades |
| Adhesive | Securing buttons to canvas | E6000, Tacky Glue, or a High-Temp Glue Gun |
| Pencil/Eraser | Mapping the design | Standard graphite pencil |
| Tweezers | Precise placement | Craft or jewelry tweezers |
| Acrylic Paint | Background color (optional) | Matte or Satin finish acrylics |
| Sealant | Final protection | Clear gloss acrylic spray |
Step-by-Step Tutorial: Creating Your Masterpiece
Step 1: Prepare the Canvas
Start by deciding if you want a white background or a colored one.
If you want a pop of color, paint your canvas with acrylic paint and let it dry completely (at least 2 hours).
A light blue or soft grey background can make colorful buttons stand out more than plain white.
Step 2: Sketch the Heart Silhouette
Lightly trace a heart shape onto the center of the canvas using a pencil.
To ensure perfect symmetry, you can fold a piece of paper in half, cut out a heart, and use it as a stencil.
Keep your lines very light so they are easily covered by the buttons.
Step 3: The “Dry Run” Sorting
Before you apply any glue, sort your buttons.
Group them by size: large, medium, small, and “fillers” (tiny seed beads or very small buttons).
Lay out the largest buttons along the perimeter of the heart first to define the shape.
Step 4: Layering and Gluing
Apply a small dab of glue to the back of each button.
Start with the larger buttons to fill the bulk of the heart.
Once the base layer is down, go back in with smaller buttons to fill the gaps.
This layering technique creates a 3D effect and hides the canvas underneath.
Step 5: Curing and Cleaning
Allow the glue to cure for 24 hours.
If you used a hot glue gun, you may have “glue strings” across your art.
Use a hairdryer on a low, warm setting to melt these away, or gently pull them off with tweezers.
10 Stunning Button Heart Design Variations
To help you find the perfect style for your home, here are 10 unique ways to execute this project.
❤1. The Classic Ombre Heart
The ombre effect is achieved by transitioning colors from light to dark.
Start with deep red buttons at the bottom of the heart, transitioning to bright red, then pink, and finally white at the top.
This creates a sophisticated, professional look that mimics high-end gallery art.
❤2. Vintage Pearl and Lace Heart

For a Shabby Chic or Victorian aesthetic, use only cream, white, and champagne-colored buttons.
Incorporate pearl buttons and perhaps a few small lace scraps or fabric flowers tucked between the layers.
This style is perfect for wedding decor or a romantic bedroom.
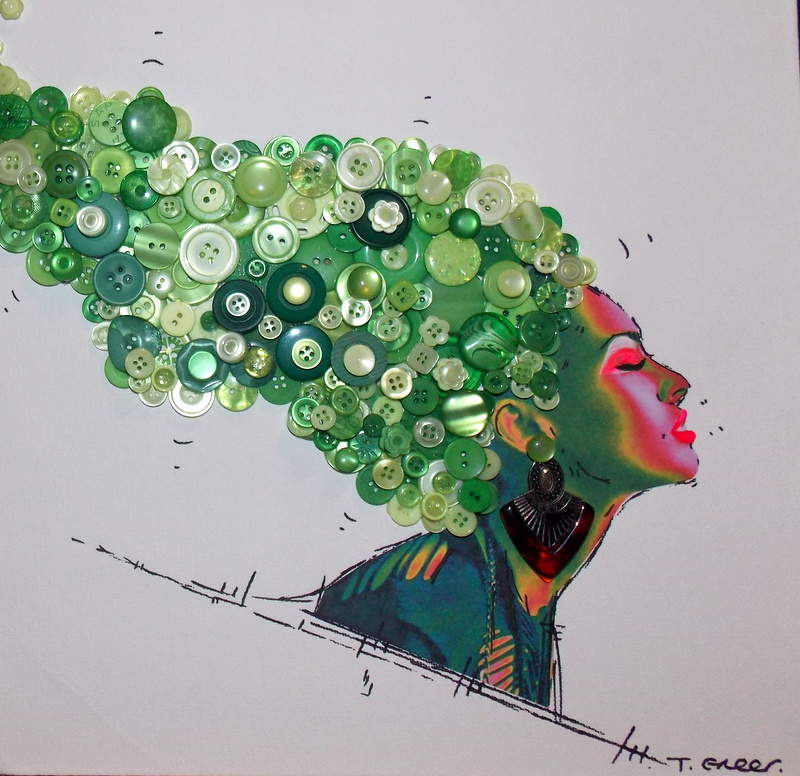
❤3. The Rainbow Explosion
This is the most popular choice for children’s rooms.
Use every color in the spectrum.
Instead of a random mix, you can arrange the colors in segments (red, orange, yellow, green, blue, purple) to create a structured rainbow heart that pops against a white canvas.
❤4. Monochromatic Texture Study

Choose one single color—for example, navy blue—but use buttons of every imaginable texture and material.
Mix matte plastic buttons with shiny glass ones, wooden buttons, and fabric-covered buttons.
The lack of color variation forces the eye to focus on the rich textures.
❤5. The “Floating” Drip Heart
Rather than a solid heart, create a deconstructed look.
Make the top of the heart solid and dense with buttons, but as you reach the bottom point, scatter the buttons so they appear to be falling or dripping down the canvas.
This adds a sense of motion to the piece.
❤6. Metallic Glamour Heart
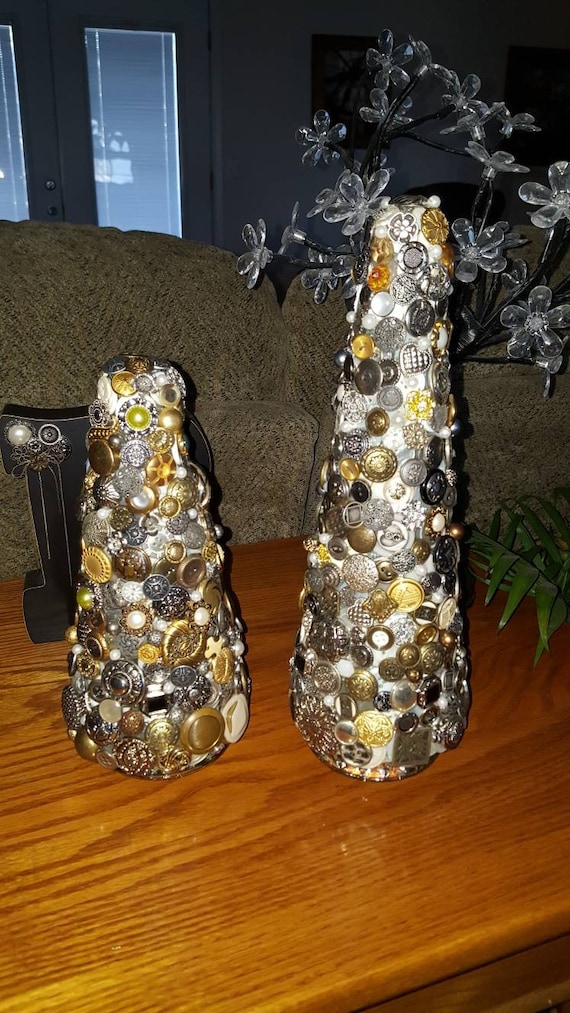
Use gold, silver, and copper buttons to create a high-end, metallic piece of wall decor.
This looks exceptionally striking on a black-painted canvas.
It fits perfectly in a modern or industrial-style home office or living room.
❤7. Nature-Inspired Wooden Heart
Use only wooden buttons in various shades of brown, tan, and cream.
This creates a rustic, farmhouse vibe.
You can even glue a few small twigs or dried moss around the edges of the heart to enhance the organic feel.
❤8. The “Button Inside a Heart” Negative Space
Instead of making the heart out of buttons, fill the entire canvas with buttons except for a heart-shaped space in the middle.
This negative space technique is advanced but results in a very high-impact, modern piece of art.
❤9. Miniature Multi-Heart Gallery
Instead of one large heart, use a larger canvas to create a grid of 9 or 12 tiny button hearts, each in a different color.
This mimics the style of Andy Warhol’s pop art and is a great way to use up a large collection of random buttons.
❤10. Mixed Media Sentimental Heart
Incorporate more than just buttons.
Add charms, old jewelry pieces, keys, or even small photos printed on fabric.
This turns the canvas into a memory heart, making it an incredible gift for anniversaries or birthdays.
Pro Tips for a High-Authority Finish
Choosing the Right Adhesive
- ★Hot Glue: Great for instant gratification, but can be messy and may peel off in extreme temperatures.
- ★E6000: The gold standard for craft longevity. It is permanent and flexible but requires a well-ventilated room.
- ★Tacky Glue: Excellent for kids’ projects as it is non-toxic, though it has a longer drying time.
Color Theory for Button Art
To make your heart look professionally designed, follow the 60-30-10 rule. Use a primary color for 60% of the buttons, a secondary color for 30%, and a bold accent color for the final 10% (the “fillers”). This provides visual balance and prevents the design from looking cluttered.
Framing Your Canvas
While a stretched canvas can hang as-is, placing it inside a shadow box frame instantly elevates the piece. A shadow box protects the buttons from dust and gives the artwork a finished, “boutique” look.
Frequently Asked Questions
How do I clean button heart art?
Since buttons have many crevices, they can collect dust. Use a soft-bristled paintbrush or a “canned air” duster (used for keyboards) to gently remove dust without dislodging the buttons.
Can I do this project with kids?
Absolutely! This is a fantastic fine-motor skill activity. For children, use a thick cardstock instead of canvas and non-toxic white craft glue. Avoid small buttons for children under three due to choking hazards.
Where can I find large quantities of buttons?
Thrift stores often sell “jars” of vintage buttons. You can also buy bulk bags by color on sites like Amazon or Etsy. For unique pieces, look for “destash” listings from sewists.
What if I make a mistake with the glue?
If the glue is still wet, use a Q-tip dipped in rubbing alcohol to clean the canvas. If it’s dry, you may have to carefully pry the button off with a palette knife and paint over any torn canvas before re-gluing.
Conclusion
Creating stunning button heart canvas wall art is more than just a craft; it’s an opportunity to blend color, texture, and personal history into a tangible piece of home decor.
By following the layering techniques and exploring the ten design variations listed above, you can move beyond simple crafting and into the realm of custom interior design.
Whether you choose the shimmering elegance of the Metallic Glamour Heart or the playful spirit of the Rainbow Explosion, your finished piece will be a testament to the beauty of upcycling.
Grab your glue gun, sort those buttons, and start creating a heart that reflects your unique style today.
Leave a Reply