Paper fan decorations are the ultimate DIY solution for high-impact, low-cost event styling. Whether you are prepping for a whimsical wedding, a vibrant birthday party, or simply want to add a touch of texture to your home nursery, these accordion-folded wonders offer endless versatility.
By mastering a few basic folding techniques and experimenting with different paper weights and textures, you can transform a stack of plain sheets into professional-grade decor that rivals expensive boutique offerings.
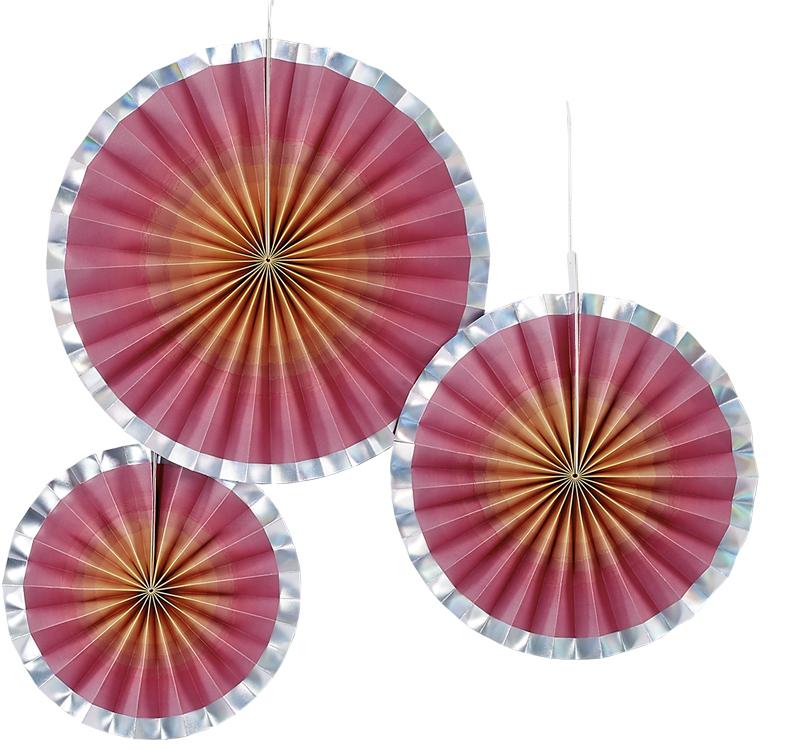
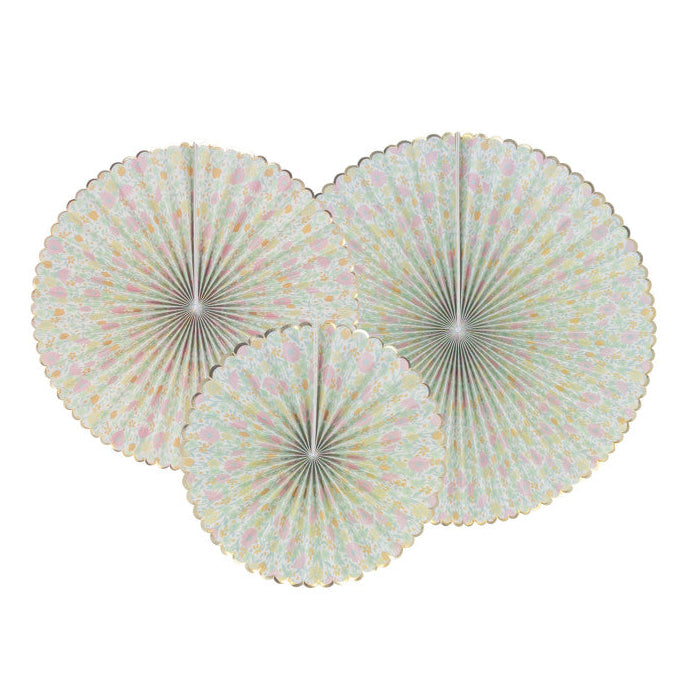
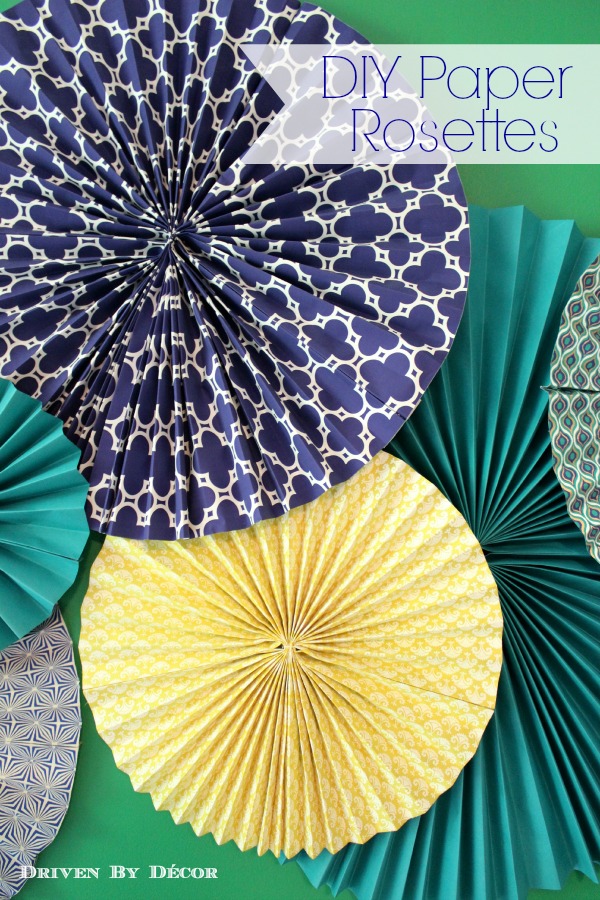
1. The Classic Round Accordion Rosette
The classic round rosette is the foundation of all paper fan decor. It is symmetrical, sturdy, and provides a clean, modern look that works for any occasion.
The Concept:
By joining multiple accordion-folded strips of paper, you create a full 360-degree circle. These are perfect for pinning directly to walls or stringing from the ceiling.
Step-by-Step Guide:
- • Cut your paper: For a medium fan, use three strips of 12″ x 6″ cardstock.
- • Fold: Create 1-inch accordion folds along the length of each strip. Use a bone folder or a ruler for crisp edges.
- • Connect: Use double-sided tape or hot glue to join the ends of the three strips, forming one long continuous loop.
- • Secure the Center: Gather the bottom edges toward the center and press flat. Apply a generous dollop of hot glue to a small paper circle and press it onto the center of the fan to hold everything in place.
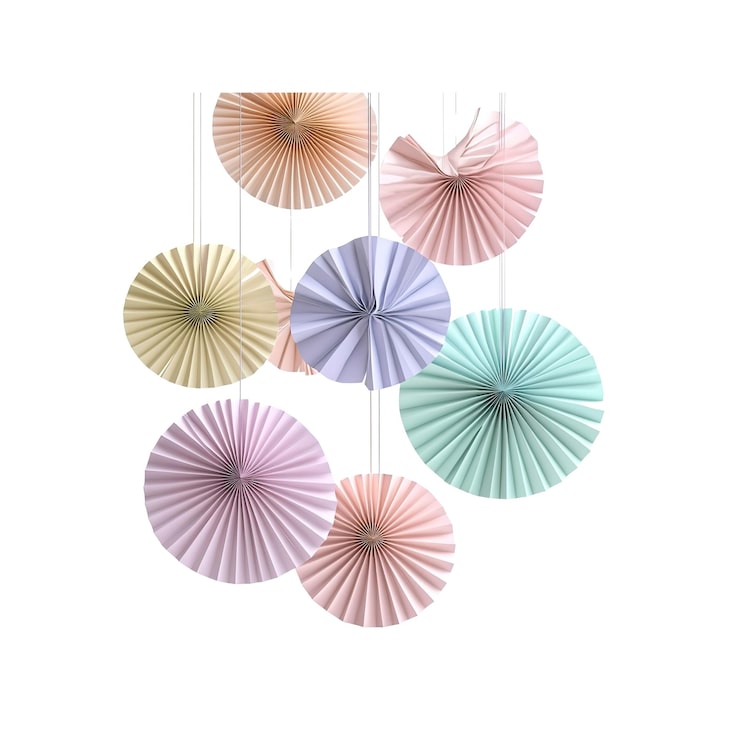
2. The Giant Wall Backdrop Display
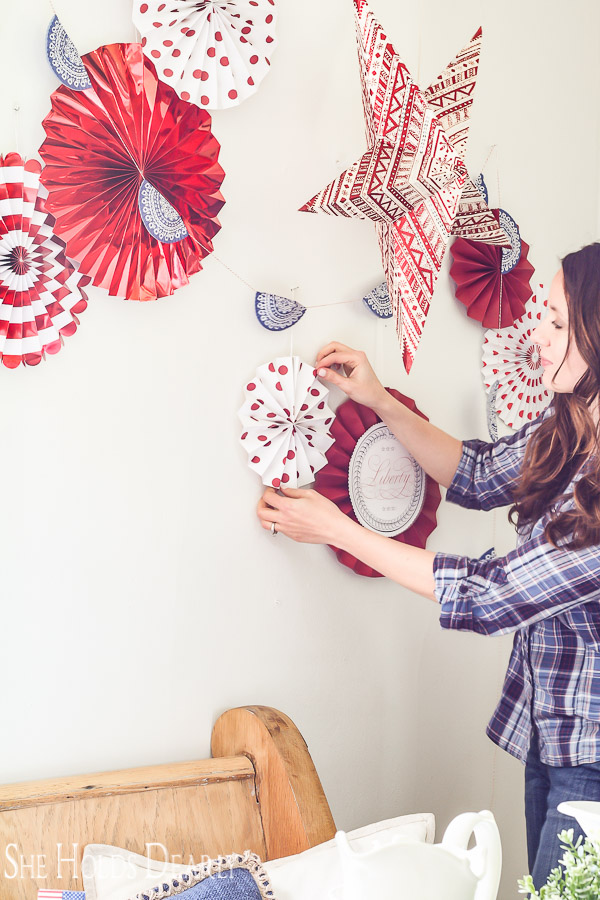
If you want to create a wow factor for a photo booth or a dessert table, a giant wall backdrop is the way to go. This involves layering fans of various sizes, colors, and textures to create a cohesive art installation.
Design Strategy:
- • Vary the Sizes: Mix 18-inch, 12-inch, and 6-inch fans.
- • Color Palette: Stick to a 3-4 color palette (e.g., dusty rose, cream, and gold) to keep it looking sophisticated.
- • Layering: Don’t just place them side-by-side. Overlap the edges of the fans to eliminate any gaps and create a 3D effect.
Pro Tip: Use removable adhesive hooks (like Command strips) to mount the fans without damaging your wall paint.
3. Two-Tone Ombre Gradient Fans
Ombre fans add a sophisticated, artistic touch to DIY decor. Instead of using solid-colored paper, these fans utilize color transitions to create depth and movement.
How to Achieve the Look:
You can create ombre fans in two ways. First, you can use pre-printed ombre scrapbook paper.
Alternatively, you can use white cardstock and a can of spray paint or a blending sponge with distress ink. Lightly mist the outer edges of the paper strips before folding.
Once the fan is assembled, the color will be concentrated on the outer rim, fading beautifully toward the center.
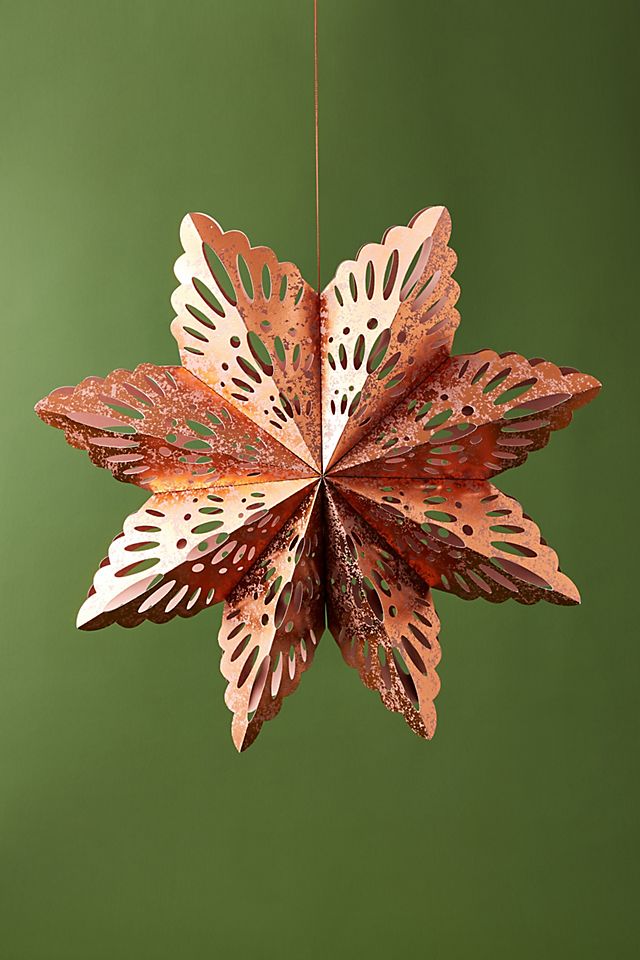
4. Delicate Scalloped Edge Fans
Adding a decorative edge to your paper strips before folding can completely change the vibe of the decoration, moving it from modern to vintage-chic.
Technique:
Before you begin the accordion fold, use a large pair of decorative edge scissors or a circular craft punch.
By punching half-circles or scalloped waves along one long edge of your paper strip, the resulting fan will have a soft, lace-like border. This style is particularly popular for bridal showers and tea parties.
5. Mini Cupcake Topper Fans
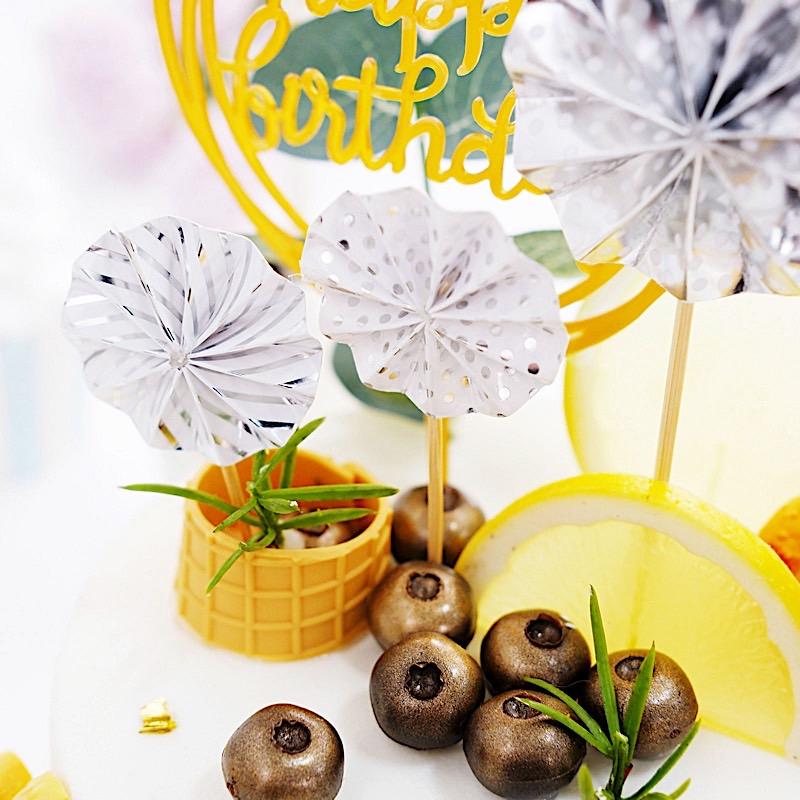
Not all decorations need to be large. Mini paper fans are an adorable way to tie your theme into your catering.
Materials Needed:
- • 3″ x 1″ strips of lightweight paper.
- • Toothpicks or bamboo skewers.
- • Hot glue gun.
Instructions:
Fold the tiny strips into tight 1/4-inch increments. Follow the same assembly process as the classic rosette, but use a tiny dot of glue to secure the center.
Once dry, glue the back of the mini fan to the top of a toothpick. These add height and color to any dessert spread.
6. Patterned Scrapbook Paper Fans
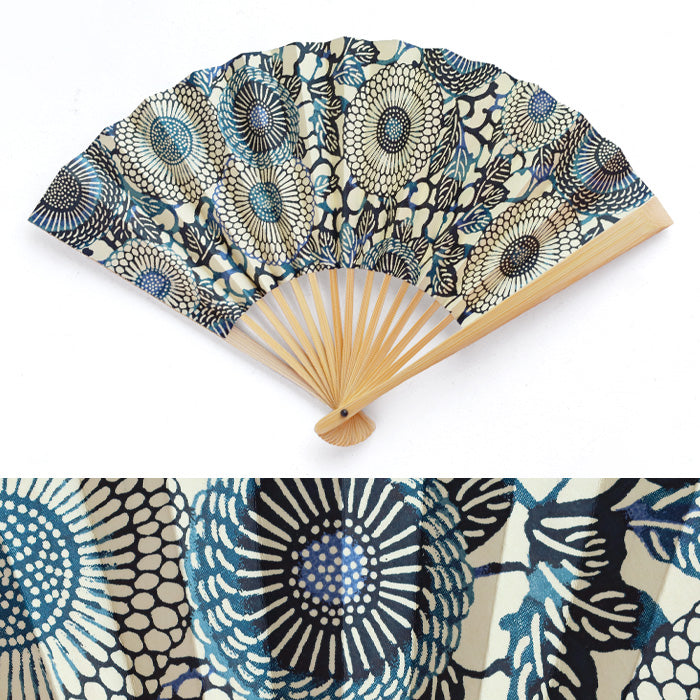
Using patterned paper is the fastest way to add visual interest without extra effort. Look for double-sided scrapbook paper so that the pattern is visible from all angles if the fans are hanging.
Styles to Try:
- • Geometric: Great for modern office parties or graduations.
- • Floral: Perfect for spring brunches and garden parties.
- • Polka Dots: A classic choice for children’s birthdays.
Note: Patterned paper is often thinner than heavy cardstock. If your paper is thin, you may need four strips instead of three to ensure the fan doesn’t stretch too thin when pulled into a circle.
7. Metallic Gold and Silver Accents
For evening events, New Year’s Eve, or formal anniversaries, metallic paper fans bring a touch of luxury.
Working with Metallic Paper:
Metallic or foil-finished paper can be more stubborn to fold and glue. Use a scoring tool to prevent the foil from cracking at the seams.
Because metallic surfaces can be slick, hot glue is usually more effective than glue sticks or standard tape. Mix these with matte black or white fans for a high-contrast, high-end look.
8. Layered Flower Rosettes
This project involves nesting a smaller fan inside a larger one to create a flower look. It adds significant dimension and allows for more color combinations.
Assembly:
- • Construct one 12-inch fan in a solid color.
- • Construct one 6-inch fan in a contrasting color or pattern.
- • Glue the smaller fan directly onto the center of the larger fan.
- • Finish the center with a decorative button, a large faux pearl, or a glittery paper circle to hide the glue points.
9. Butterfly Wing Fans
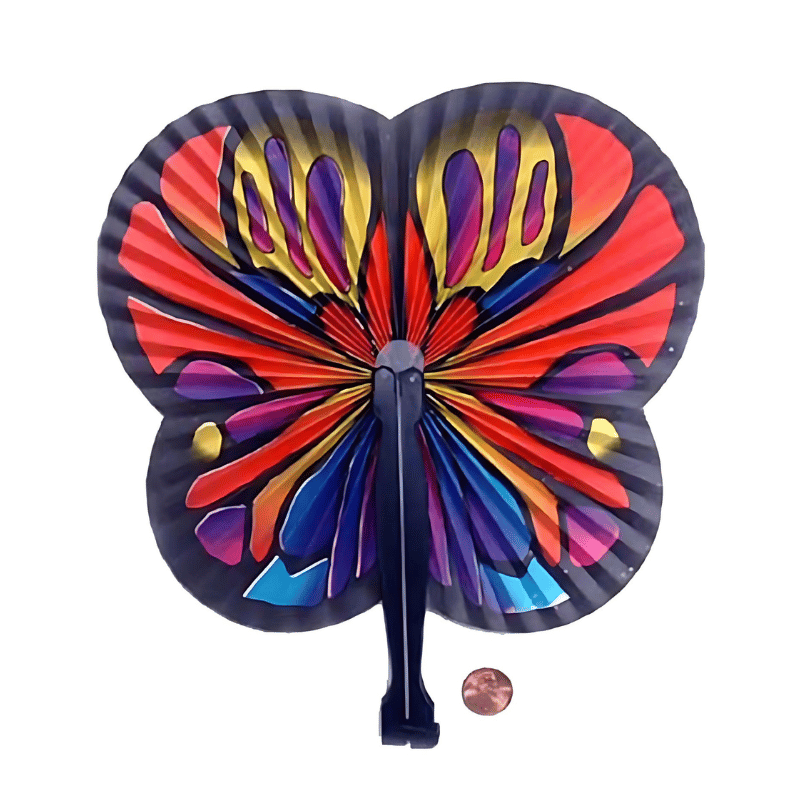
Instead of pulling the accordion folds into a full circle, you can pinch them in the middle to create a bow-tie or butterfly shape.
The Process:
Take a single rectangular sheet of paper and accordion fold it. Pinch the center tightly and secure it with a piece of wire or twine.
Fan out the four wings. These look stunning when hung vertically on a string to create a garland, or attached to gift boxes as a 3D alternative to a traditional bow.
10. Hanging Mobile Fans
Transform your paper fans into a kinetic sculpture by creating a hanging mobile. This is a beautiful addition to a nursery or a whimsical wedding reception.
Execution:
Use a wooden embroidery hoop as your base. Suspend fans of varying sizes at different heights using clear fishing line or silk ribbon.
Ensure the fans are double-sided (or two fans glued back-to-back) so they look great from every angle as they slowly spin in the breeze.
Choosing the Right Paper for Your Project
Not all paper is created equal. The weight and finish of your material will dictate the durability and crispness of your fans.
| Paper Type | Weight | Best For | Pros/Cons |
|---|---|---|---|
| Construction Paper | Medium | Kids’ crafts, school events | Cheap, but colors fade quickly in sun. |
| Cardstock (65lb) | Heavy | Large wall fans, backdrops | Holds shape perfectly; requires scoring. |
| Scrapbook Paper | Medium | Patterned accents, toppers | Beautiful designs; often single-sided. |
| Crepe Paper | Light | Delicate, textured fans | Very flexible; lacks structural integrity. |
| Vellum | Light | Soft, ethereal wedding decor | Translucent and elegant; hard to glue. |
Essential Tips for Professional DIY Paper Fans
- • Invest in a Scoring Board: If you plan on making more than five fans, a scoring board is a lifesaver. It ensures every fold is perfectly straight and spaced evenly, which is the secret to a professional look.
- • Use High-Temp Hot Glue: For permanent decor, hot glue is superior to craft glue. It sets instantly, meaning you don’t have to hold the fan in place for minutes while it dries.
- • Storage is Key: Paper fans are delicate. If you want to reuse them, don’t glue the final seam. Instead, use a paperclip to hold the fan open. When the party is over, remove the clip, fold the fan flat, and store it in a large envelope.
- • Mind the Weight: If hanging fans from a drop ceiling or a thin string, ensure you aren’t using overly heavy cardstock that might cause the line to sag.
Frequently Asked Questions (FAQ)
Q: How many sheets of paper do I need for one fan?
A: For a standard 12-inch circular fan, you typically need three 12″ x 6″ strips. This usually equates to 1.5 to 2 sheets of standard 12″ x 12″ scrapbook paper.
Q: Can I make paper fans out of wrapping paper?
A: Yes! Wrapping paper is a great way to make large fans affordably. However, because it is thin, the folds may not stay as crisp. You can reinforce the back with a small strip of cardstock if needed.
Q: How do I hang paper fans without damaging the walls?
A: Use painter’s tape for temporary holds, or Command strips for heavier fans. For a backdrop, it is often easier to tape the fans to a large piece of foam board or a plywood sheet, then lean or hang the entire board.
Q: What is the best way to cut the decorative edges?
A: Decorative edge scissors are the easiest for beginners. For more intricate designs, a craft cutting machine (like a Cricut or Silhouette) can cut complex lace patterns into the paper before you fold it.
Conclusion
Paper fan decorations prove that you don’t need a massive budget to create stunning, high-authority event decor.
From the simplicity of a classic white rosette to the complexity of a layered metallic mobile, these projects offer a creative outlet for every skill level.
By focusing on crisp folds, thoughtful color palettes, and varied textures, you can elevate simple paper into an extraordinary atmosphere. Start with a few basic rosettes, and soon you’ll find yourself designing elaborate wall installations that will be the talk of your next occasion.
Leave a Reply