
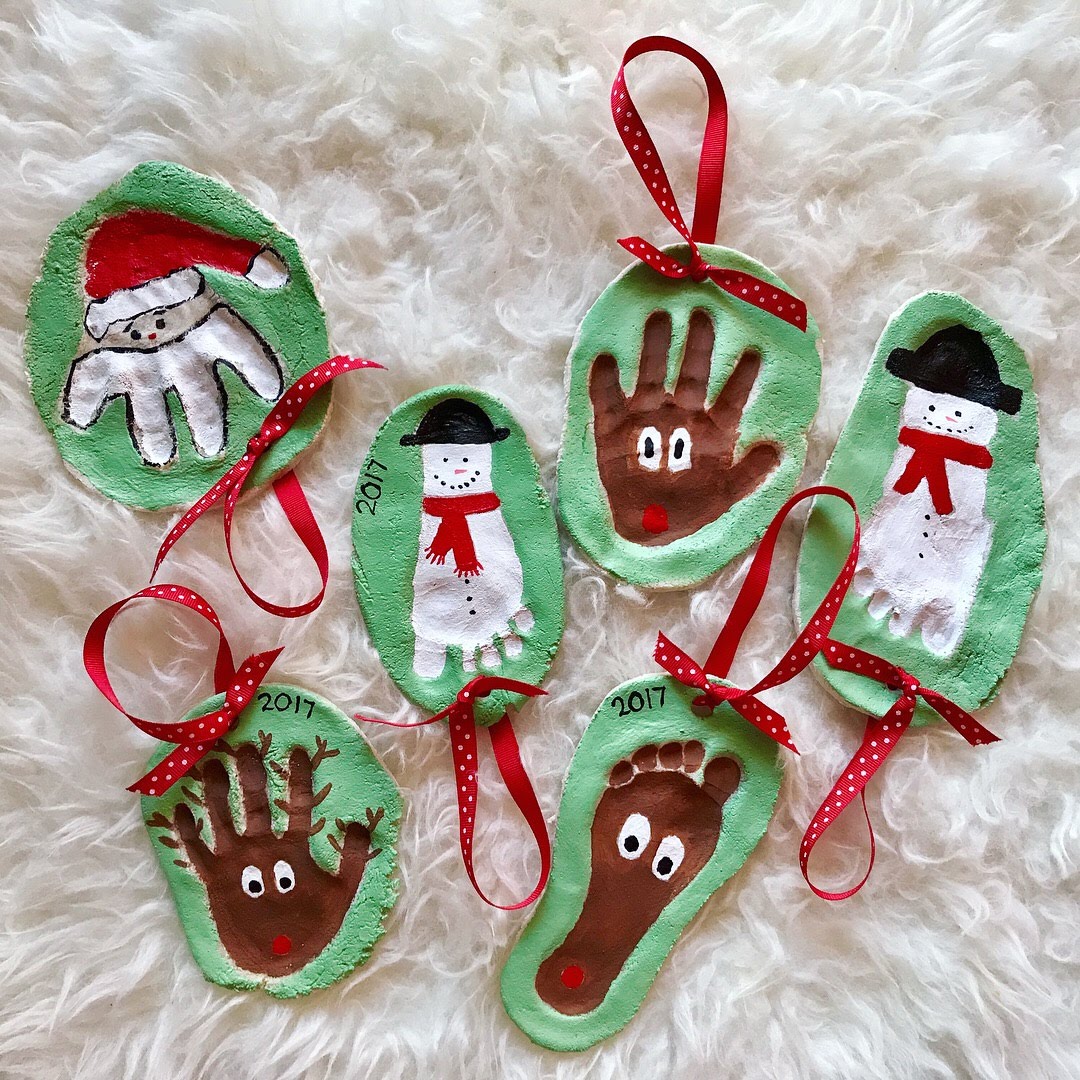
Salt dough ornaments turn basic pantry staples into lasting decorations that capture personal moments and seasonal themes. The dough bakes firm enough to paint, glitter, or emboss while staying lightweight for tree branches or gift tags. Results hold up for multiple seasons when sealed properly and give you full control over shape, color, and detail.
Classic Round Shapes
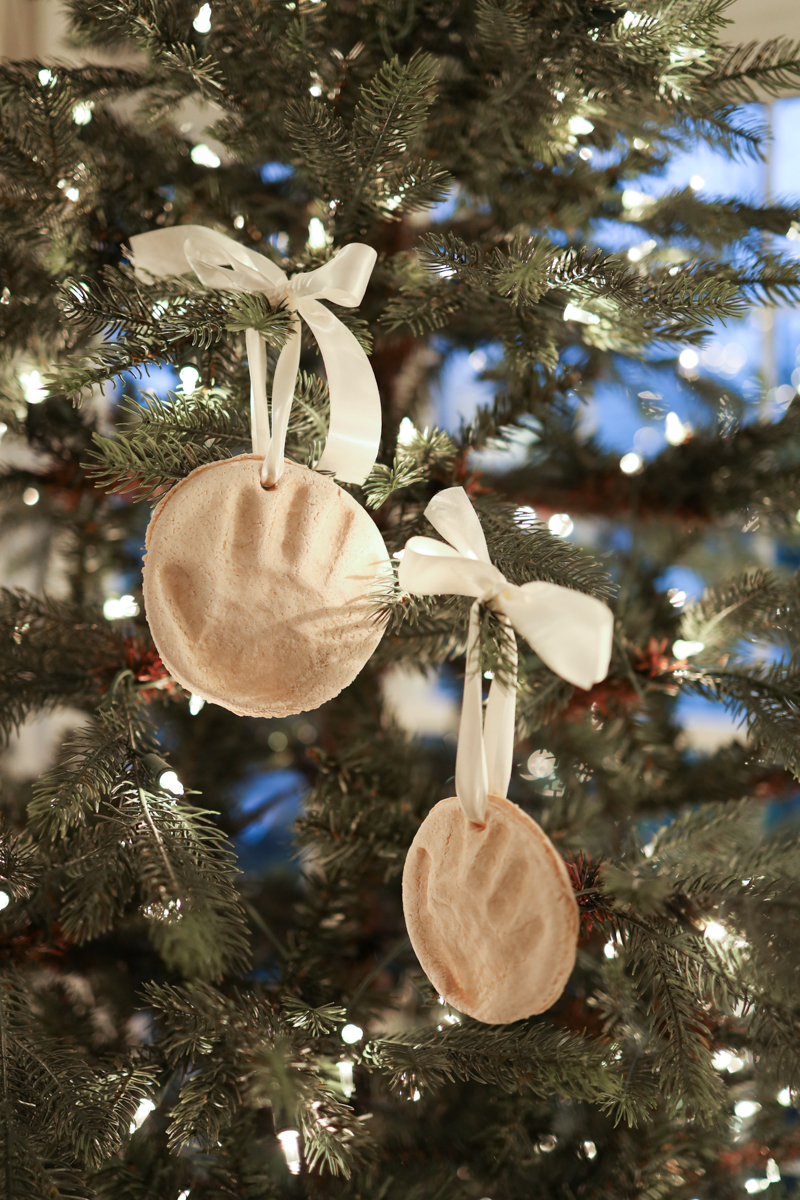
Round forms deliver clean edges that frame any painted design without distraction. You roll the dough to an even thickness, cut circles with a glass or cutter, and punch a hole near the top before baking. This shape works especially well for single-color backgrounds that let metallic markers or fine-line drawings stand out.
The uniform silhouette also makes these ornaments easy to group in sets of matching sizes. Different diameters create visual rhythm when hung together on one branch. A consistent round base further simplifies storage because flat edges stack neatly in a box without catching on one another.
Handprint Keepsakes
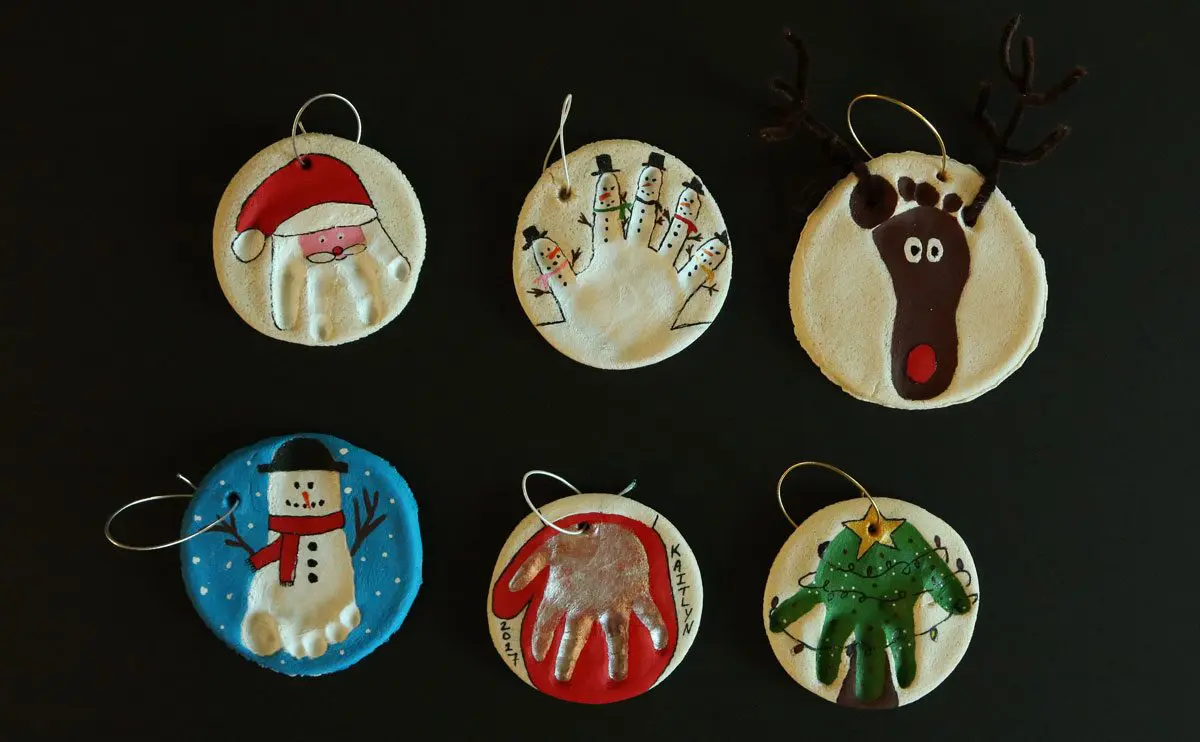
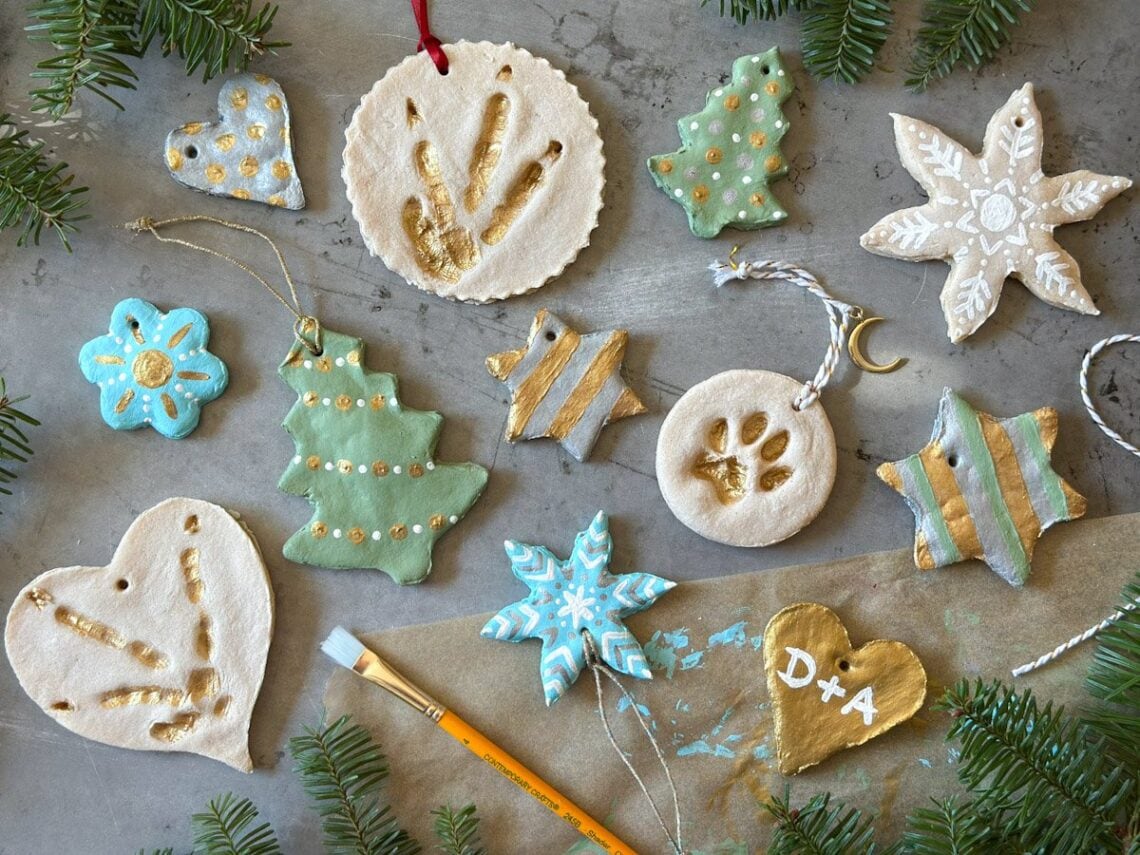
Handprints turn a simple disk into a dated record of a child’s growth that families revisit each year. Press the palm firmly into the dough, then use a toothpick to add the year and name beside the print before the piece dries. The resulting texture stays sharp after baking because salt dough captures fine lines better than many air-dry alternatives.
These pieces often become annual traditions where each new print sits beside older ones on the same tree. The contrast between tiny first-year prints and later larger ones tells a clear story without any extra text. Parents frequently choose neutral paint colors so the handprint itself remains the focal point.
Star and Snowflake Designs
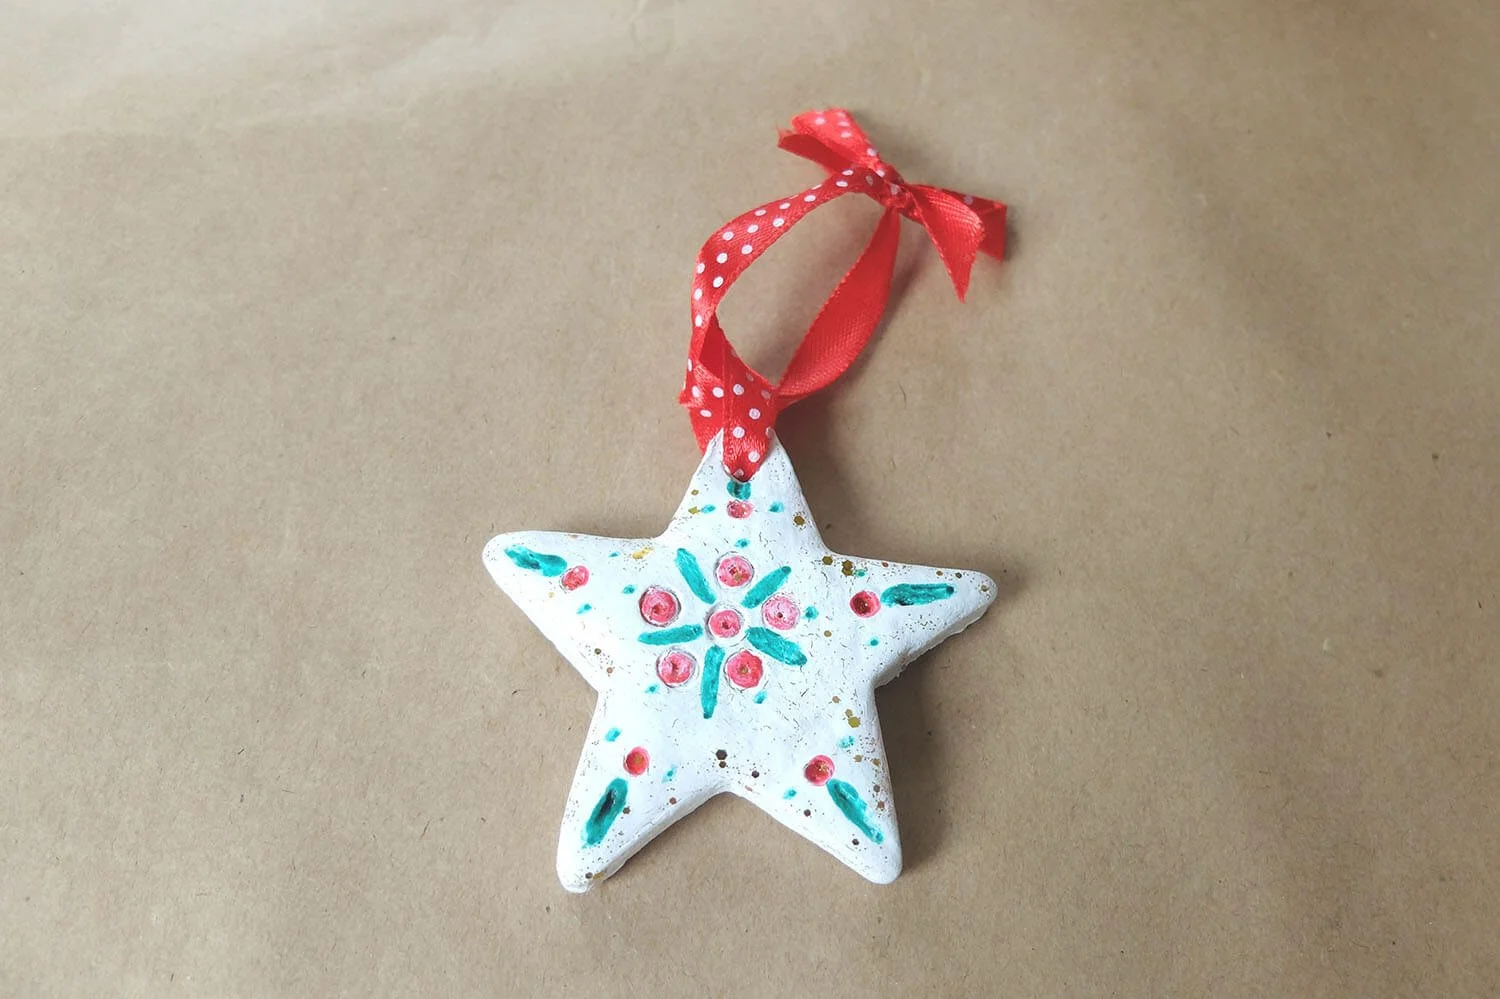
Star and snowflake cutters produce angular lines that catch light once metallic paint or glitter is added. Cut the shapes from rolled dough, then use a straw to create a hanging hole at the top point. After baking, a light coat of white or silver paint highlights the points without covering the natural dough texture.
Salt dough holds fine details better than air-dry clay when baked properly.
Multiple sizes of the same cutter let you layer smaller stars over larger ones for quick dimension. This approach avoids the need for separate molds while still creating visual depth on the tree.
Animal Cutouts
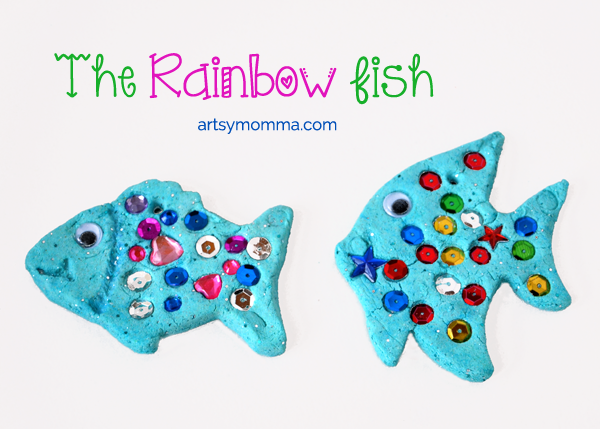
Animal silhouettes give ornaments a playful identity that appeals to both kids and adults. Choose simple outlines like cats, birds, or deer that read clearly from a distance once painted. Trace around cookie cutters or freehand with a knife, then add small details such as eyes or spots with a toothpick before baking.
These shapes pair naturally with themed color palettes—soft browns for woodland creatures or bright primaries for farm animals. The finished pieces also serve as gift tags when a name is written on the back.
Personalized Initials
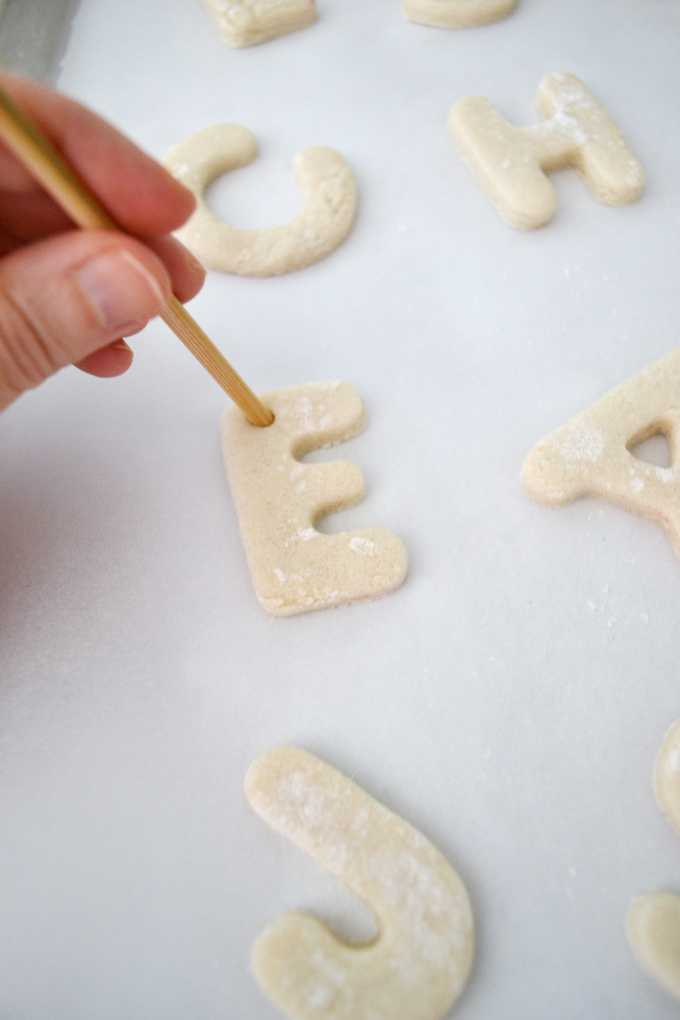
Initial ornaments function as both decoration and name tag when hung on wrapped gifts. Cut a large circle or oval, then press letter stamps or cut the initial freehand while the dough is still soft. A light sanding after baking smooths any rough edges left by the stamp.
A thin layer of varnish applied before paint prevents the dough from absorbing color unevenly.
Many people add birth years or small symbols beside the letter to mark special occasions. The result feels personal without requiring advanced sculpting skills.
Fruit Motifs
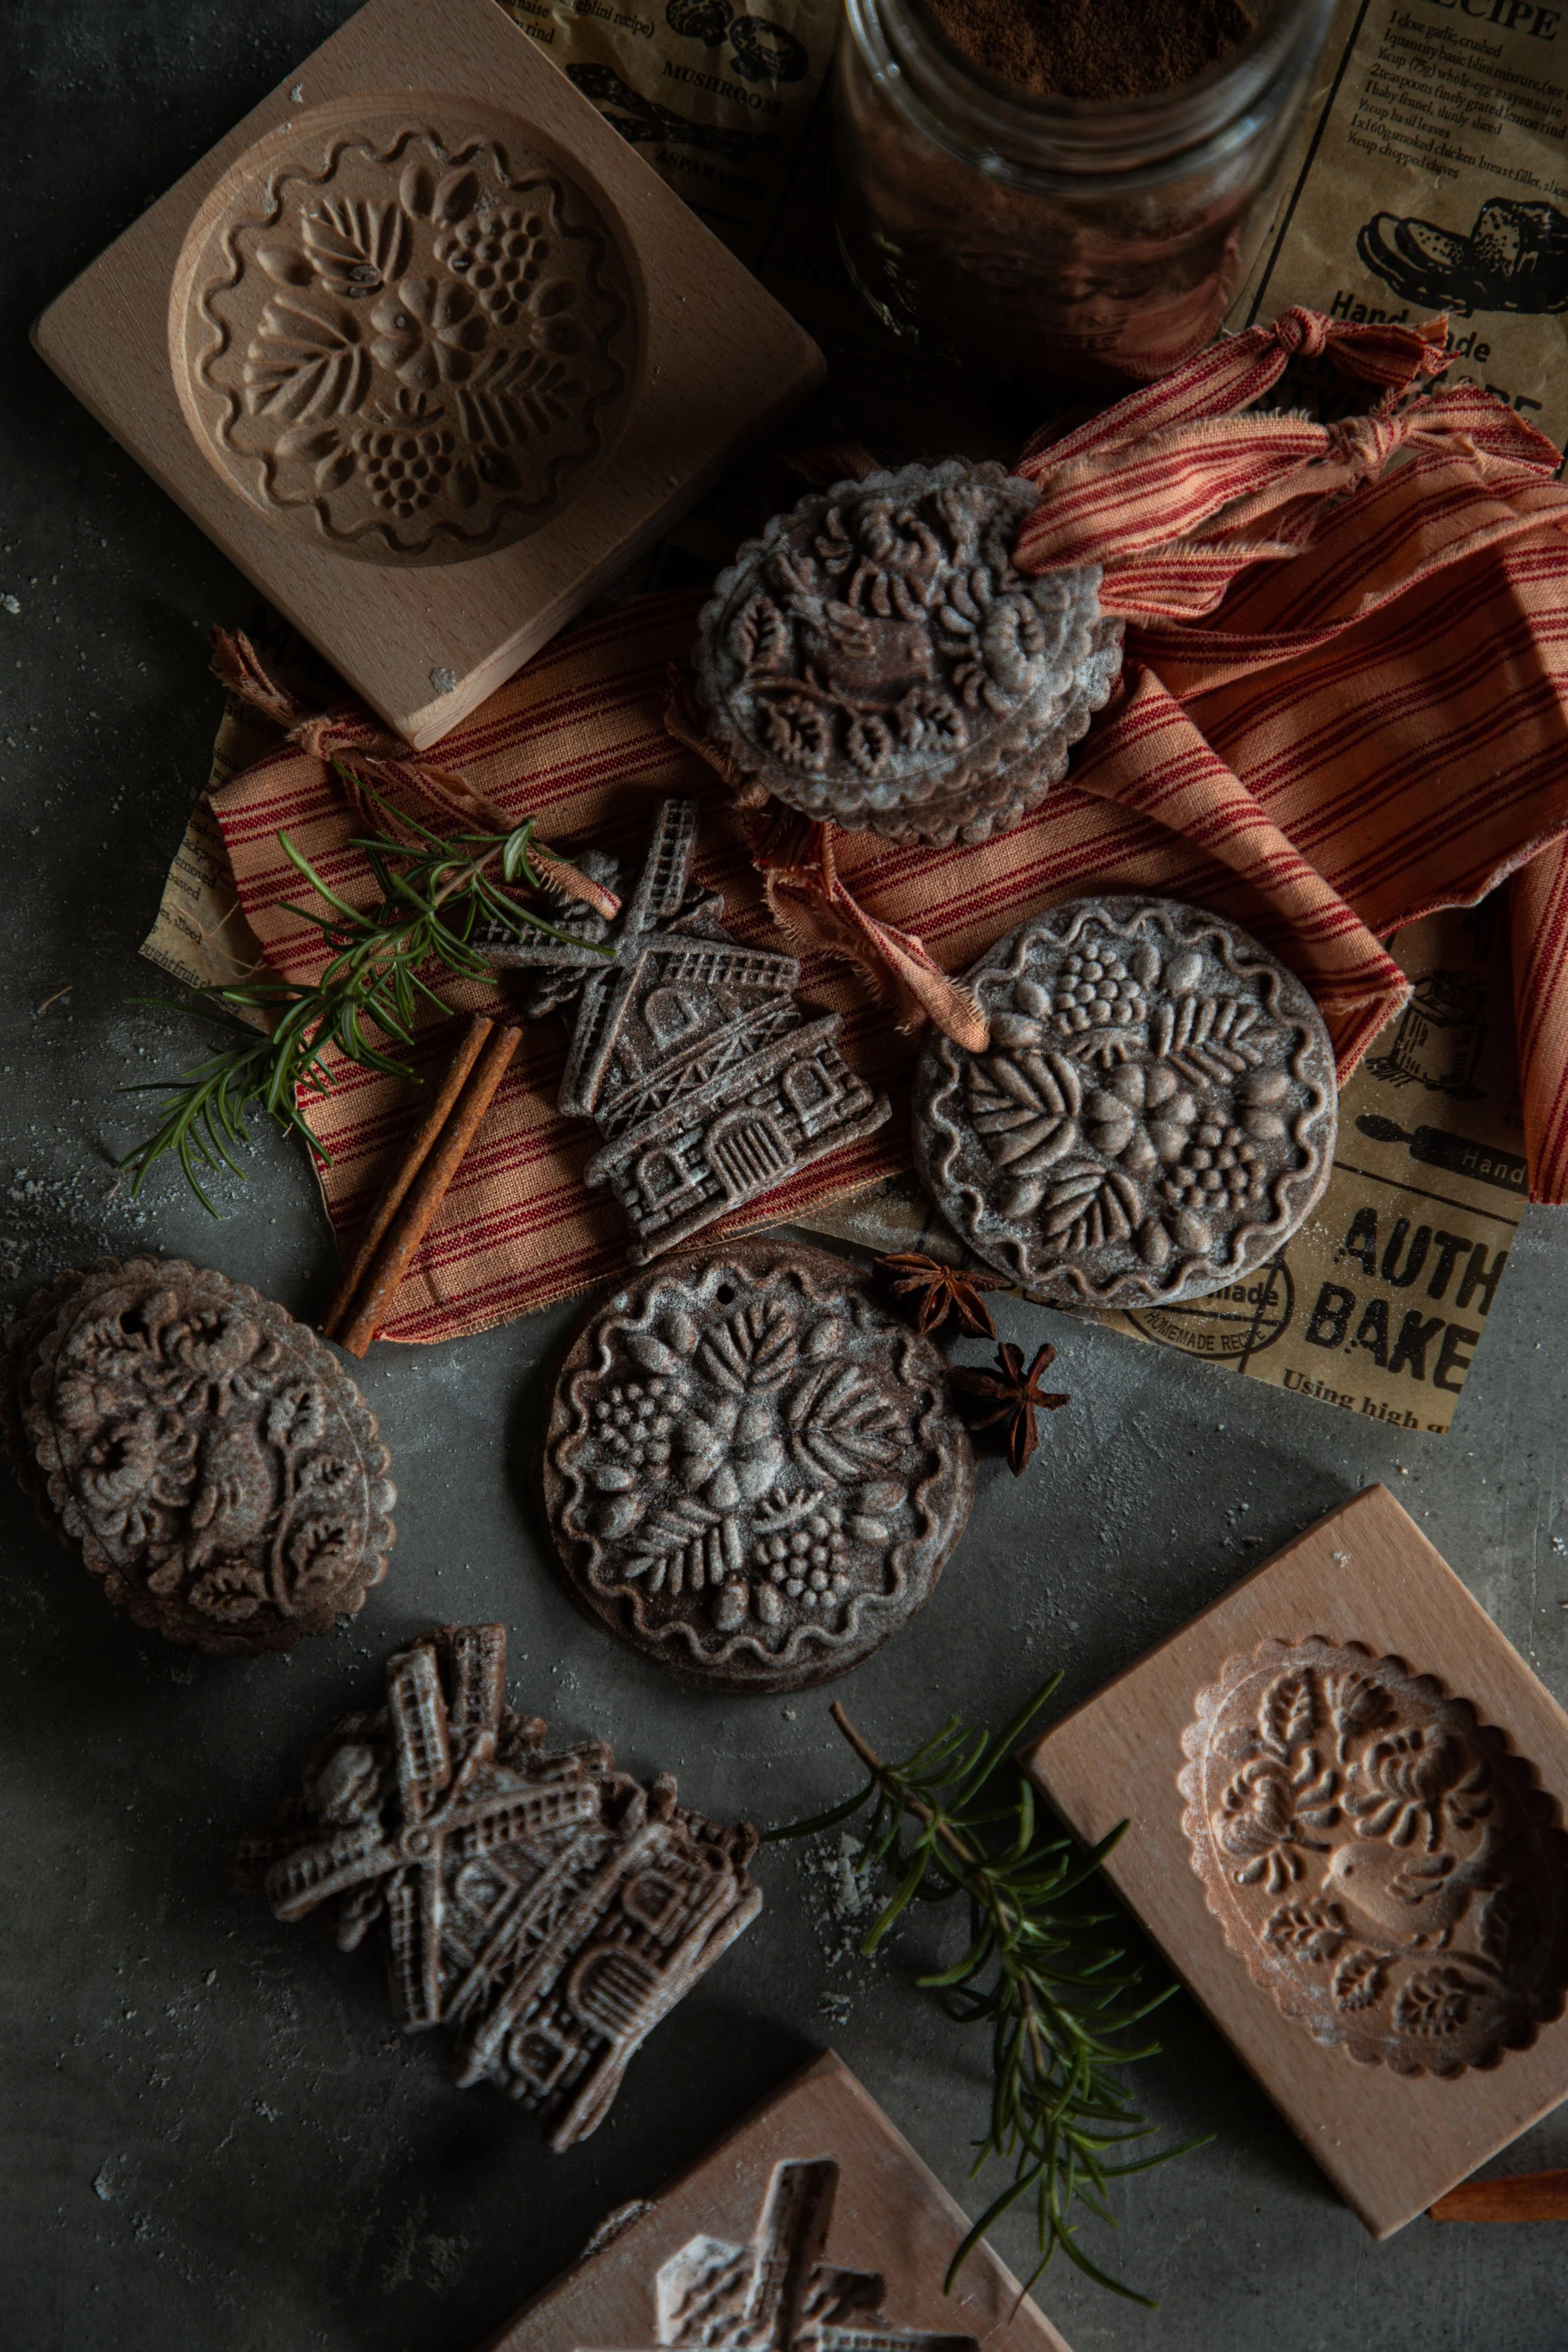
Fruit shapes bring color and whimsy that work year-round rather than only during winter holidays. Apples, oranges, and strawberries cut cleanly from the dough and take paint well because their rounded forms have few thin edges that can break. After baking, layer realistic shading with two or three tones of the same hue.
These ornaments look especially strong when grouped by color family on a single branch. The natural shapes also photograph well for social sharing or gift cards.
Textured Leaf Imprints
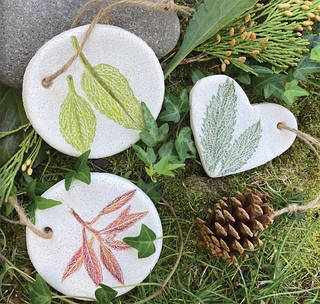
Real leaves pressed into the dough create organic patterns that no cutter can duplicate. Place a fresh leaf face-down on the rolled dough, roll once more to transfer the veins, then lift the leaf away before cutting around the outline. The impression remains crisp after baking and provides a ready-made guide for watercolor-style painting.
This technique works with many leaf varieties, so you can match ornaments to local trees or seasonal foliage. The finished pieces feel botanical rather than crafty.
Glitter Accents
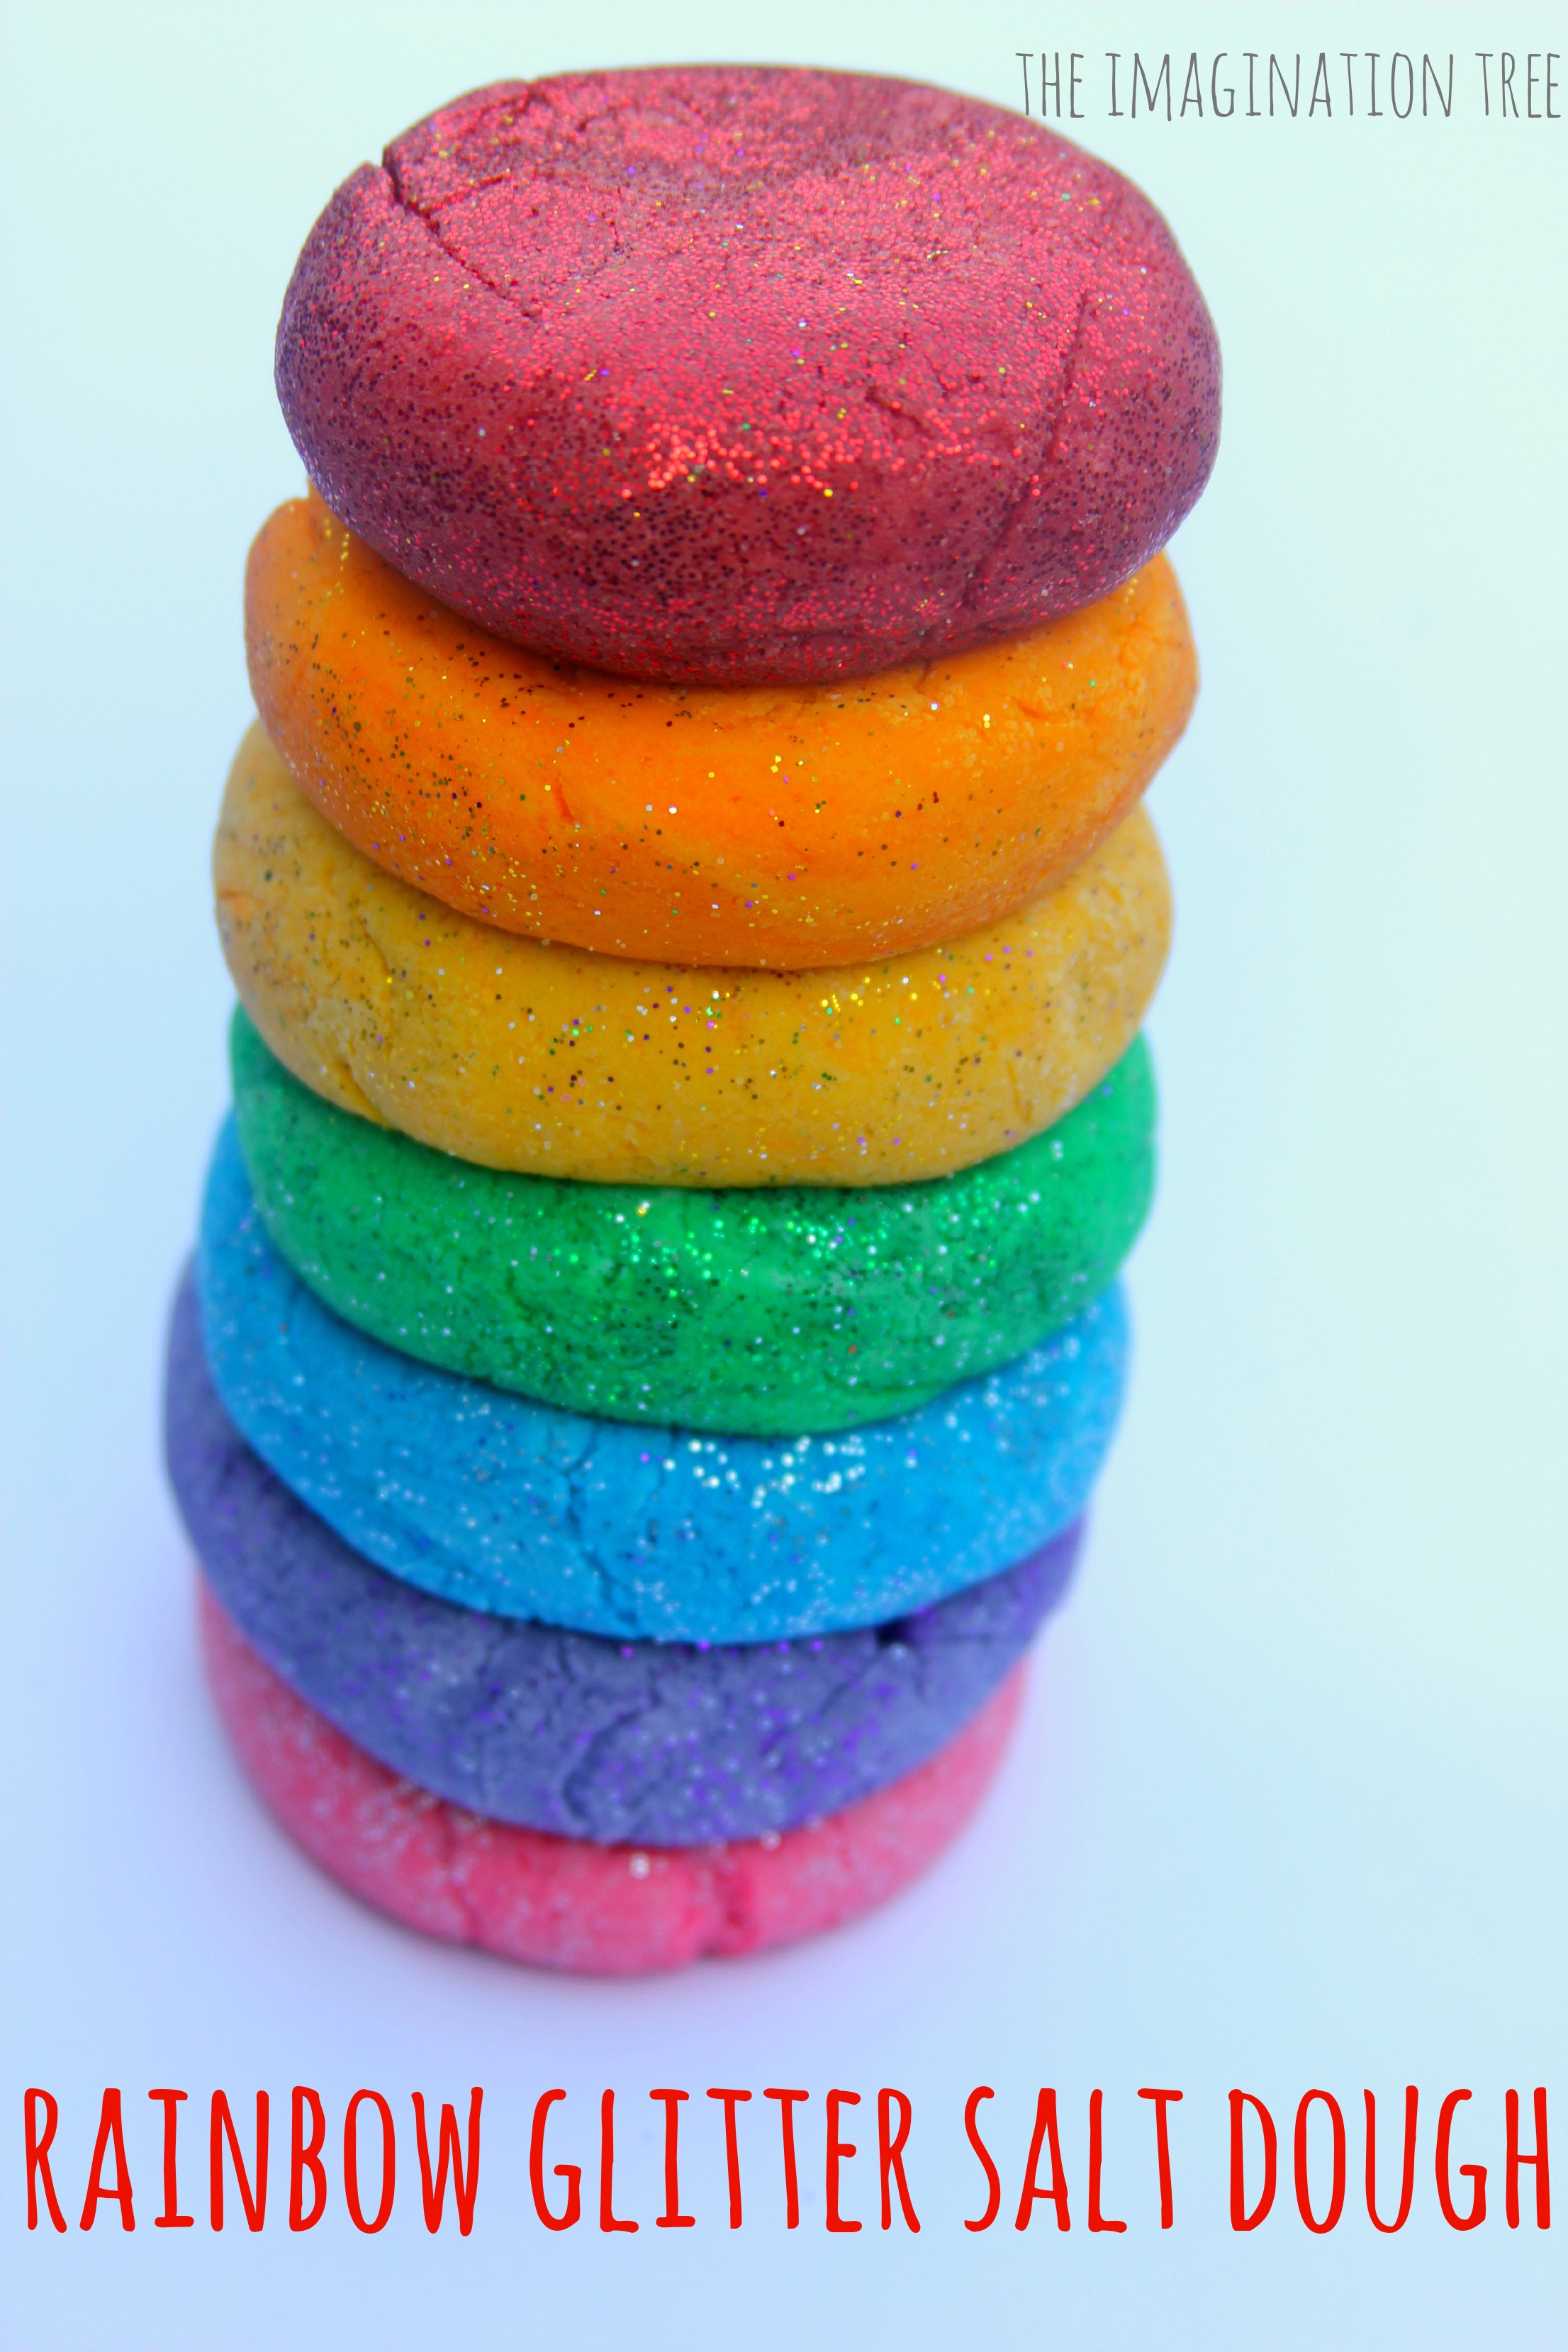
Glitter applied to wet paint creates sparkle that catches tree lights from multiple angles. Brush a thin layer of glue or paint onto selected areas, sprinkle fine glitter, and tap off the excess before the surface dries. Focus the glitter on edges or raised details so the base color still shows through.
Different glitter sizes produce varied effects—micro glitter for subtle shine and larger flakes for bold highlights. Seal the finished ornament to keep glitter from shedding onto other decorations.
Painted Landscapes

Small landscape scenes fit neatly onto round or oval bases and reward careful brushwork. Sketch a simple horizon line, then layer sky, ground, and a few trees or buildings with acrylics after baking. The flat surface accepts fine details such as tiny windows or fence lines without distortion.
These ornaments often become conversation pieces because each one tells a miniature story. Neutral backgrounds keep the focus on the painted elements.
Bead Embellishments
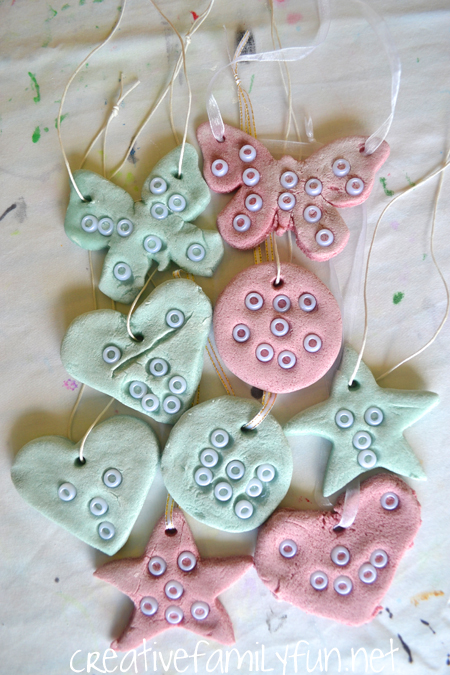
Small beads pressed into the dough before baking add texture and color that paint alone cannot achieve. Choose glass or wooden beads that withstand oven temperatures, then press them halfway into the surface so they stay secure. After baking, the beads sit flush and reflect light differently than the surrounding dough.
This method works best on larger shapes where the beads have room to form a pattern. Avoid overcrowding so the ornament does not become too heavy for standard tree branches.
Layered 3D Effects
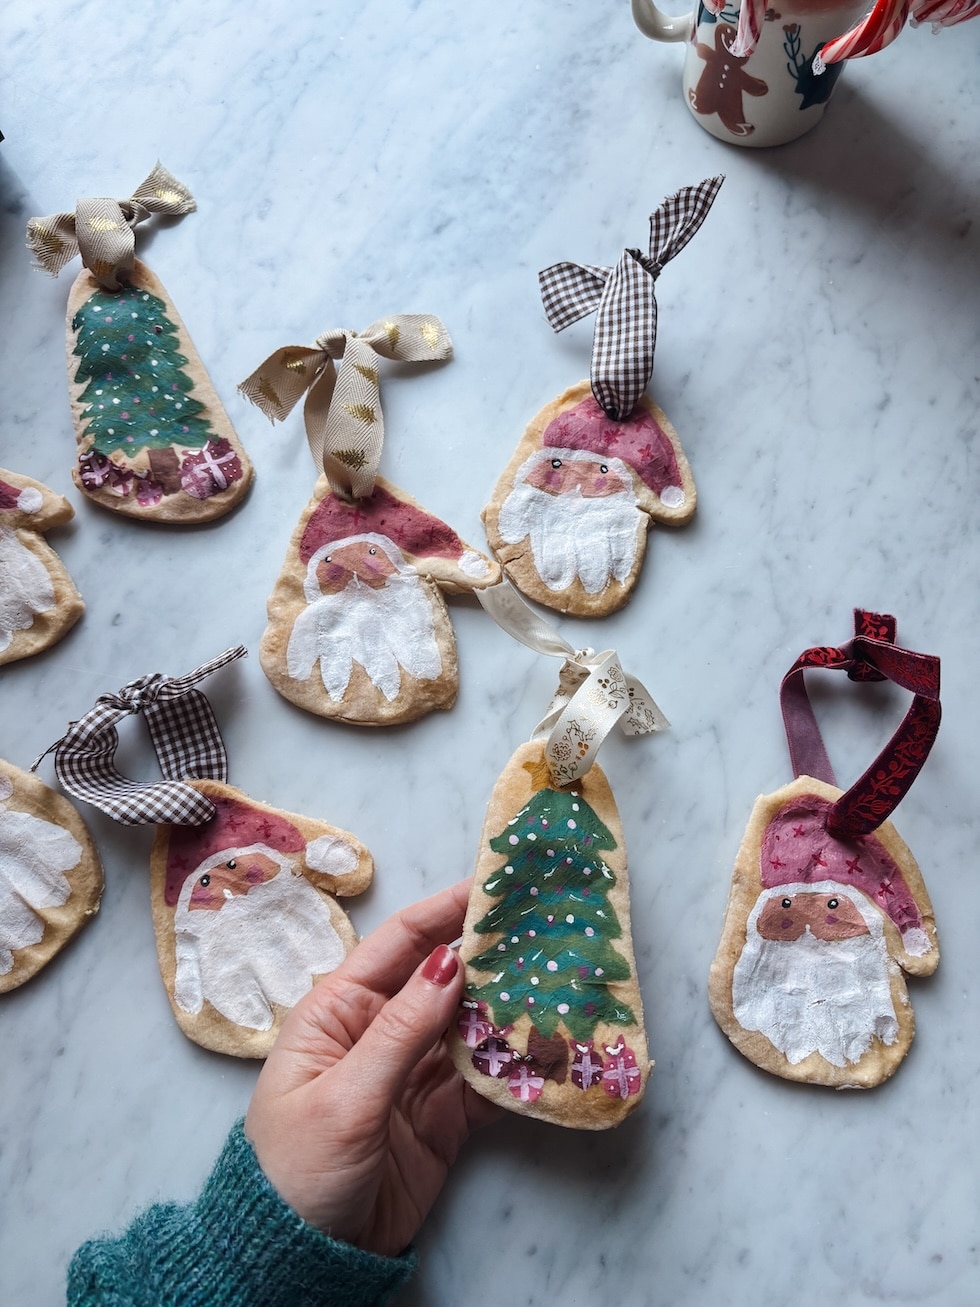
Stacking two cut shapes creates dimension without extra tools. Cut a base shape and a smaller top shape from the same dough, then attach them with a dab of water before baking. The raised element casts soft shadows that change as the tree lights flicker.
Choose contrasting paint colors for the layers so the dimension reads clearly from across the room. This technique also strengthens thinner areas that might otherwise crack.
Holiday Symbol Shapes
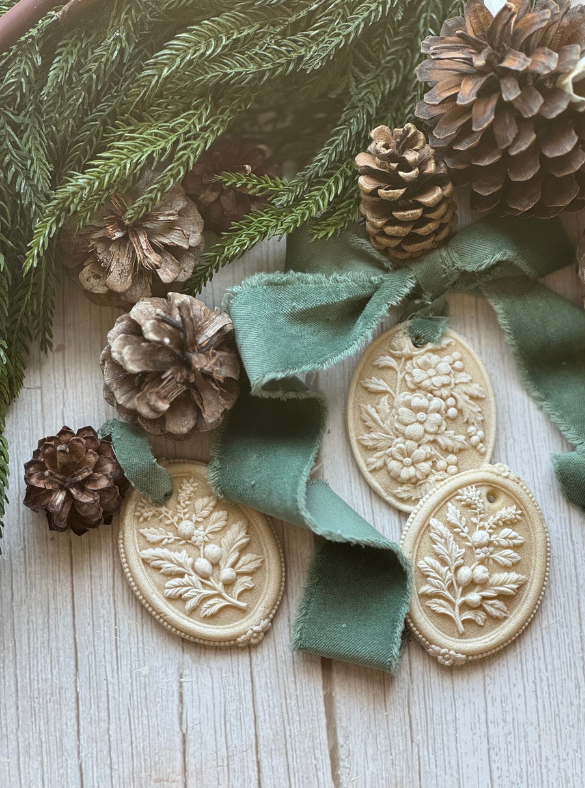
Recognizable symbols such as bells, stockings, or candy canes fit the season without needing explanation. Use cookie cutters sized for your tree scale, then add small details like stripes or dots with a paintbrush after baking. These shapes group easily with other traditional ornaments already in your collection.
The simple outlines also make them suitable for younger children who want to help cut and paint.
Miniature Food Items
Tiny cookies, cupcakes, and pretzels translate well into ornaments because their forms are already familiar. Cut the basic shape, then add texture with a fork or toothpick to suggest icing or salt crystals. Paint in realistic tones once the pieces cool.
These ornaments add humor and warmth when mixed among more formal decorations. They also make popular gifts for food lovers.
Metallic Finishes
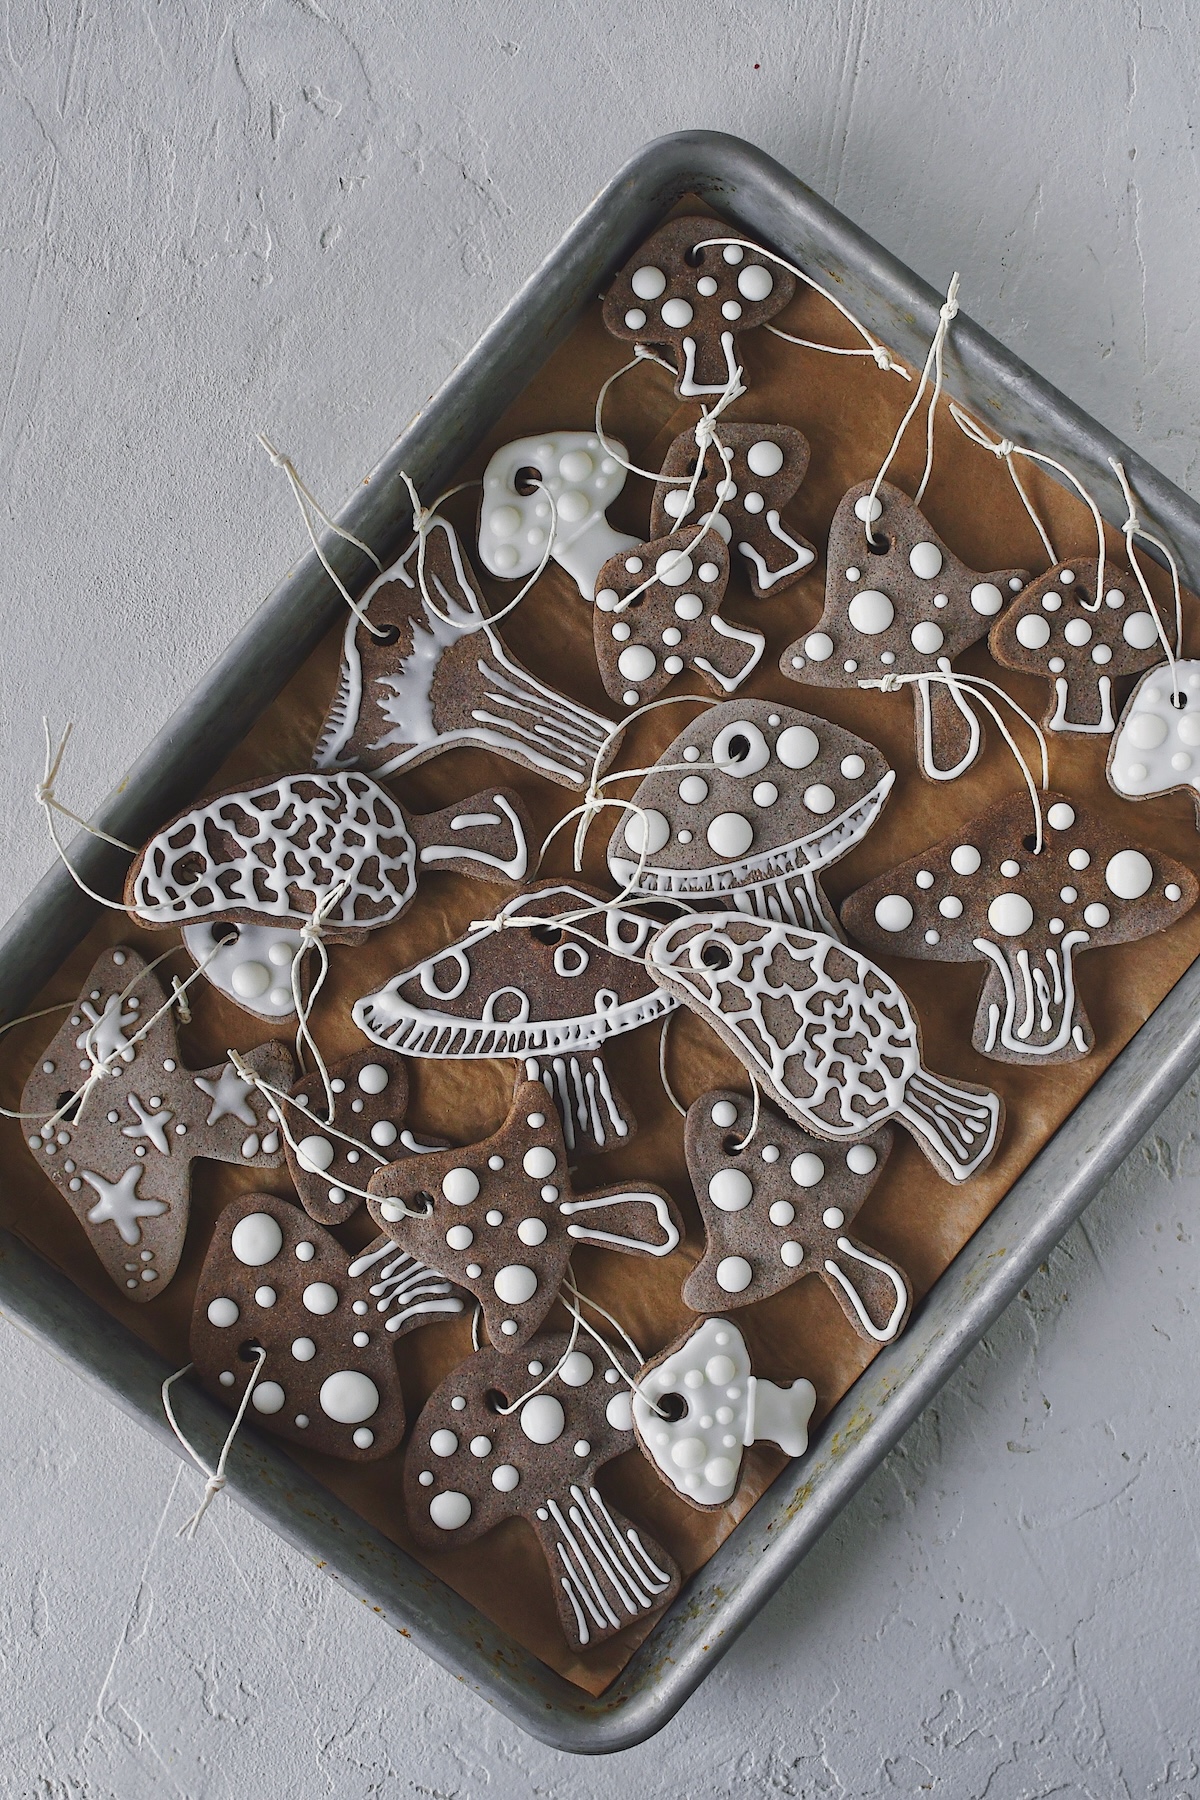
Metallic paints or rub-on finishes give salt dough a polished look that mimics more expensive materials. Apply the metallic layer over a base coat so coverage stays even, then buff lightly with a soft cloth for extra shine. The result photographs well and holds up under indoor lighting.
This finish pairs especially well with star and geometric shapes that already have strong lines.
Family Crest Designs
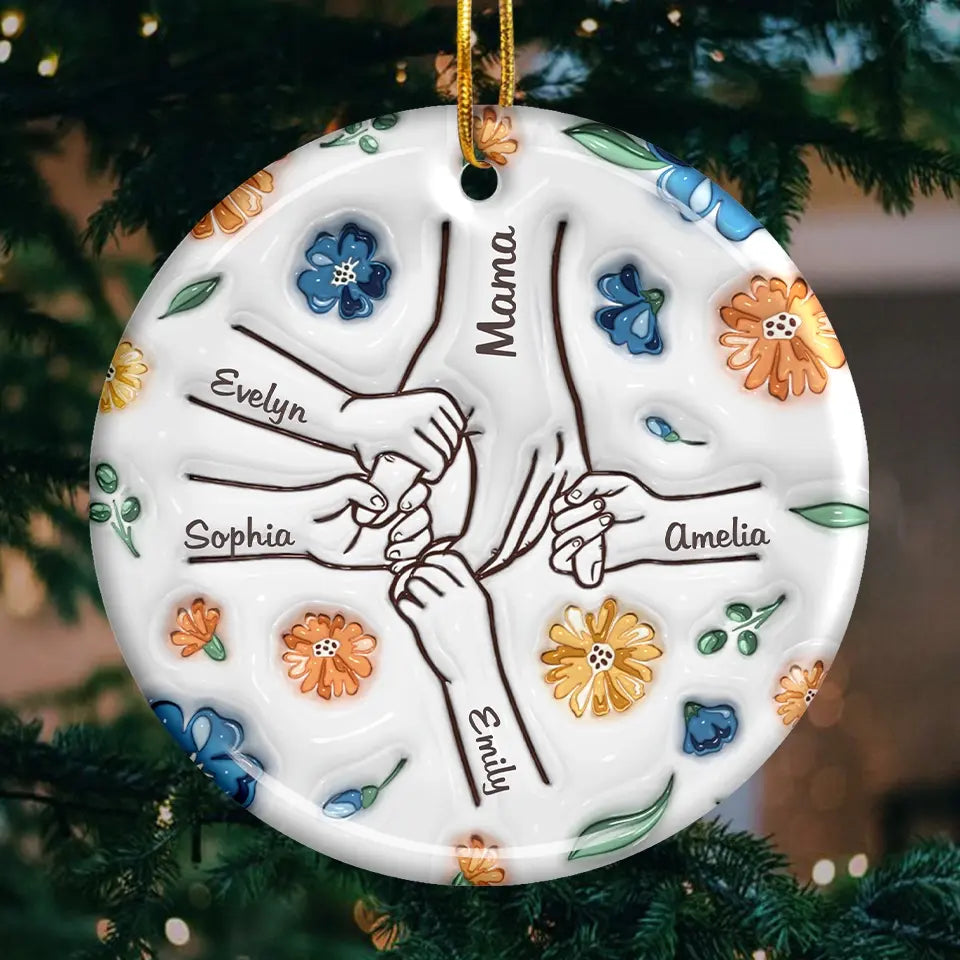
Simple crest-style designs combine symbols that represent family interests or heritage. Sketch a shield or circle, then divide it into sections for different icons before baking. Paint each section a distinct color so the overall design reads as a single emblem.
These ornaments become meaningful keepsakes that can be passed down or added to each year with new symbols.
How do I prevent salt dough ornaments from cracking during baking?
Place the ornaments on a parchment-lined sheet and bake at a low temperature around 200°F for several hours rather than rushing at higher heat. Allow them to cool completely inside the turned-off oven so temperature changes stay gradual. Thick pieces benefit from a slightly longer bake time to release moisture evenly from the center.
How long do salt dough ornaments last?
Properly sealed ornaments remain intact for five to ten years when stored in a cool, dry container between seasons. Avoid direct sunlight and high humidity, which can cause fading or softening. A yearly check for loose glitter or chipped paint lets you touch up pieces before they deteriorate further.
Can I make salt dough ornaments without a oven?
Air-drying works for thin pieces left at room temperature for several days, though results stay more fragile than baked versions. Rotate the ornaments occasionally so both sides dry at the same rate. This method suits very small or delicate shapes that might warp under oven heat.
What paint works best on salt dough ornaments?
Acrylic craft paint adheres well and dries quickly without soaking into the dough surface. Apply a primer coat of white or clear sealant first if you want brighter final colors. Avoid watercolor because it tends to lift the salt crystals and create a chalky finish.
One practical comparison appears below for readers choosing between common finishing options.
| Finish Type | Durability | Shine Level | Best For |
|---|---|---|---|
| Acrylic paint | High | Matte to satin | Detailed scenes |
| Metallic rub-on | Medium | High | Geometric shapes |
| Glitter + sealant | Medium | Sparkle | Edges and accents |
| Watercolor | Low | Matte | Soft backgrounds |
Salt dough ornaments reward simple materials with results that feel personal and lasting. Each finished piece carries the maker’s choices in shape, color, and detail, turning an afternoon of mixing and baking into decorations that mark real moments.
Leave a Reply