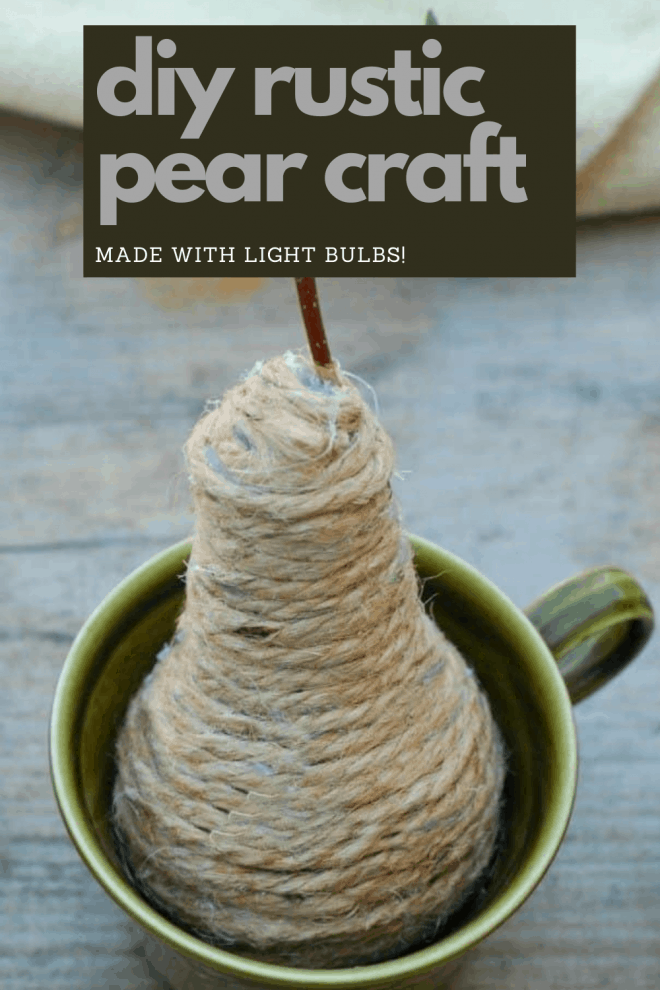
Turning a burnt-out light bulb into a piece of high-end rustic decor is one of those “aha!” moments every crafter lives for.
Instead of tossing those old incandescent bulbs into the recycling bin, we’re going to transform them into charming, farmhouse-style twine-wrapped pears.
This project is the ultimate budget-friendly upcycle—it costs pennies to make, takes about 15 minutes, and looks like something you’d find at a high-end boutique like Magnolia Market or Pottery Barn.
Why Upcycling Light Bulbs is a Crafter’s Dream
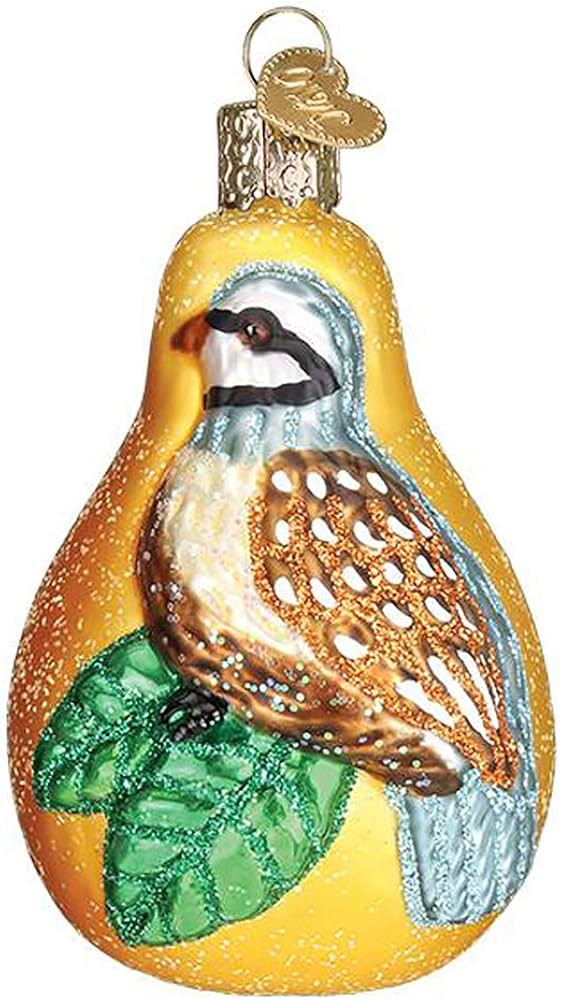
I’ve spent years experimenting with different mediums, and I’ve found that the shape of a standard A19 light bulb is almost biologically identical to the silhouette of a Bosc or Anjou pear.
It’s nature and industry meeting in the most aesthetic way possible. The glass provides a sturdy, non-porous base that takes hot glue exceptionally well, and the metal screw base serves as the perfect foundation for a stem.
In this guide, I’m going to walk you through the exact process I use to get a seamless wrap, plus I’ll share 10 unique variations to help you style these across your home.
Essential Materials and Budget Breakdown
Before we plug in the glue gun, let’s look at what you’ll need.
Most of these items are likely sitting in your junk drawer or craft closet right now.
| Material | Purpose | Estimated Cost |
|---|---|---|
| Burnt-out Light Bulbs | The “body” of the pear | Free (Upcycled) |
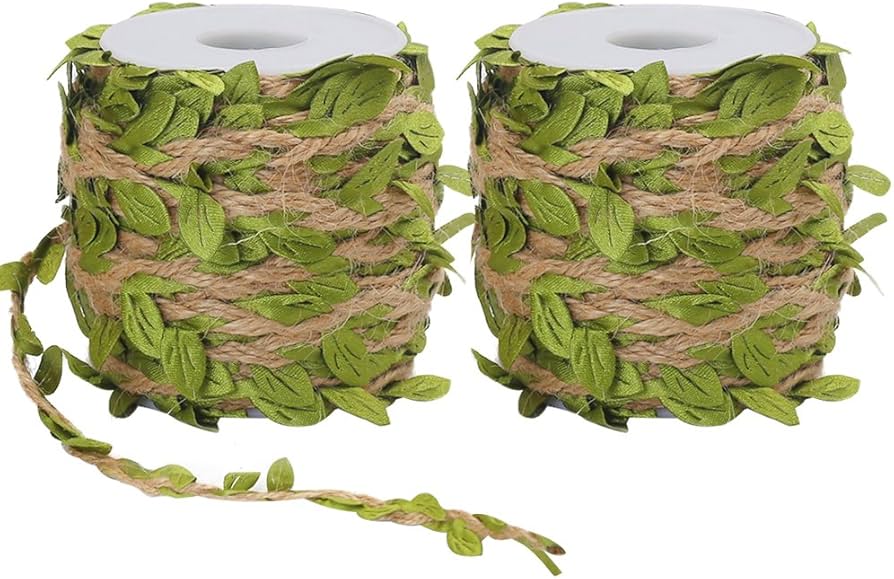
| Jute Twine or Hemp Cord | The textured skin of the fruit | $2.00 – $5.00 per roll |
| Hot Glue Gun & Sticks | The adhesive | $5.00 (Standard craft tool) |
| Small Twigs or Cinnamon Sticks | The stem | Free (from the yard) |
| Scrap Fabric or Felt | For the leaves | $0.50 (Scraps) |
| Scissors | Trimming and cutting | (Owned) |
A Crafter’s Pro-Tip: Use a low-temperature glue gun if you’re new to this.
High-temp glue can actually cause the glass of the bulb to expand or, in rare cases, crack if the bulb is thin. Plus, your fingertips will thank you when you inevitably touch the glue while pressing the twine down!
The Step-by-Step Tutorial: Crafting Your First Pear
Step 1: Prep the Bulb
First, make sure your light bulb is clean and dry. Any dust or oils from your hands can prevent the hot glue from adhering properly.
I usually give mine a quick wipe with rubbing alcohol. You do not need to remove the metal filament or the screw base; in fact, the metal base adds weight and stability to the “top” of our pear.
Step 2: Starting the Base (The Trickiest Part)
The bottom of the pear is the most visible “start” point. Apply a small dot of glue exactly at the center of the glass bottom (the rounded end).
Coil the end of your twine into a tiny circle (like a snail shell) in your fingers first, then press it onto the glue.
Step 3: The Spiral Wrap
Apply a thin line of glue around the initial circle and begin winding the twine. The key here is tension.
You want to pull the twine firmly so there are no gaps where the glass shows through. I prefer to apply glue in 2-inch increments so it doesn’t dry before I can lay the twine down.
Step 4: Navigating the Curves
As you move up the bulb toward the “neck” (the metal part), the curve becomes sharper. This is where you need to be precise with your glue.
Use smaller dots and ensure each row of twine sits snugly against the previous one. When you reach the metal screw base, keep wrapping! The ridges of the screw base actually help hold the twine in place.
Step 5: Adding the Stem and Leaf
Once you reach the very top of the metal base, cut your twine and glue the end down securely.
Take a small twig (about 1.5 inches long) or a piece of a cinnamon stick and glue it directly into the center of the top. For the leaf, cut a small teardrop shape out of green felt or burlap and glue it to the base of the stem.
10 Creative Variations for Your Twine Pears
-
1.
The Classic Farmhouse Jute Pear
This is the OG version. Using standard brown jute twine gives that raw, organic look that fits perfectly in a dough bowl or a tiered tray.
It’s neutral enough to stay out year-round. I love pairing these with dried eucalyptus for a fresh, rustic vibe.
-
2.
The Bleached White Cotton Pear
If your home leans more toward “Coastal” or “Modern Farmhouse,” swap the brown jute for white cotton baker’s twine.
It creates a much cleaner, brighter look. These look stunning when grouped in a clear glass hurricane vase filled with white sand or sea glass.
-
3.
The Scented Cinnamon Stem Pear
Instead of a twig from the backyard, use a small piece of a real cinnamon stick as the stem.
When you place these in a warm room, the heat helps release a very faint, pleasant spice aroma. These are particularly popular for autumn-themed centerpieces.
-
4.
The Ombre Dyed Pear
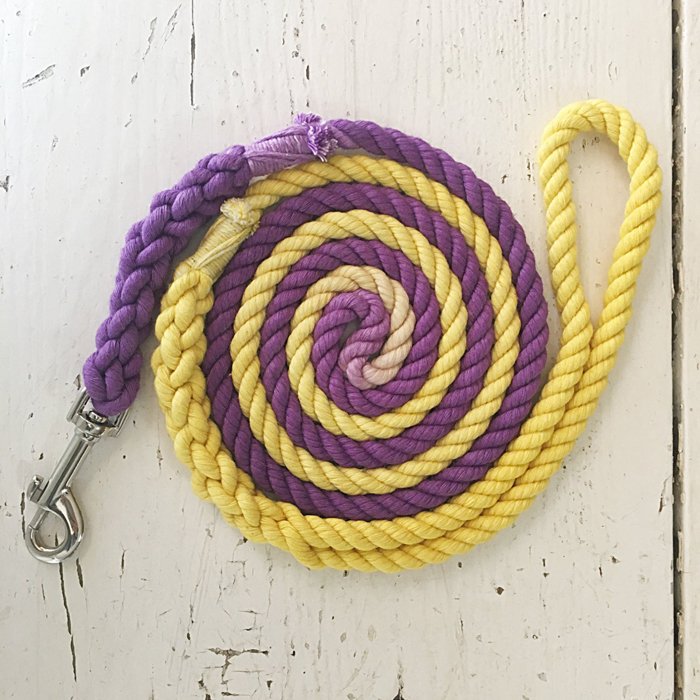
Before wrapping your bulb, dip sections of your twine into fabric dye.
Start with a dark forest green at the bottom and fade into a light sage at the top. This mimics the natural color transitions found in real fruit and adds a sophisticated, artistic touch to your upcycling.
-
5.
The Metallic Glam Pear
For those who like a bit of “shabby chic” or “glam,” use metallic gold or silver embroidery thread instead of twine.
It takes longer because the thread is thinner, but the result is a jewel-like decorative piece that looks incredible under dining room lights.
-
6.
The Lace-Trimmed Vintage Pear

Wrap your bulb in standard jute, but once finished, wrap a 1/2-inch strip of vintage white lace around the “belly” of the pear.
Secure it with a tiny pearl pin or a dab of glue. This adds a feminine, Victorian-inspired layer to the rustic base.
-
7.
The Miniature Christmas Pear Ornament
Use smaller “chandelier” style bulbs or nightlight bulbs to create miniature versions.
Add a loop of twine to the stem so they can be hung on a Christmas tree. I find that using a slightly thinner hemp cord works best for these smaller scales to keep the detail sharp.
-
8.
The Burlap Leaf Variation
Instead of felt, use stiffened burlap for the leaf. Fray the edges slightly for a more “deconstructed” look.
This version is very popular for Thanksgiving table settings where you can write a guest’s name on the burlap leaf with a fine-tip permanent marker to use as a place card.
-
9.
The Beaded Bohemian Pear
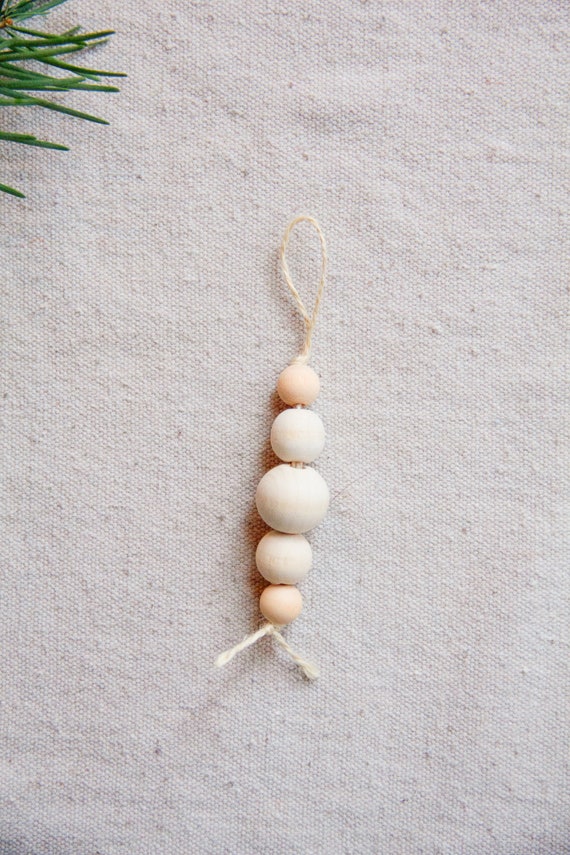
Thread small wooden beads onto your twine before you start wrapping.
Every few rotations, slide a bead into place and glue it down. This creates a textured, “studded” look that fits perfectly with Bohemian or eclectic home decor styles.
-
10.
The Chalkboard Painted Base Pear
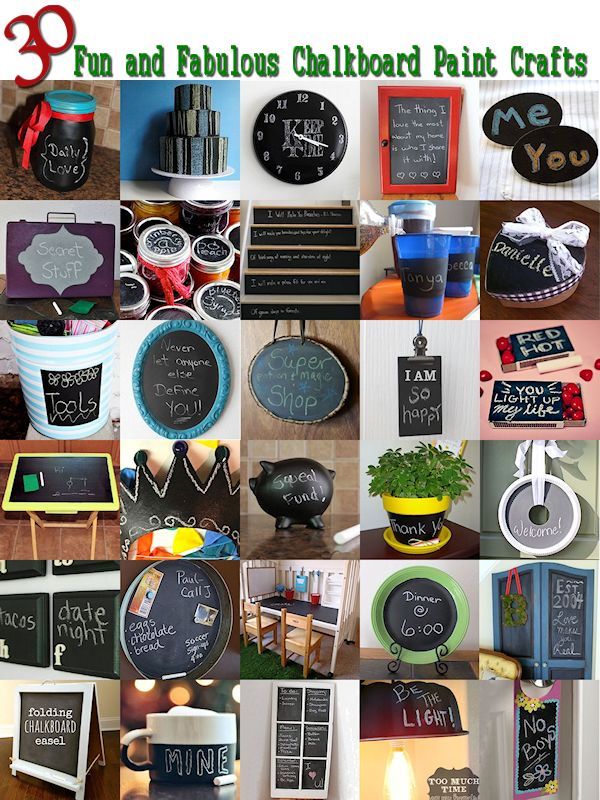
Before wrapping, paint the very bottom of the bulb with chalkboard paint. Wrap the twine only 3/4 of the way down.
This allows you to stand the pear up and write small notes or dates on the bottom, or simply creates a cool “dipped” aesthetic.
Pro-Hacks for a Professional Finish
As a seasoned crafter, I’ve made my share of “ugly” pears before I perfected the technique.
Here are the secrets to making yours look high-end:
-
★
Hide the Glue: The biggest mistake is using too much glue.
If it seeps out between the twine, it will dry shiny and ruin the rustic look. Use a toothpick to scrape away any excess while it’s still warm.
-
★
The “Twist” Technique: As you wrap, slightly twist the twine between your fingers.
This hides the “fuzz” of the jute and gives the pear a tighter, more polished appearance.
-
★
Dealing with the Tip: The very top of the bulb (the metal part) can be slippery.
I recommend sanding the metal screw base lightly with 220-grit sandpaper before gluing to give the adhesive more “tooth” to grab onto.
Frequently Asked Questions (FAQ)
Q: Can I use LED bulbs instead of incandescent?
A: Absolutely! LED bulbs are actually safer because they are often made of plastic rather than glass, meaning they won’t shatter if you drop them.
The shape is usually the same, so the technique remains identical.
Q: How do I clean the twine if it gets dusty?
A: Since we used hot glue, you can’t exactly submerge these in water.
I recommend using a lint roller or a canned air duster (the kind used for keyboards) to blow away dust from the fibers.
Q: My twine is unraveling at the bottom. What did I do wrong?
A: This usually happens if the “starter circle” wasn’t glued down securely enough.
If it happens, don’t panic! Just add a tiny drop of super glue (which is thinner and stronger than hot glue) right at the center point to lock it back down.
Q: What is the best size bulb to use?
A: The standard A19 bulb (your basic household light bulb) creates the most realistic pear shape.
However, “Globe” bulbs make for very cute, plump “apple-like” decorations!
Conclusion
Upcycling doesn’t have to be complicated to be beautiful. These rustic twine-wrapped pears are proof that with a little hot glue and some discarded household items, you can create decor that rivals high-street brands.
Whether you’re filling a centerpiece for your dining table or looking for a thoughtful, handmade gift, these pears offer a tactile, earthy charm that fits into almost any home style.
Grab those burnt-out bulbs, put on your favorite podcast, and start wrapping.
You’ll find that once you make one, it’s hard to stop until you have a whole orchard! Happy crafting!
Leave a Reply