Creating a 3D hot air balloon Valentine’s Day card is a heartfelt way to elevate your gift-giving from a simple store-bought gesture to a personalized keepsake.
This project combines paper engineering with romantic aesthetics, using layered cardstock to create a pop-up effect that symbolizes your love taking flight.
Whether you are an experienced crafter or a beginner looking for a meaningful DIY project, this tutorial provides a comprehensive roadmap to creating a professional-quality card using basic household supplies and a touch of creativity.
The Essential Materials for Your DIY Valentine’s Card
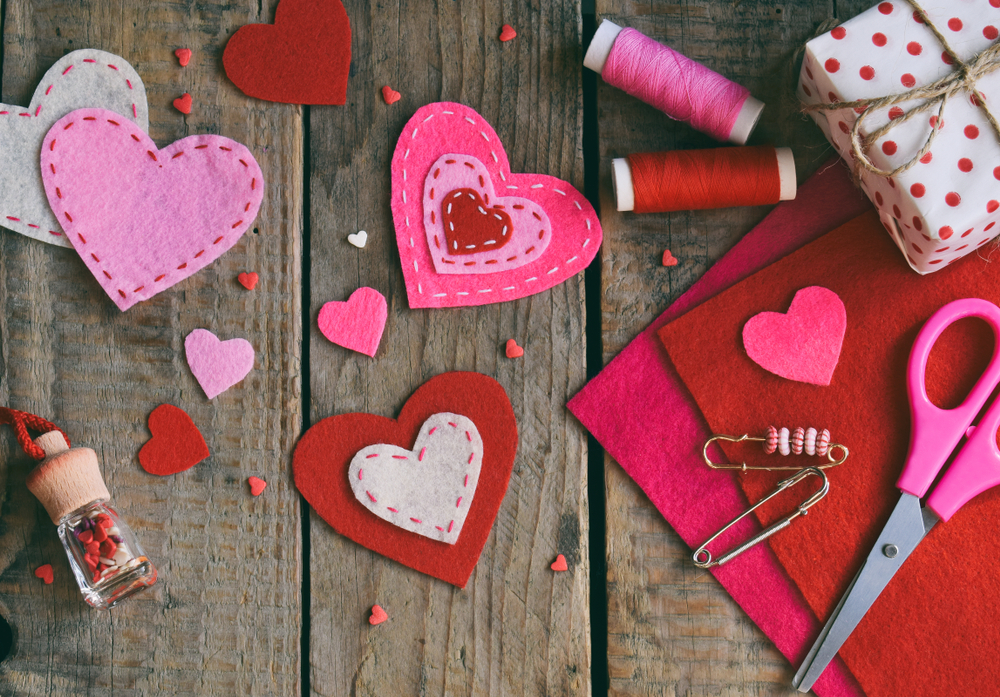
Before diving into the construction, gather your materials. Upcycling scraps from previous projects is encouraged to give the card a unique, textured feel.
Step-by-Step Guide: Crafting the Romantic Air Balloon Card
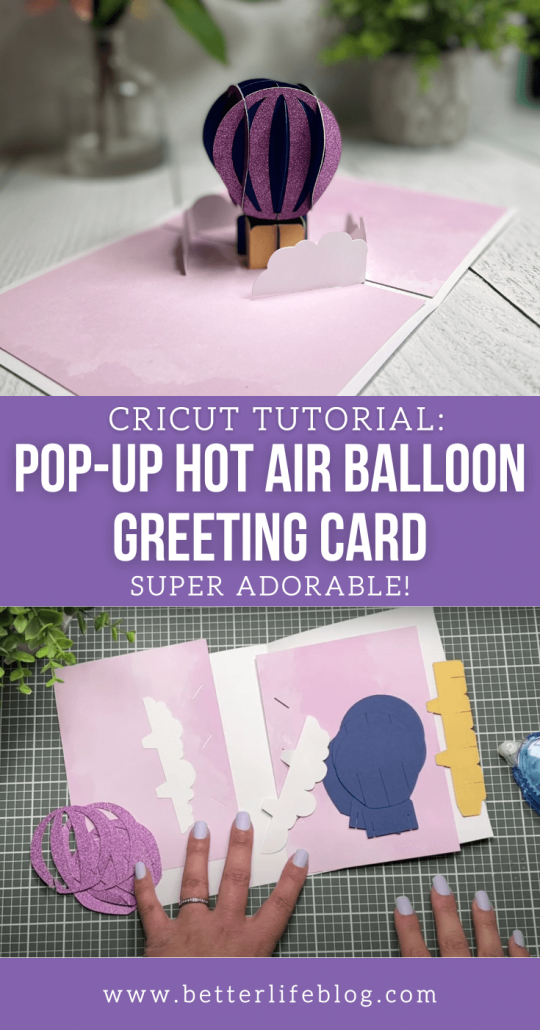
Follow these ten detailed steps to assemble your romantic masterpiece.
Step 1: Prepare the Card Base
Fold a standard 5×7 inch piece of heavy cardstock in half. Ensure the crease is crisp by using a bone folder or the edge of a ruler.
This will be the canvas for your 3D balloon.
Step 2: Design the Balloon Template
Draw a classic hot air balloon lightbulb shape on a piece of scrap paper. It should be approximately 3 inches wide and 4 inches tall.
This will serve as your master template for the 3D layers.
Step 3: Cut the Layered Panels
Trace your template onto four to six different pieces of patterned or colored paper. For a romantic Valentine’s theme, choose shades of crimson, blush, and gold.
Cut these shapes out carefully.
Step 4: Create the 3D Accordion Fold
Fold each of your balloon shapes in half vertically, with the patterned side facing inward. Glue the back of the left half of one shape to the back of the right half of another.
Continue this until all shapes are joined, creating a book of balloon panels.
Step 5: Construct the Basket
Cut a small square or trapezoid (about 1 inch wide) out of brown kraft paper or cardstock.
To add realism, you can use a fine-liner pen to draw a wicker texture on the basket.
Step 6: Attach the Connecting Ropes
Cut two 2-inch pieces of twine. Glue the top ends to the back of the 3D balloon assembly and the bottom ends to the back of the basket.
This creates the illusion that the basket is hanging from the balloon.
Step 7: Mount the Balloon to the Base
Apply glue to the two flat outer halves of your 3D balloon assembly. Position it in the upper center of your card base and press down firmly.
When the card opens, the balloon will fan out into a 3D sphere.
Step 8: Secure the Basket
Use a small piece of double-sided foam tape to attach the basket to the card.
The foam tape adds extra depth, making the basket appear to float slightly off the page.
Step 9: Add Romantic Sky Elements
Cut out small clouds from white felt or paper. Glue them around the balloon.
You can also add tiny heart shapes floating around the balloon like confetti to emphasize the Valentine’s theme.
Step 10: Final Calligraphy and Sentiment
Write a romantic message at the bottom of the card.
Classic phrases like “Love is in the air” or “You lift me up” complement the hot air balloon theme perfectly.
10 Creative Variations for Your Air Balloon Card
If you want to move beyond the basic tutorial, here are ten unique styles and variations to personalize your card even further.
1. The Vintage Map Balloon
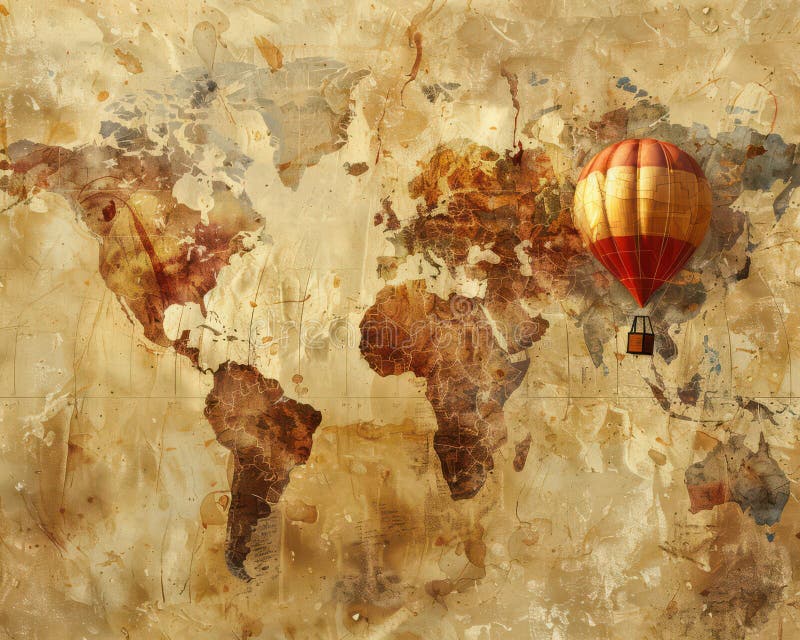
Use old atlas pages or printed vintage maps to cut your balloon panels. This is perfect for couples who love traveling together or have a long-distance relationship.
It symbolizes the journey you are taking together across the world.
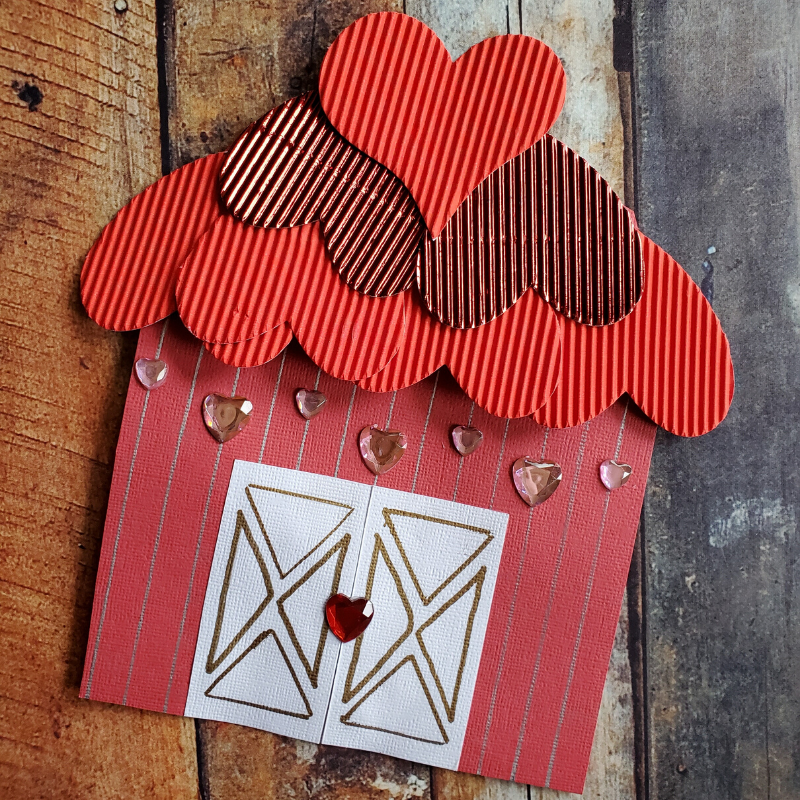
2. The 3D Heart-Shaped Balloon
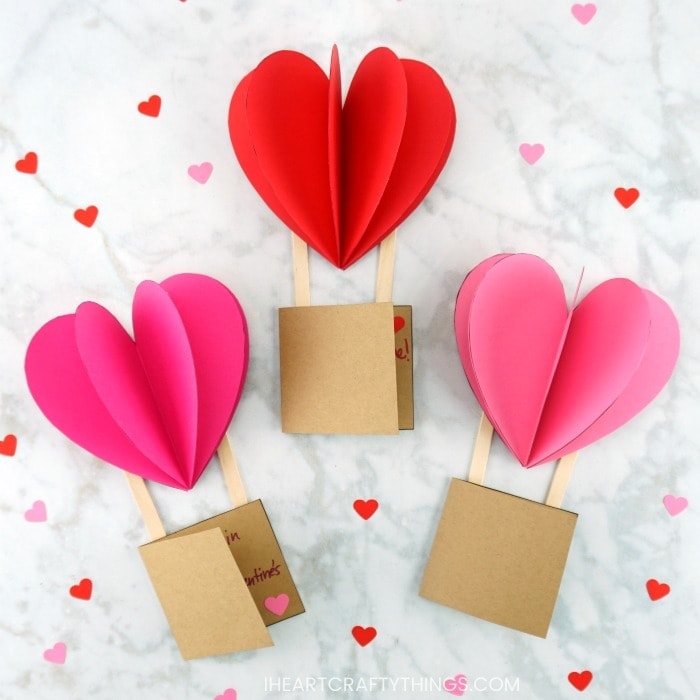
Instead of the traditional lightbulb shape, cut your panels into large hearts. When folded and glued together, the balloon becomes a multi-dimensional heart.
This is the ultimate romantic gesture for Valentine’s Day.
3. The Button Basket
Replace the paper basket with a large, flat vintage button. Thread the twine through the button holes before gluing it to the card.
This adds a whimsical, shabby chic texture that feels high-end and artisanal.
4. The Photo-Centric Balloon
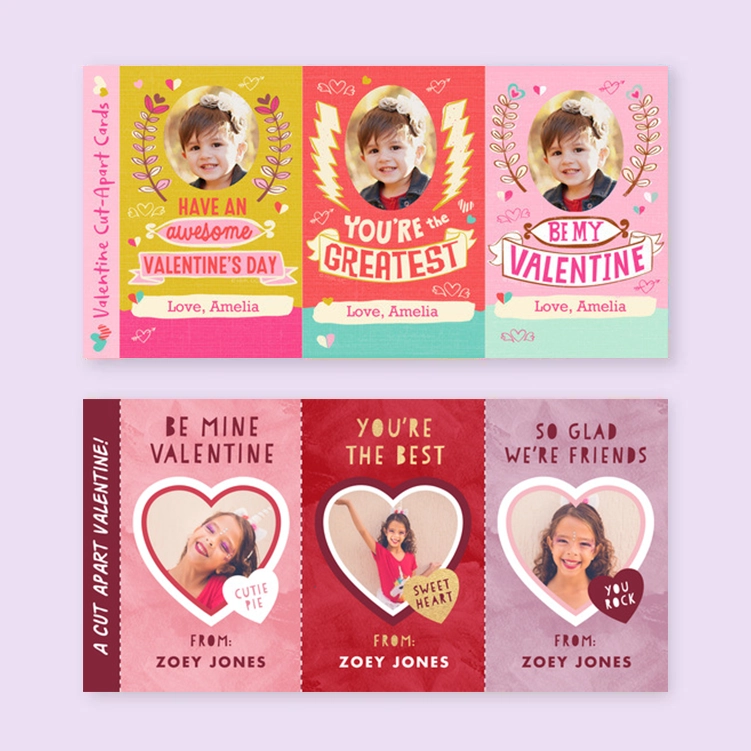
Print tiny photos of you and your partner. Glue them onto one or two of the balloon panels.
As the recipient turns the pages of the 3D balloon, they will see memories tucked between the colorful paper.
5. The Watercolor Sky Background
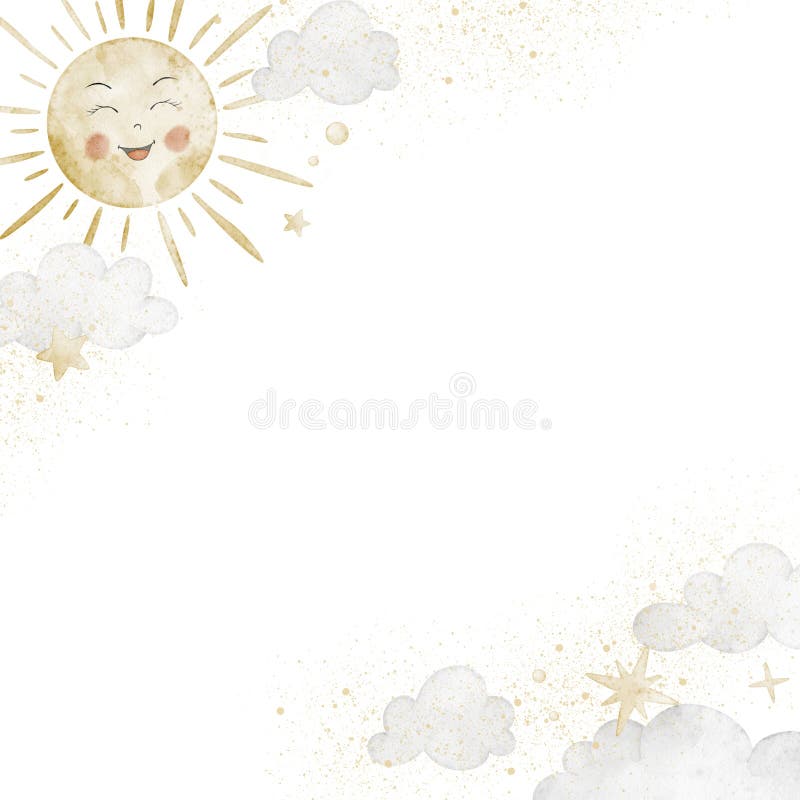
Before attaching your balloon, use watercolors to create a soft sunset or blue sky gradient on the card base.
The soft bleeding of colors provides a professional, artistic backdrop that makes the 3D elements pop.
6. The Lace and Doily Balloon
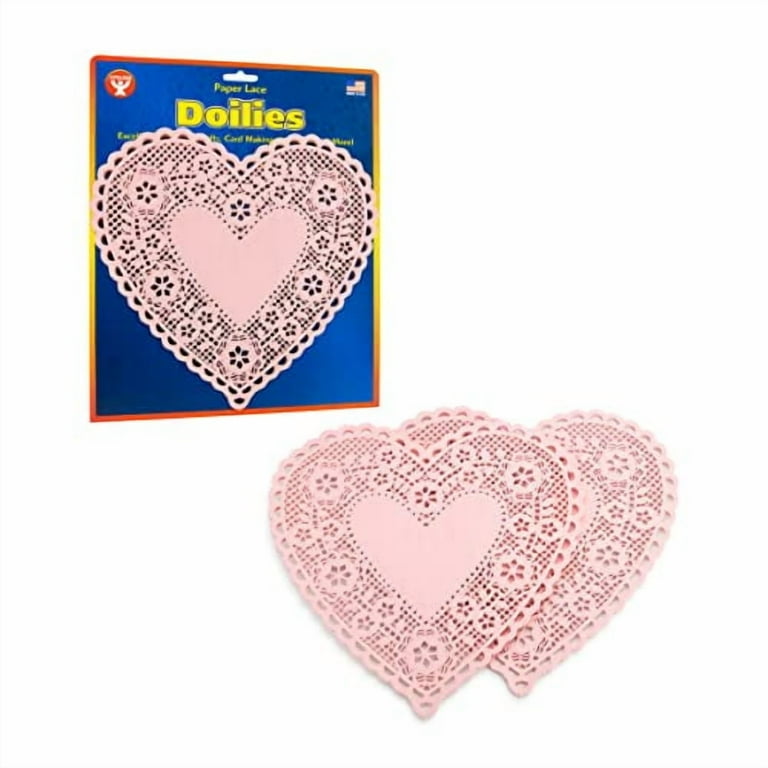
Incorporate paper doilies or scraps of lace into your balloon panels. This adds a Victorian-era romantic feel.
The delicate patterns of the lace mimic the intricate design of real hot air balloons.
7. The Mixed Media Fabric Balloon
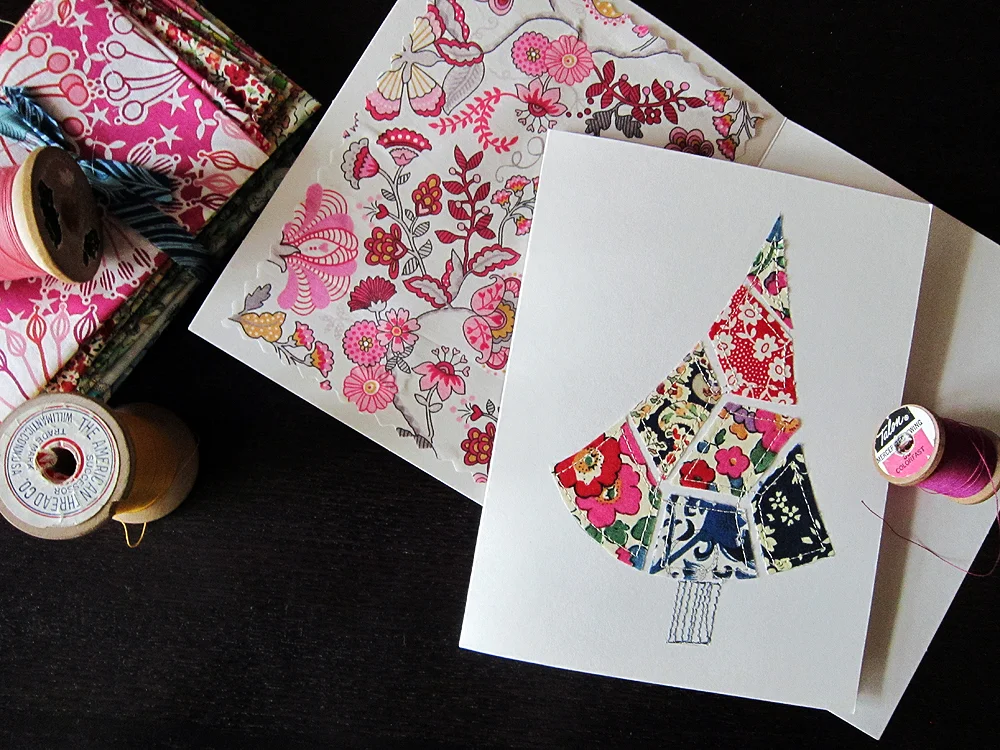
Instead of cardstock, use stiffened fabric scraps like cotton or silk. The tactile nature of the fabric makes the card feel like a piece of art rather than just stationery.
Secure the edges with a zig-zag stitch for extra flair.
8. The Interactive Pull-Tab Card

Create a mechanism where pulling a tab at the bottom of the card makes the balloon rise up the page.
This requires a hidden vertical slot in the card base, providing a playful and surprising element for the recipient.
9. The Glitter and Sparkle Balloon
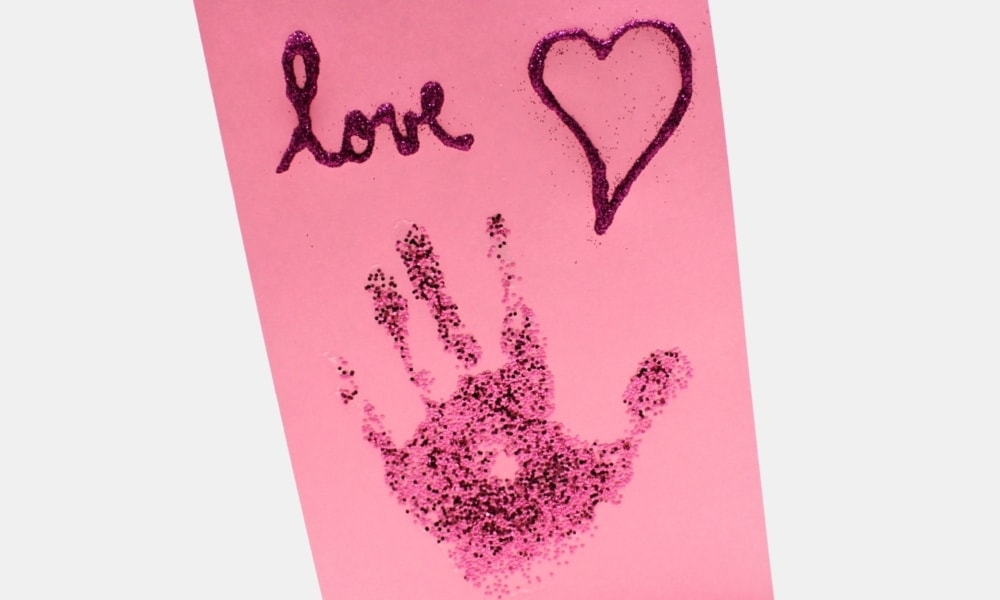
Apply fine glitter to the edges of each balloon panel. When the card is opened and the balloon fans out, it will catch the light from every angle.
Use gold or rose-gold glitter for a sophisticated, festive look.
10. The Minimalist Line Art Balloon
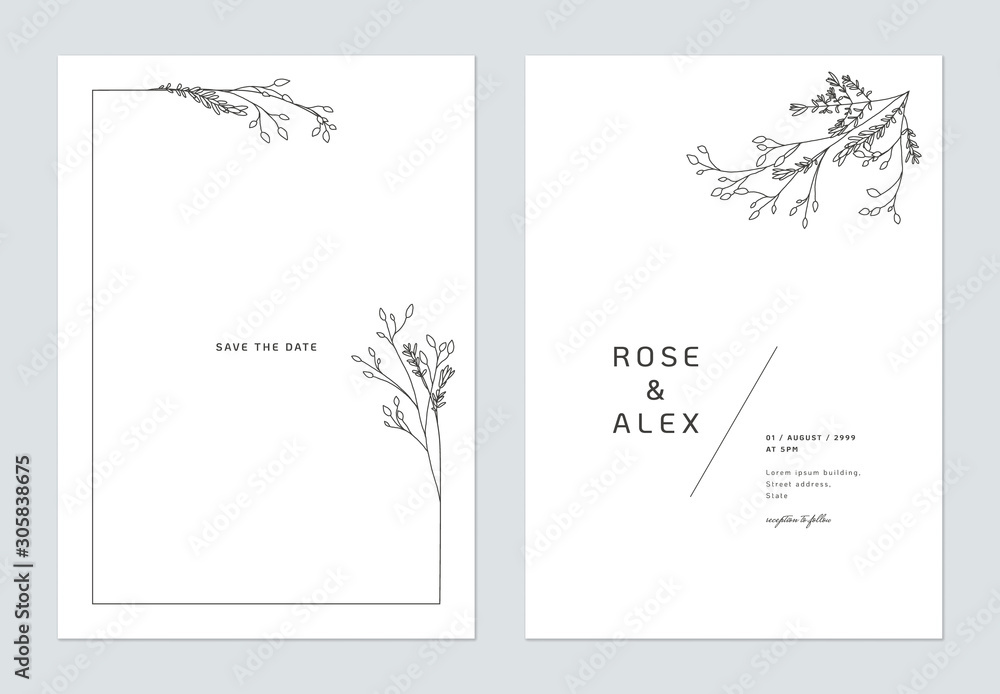
For a modern aesthetic, use plain white cardstock for the balloon and draw intricate geometric patterns with a gold metallic pen.
This less is more approach is elegant and focuses on the structural beauty of the 3D fold.
Pro-Tips for a Professional Finish
-
✓
Use a Scoring Tool: Never fold heavy cardstock by hand. Use a scoring tool to create a groove first; this prevents the paper fibers from cracking and ensures a clean, professional edge. -
✓
Weight the Glue: After gluing the 3D panels together, place them under a heavy book for 30 minutes. This ensures the panels are perfectly flat and the adhesive bonds strongly. -
✓
Check the Clearance: Before gluing the balloon to the base, ensure it doesn’t hang off the edge of the card when closed. Always do a dry fit test. -
✓
Envelope Depth: Because this is a 3D card, it will be thicker than a standard card. You may need to create a custom envelope or use a padded mailer if you plan to send it through the post.
Frequently Asked Questions (FAQ)
What is the best glue for 3D paper crafts?
For the balloon panels, a clear-drying tacky glue or a high-quality glue stick is best as it won’t warp the paper.
For the twine and basket, a hot glue gun or double-sided foam tape provides a stronger, more immediate hold.
Can I make this card if I don’t have patterned paper?
Absolutely! You can use plain paper and decorate it yourself using stamps, markers, or even coffee staining for a vintage look.
Wrapping paper scraps also work excellently.
How do I make the balloon look more spherical?
The more panels you use, the more spherical the balloon will look.
While four panels create a nice effect, using six to eight panels will result in a much fuller, rounder 3D shape.
Is this project suitable for children?
Yes, with supervision. Children can help with the gluing and choosing the colors, while an adult should handle the precision cutting with the craft knife.
Conclusion
The Romantic Air Balloon Valentine’s Day card is more than just a greeting; it is a miniature work of art that conveys effort, creativity, and love.
By following the step-by-step tutorial and experimenting with the ten variations provided, you can create a custom piece that perfectly reflects your partner’s personality.
From vintage maps to shimmering glitter, the possibilities are as limitless as the sky. This Valentine’s Day, skip the generic aisle and let your love take flight with a handcrafted gift that will be cherished long after the holiday has passed.
Leave a Reply