
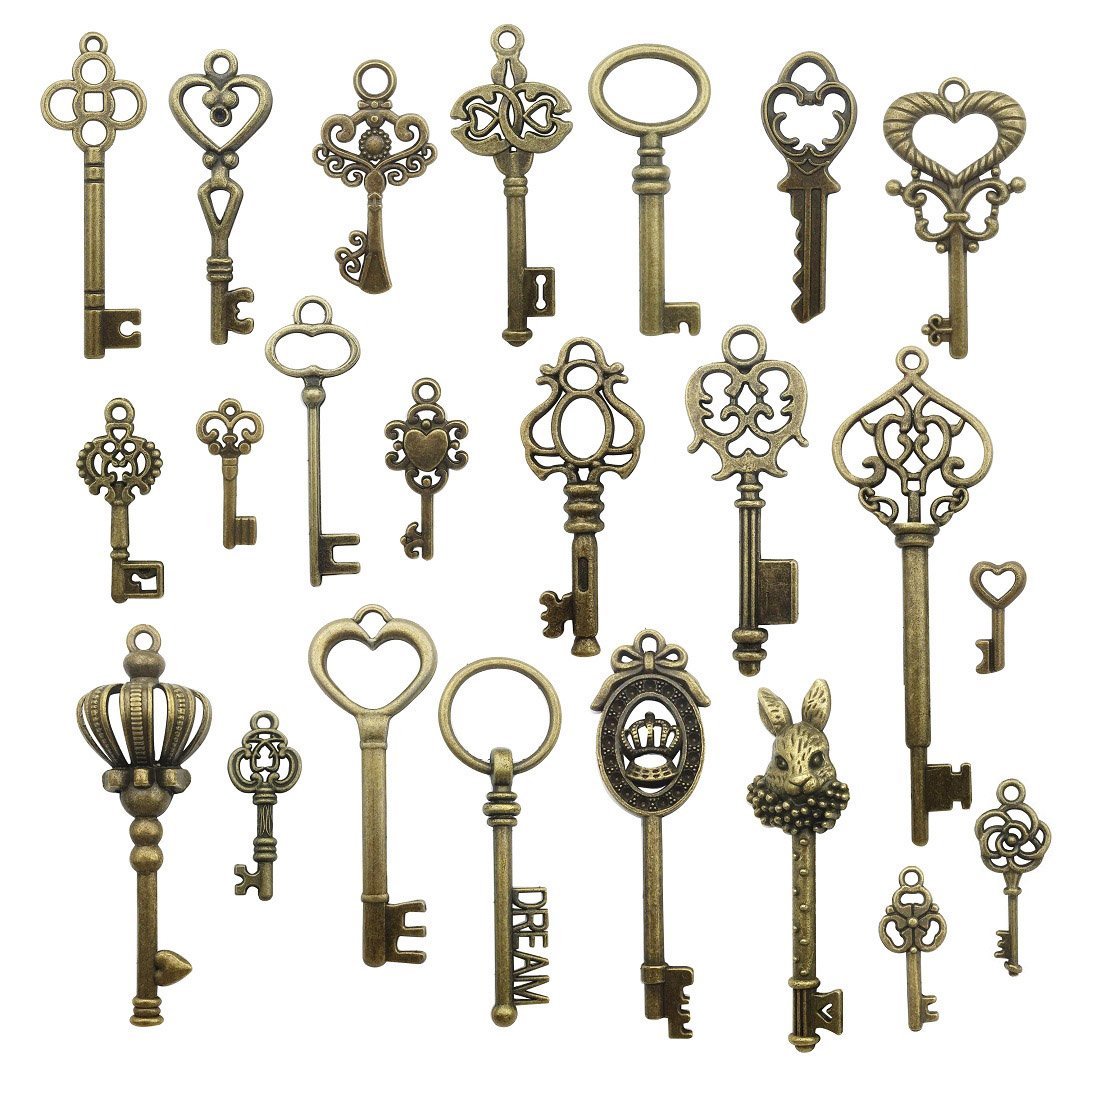
Old keys have a weight to them — not just physically, but emotionally. That skeleton key from your grandmother’s house, the padlock key from a bike you rode as a kid, the handful of mystery keys rattling around in your junk drawer.
Tossing them feels wrong, but you’re not sure what else to do with them. Good news: those little bits of brass, iron, and nickel are genuinely useful for more than unlocking doors.
Here are seven projects I’ve actually tried (or watched friends try with great results), ranging from zero-skill to slightly ambitious.
1. Make a Rustic Key Wind Chime
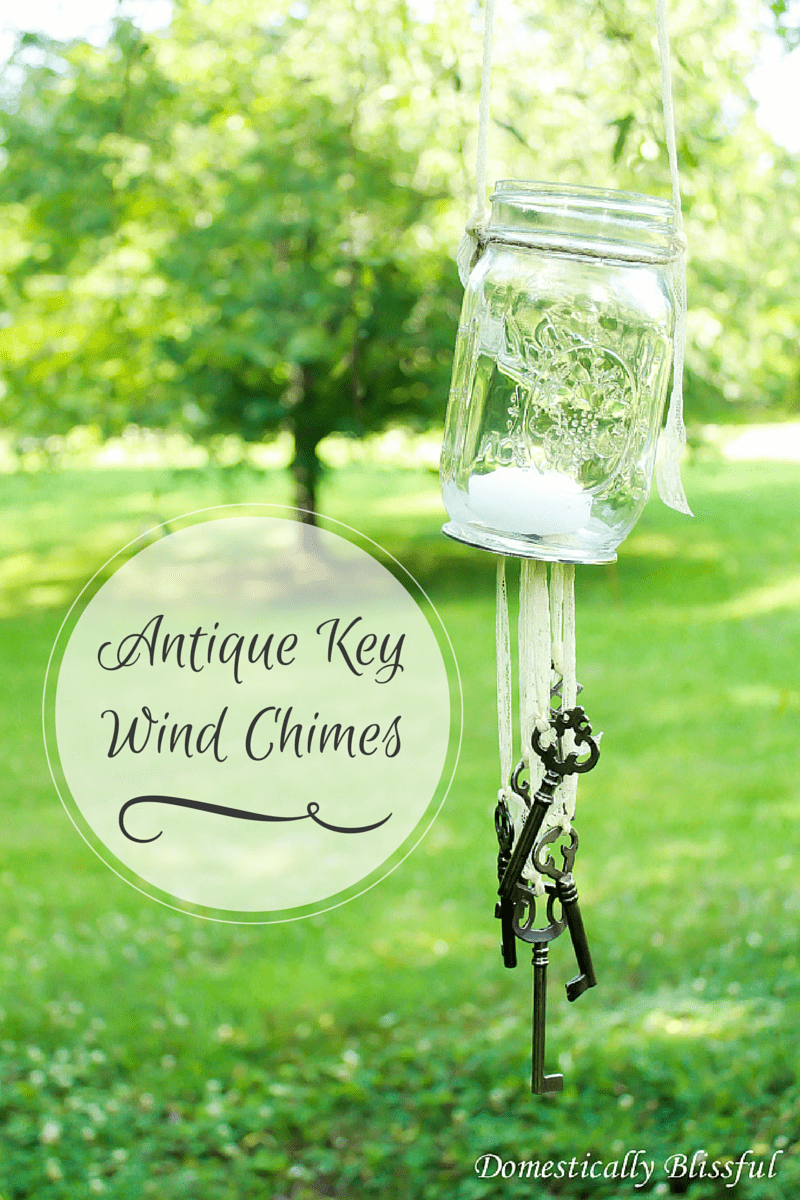
This was the first old-key project I ever did, and I still have the result hanging on my back porch eight years later. Keys make a surprisingly pleasant metallic sound when they knock together in a breeze — lighter and less harsh than aluminum chimes. You’ll want five to ten keys of varying sizes for the best tonal range.
Thread each key onto a piece of fishing line or thin craft wire, knotting or twisting it in place so it hangs at a slightly different length than its neighbors. Then tie all the lines to a crosspiece — a small driftwood branch looks beautiful, but a sturdy stick or even an old wooden dowel works fine.
Add a hanging line from the center of the crosspiece so the whole thing balances. The only thing to watch out for: if you’re using keys made from different metals (zinc keys especially), they’ll weather at very different rates outdoors.
Brass and steel hold up well; cheap chrome-plated keys will pit and flake within a season.
2. Turn Them Into Pendant Necklaces or Earrings
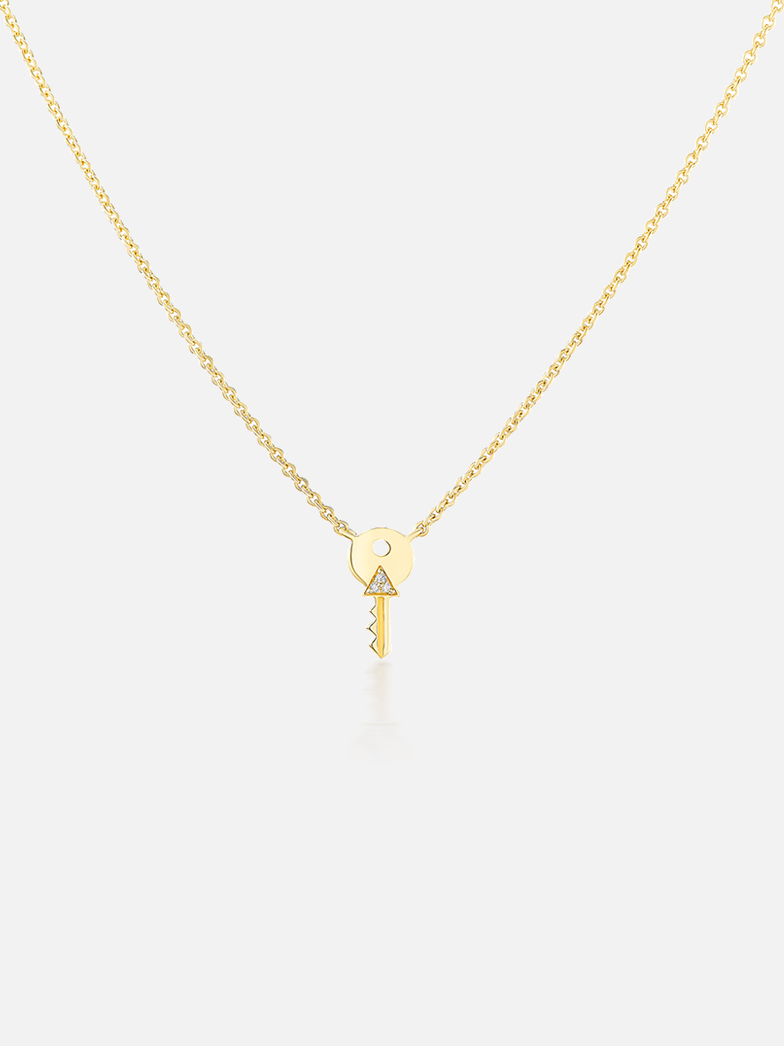
Old keys make gorgeous jewelry — it’s not just a steampunk cliché. A single ornate skeleton key on a long chain looks elegant and costs almost nothing to make.
For a pendant, you’ll need a jump ring (available at any craft store for a couple of dollars per pack) and a chain or leather cord. Use jewelry pliers to open the jump ring, thread it through the key’s hole, slide on your chain, and close the ring.
That’s genuinely it.
For earrings, use smaller keys and pair each one with an earring hook — again, jump rings connect them. A couple of tips from experience: file down any sharp edges on the key with a small metal file or sandpaper before wearing it, especially if it’ll sit against skin. And if you want a particular patina or color, you can use a torch to heat-brass steel keys (they’ll go golden), or soak them in a vinegar-and-salt solution to create a blue-green verdigris effect before sealing with a clear coat like Mod Podge or Renaissance Wax.
3. Create Garden Plant Markers
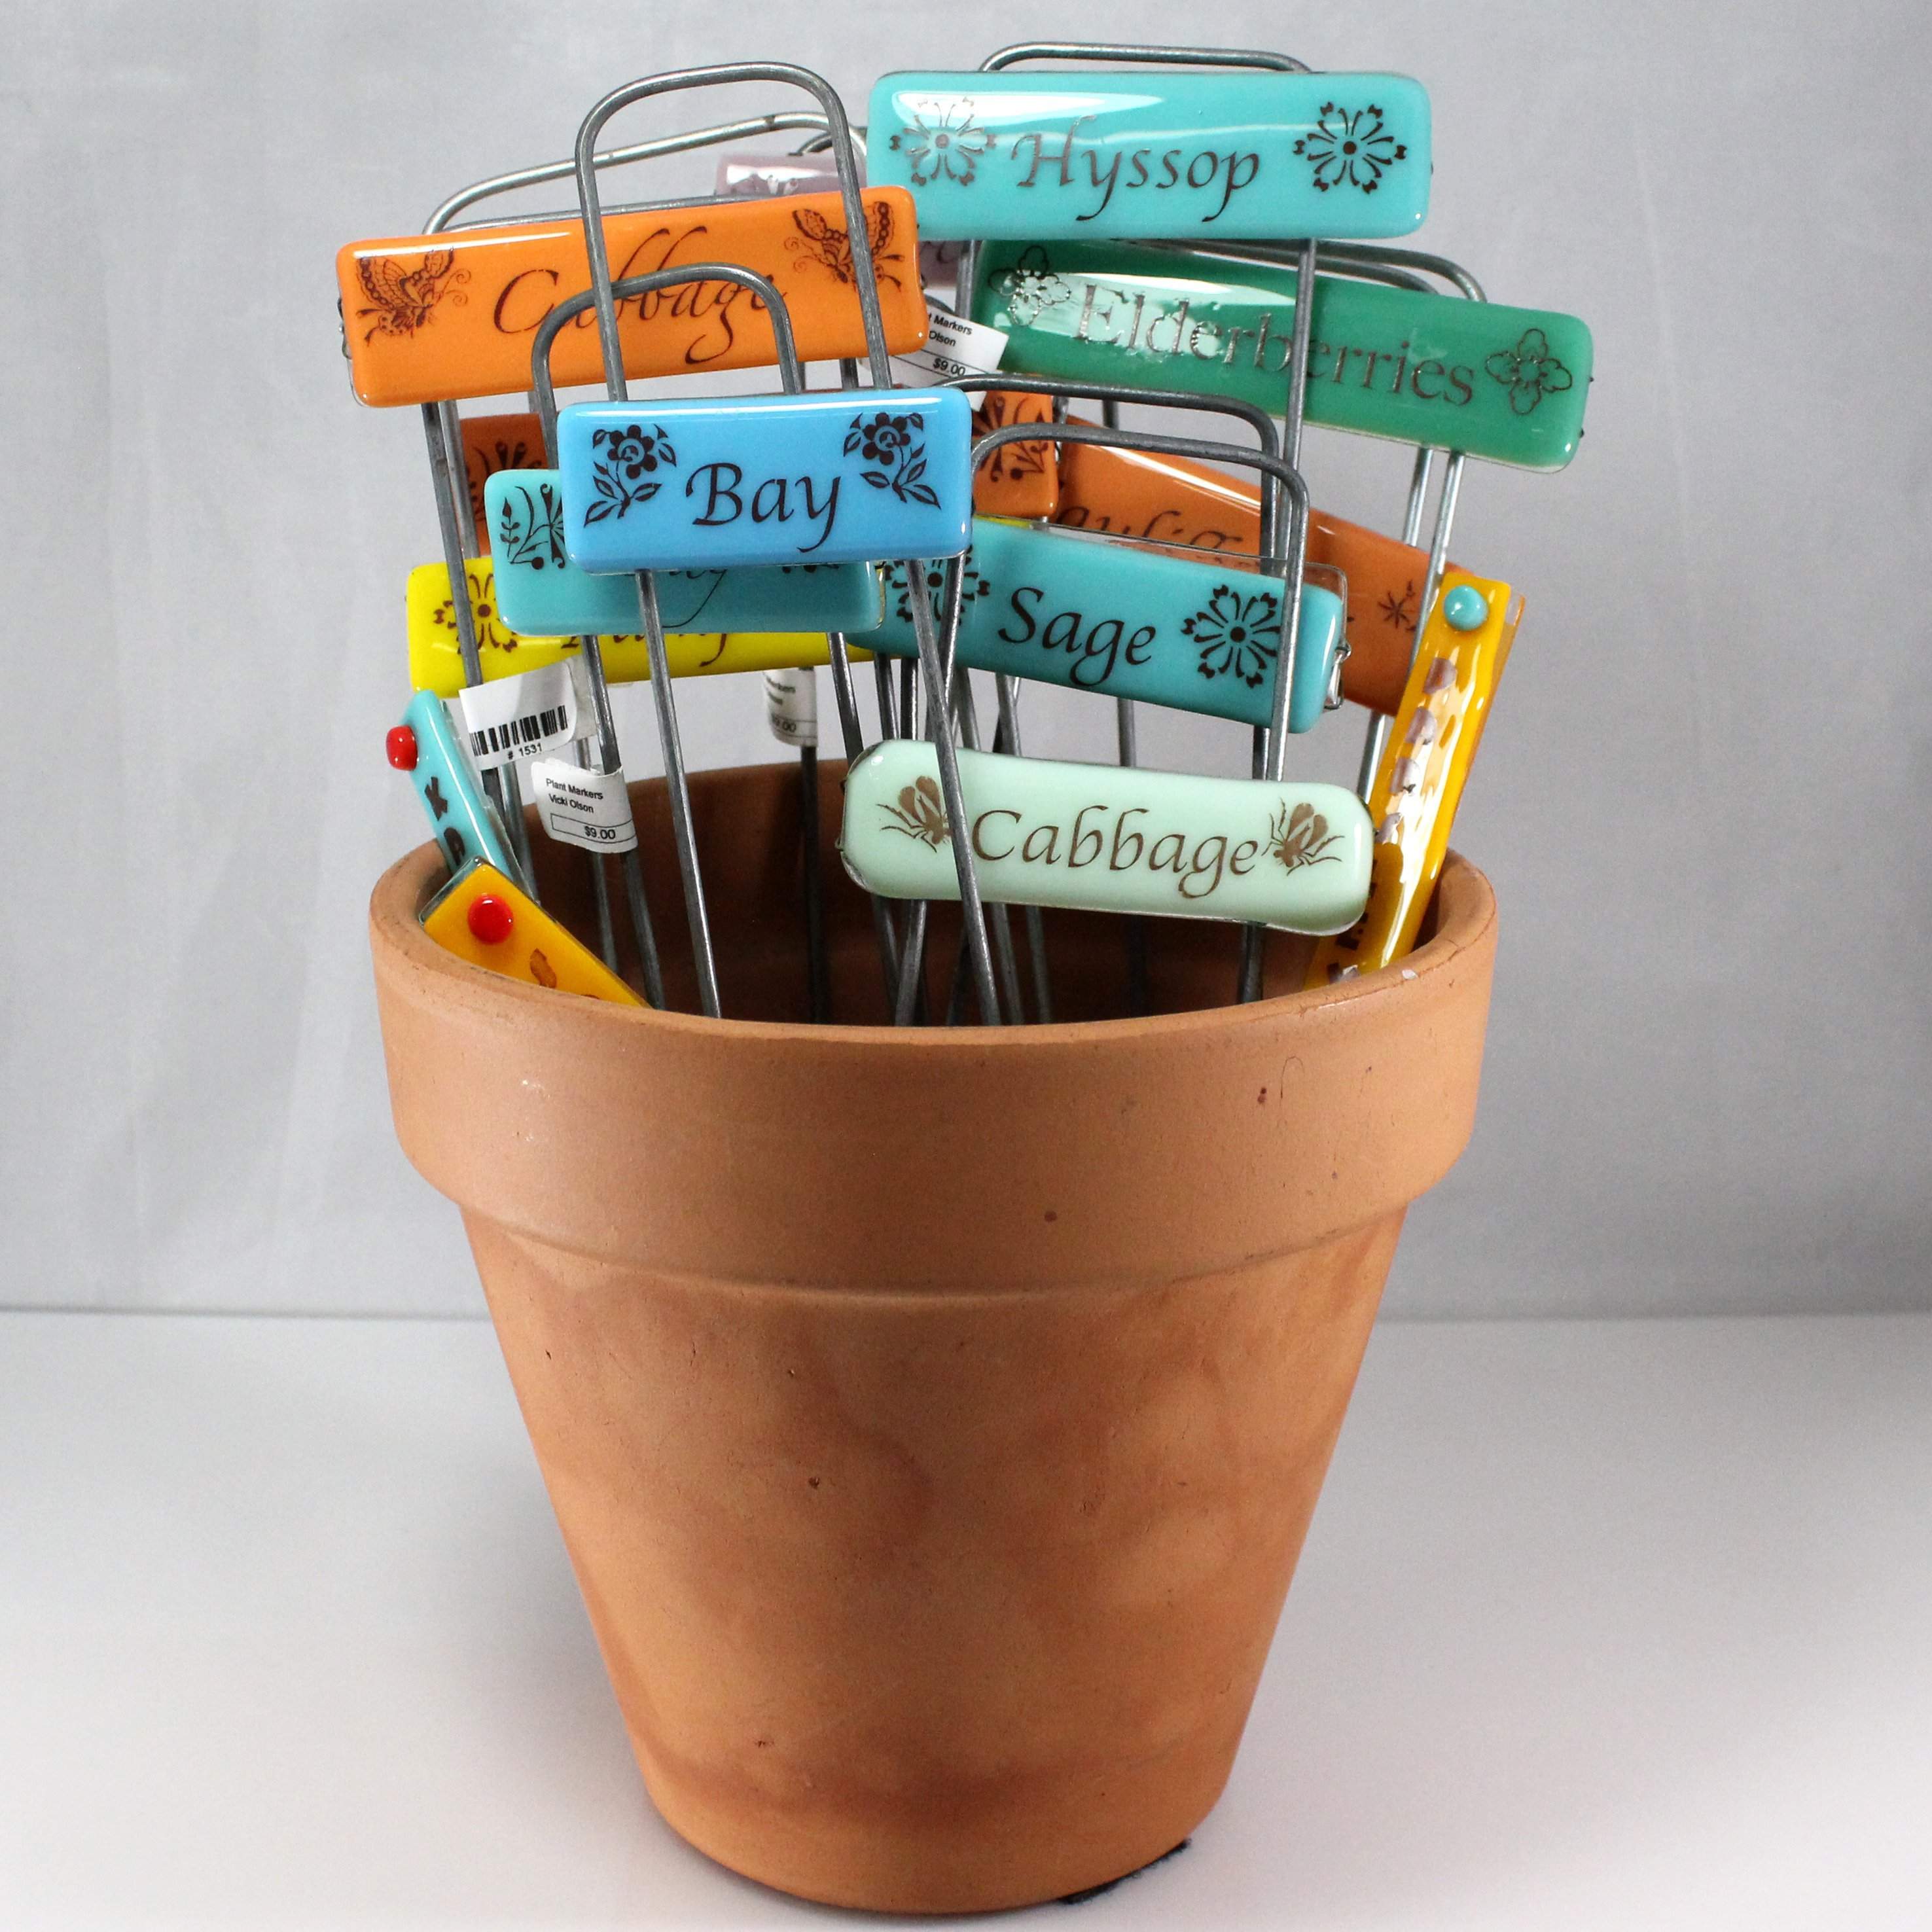
This one’s become my go-to housewarming gift for friends who garden. You take an old key, use a metal stamp set (about $15 at Harbor Freight or on Amazon) to punch the name of an herb or vegetable into the flat part of the key, then push the key’s blade into the soil beside the plant. They’re weatherproof, they won’t blow away like wooden markers, and they look charmingly rustic tucked between tomato plants.
If you don’t have a stamp set, you can also write on keys with a paint pen — white or gold Sharpie oil-based markers show up beautifully against dark iron keys and hold up reasonably well through one growing season. Just know that paint-pen versions need touching up if you want them to last more than a year.
4. Build a Wall-Mounted Key Holder
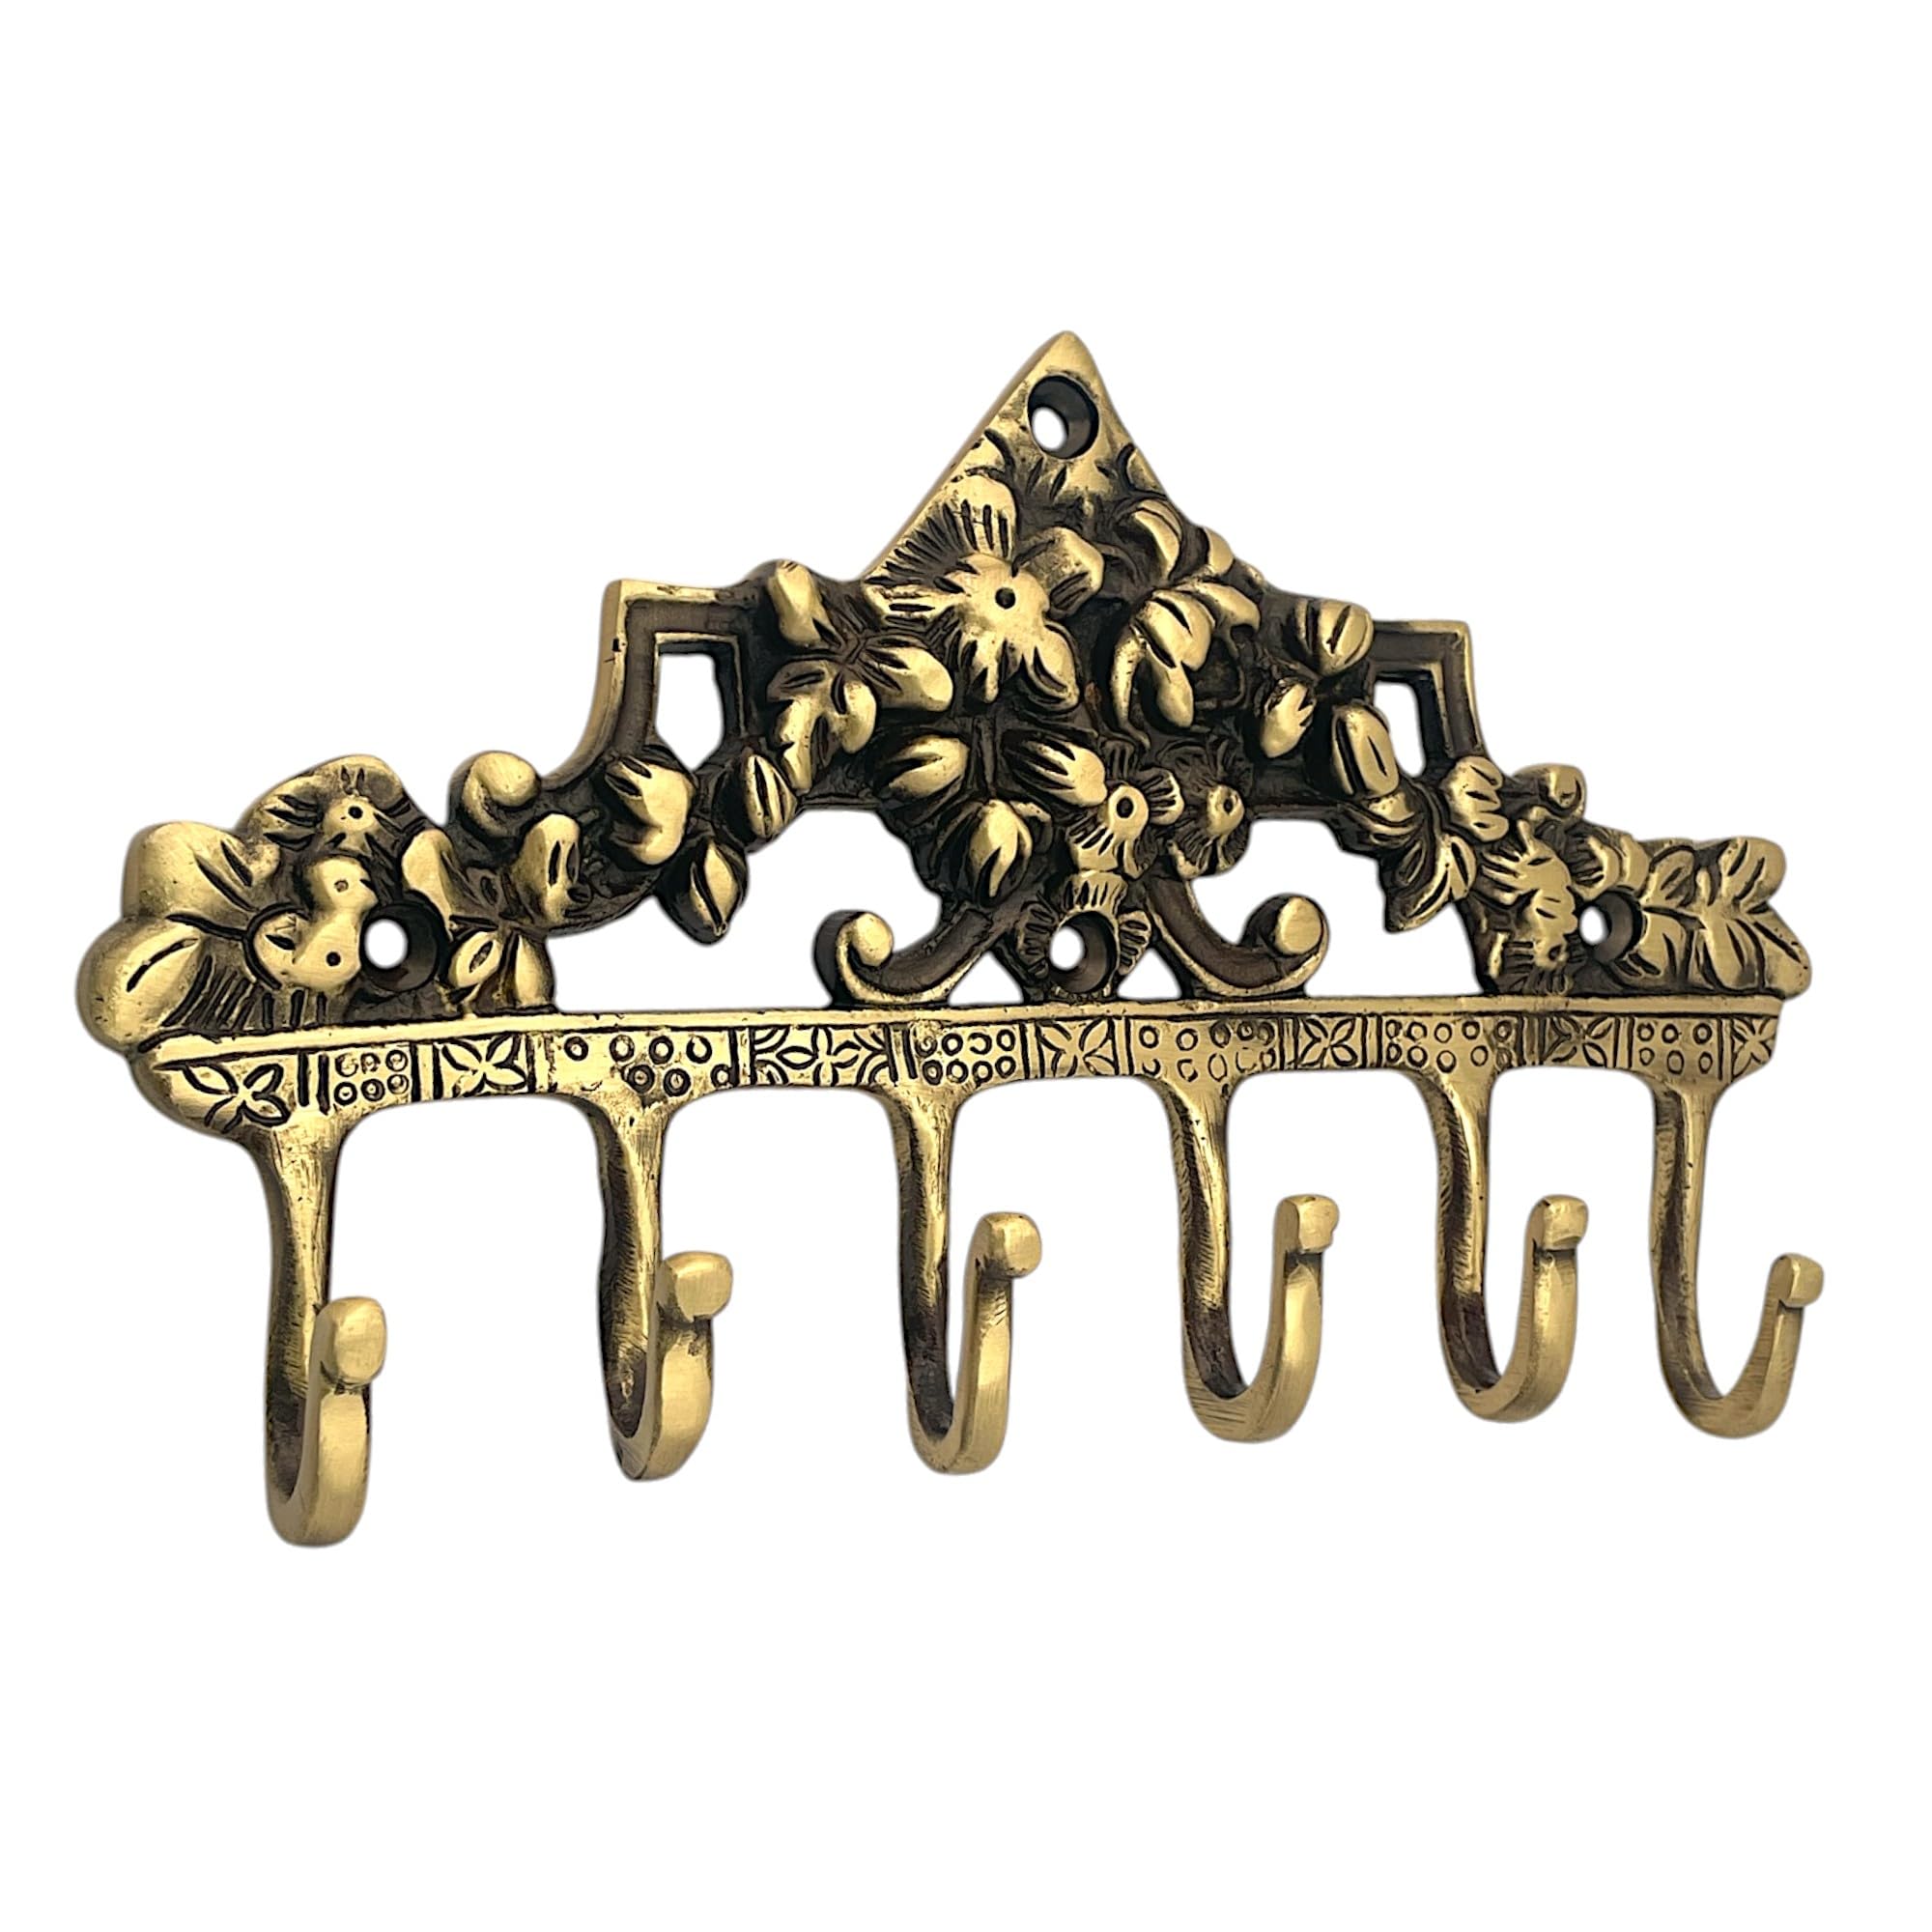
Here’s one where old keys serve their original purpose — sort of. Mount five or six keys to a piece of reclaimed wood, angled slightly upward, and they become actual hooks for hanging coats, bags, or hats.
The trick is getting them secure enough to hold weight. I use short wood screws driven through the key’s hole directly into the board, with a washer underneath the screw head to keep the key from sliding around.
You can arrange them in a neat row for a farmhouse look, or scatter them at artistic angles for something more eclectic. Stain or paint the wood backing to match your entryway.
One thing I learned the hard way: test the key’s angle before you mount it permanently. If the key points straight out, anything you hang on it will slide right off — you want it tilted up at about 20 to 30 degrees so the item catches on the key’s shoulder.
5. Decorate Vintage-Style Christmas Ornaments
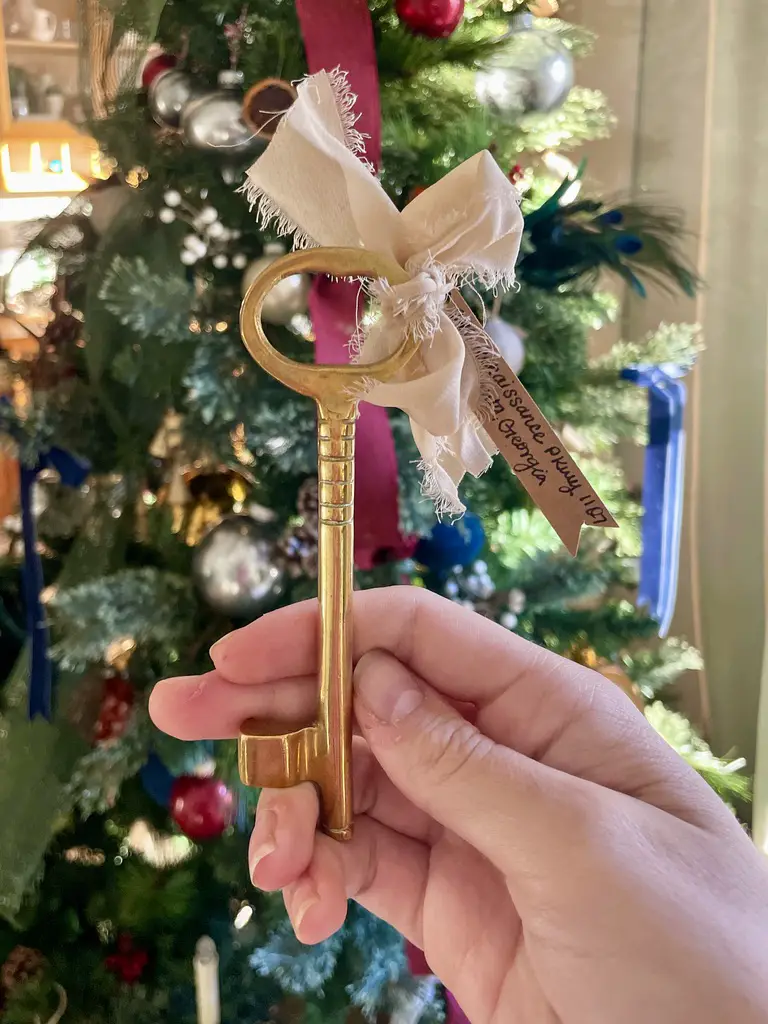
Keys look absolutely perfect on a Christmas tree, especially if you lean toward a rustic, Scandinavian, or vintage decorating style. The simplest version: tie a ribbon or a bit of twine through the key’s bow (the top loop), and hang it on a branch.
Done. That alone looks beautiful against green pine.
If you want to get a little fancier, hot-glue a key onto a small wooden disc or a flattened bottle cap, add a miniature bottle-brush tree or a sprig of faux greenery, and you’ve got a dimensional ornament that looks like something from a boutique. For a frosted vintage finish, brush the keys with white acrylic paint and then wipe most of it off while it’s still wet, leaving paint settled into the grooves. Seal with a matte clear spray if you want them to last year after year without tarnishing in storage.
6. Assemble a Key Mosaic on Canvas
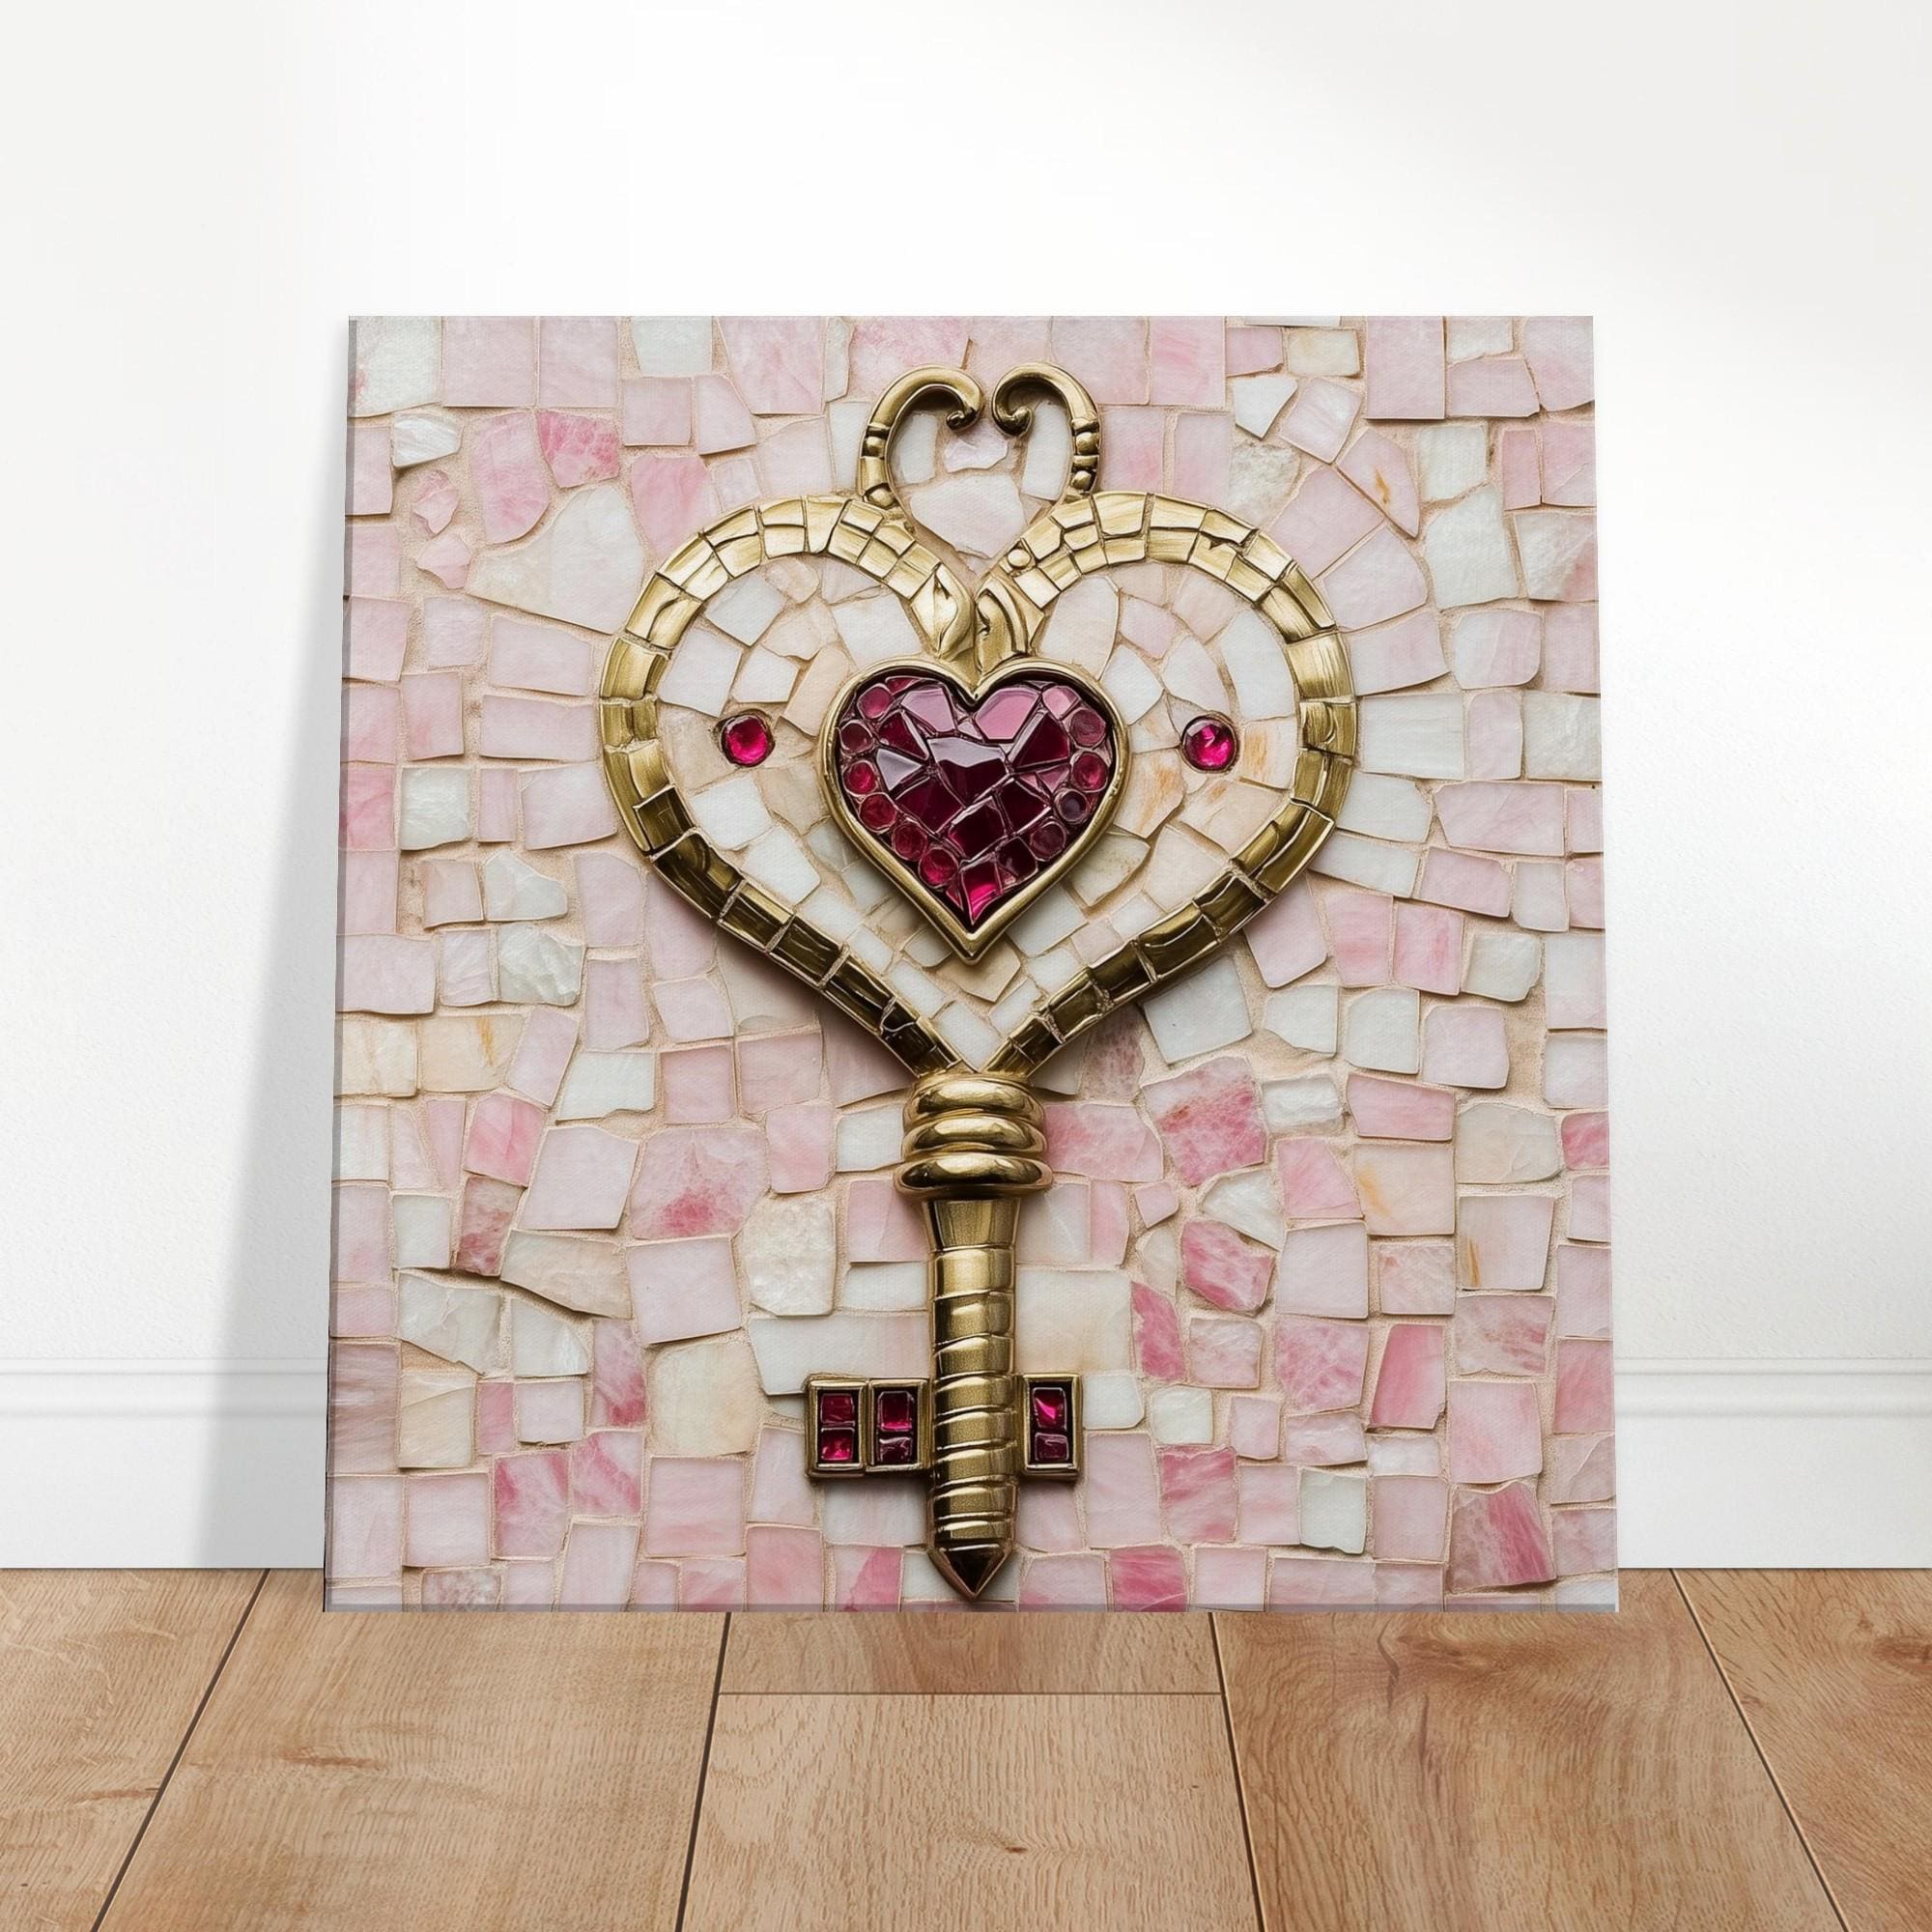
This is the most time-intensive project on the list, but it’s also the most impressive. Collect twenty to fifty keys — the more varied in shape and size, the better — and arrange them in a pattern, a shape (a heart outline is popular and genuinely stunning), or an abstract cluster on a sturdy canvas or a piece of reclaimed wood. Attach them with E6000 adhesive or a strong two-part epoxy, pressing each key down firmly and letting it set before adding the next one.
I did a heart-shaped version for a friend’s wedding gift using about forty brass keys on a dark-stained wooden board, and it hangs in their living room to this day. Before you start gluing, lay all your keys out and arrange them on the surface without adhesive first — photograph the layout with your phone so you can reference it during the actual assembly. If you want added texture, you can paint the keys different metallic shades (copper, gold, silver) with Rust-Oleum spray paint before attaching them.
7. Craft a Vintage Key Bookmark
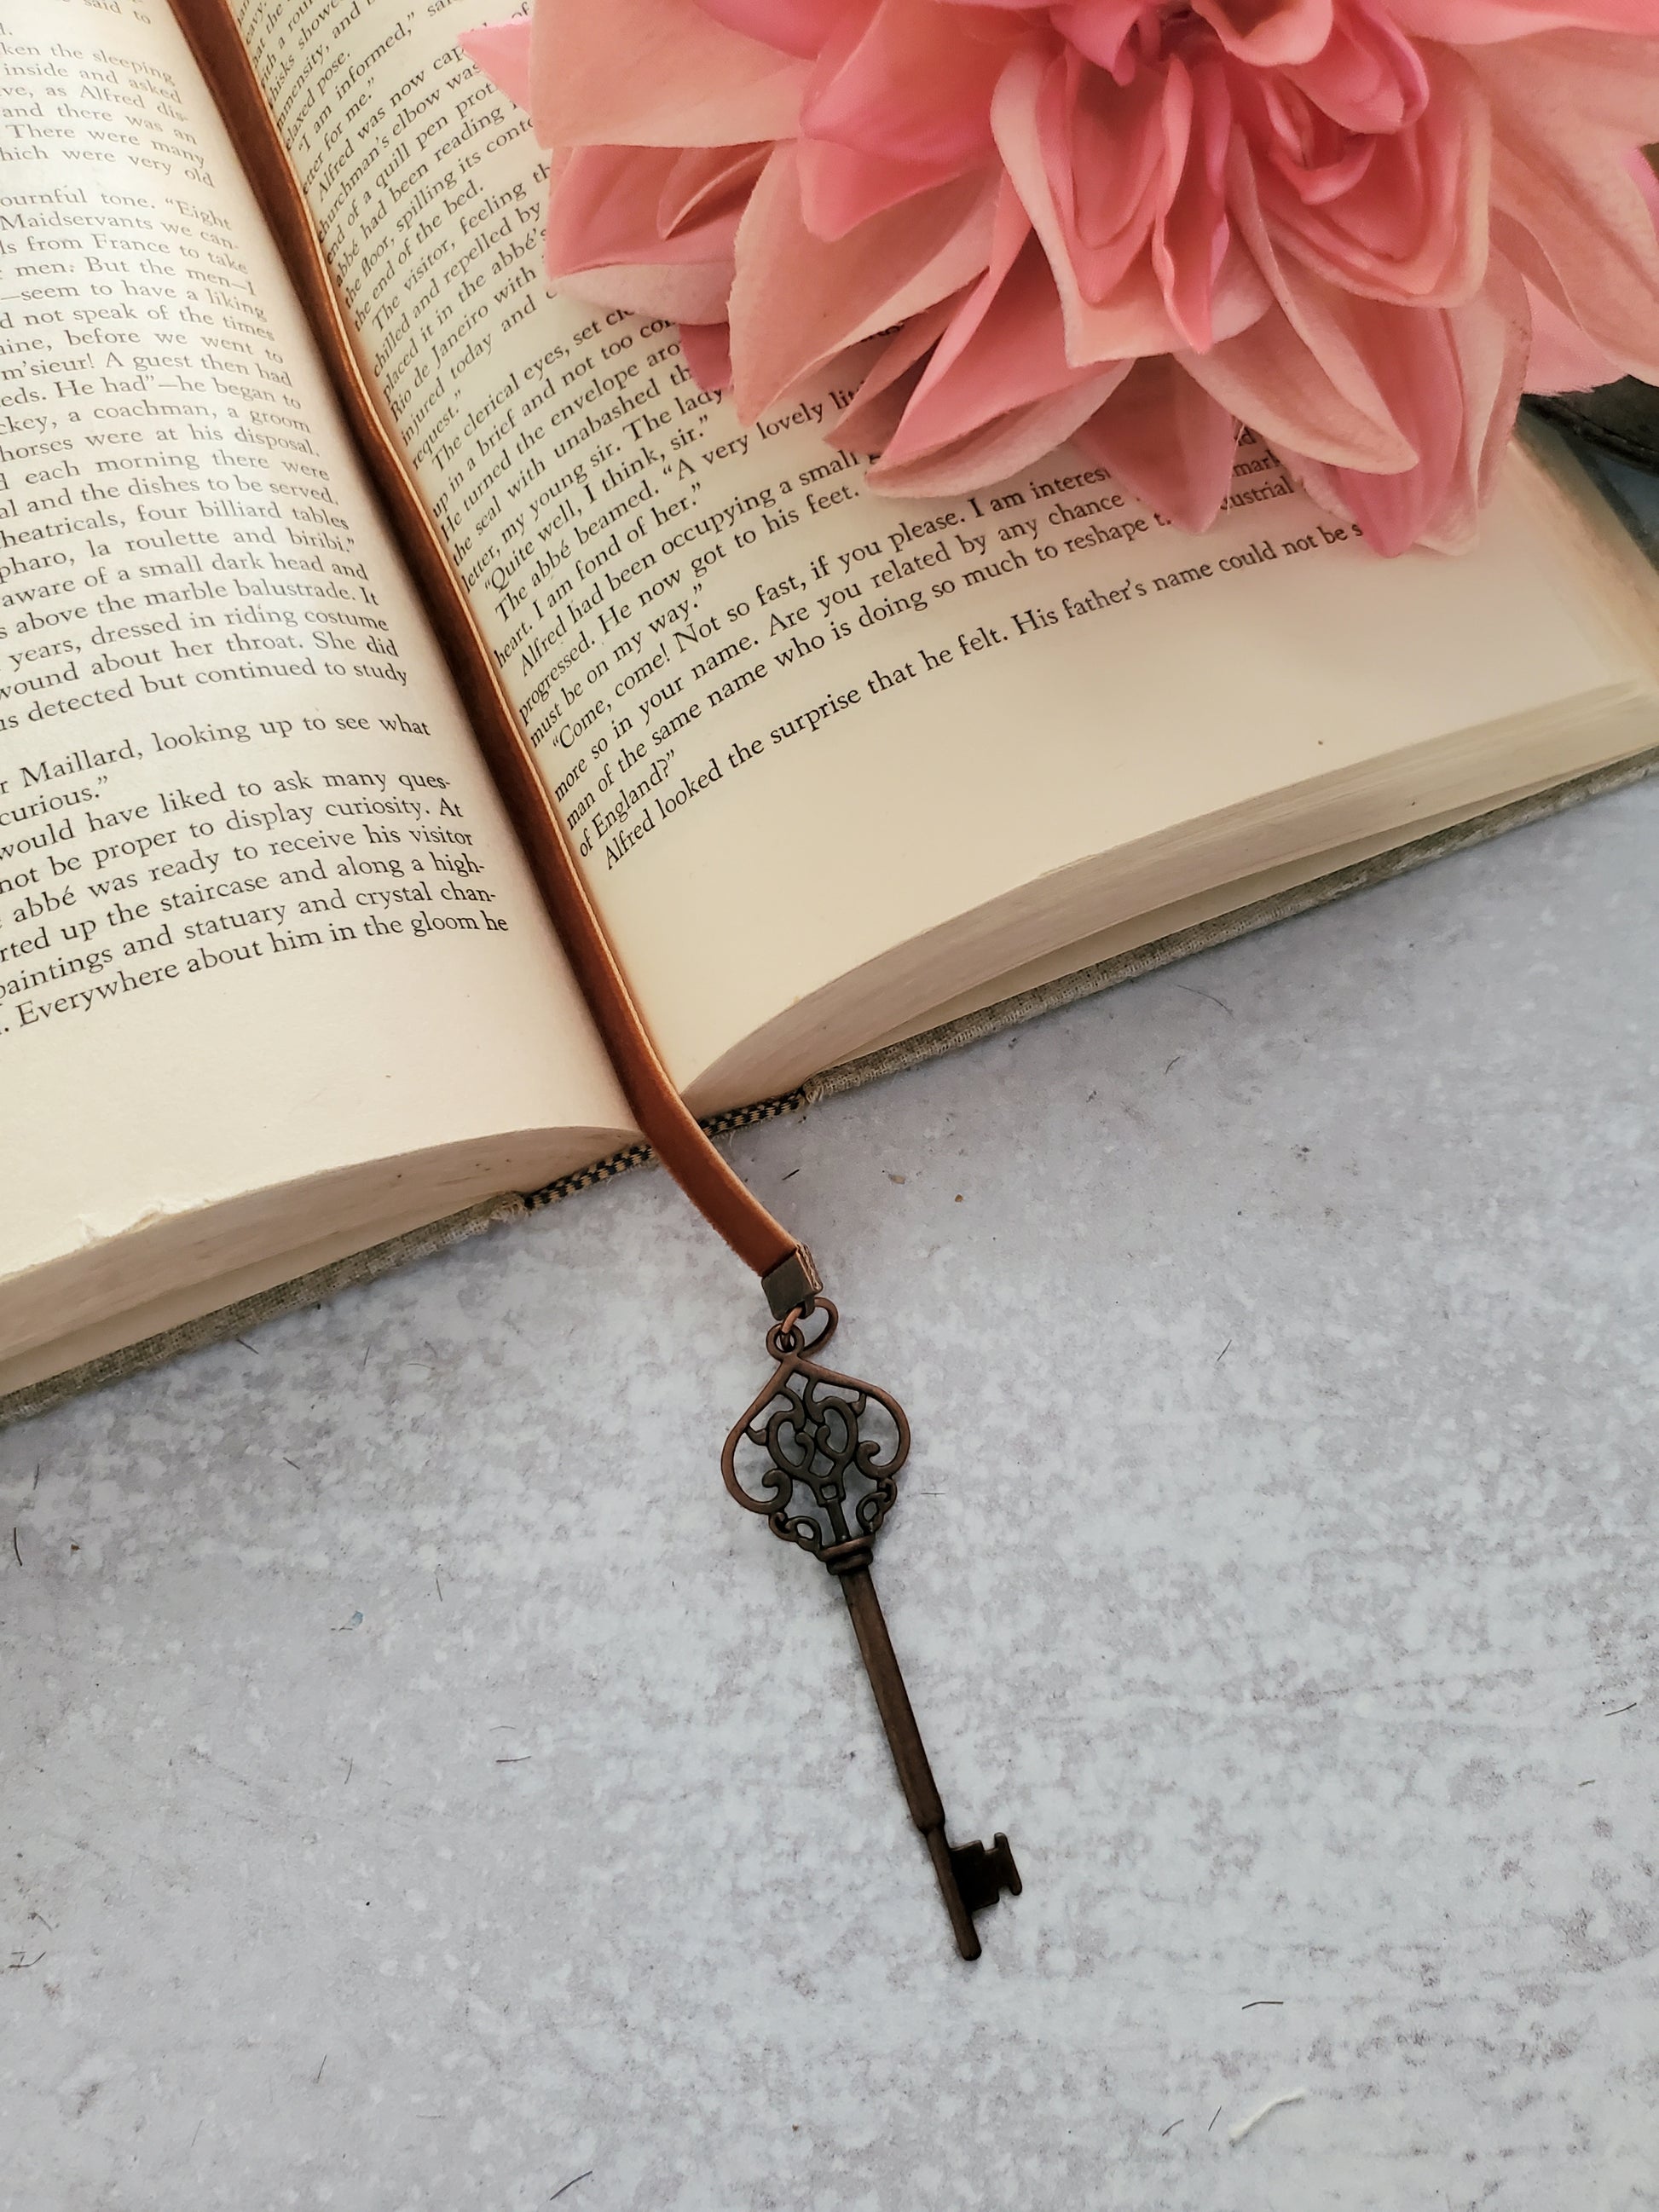
For anyone who still reads physical books — and I hope that’s all of you — an old key makes a perfect, weighty bookmark. The simplest version: thread a ribbon, a piece of leather cord, or even a strip of fabric through the key’s hole and tie it off.
The key sits on the page while the ribbon peeks out from the top of the book. It’s functional, and it looks lovely sitting on a nightstand.
If you want something a little more polished, wrap a small piece of leather or felt around the key’s blade and stitch or glue it flat — this creates a slim tab that slides between pages more easily than a bare key, which can be a bit bulky in paperbacks. Use thin ribbon or embroidery floss for a delicate look, or go with waxed cotton cord for something more rugged. Honestly, these take about three minutes to make and they’re one of my favorite small handmade gifts to tuck into a card.
Frequently Asked Questions
What are old keys made of?
Most modern keys are nickel silver (also called German silver — it contains no actual silver) or brass-plated steel. Older skeleton keys and antique keys are more likely to be solid brass, iron, or even bronze. The metal composition matters mostly if you’re trying to patina or age them intentionally, since different metals react differently to chemical treatments.
Are old keys worth anything?
In general, no — standard house keys and padlock keys have no real resale value since they can’t be matched to any lock. However, certain antique skeleton keys, ornate Victorian-era keys, and keys from historical buildings or estates can sell for $5 to $50 or more to collectors, depending on age, design, and provenance.
Where can I find old keys to repurpose?
Estate sales, flea markets, and thrift stores are the most reliable sources — people donate or sell bags of miscellaneous keys all the time. You can also ask a local locksmith; they often have bins of old keys they’ve removed or replaced and are happy to give them away rather than scrap them.
How do I clean old keys before crafting with them?
Soak them in white vinegar for an hour to dissolve surface grime, then scrub with a stiff-bristled brush (an old toothbrush works for detailed keys). For heavy rust, use a paste of baking soda and water or a product like Evapo-Rust, which is non-toxic and reusable. Dry thoroughly and apply a coat of clear sealant if you want to prevent further tarnishing.
Old keys carry stories — and now they don’t have to stop telling them just because they’ve outlived their locks. Whether you go with a five-minute bookmark or a weekend mosaic project, you’re giving these little metal relics a second life that’s genuinely more interesting than the first. Save this post for the next time you’re cleaning out a junk drawer and find yourself staring at a handful of keys you can’t bring yourself to throw away.
Leave a Reply