
Old picture frames hold more potential than most people realize once their original photos come down. Turning them into functional or decorative pieces keeps the wood, metal, or ornate details in active use around the house instead of sending them to storage or the curb. The twelve approaches below focus on straightforward swaps of what sits inside the frame or how the frame itself gets mounted, so each project stays anchored to the original object.
Framed Mirrors for Narrow Hallways
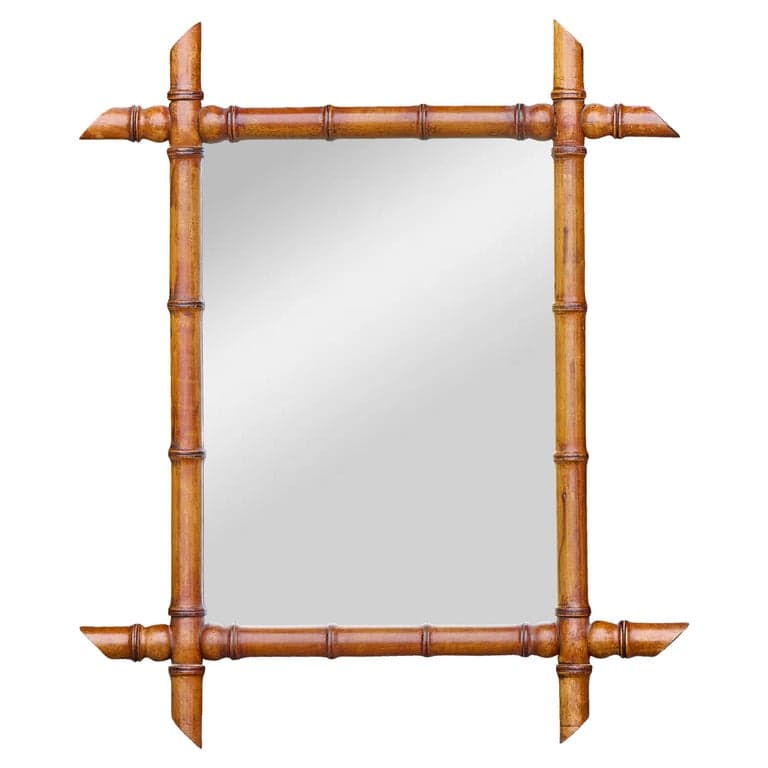
A simple mirror insert changes how light moves through tight spaces without requiring new construction. Measure the existing opening first, then have a local glass shop cut a mirror to fit or order a pre-cut piece online that matches the interior dimensions exactly. The frame’s existing hardware often works for hanging once the mirror sits flush against the back, though adding small mirror clips prevents any future shift.
Some homeowners place these mirrors at eye level in hallways to create the sense of extra width. Others lean larger versions against a wall in bedrooms so the frame becomes part of the furniture arrangement rather than purely wall-mounted. Check the frame’s back for loose joints before installing the mirror; reinforcing corners with wood glue and small brackets keeps the piece stable once the heavier glass is added.
Chalkboard Frames for Kitchen Notes
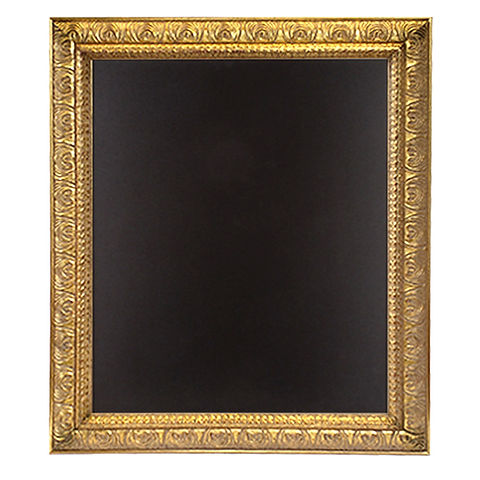
Replacing the glass with a cut-to-size chalkboard panel turns an old frame into a reusable message board that fits right into meal-planning routines. Sand the frame lightly if it carries old finish, then apply a coat of primer followed by chalkboard paint on the panel itself. Mount the finished board near the pantry or on the side of a cabinet where grocery lists stay visible.
The same frame works equally well in a mudroom for family schedules once the chalkboard surface receives a light sanding between uses. Avoid hanging these boards in direct sunlight because heat can cause the chalkboard paint to crack over time. A quick wipe with a damp cloth restores the surface after each use without special cleaners.
What Size Frame Works Best for a Jewelry Organizer?
Frames between 11 by 14 inches and 16 by 20 inches give enough vertical space for necklaces while still fitting on the back of a closet door. Smaller frames suit earring-only displays, yet anything under 8 by 10 inches limits the number of hooks that fit comfortably. Larger frames can handle bracelets and longer chains if the backing receives a fabric layer first.
Fabric-Covered Frames as Standalone Art

Stretching a favorite fabric across the back of a frame produces instant wall art that coordinates with existing textiles in a room. Cut the fabric an inch larger than the frame opening on every side, then secure it with staples or a thin bead of fabric glue along the inner edge. The result sits flush and keeps the frame’s profile visible as a border.
Rotate seasonal fabrics without buying new frames by keeping the same structure and swapping only the center panel. Heavy upholstery fabrics hold their shape better than lightweight cottons, which may sag after a few months. Place these pieces in groups of three or five for greater visual weight on a large wall.
Shadow Box Frames for Small Collections
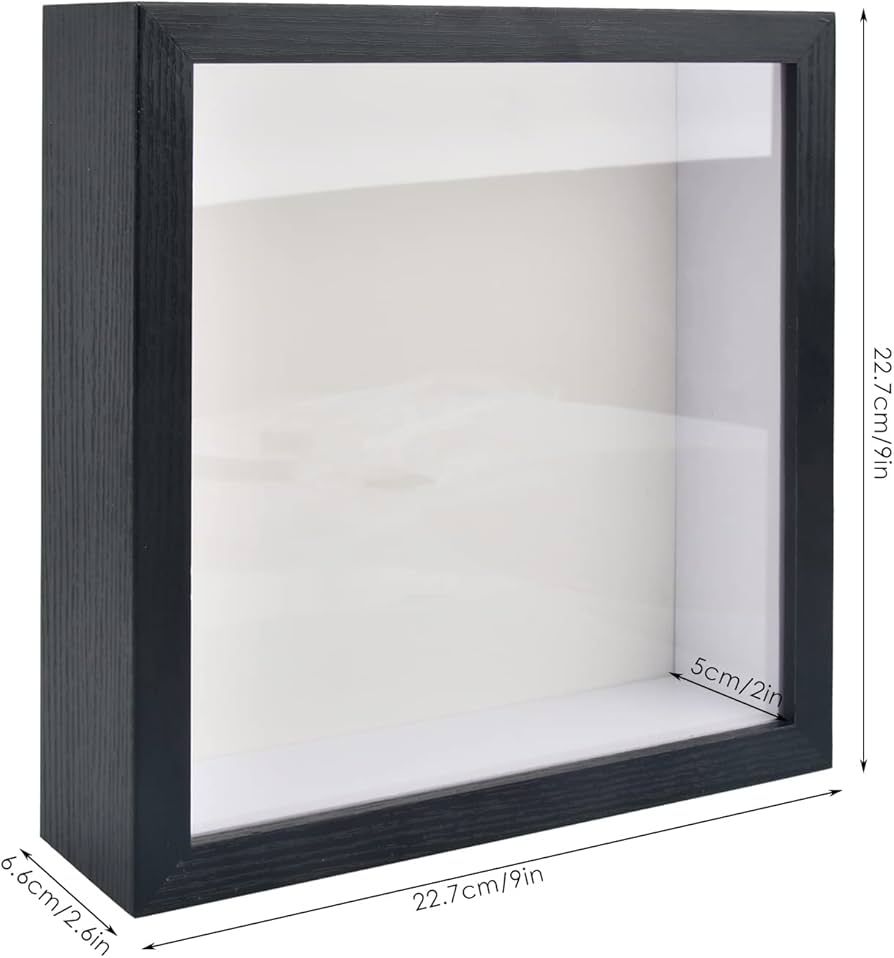
Adding a shallow box behind the frame glass creates room for three-dimensional items such as ticket stubs, dried flowers, or small shells. Remove the original backing and attach a thin wooden or foam-core box that matches the frame’s outer dimensions. Secure the new depth with brads or strong tape so the frame still hangs flat against the wall.
These boxes work especially well for children’s artwork or medals that would otherwise sit in drawers. Keep the depth under two inches to avoid an overly bulky appearance on the wall. Dust the interior items gently with a soft brush rather than removing the glass each time.
Dry-Erase Frames for Home Offices
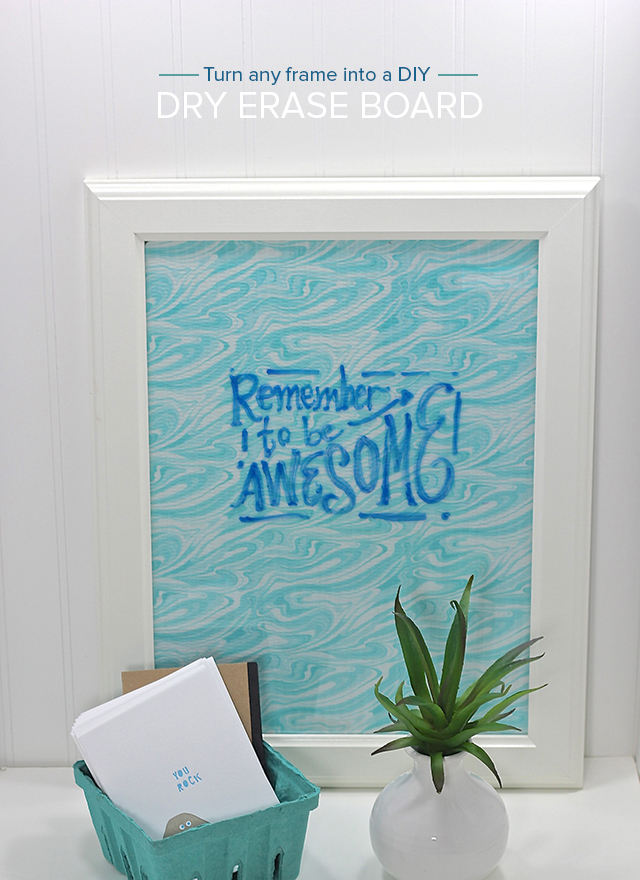
A sheet of acrylic or polycarbonate cut to size and treated with dry-erase coating gives the frame a reusable writing surface. The clear panel drops into the existing rabbet just like the original glass once the backing is removed or painted. Mount the finished piece near a desk where daily tasks stay visible.
The surface erases cleanly with a microfiber cloth when standard dry-erase markers are used. Avoid permanent markers because they can leave ghosting that requires stronger cleaners. Frames with wide, flat profiles accept the acrylic sheet more readily than deeply carved ornate styles.
Pro-Tip: Choose frames with removable backs when planning any insert that may need seasonal changes; fixed backs complicate future swaps.
Key and Mail Holders from Horizontal Frames
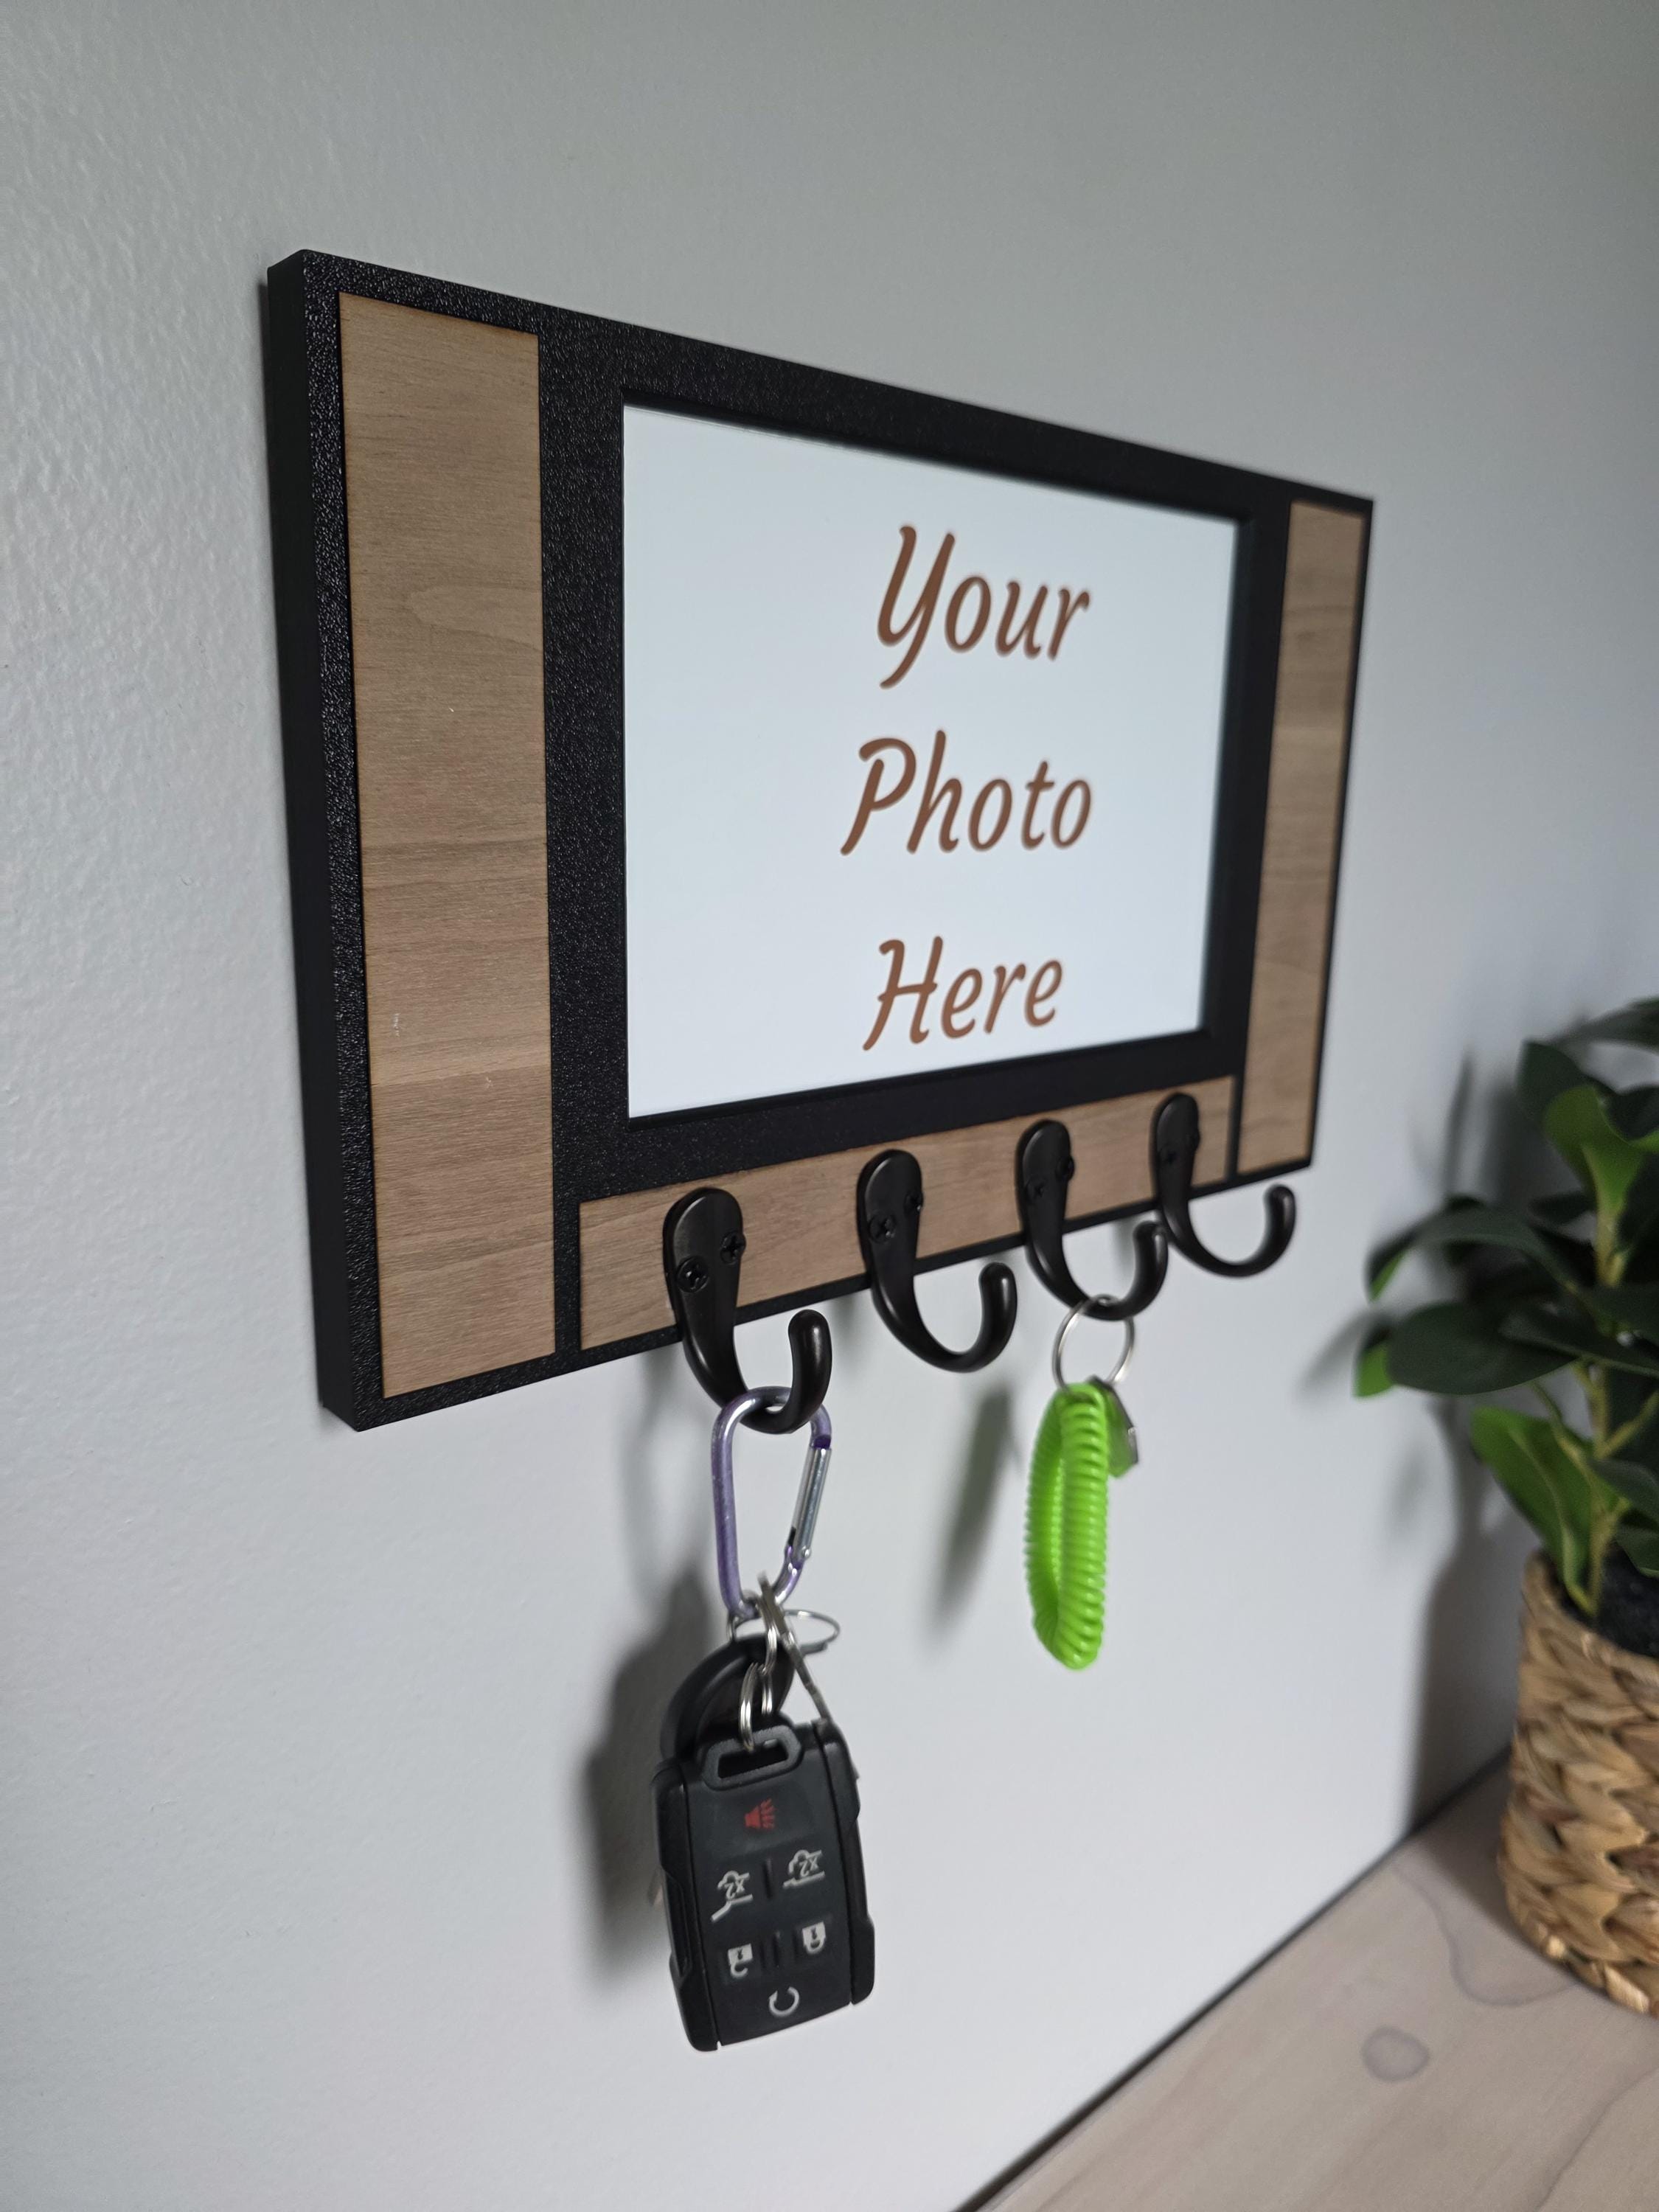
Turning a wide frame on its side and adding small hooks along the bottom rail creates a landing spot for keys and envelopes. Attach the hooks with short screws that reach only into the wood, not through the front. Hang the piece near the main door at a height that keeps items within easy reach.
The upper portion of the frame can hold a small chalkboard label or simply remain empty for visual balance. Test the weight of the frame before adding multiple hooks; heavier frames need wall anchors even if the hooks themselves are light. Rotate the frame 90 degrees again later if wall space changes.
Magnetic Frames for Recipe Cards
A thin magnetic sheet glued to the backing lets the frame hold metal clips or small tins that keep recipe cards or shopping lists in place. Cut the magnet to fit inside the rabbet so the glass can still close over it. The frame then mounts on the wall or stands on a counter with an easel back.
This setup keeps frequently used recipes off the countertop while remaining within view during cooking. Stronger magnets support spice packets or small tools without slipping. Re-magnetize the surface occasionally with a rare-earth magnet if items begin to slide.
Serving Trays Built from Sturdy Frames
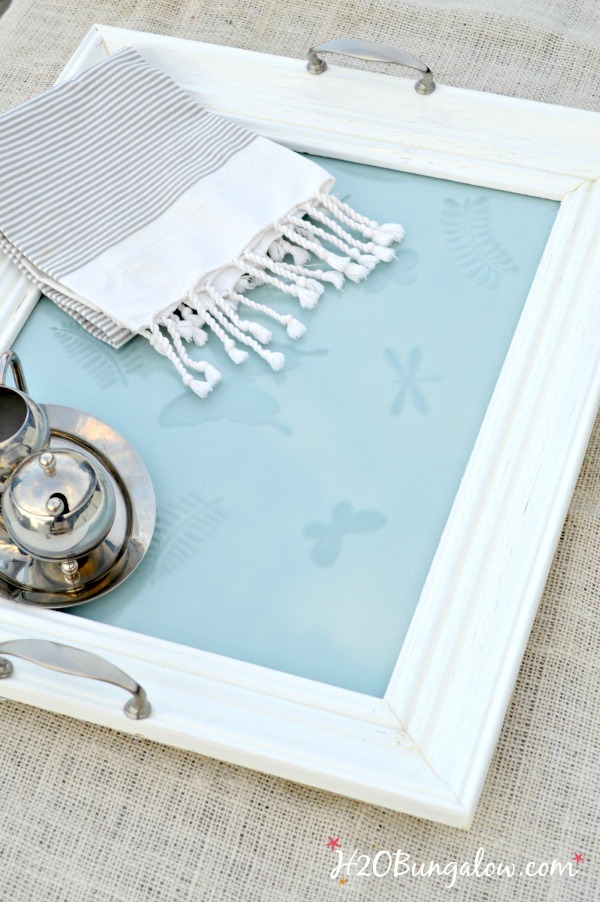
A solid wood frame with a new plywood or tempered-glass insert becomes a tray once handles are added to the sides. Cut the insert slightly smaller than the inner opening so it rests on the lip without adhesive. Attach small drawer pulls or leather straps at opposite ends for carrying.
These trays suit breakfast deliveries or coffee-table styling when the insert receives a coat of waterproof sealant. Avoid frames with delicate carvings because the added weight of dishes can stress joints. Test the tray empty first to confirm balance before loading it with items.
Plant Propagation Frames with Test Tubes
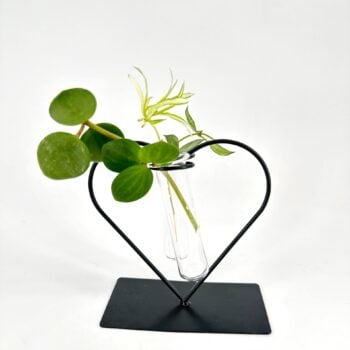
Small glass test tubes clipped or wired inside the frame opening create a living display for cuttings. Drill or glue small supports along the inner edges so the tubes hang vertically. The frame then leans against a window or hangs where indirect light reaches the water-filled tubes.
Rotate the cuttings every few days so roots develop evenly. Empty and refill the tubes weekly to prevent algae. Frames with wider openings accommodate more tubes, yet narrower ones still work for single-variety displays.
Design Note: Pair dark-stained frames with clear glass tubes for higher contrast against light walls; lighter frames disappear against pale backgrounds.
Window-Style Photo Displays
Several matching frames mounted side by side with photos or prints inside mimic a multi-pane window without altering architecture. Keep the frames evenly spaced and level so the grid reads as intentional rather than scattered. The uniform outer profile of each frame becomes the visual mullion between images.
This arrangement suits stairwells where a single large piece would feel heavy. Mix black-and-white prints with one color accent to maintain cohesion across the grid. Dust the glass regularly because fingerprints show more clearly when frames sit close together.
Comparison of Frame Materials for Different Uses
| Material | Best For | Weight Consideration | Durability Note |
|---|---|---|---|
| Wood | Trays, chalkboards | Medium; needs anchors | Accepts screws and paint well |
| Metal | Magnetic boards, mirrors | Light to heavy depending on gauge | Resists warping but can dent |
| Resin/Plastic | Lightweight art inserts | Very light | May yellow over time in sunlight |
| Ornate Composite | Jewelry displays | Varies | Detail can trap dust |
Quick Reference Guide
Frames with intact corners and level miters save the most time regardless of finish. Test hanging hardware on a scrap board before committing to the final wall location. Keep a small container of matching touch-up paint on hand for any nicks that appear during installation.
FAQ
How do I clean an old frame without damaging the finish?
Start with a soft brush to remove loose dust, then wipe with a slightly damp microfiber cloth. Test any cleaner on an inconspicuous corner first because harsh chemicals can strip original paint or gilt. Avoid soaking the joints because water can swell wood and loosen glue.
Can I hang heavy frames without studs?
Use wall anchors rated for at least twice the weight of the finished piece. Place two anchors when possible so the load distributes evenly. Check the anchors every few months because vibration from nearby doors can loosen them over time.
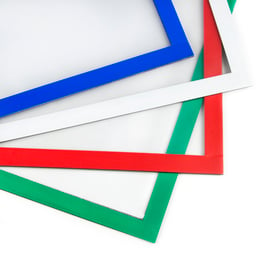
What if the glass in my frame is cracked?
Replace it with new glass cut to the same size or swap in acrylic for safety in homes with children. Measure the rabbet depth before ordering so the new material sits flush. Recycle the old glass at a local facility rather than placing it in regular trash.
How long does chalkboard paint need to cure before first use?
Most formulas require at least 24 hours of drying followed by a light sanding and another day of curing. Rushing the first use leaves marks that never erase cleanly. Follow the specific product label because curing times vary by brand and humidity.
Old frames continue to offer structural value long after their original purpose ends. Each of the twelve approaches above keeps that value visible and useful in daily routines.
Leave a Reply