Macrame plant hangers bring texture and height to any room while keeping plants off surfaces. These beginner-friendly designs rely on basic knots and common supplies that produce reliable results without advanced skills. Each option below focuses on one distinct style so you can match the hanger to your space, plant size, and available materials.
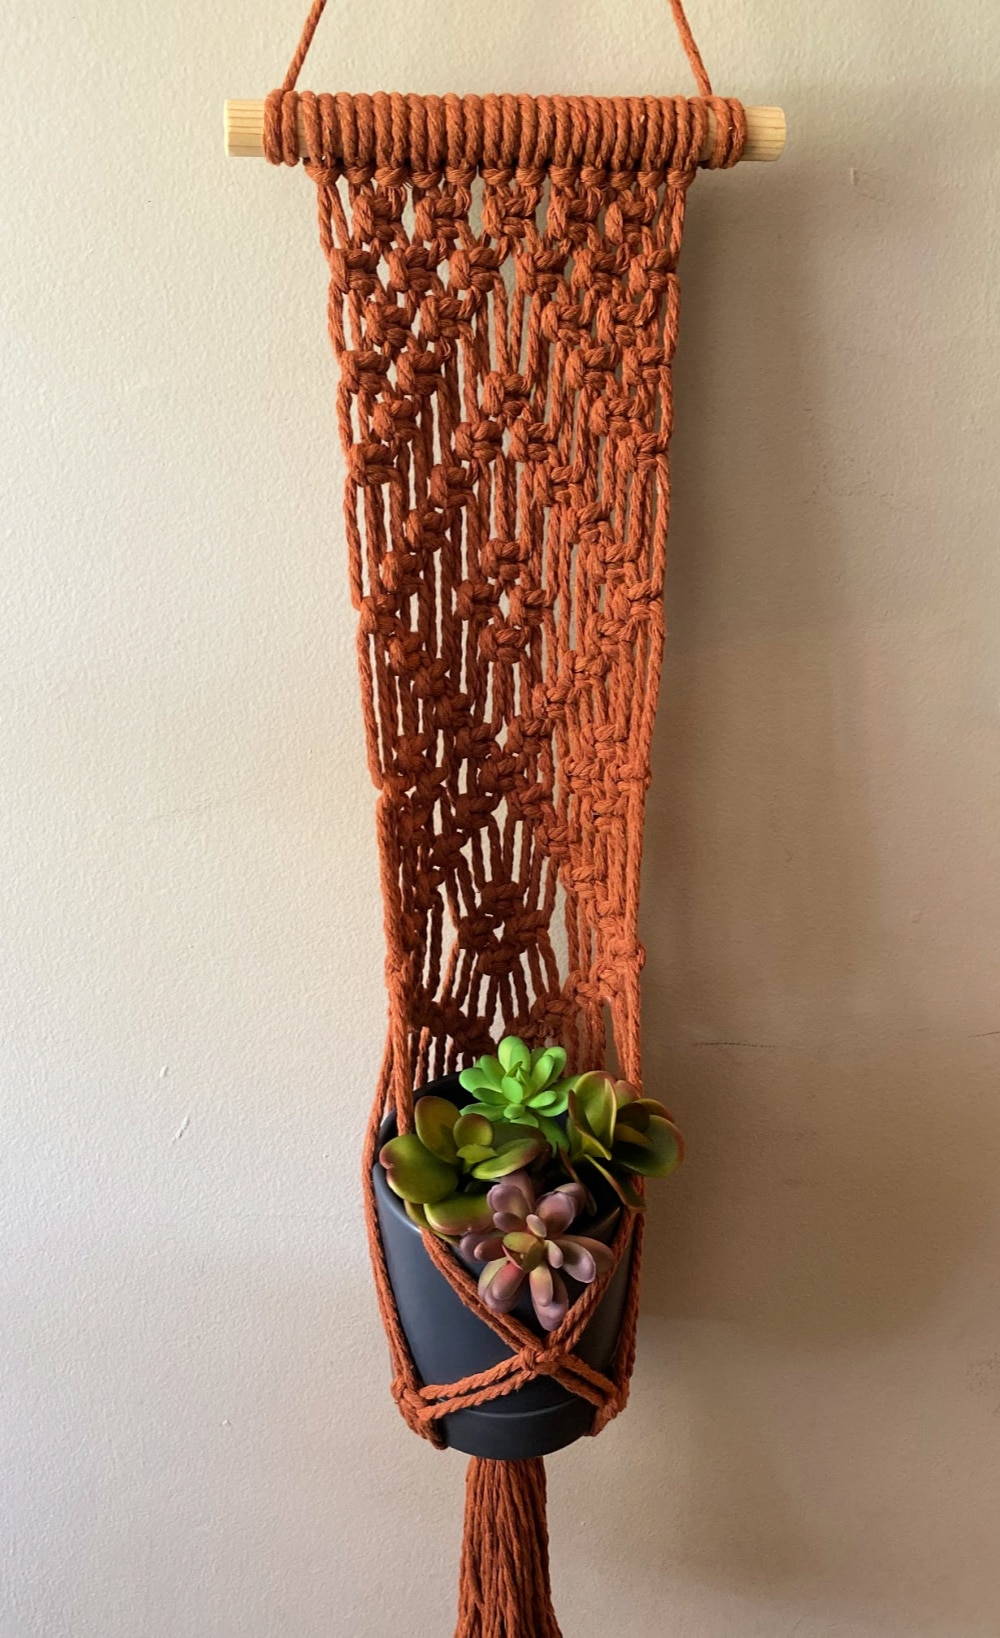
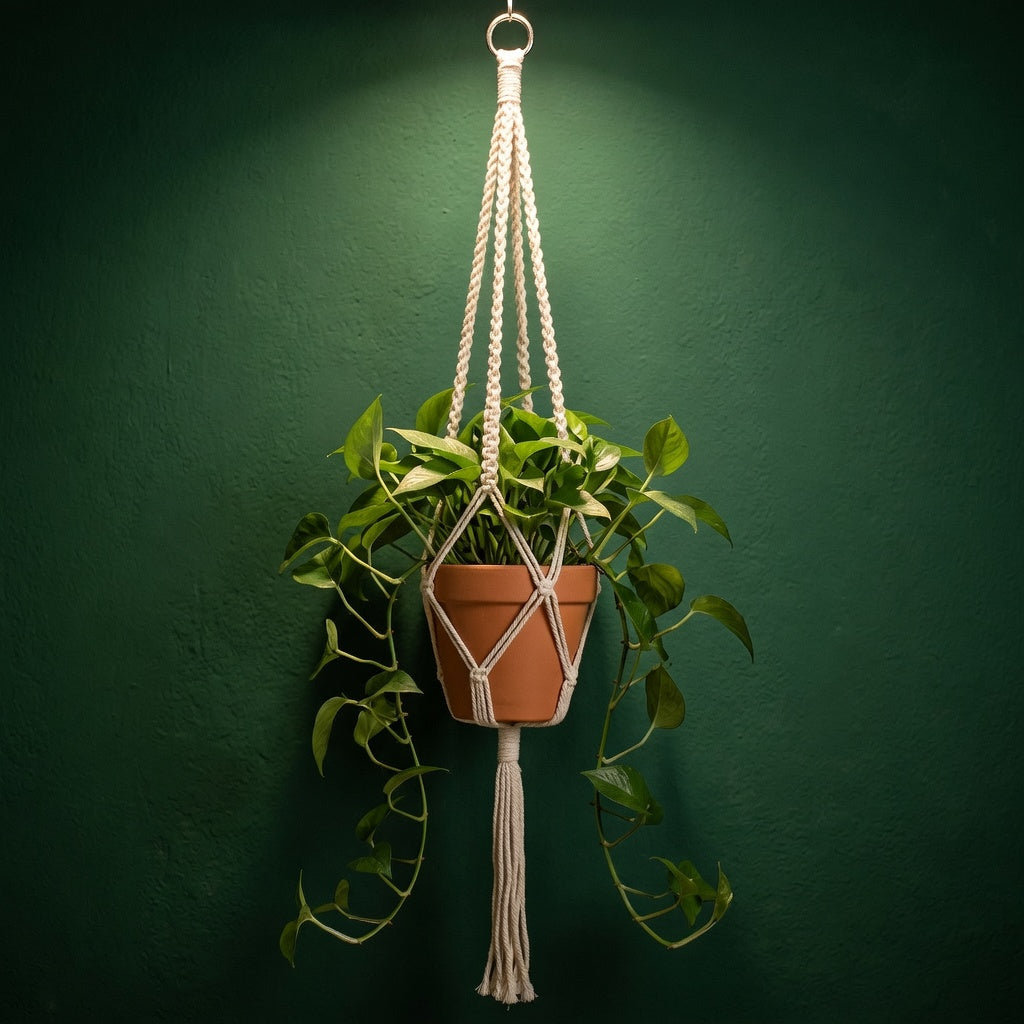
Classic Single-Knot Macrame Hanger
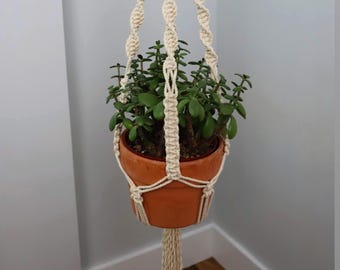
The single-knot style uses repeating square knots to form a simple net that cradles a pot. This approach keeps the cord count low and the pattern easy to memorize after the first few rows. Beginners appreciate how quickly the structure takes shape once the initial gathering knot is complete.
Placement works well near windows where light reaches the plant without crowding furniture. The finished length can be adjusted by trimming excess cord before the final tassel. Cotton rope holds its shape best here and softens slightly after the first watering cycle.
Switching to a thinner cord changes the drape more than most people expect, so test a short sample before committing to the full project.
Beaded Detail Macrame Plant Hanger

Wooden or ceramic beads threaded onto the working cords add visual weight without complicating the knot sequence. Slide beads between square knots to create pauses in the pattern that catch light. This variation stays beginner-accessible because the beads simply replace a knot rather than requiring new techniques.
Choose beads with holes large enough for your cord to pass through twice. Space them evenly on the lower half so the hanger remains balanced when the plant sits inside. Natural wood beads pair cleanly with neutral cord while brighter ceramic options suit colorful rooms.
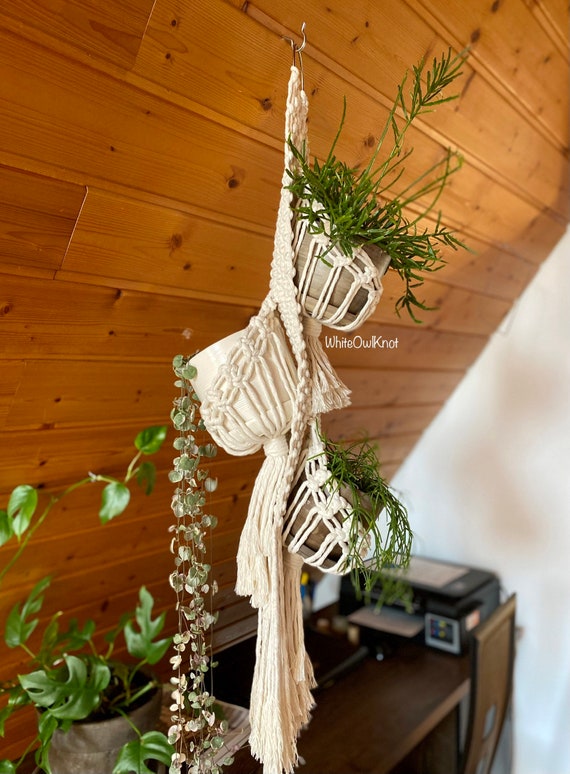
Two-Tiered Macrame Plant Hanger
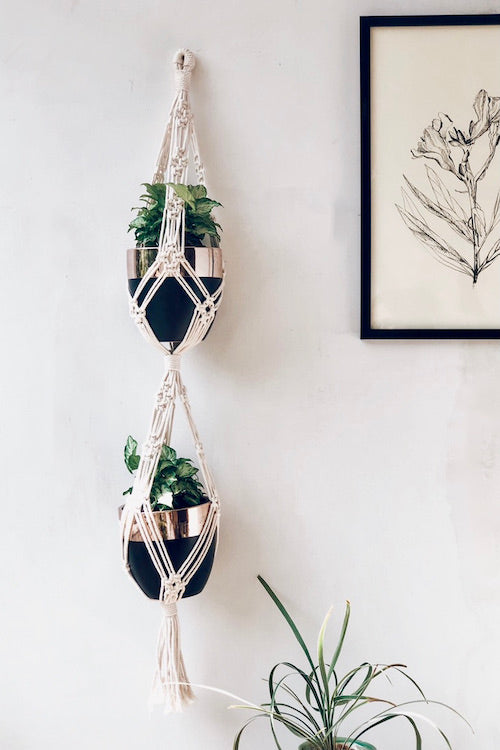
A two-tiered design stacks two separate net sections on the same set of cords so one hanger supports two plants at different heights. The upper tier uses shorter cords while the lower tier continues with the remaining length. This layout saves wall space and creates a vertical focal point in corners.
Measure the distance between tiers before tying the second set of knots to avoid crowding the plants. Start with lightweight pots on the bottom tier until you confirm the structure holds steady. The extra length also lets you adjust the overall drop after both tiers are knotted.
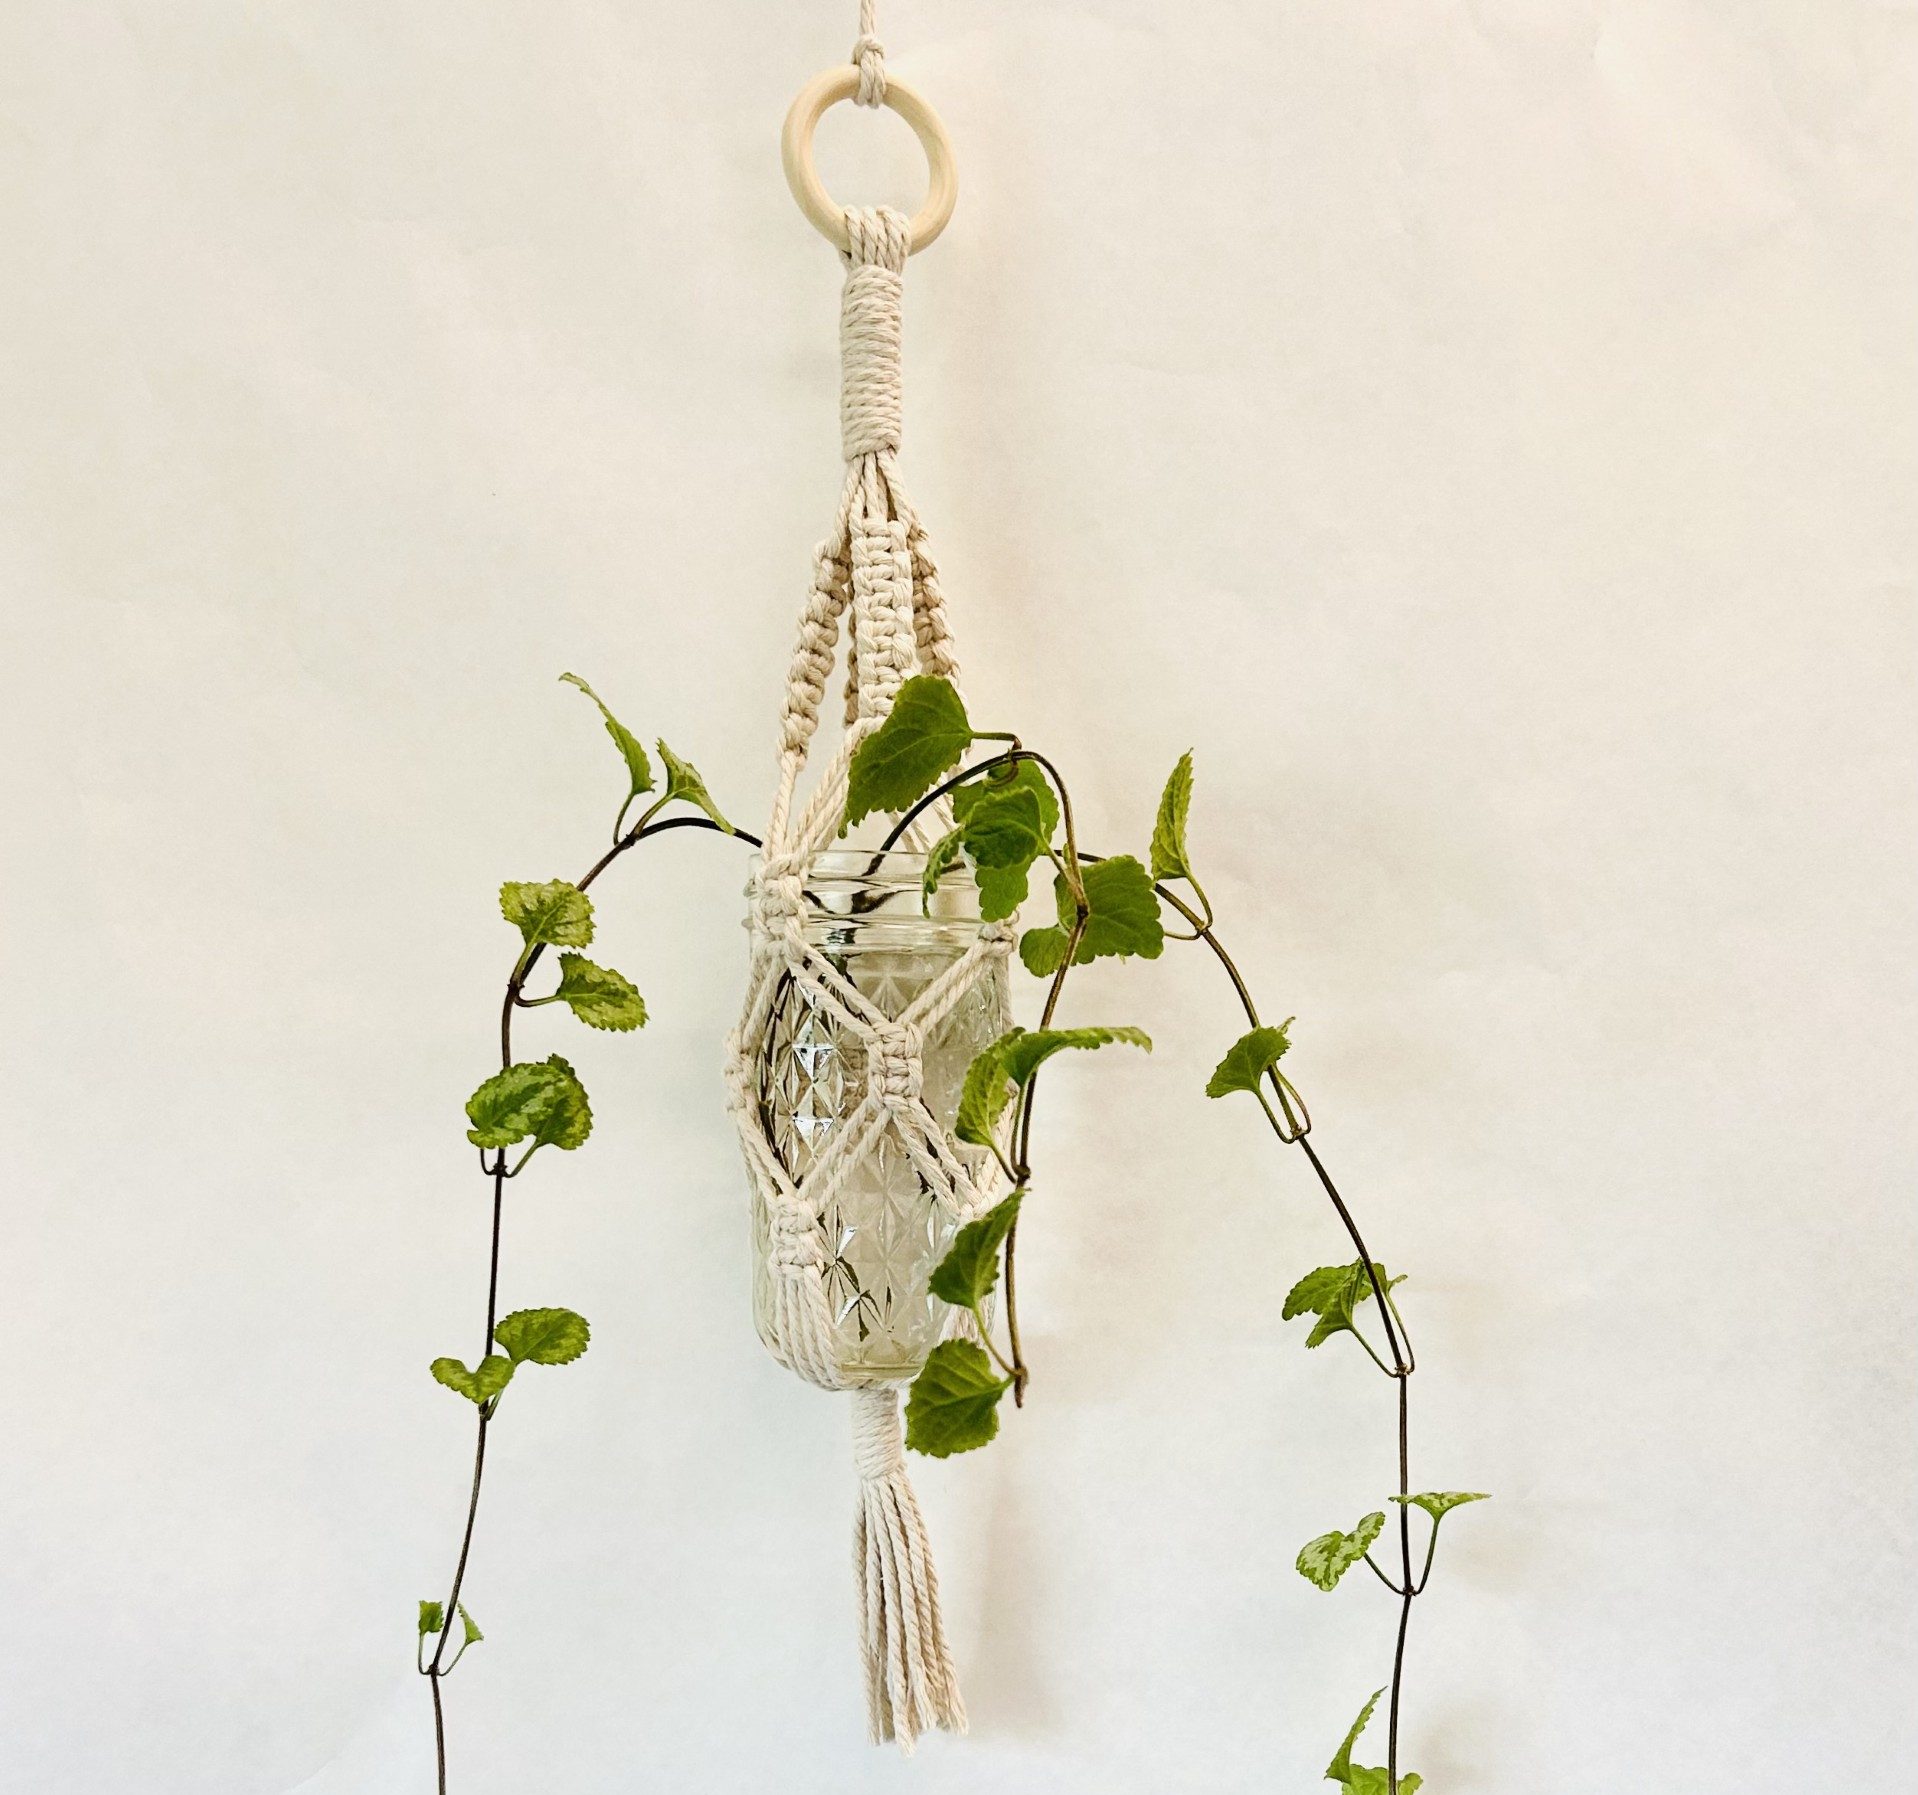
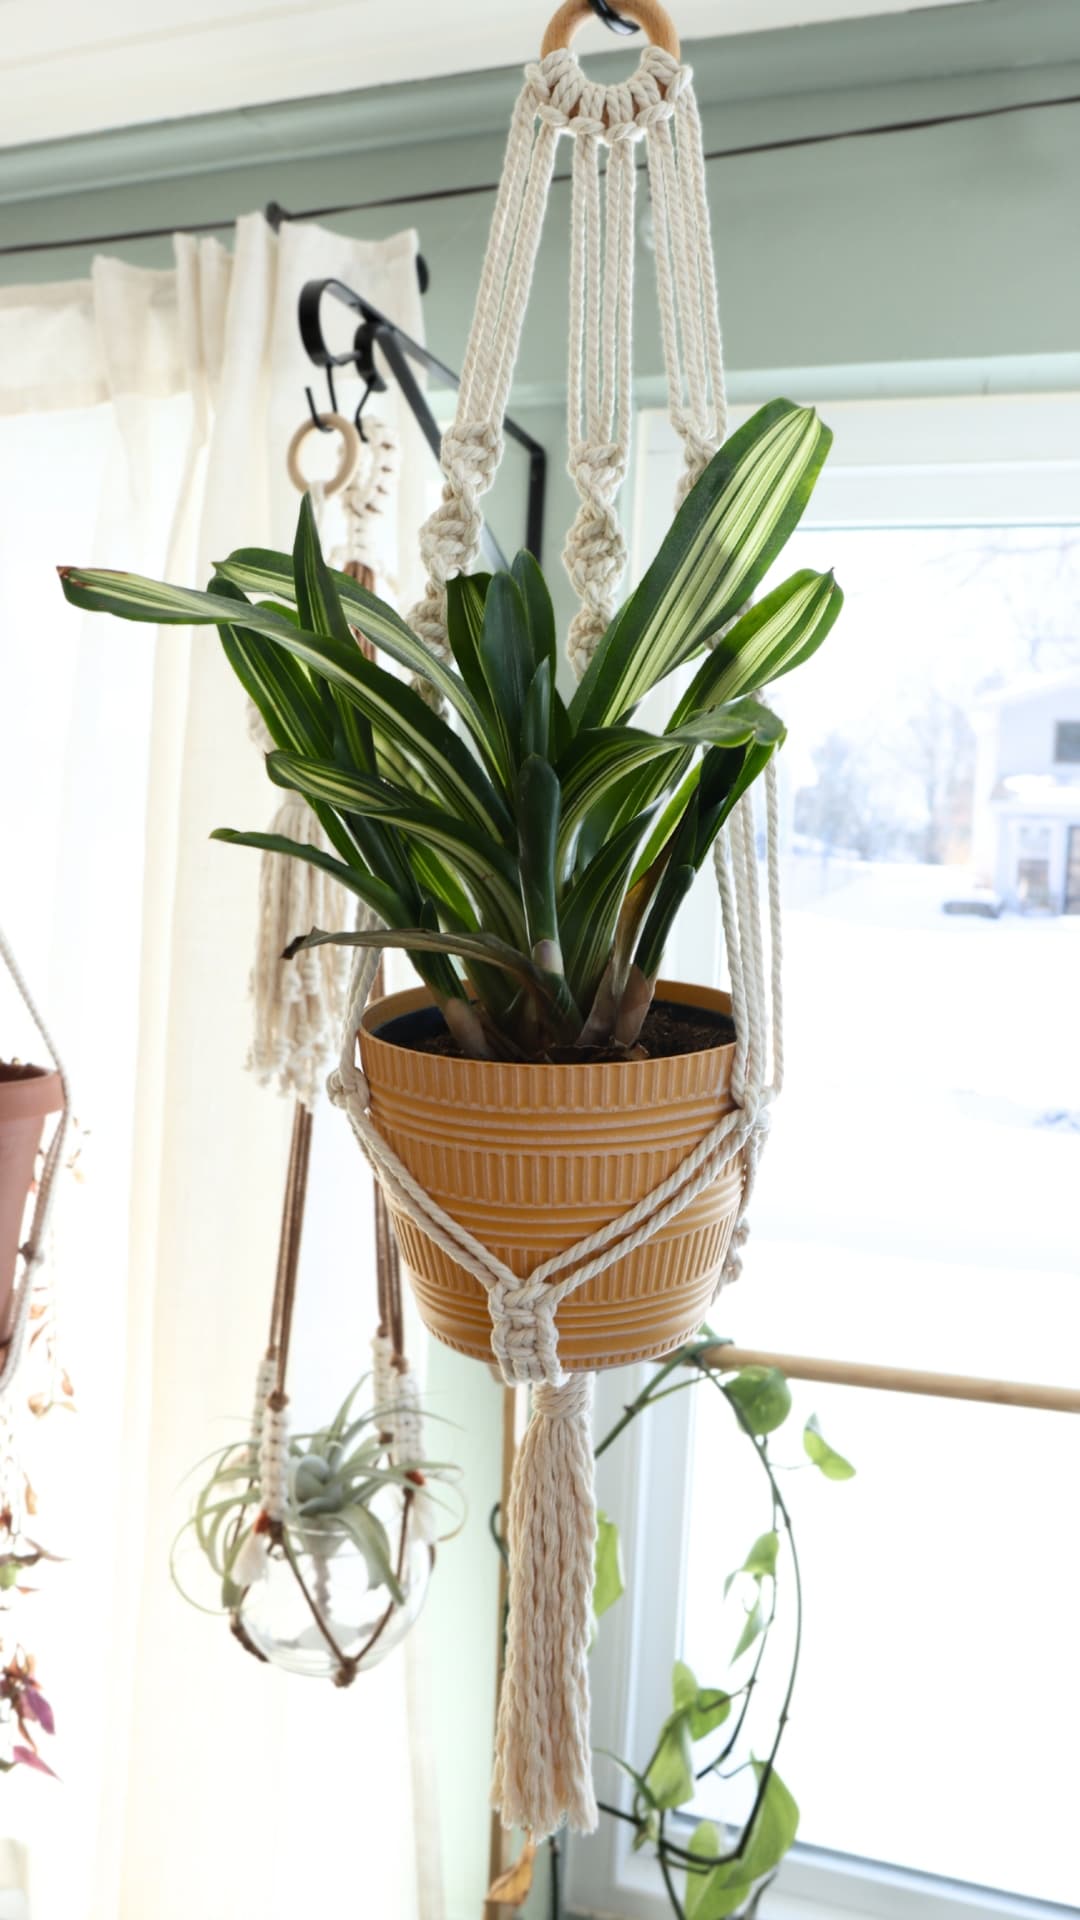
Wooden Ring Top Macrame Hanger
A wooden ring at the top replaces the usual gathering knot and gives the hanger a cleaner, more finished look from above. Wrap the ring with the cord ends before beginning the main knot pattern so everything stays secure. This method appeals to beginners who want a polished result with minimal extra steps.
Select a ring slightly wider than your finished hanger width to prevent the cords from bunching. Sand the ring lightly if it feels rough against the cord. The ring also makes it simple to hang the piece from a ceiling hook without additional hardware.
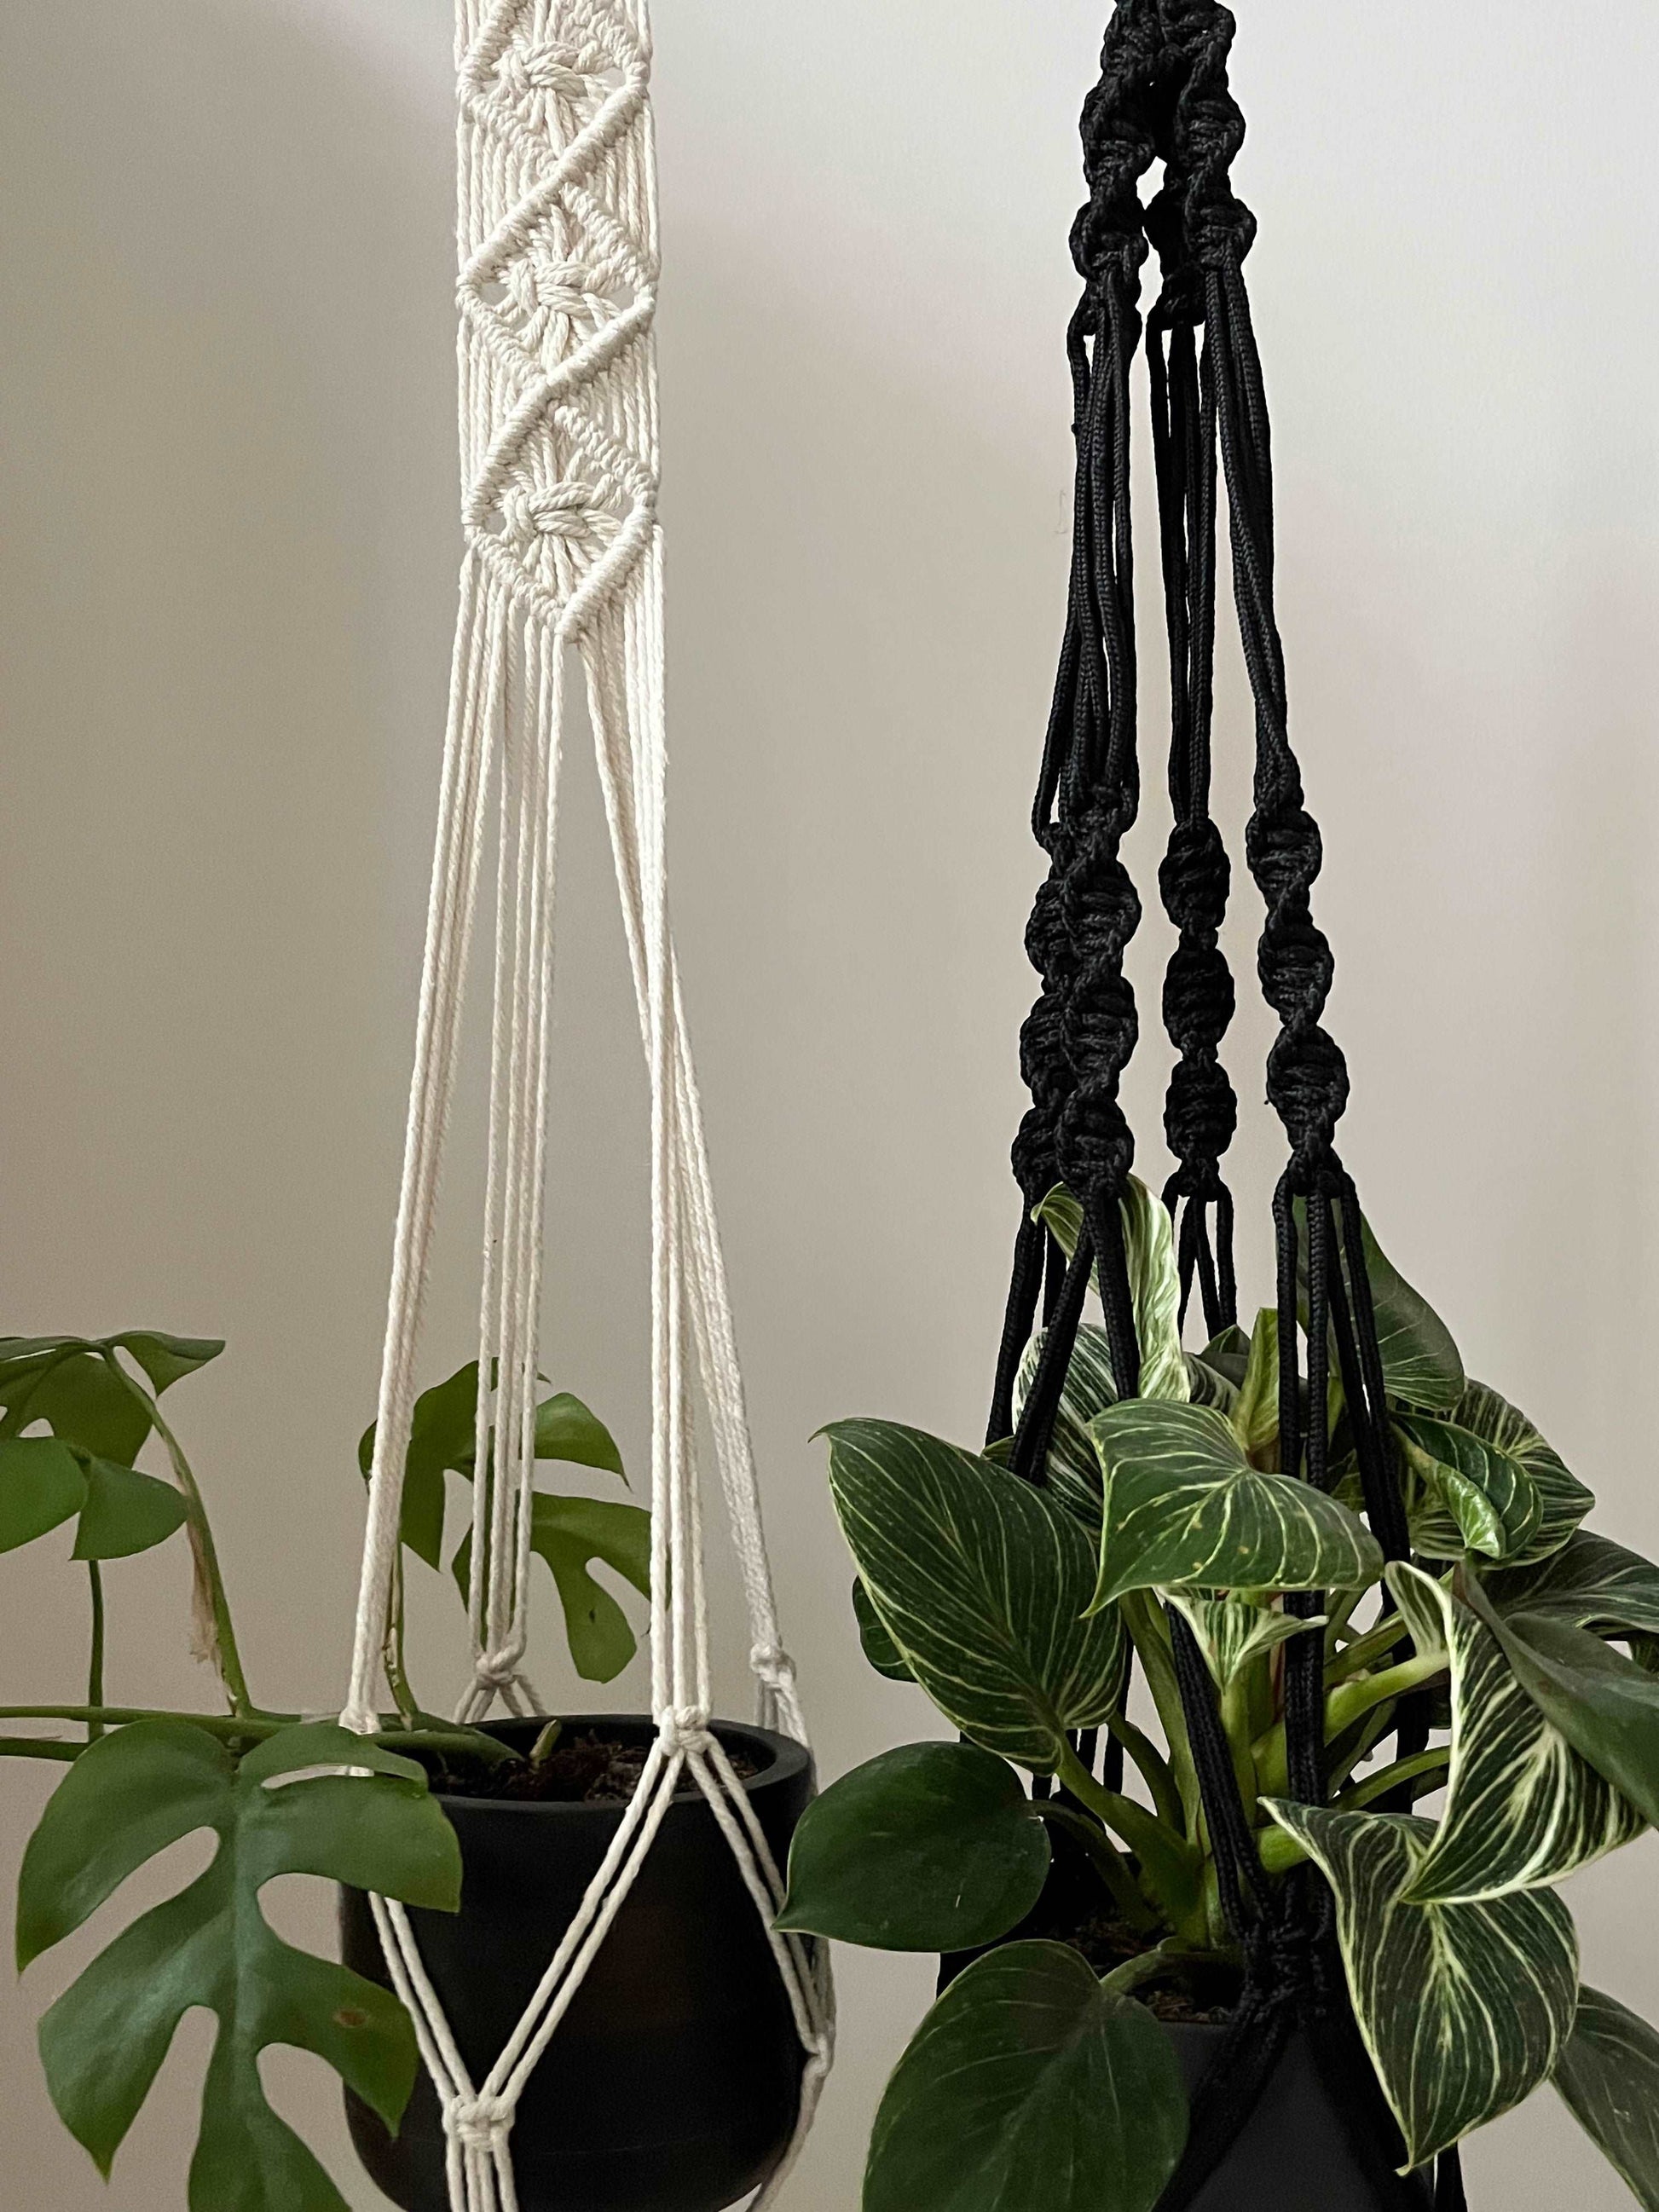
Colorful Cord Variation Macrame Hanger
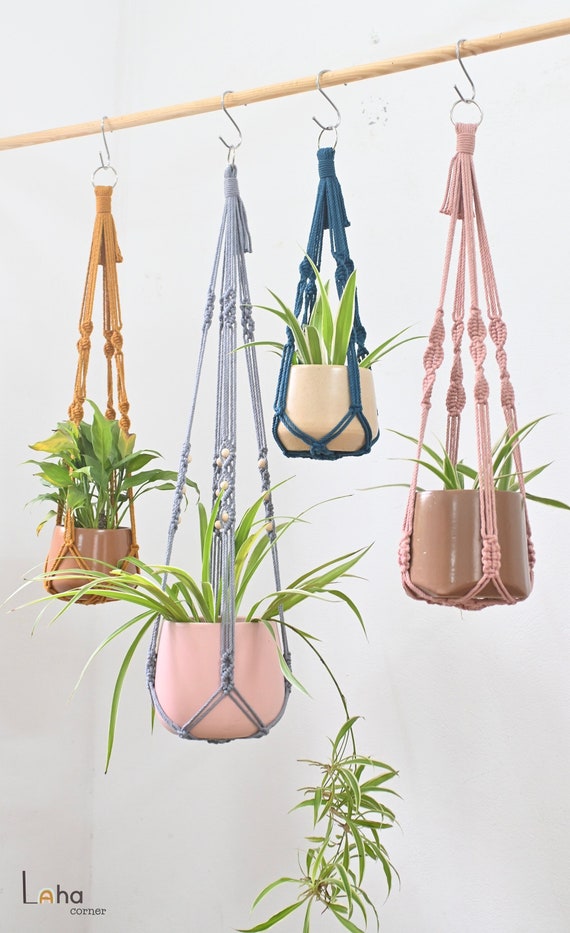
Switching cord colors at set intervals creates stripes that run down the hanger and highlight the knot pattern. Keep the color changes at the same row on each strand so the stripes stay straight. This option uses the same square knots as the classic version yet produces a noticeably different finished piece.
| Cord Type | Durability | Best For | Stretch Level |
|---|---|---|---|
| 3-ply cotton | High | Indoor daily use | Low |
| Macrame rope | Medium | Larger plants | Medium |
| Jute | Low | Short-term outdoor | High |
Test colorfastness on a scrap before committing to the full project. Group similar weights together so tension stays consistent across color changes.
- ❤ Use one color for the top third and a second color for the bottom two-thirds when you want a subtle shift.
- ❤ Alternate three colors in short blocks if the room already contains multiple accent tones.
- ❤ Stick to two colors maximum on the first attempt so knot counting remains straightforward.
Fringe-Edged Macrame Plant Hanger
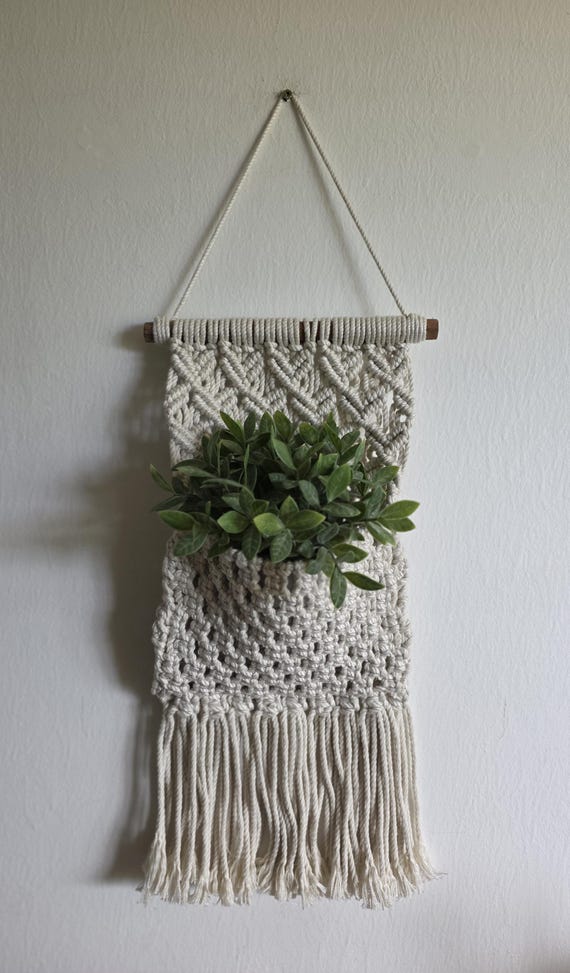
Long fringe at the bottom adds movement and softens the silhouette once the main knots are finished. Cut the fringe after all knots are tied so the lengths remain even. This detail works especially well with trailing plants whose leaves mingle with the cord ends.
Trim the fringe gradually rather than all at once to avoid shortening it too much. Brush the ends lightly with a comb to separate the fibers and create a fuller look. The fringe also hides any uneven cord ends left from the final knot.
Compact Wall-Mounted Macrame Hanger
A wall-mounted version uses two attachment points instead of a single ceiling hook so the hanger sits flat against the surface. The cord layout stays narrow and the knot pattern repeats in a shorter vertical space. This style suits hallways or small bathrooms where floor space is limited.
Mark the two attachment points level before tying the first knots. Keep the overall width under twelve inches so the piece does not overwhelm the wall. The flat profile also reduces swinging when doors open nearby.
Spiral Pattern Macrame Plant Hanger
Half-hitch knots worked continuously around the cords produce a spiral that twists down the hanger. The pattern requires only one knot type repeated in the same direction, which builds muscle memory quickly. Beginners often finish this version faster than expected once the spiral direction is established.
Maintain even tension so the spiral stays tight rather than loosening over time. Stop the spiral a few inches above the pot to leave room for the final gathering knots. The finished twist adds visual interest without extra materials.
Multi-Plant Ladder Macrame Hanger
Horizontal rungs made from dowels or thicker cord connect vertical macrame sections and create resting spots for several small pots. Each rung sits between two vertical cords so the structure resembles a short ladder. This layout works best with lightweight pots that will not pull the rungs out of alignment.
Space the rungs at least eight inches apart to give each plant room to grow. Secure the rung ends with extra square knots on both sides for stability. The ladder format also lets you rotate plants easily when one side receives more light.
Minimalist Ring Macrame Hanger
A single large ring at the bottom holds the pot while only a few cords run upward to the ceiling attachment. The reduced knot count keeps the focus on the plant itself. This approach suits spaces where heavy texture would compete with other decor.
Choose a ring wide enough for the pot rim to rest inside without tipping. Tie the cords directly to the ring before gathering them at the top. The clean lines make this hanger easy to reposition when plants need seasonal light adjustments.
FAQ
How much cord do I need for a standard macrame plant hanger?
Plan on four to six times the finished length per cord when using square knots, and add extra for fringe or beads. Measure your chosen plant pot first so the net sits at the right height rather than guessing after the knots are tied. Buying one extra skein prevents running short mid-project and lets you practice knots on scraps.
What knot should beginners learn first for plant hangers?
Start with the square knot because it forms the base of nearly every macrame plant hanger pattern and reverses easily if tension feels off. Practice the knot on a short cord length until both sides look even before moving to the full project. Once the square knot feels automatic, half-hitch variations become simpler to add later.
Can macrame plant hangers support heavy pots safely?
Cotton rope rated for at least ten pounds holds most ceramic pots when the knots are pulled tight and the top gathering point is reinforced. Check the cord label for weight limits and avoid stretching the hanger immediately after watering when the pot is heaviest. Redistribute weight across more cords if a single plant feels unstable.
How do I keep macrame cords from fraying over time?
Seal cut ends with a small amount of fabric glue or clear nail polish after the final trim so fibers stay together through humidity changes. Store extra cord in a dry bag between projects to prevent moisture damage that weakens knots later. Rotating the hanger every few months also prevents one side from receiving constant sun exposure that can dry out the fibers unevenly.
A finished macrame plant hanger rewards consistent knot tension and simple material choices that match your space. Start with one design that fits your current supplies, then add details like beads or color changes on the next piece.
Leave a Reply