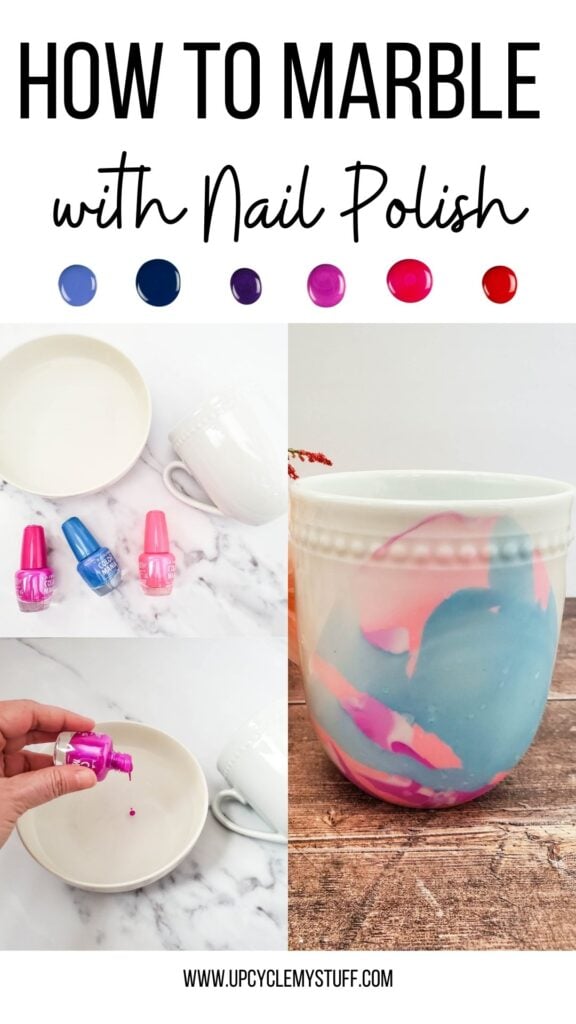
Marbling cups with nail polish—often called “hydro-dipping”—is a brilliant, budget-friendly way to transform plain ceramic or glass mugs into unique pieces of art.
The process involves floating nail polish on the surface of warm water and dipping a vessel into the film to create a one-of-a-kind, stone-like pattern.
It is the perfect project for upcycling those mismatched mugs in your cupboard or creating personalized gifts for pennies on the dollar.
The Magic of Nail Polish Marbling: Why It Works
I’ve spent years trying different “dipping” techniques, and nothing beats the accessibility of nail polish.
Because nail polish is oil-based and less dense than water, it floats effortlessly on the surface. When you break the surface tension with a toothpick, you create those gorgeous swirls we see in high-end marble.
The best part? You don’t need expensive “marbling inks.” That half-empty bottle of “Electric Pink” or “Midnight Navy” at the bottom of your makeup bag is exactly what you need.
However, I’ve learned the hard way that not all polishes are created equal. Cheap, thin polishes actually work better than the high-end, quick-dry varieties because they don’t skin over as fast.
Essential Materials for Your Marbling Station
Before we dive into the “how-to,” let’s get your workspace ready.
This can get a little messy, and the fumes are real, so I always recommend working in a well-ventilated room or even outside on a patio.
| Item | Purpose | Pro-Tip |
|---|---|---|
| Ceramic Mugs | Your canvas | Matte white works best for color pop. |
| Nail Polish | The ink | Avoid Quick Dry formulas; they clump too fast. |
| Plastic Container | The dipping vat | Use a deep Tupperware you don’t mind staining. |
| Warm Water | The carrier | Room temp or slightly warm prevents the polish from drying. |
| Toothpicks | Swirling tool | Use a fresh one for every mug. |
| Nail Polish Remover | Cleanup | Essential for fixing oops moments on the rim. |
| Clear Acrylic Sealer | Protection | Dishwasher-safe Mod Podge is a game-changer. |
Step-by-Step: How to Marble Your First Cup

Step 1: Prep Your Mug
Cleanliness is everything. If there is any oil from your fingers on the mug, the polish won’t stick.
I always wipe my mugs down with rubbing alcohol first. If you want a clean white line at the top (where your lips touch), use painter’s tape to mask off the top half-inch of the mug.
Step 2: The Water Temperature Trick
Fill your plastic container with enough water to submerge the mug halfway.
Crucial Hack: Use lukewarm water. If the water is too cold, the polish sinks. If it’s too hot, it can clump. Aim for “baby bath” temperature.
Step 3: The Pour
Hold the nail polish bottle close to the water surface and let a few drops fall.
Don’t pour from high up, or the drops will sink to the bottom. I like to use 2–3 colors for the best depth.
Step 4: The Swirl
Take your toothpick and gently drag it through the colors. Don’t over-mix, or you’ll end up with a muddy brown mess.
You want to see distinct “veins” of color. You have about 30 seconds to do this before the polish starts to create a “skin.”
Step 5: The Dip
Hold the mug by the handle or the rim. Lower it slowly into the water at a slight angle. This prevents air bubbles from getting trapped.
Once the mug is in, use your toothpick to “clear” the remaining floating polish away from the mug before pulling it back out. This prevents a double-layer of polish from ruining your pattern.
Step 6: The Drying Phase
Place the mug upside down on a piece of cardboard or parchment paper. Let it air dry for at least 24 hours.
Don’t touch it! The polish is soft and will smudge easily until fully cured.
10 Creative Design Ideas for Your Marbled Cups
If you’re looking for inspiration beyond the basic swirl, here are 10 specific styles I’ve tested that turn out beautifully every time.
-
1
The Classic Carrara Marble
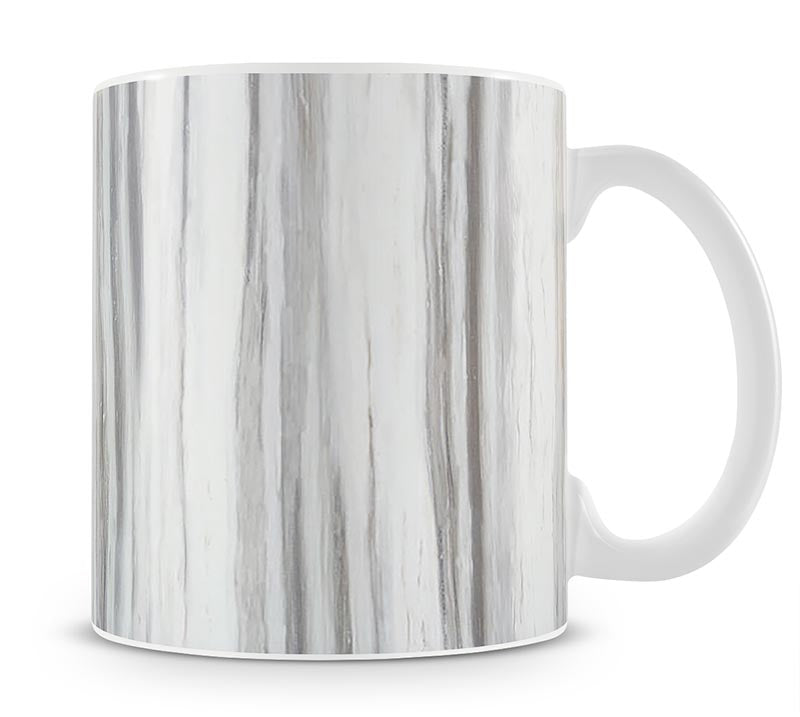
To achieve that high-end Italian stone look, use a plain white mug and only one color: a soft, smoky grey.
Add just two drops of grey to the water and swirl it vigorously to create very thin, delicate veins. It looks incredibly sophisticated and expensive.
-
2
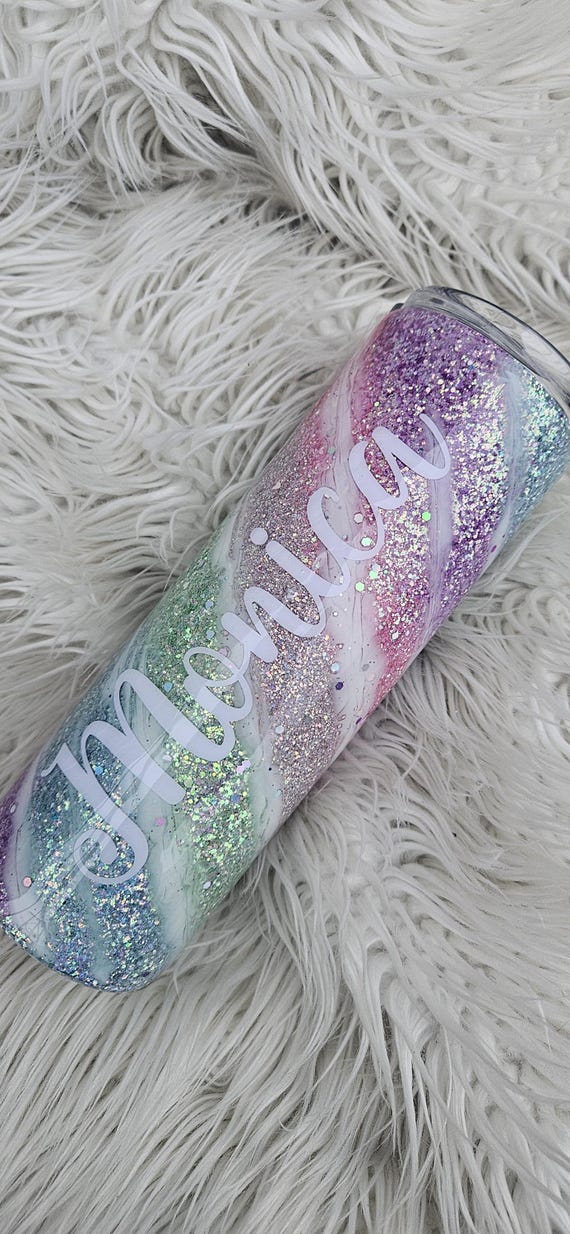
Galactic Nebula

Use a black or dark navy mug as your base. For the marble, use metallic purple, deep blue, and a touch of silver glitter polish.
The dark background makes the metallic colors look like a swirling galaxy.
-
3
Sunset Ombre
Choose a white mug and three warm tones: yellow, orange, and a bright coral.
Instead of swirling them together in a circle, pour them in horizontal lines across the water. Dip the mug sideways to get a beautiful gradient effect.
-
4
Minimalist Drip Look
Instead of dipping the whole mug, only dip the very bottom.
Use a bold, solid color like teal or forest green. This creates a “dipped in paint” aesthetic that is very trendy in modern home decor.
-
5
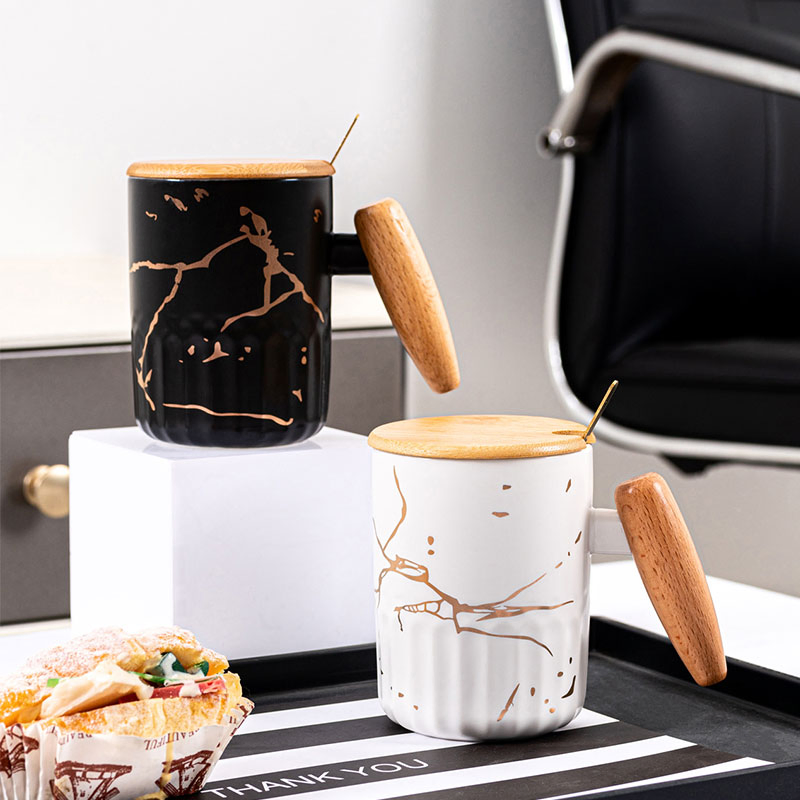
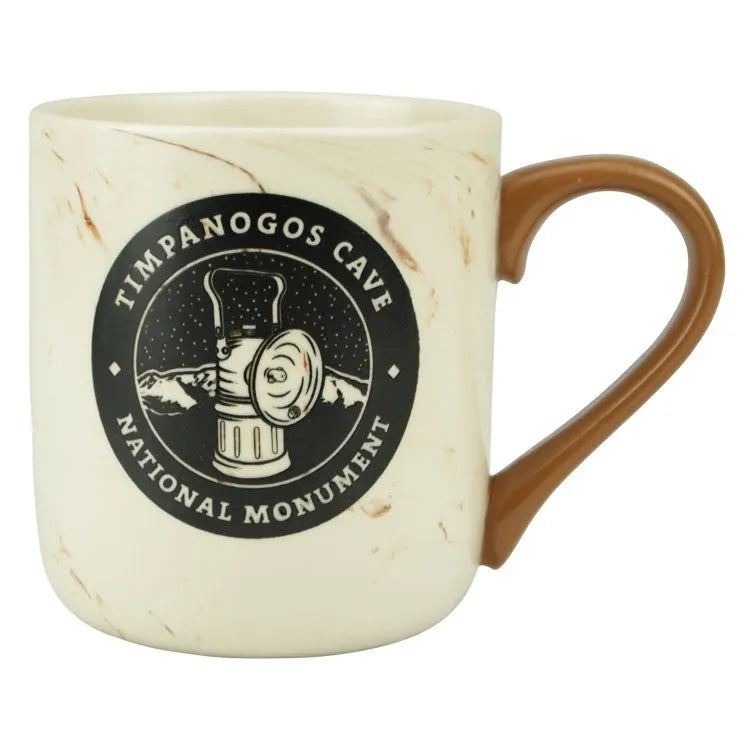
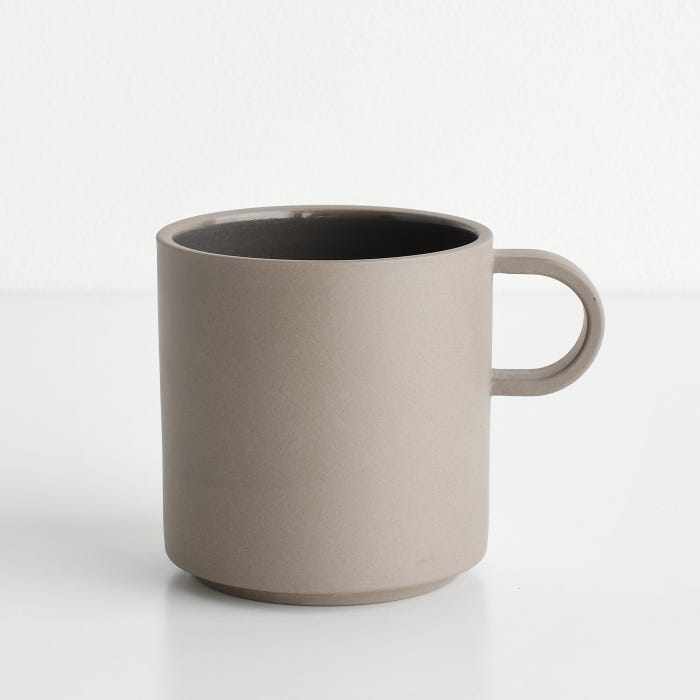
The Metallic Gold Edge
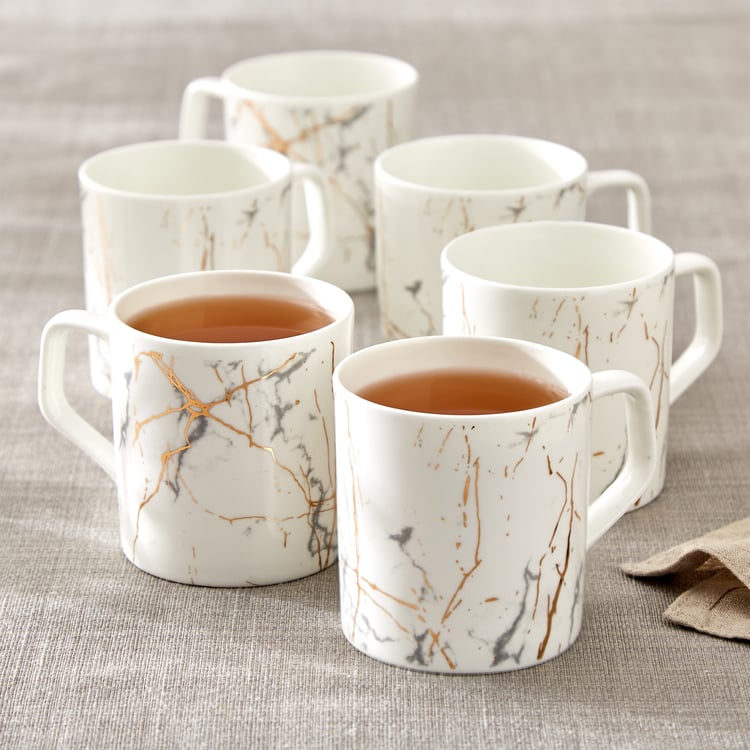
Marble your cup using neutral tones like cream and tan.
Once it’s dry, take a gold leaf pen or metallic gold nail polish and hand-paint the rim or the handle. It adds a touch of luxury that makes the mug look like it came from a boutique.
-
6
Pastel Dreamscape
Perfect for spring! Use mint green, lavender, and baby pink.
Because these colors are lighter, you can afford to use more drops without the design looking “heavy.” These make excellent tea cups for a garden party.
-
7
Monochrome Chic

Use a white mug with jet black polish. The high contrast is striking and fits perfectly in a modern, industrial-style kitchen.
Be careful with black polish, though—it’s very pigment-heavy, so a little goes a long way.
-
8
Coastal Ocean Waves
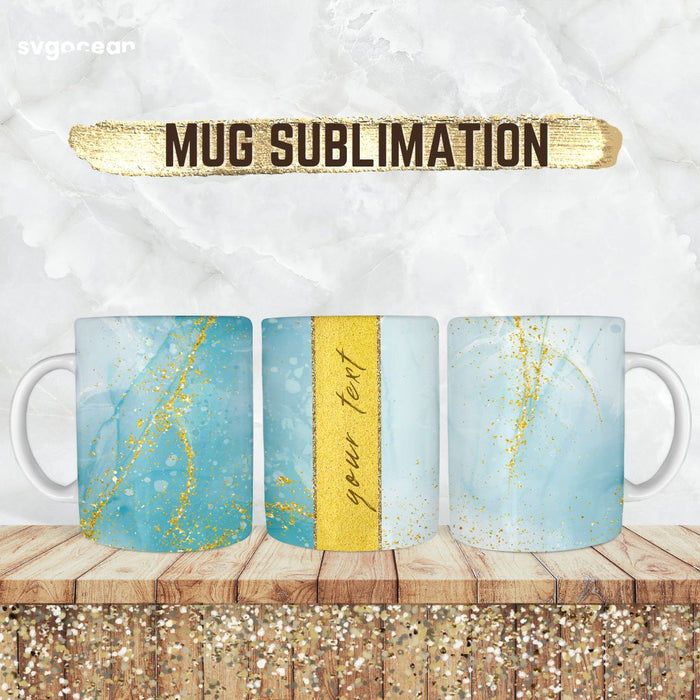
Use three shades of blue (sky, royal, and navy) plus a drop of white. When you swirl them, try to create “wave” patterns.
This technique looks stunning on glass mugs, as the transparency adds to the “water” effect.
-
9
Holiday Sparkle
For the festive season, use red and forest green polish.
After the dip, while the polish is still slightly tacky, sprinkle a tiny bit of fine loose glitter over the marbled areas. Seal it well to prevent glitter-shed!
-
10
The Geode Effect
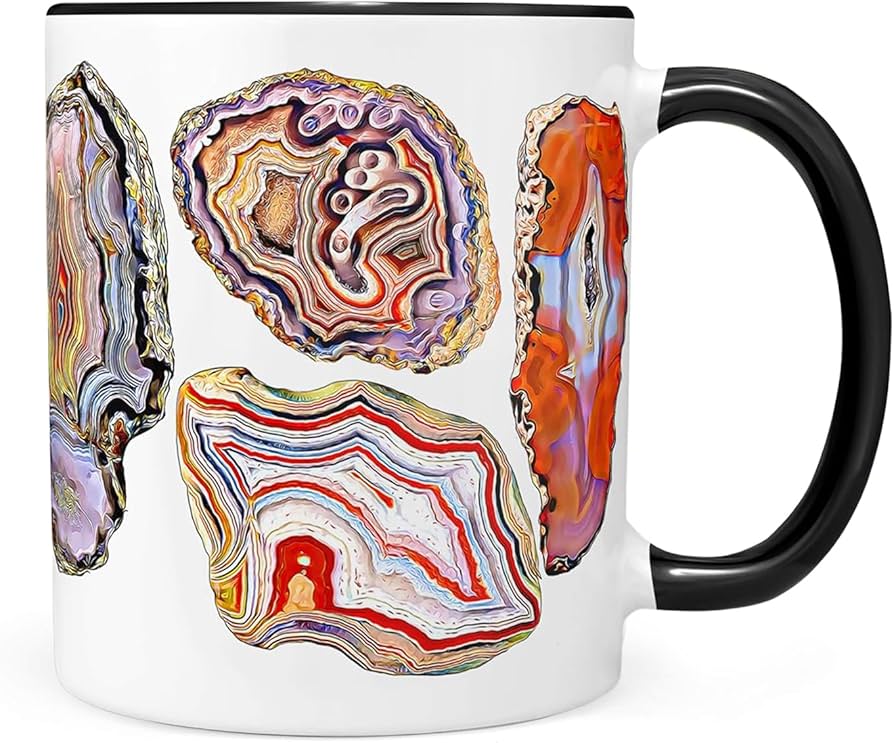
This is for the advanced crafters! Layer your colors in concentric circles in the water (like a bullseye).
When you dip, the mug will pick up “rings” of color that mimic the inside of a crystal geode. Use purples and teals for the best effect.
Troubleshooting Common Marbling Mistakes
Even as an expert, I still have “fail” days. Here is how to fix the most common issues:
-
•
The Polish Sunk to the Bottom: Your water is likely too cold, or you dropped the polish from too high. Try using warmer water and bringing the brush closer to the surface.
-
•
The Polish is Clumping/Stringy: You are taking too long to swirl. As soon as that polish hits the water, the clock is ticking. Have your toothpick ready in your other hand!
-
•
Air Bubbles: This happens if you dip the mug straight down. Always enter the water at a 45-degree angle.
-
•
The Design is Smearing: You probably didn’t “clear” the excess polish from the surface of the water before pulling the mug out. Use a paper towel or toothpick to whisk away the leftover film while the mug is still submerged.
Sealing and Long-Term Care

This is where most DIYers go wrong. Nail polish is durable, but it’s not indestructible.
If you leave the mug as-is, the polish will eventually peel off, especially with the heat of coffee or tea.
The Sealing Process:
-
1.
Wait: Let the mug cure for 48 hours.
-
2.
Seal: Use a brush-on sealant like Dishwasher Safe Mod Podge. Apply two thin coats, allowing 2 hours between each.
-
3.
Cure: This is the hard part. Dishwasher-safe Mod Podge takes 28 days to fully cure to the point of being waterproof.
-
4.
Wash: Even with a sealer, I highly recommend hand-washing only. The high heat and abrasive detergents in a dishwasher will eventually dull the finish and cause lifting.
Frequently Asked Questions (FAQ)
Q: Can I use this on plastic cups?
A: You can, but nail polish contains acetone which can melt or “etch” certain types of plastic. Stick to ceramic, glass, or stainless steel for the best results.
Q: Is the mug still microwave safe?
A: If you used metallic or glitter nail polish, do not put it in the microwave. Standard cream polishes are generally fine, but the heat can sometimes soften the sealer, so use caution.
Q: How do I remove the design if I hate it?
A: That’s the beauty of this craft! Just take a cotton ball soaked in pure acetone (nail polish remover) and wipe it off. It’s like it never happened.
Q: Why does my polish look like a “skin” on top of the water?
A: This happens if the air is too dry or the water is too cold. It also happens with “Fast Dry” nail polishes. Try a cheaper brand like Sinful Colors or Wet n Wild; they stay liquid longer.
Conclusion
Marbling cups with nail polish is a therapeutic and rewarding craft that allows you to play with color in a totally unpredictable way.
No two mugs will ever look the same, which is exactly what makes them so special. Whether you’re making a set of “Carrara Marble” mugs for your morning espresso or a “Galactic” tumbler for a friend, the key is to embrace the imperfections.
Remember to work quickly, keep your water warm, and always seal your work.
Now, go raid your nail polish collection and start dipping! Your kitchen cabinets will thank you for the colorful upgrade.
Leave a Reply