
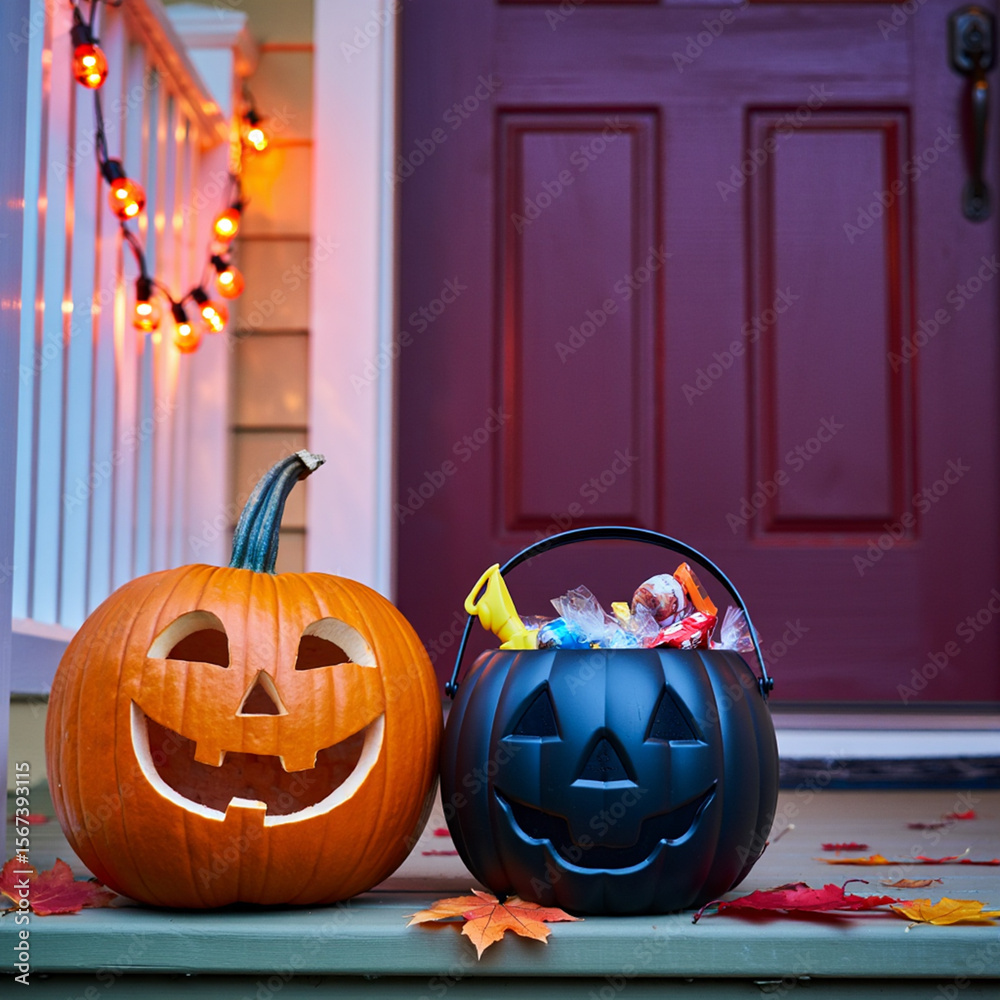
You’ve just spent the afternoon carefully carving a perfect face into your pumpkin, and now you’re staring at it, wondering how long you have before it turns into a moldy, saggy mess. We’ve all been there—a beautiful creation gone to mush before Halloween even arrives.
But it doesn’t have to be that way. With a few simple steps, some of which use common household items, you can extend the life of your carved pumpkin well beyond the typical few days.
The key is to treat it like the perishable produce it is and slow down the decay process. Here’s everything I’ve tried that actually works.
1. Give It a Bleach Bath After Carving
This is the single most effective step I’ve found. A diluted bleach solution kills the mold and bacteria that cause rot, giving you a clean slate to work with.
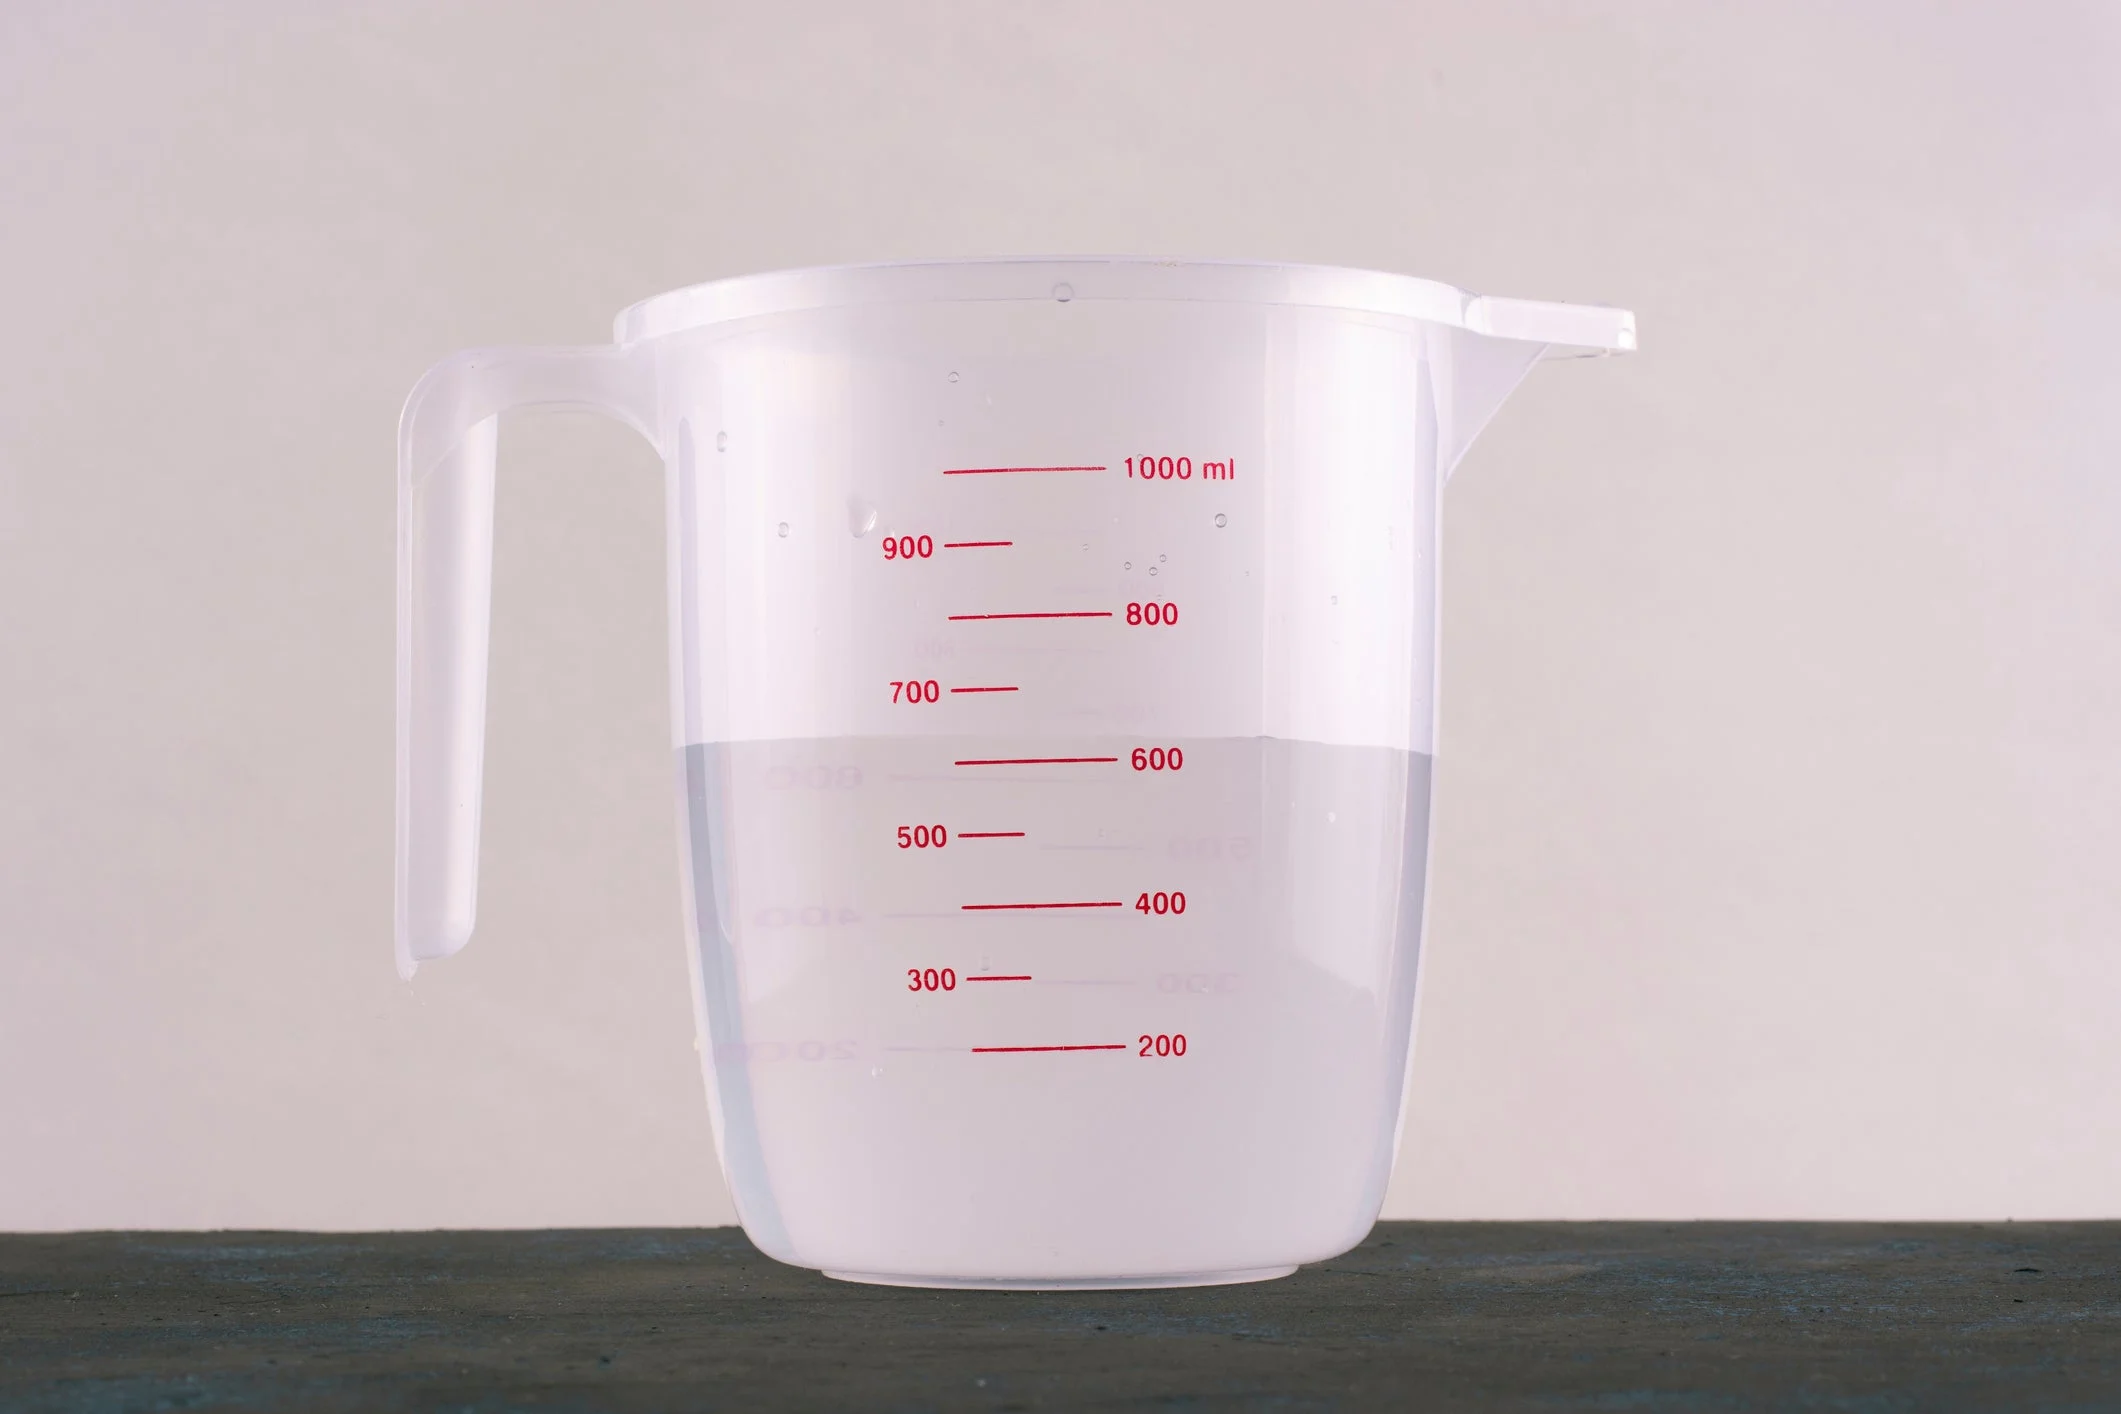
Right after you’ve finished carving and cleaning out all the guts, mix a solution of 1 tablespoon of household bleach per gallon of cool water in a bucket or large basin. Submerge your pumpkin completely and let it soak for 1-2 hours.
Then, remove it and let it air dry thoroughly. This initial bath can add a full week to your pumpkin’s lifespan.
Just be sure to do this in a well-ventilated area and wear gloves if you have sensitive skin.
2. Slather on Petroleum Jelly or Vegetable Oil
Once your pumpkin is dry from its bleach bath (or if you skip the bleach), coating all the cut edges with a moisture barrier is crucial. The exposed flesh is where dehydration and mold start.
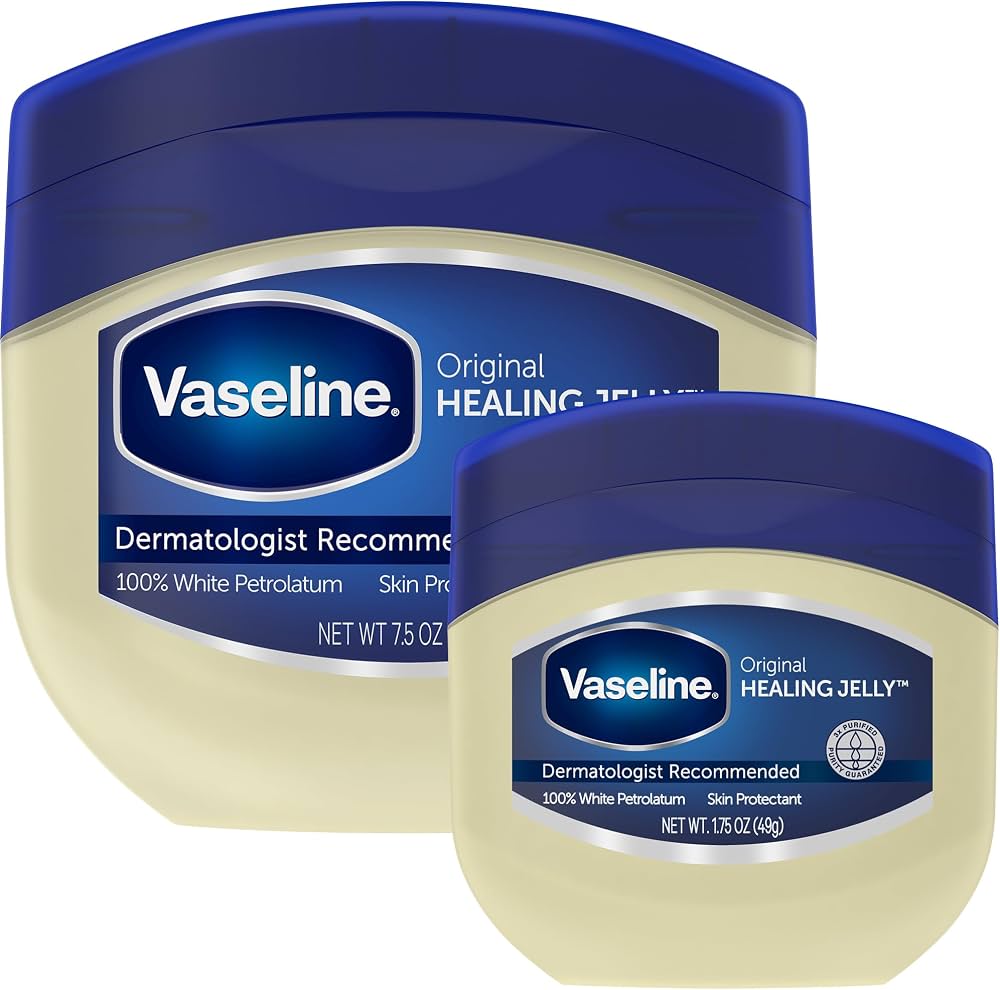
Petroleum jelly (Vaseline) is my top choice because it’s thick and creates a great seal. Use your fingers or a small brush to generously coat the inside and all the cut surfaces.
If you don’t have petroleum jelly, a thin layer of vegetable oil or even WD-40 works too, though it can be messier. This seals in moisture and blocks out air, slowing down shrinkage and decay.
3. Use a Pumpkin Preservation Spray
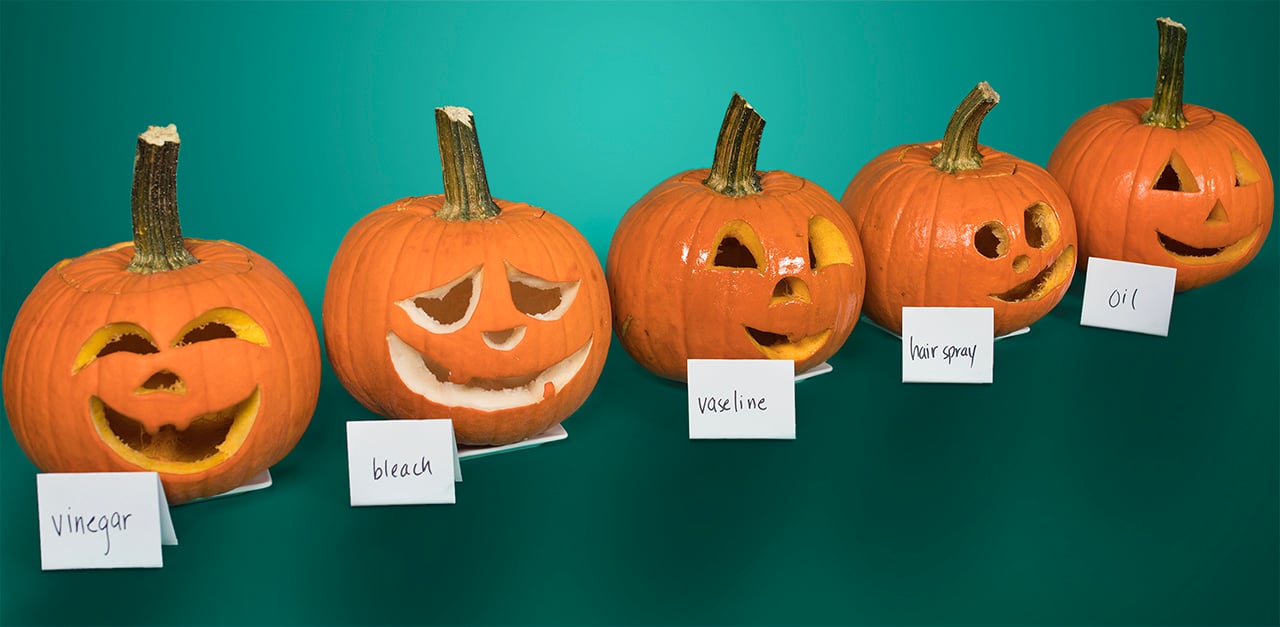
If you’d rather use a product designed for the job, look for a dedicated pumpkin preservative. Brands like “Pumpkin Fresh” or “Harvest Gold” come in spray bottles and contain antifungal agents.
The process is simple: after carving, spray the entire pumpkin inside and out, paying extra attention to the cut areas. Let it dry completely before displaying.
It’s a bit of an investment, but it’s no-mess and often includes a pleasant autumn scent. Reapply every few days for the best effect, especially if it rains.
4. Apply a Coat of Hairspray
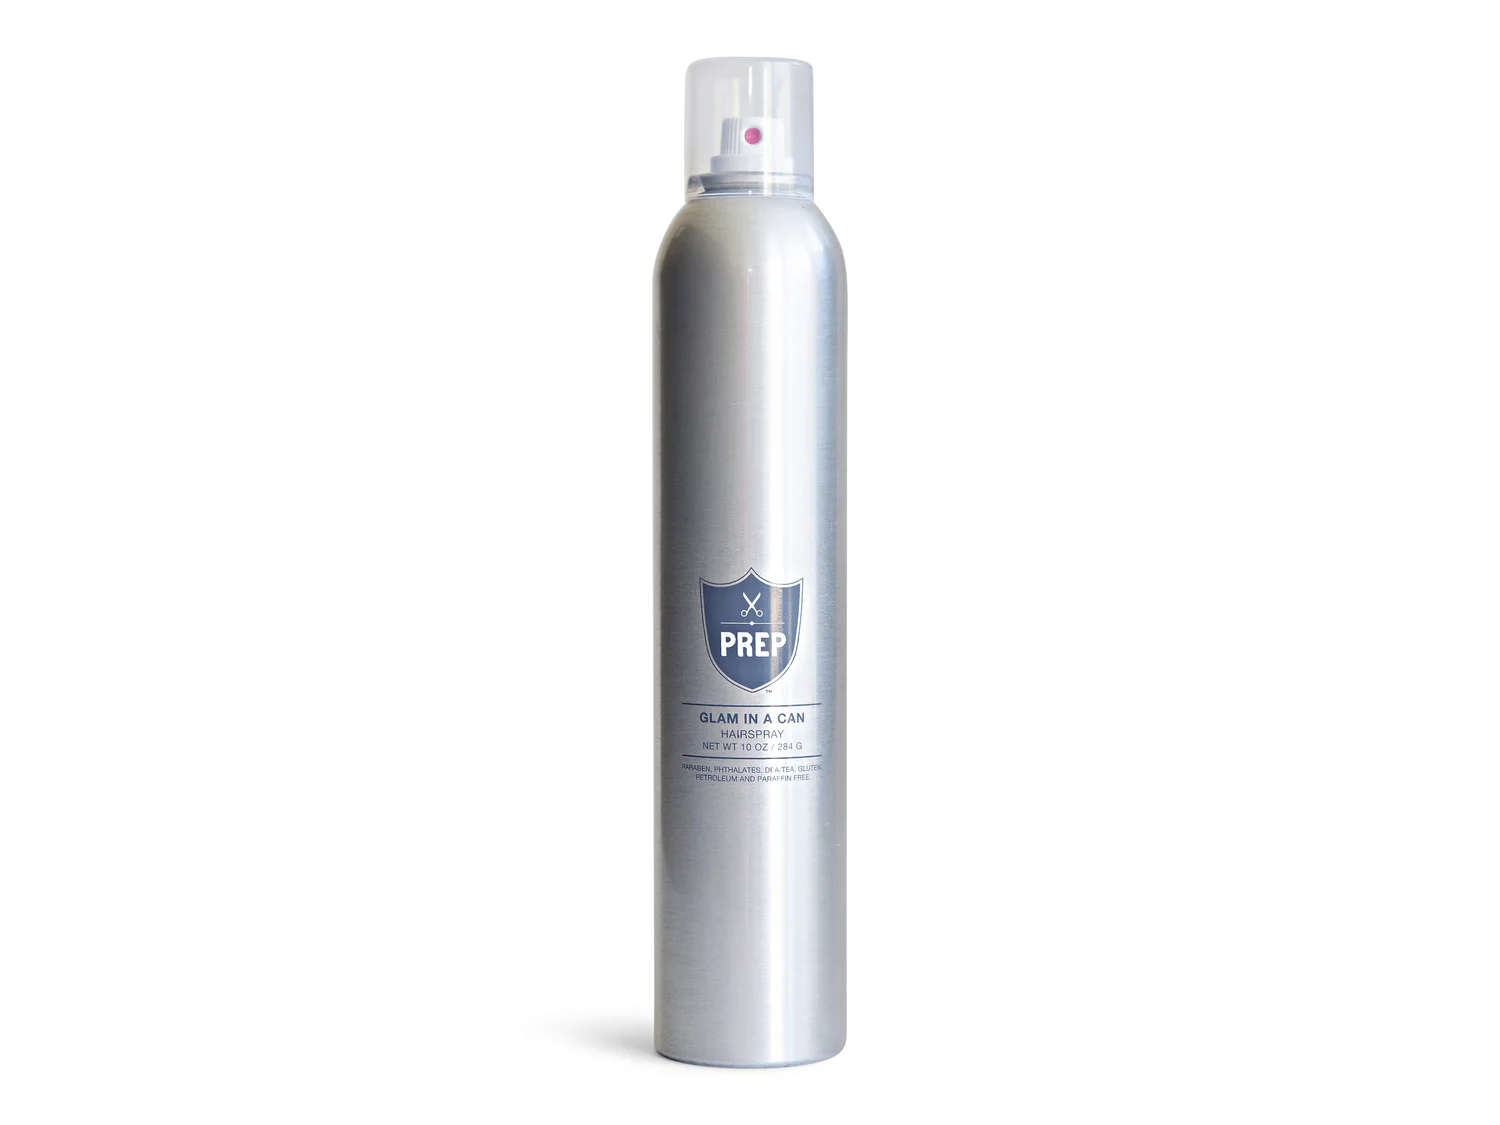
This is a classic trick that does work, though it’s more for preventing dehydration than killing mold. The alcohol and polymers in hairspray create a hard shell that slows down moisture loss.
Choose a maximum-hold, unscented variety if possible. From about a foot away, spray the entire pumpkin—the exterior, all carved surfaces, and the inside—until it feels slightly tacky.
Let it dry for an hour. You’ll need to reapply this every couple of days, as the seal isn’t as durable as petroleum jelly or a dedicated spray.
5. Soak It in Cold Water Overnight
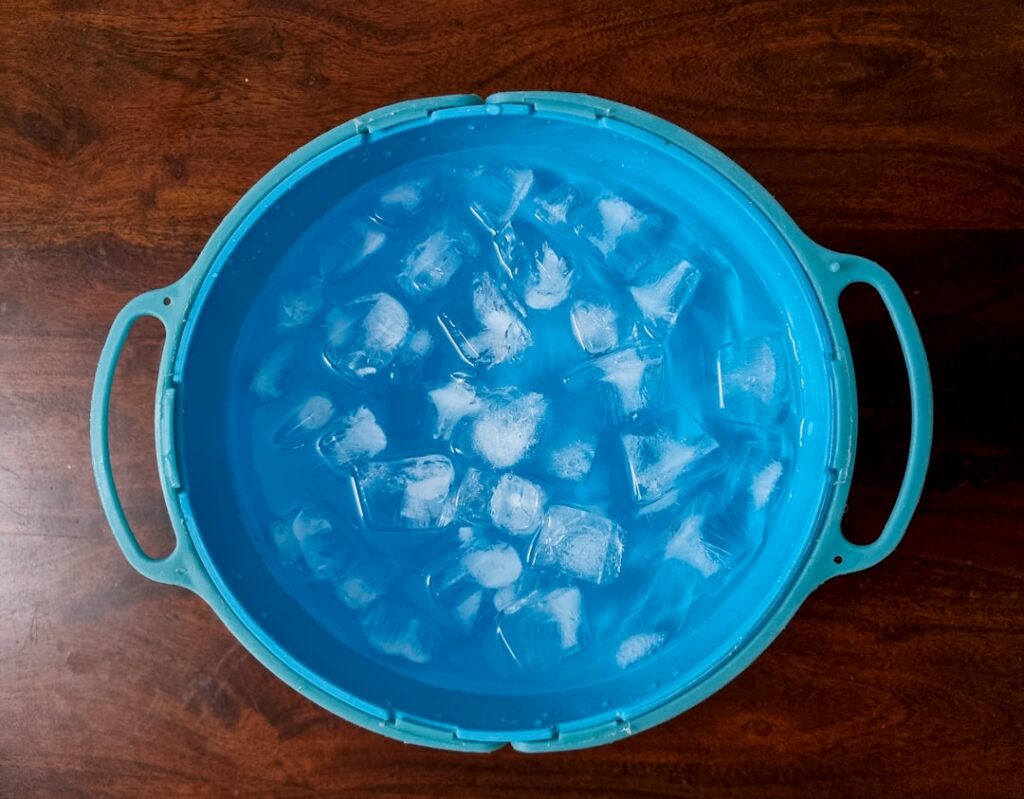
When you notice your pumpkin starting to look a little deflated or dry, give it a drink. Submerge the entire pumpkin in a bucket of cold water for 1-8 hours (I often leave it overnight).
For an extra boost, add a capful of bleach to the water to fight any existing mold. This rehydrates the pumpkin’s flesh and can plump it back up, sometimes adding another week to its display life.
Just be sure to dry it off completely afterward before putting it back out.
6. Keep It Cold When Not on Display
Heat is the enemy. If daytime temperatures are warm (consistently above 65°F/18°C), bringing your pumpkin indoors during the hottest part of the day makes a huge difference.
The best spot is somewhere cool, dark, and humid—a garage, basement, or even the refrigerator if it fits. This slows down the entire decomposition process dramatically.
I bring mine inside every morning and put it back out in the cool evening. It’s a bit of a chore, but it’s worth it for a pristine pumpkin.
7. Avoid Exposure to Rain and Direct Sun

Where you place your pumpkin matters as much as how you treat it. A covered porch or doorstep is ideal.
Direct sun will bake it and speed up drying, while heavy rain can wash away your protective coatings (petroleum jelly, hairspray, etc.) and promote mold growth in the nooks and crannies of your carving. If it must be in the open, consider placing it on a elevated surface like a stool or hay bale to keep it out of pooled water and ground-level moisture.
8. Light It with a Battery-Operated Candle
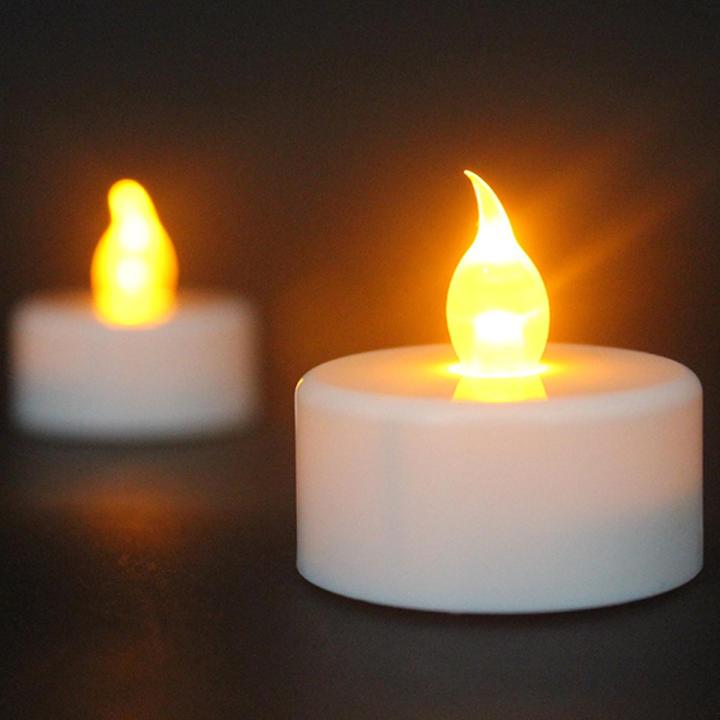
A real flame from a tea light generates heat inside the hollowed-out pumpkin, essentially cooking it from the inside out and accelerating rot. Switch to a battery-operated LED candle or a set of string lights.
They give you the same spooky glow without the damaging heat, no fire risk, and they’re often safer for trick-or-treaters anyway. This simple swap is one of the easiest ways to protect your creation.
9. Choose the Right Pumpkin to Begin With
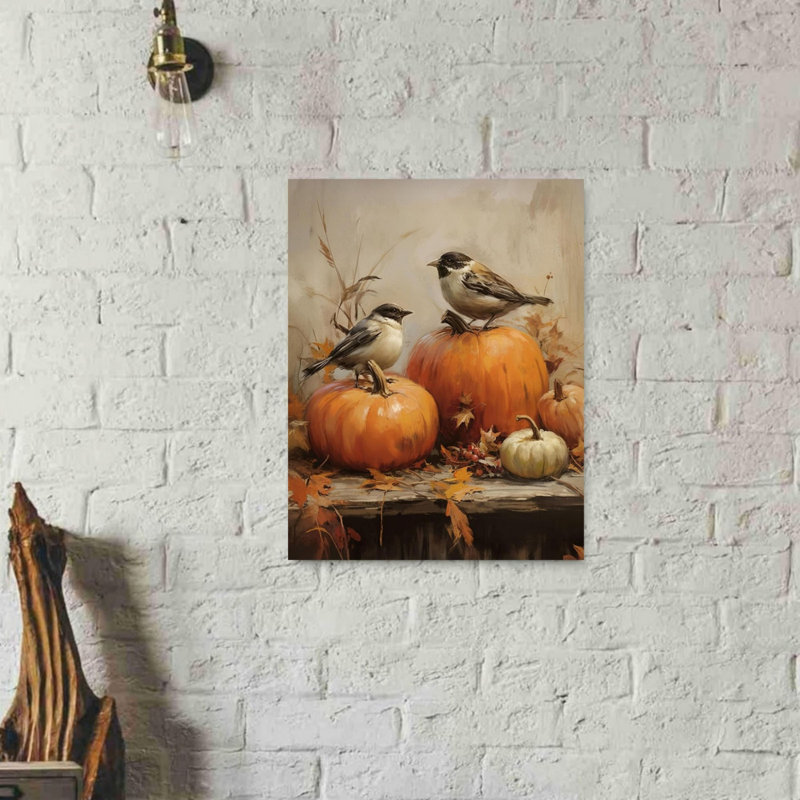
Your preservation efforts start at the pumpkin patch. Select one that feels heavy for its size, which indicates a thicker wall and more moisture content.
The stem should be firm and secure. Avoid any with soft spots, nicks, or cuts, as these are entry points for mold and will rot first.
A hardier variety like a Howden or a “Big Max” often lasts longer than a thin-skinned decorative one.
10. Delay Carving Until Closer to Halloween
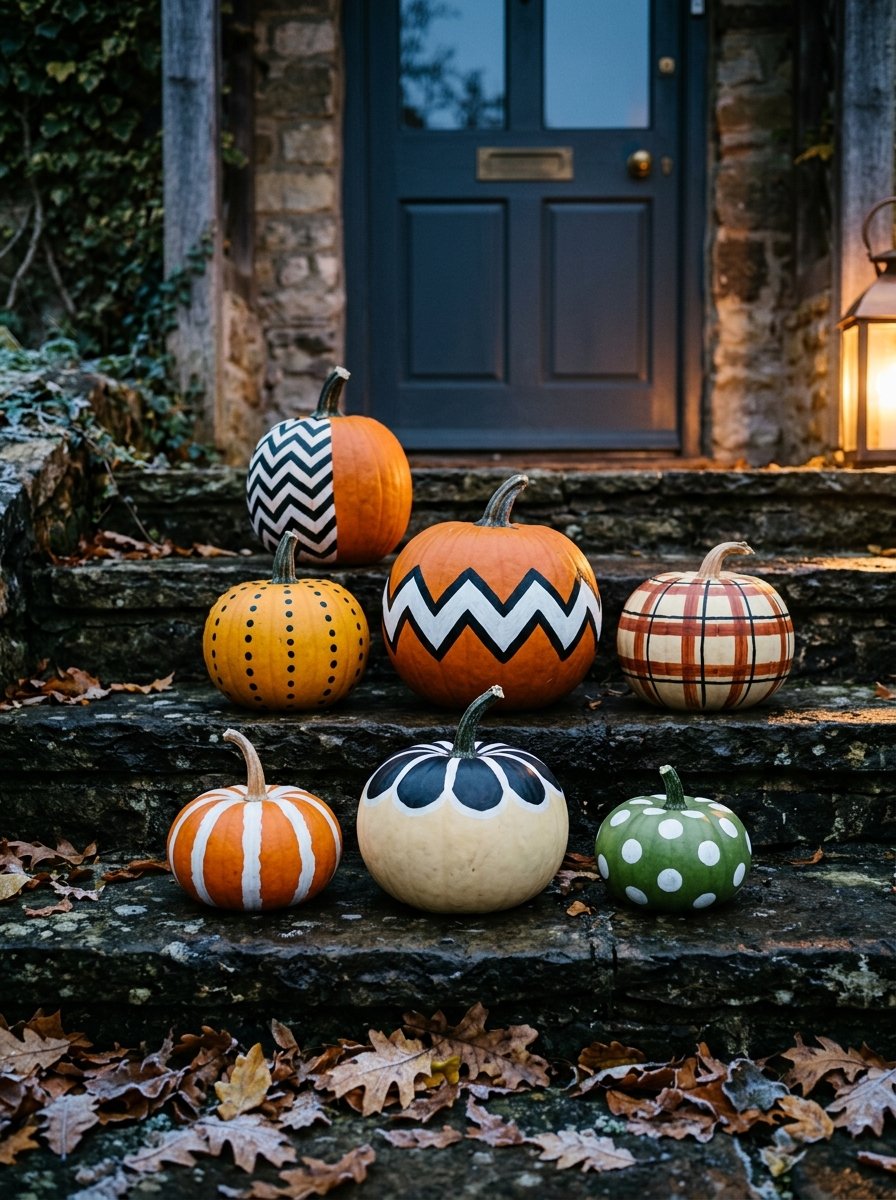
The ultimate preservation hack? Don’t carve until 2-3 days before Halloween.
An uncarved pumpkin can last for weeks or even months. Display whole pumpkins and gourds for most of the fall season.
Then, have a carving party the weekend before the holiday. Your masterpiece will look its absolute best for the main event and won’t have had time to decay.
Preservation Method Comparison
| Method | Best For | Main Benefit | Drawback |
|---|---|---|---|
| Bleach Soak | Everyone, right after carving | Kills mold & bacteria for a clean start | Requires a large container |
| Petroleum Jelly | Sealing carved edges | Cheap, excellent moisture seal | Can be messy to apply |
| Preservation Spray | Convenience seekers | Easy, no-mess application | Costs more than DIY options |
| Hairspray | A quick, temporary seal | Found in most bathrooms | Needs frequent reapplication |
| Cold Soak | Reviving a dry pumpkin | Rehydrates and plumps flesh | Not a preventative measure |
Frequently Asked Questions
Can you refrigerate a carved pumpkin?
Yes, and it’s one of the best things you can do if it fits. A refrigerator provides the ideal cool, humid environment to drastically slow down decay. Just make sure it’s completely dry before putting it in, and place it on a tray to catch any condensation.
Why do store-bought pumpkins last longer?
Store-bought decorative pumpkins are often coated in wax and may have been treated with fungicides to extend their shelf life for retail. Home-carved pumpkins lack this industrial-grade protection, which is why these active preservation steps are so necessary.
Does Vaseline actually keep pumpkins from rotting?
Vaseline (petroleum jelly) is excellent at preventing dehydration, which is a major cause of the shriveling look. It forms a barrier that seals moisture in. However, it doesn’t kill mold or bacteria, so for the best results, pair it with a bleach soak first.
How long will a carved pumpkin last with these methods?
With a combination of a bleach bath, a barrier seal like petroleum jelly, and cool overnight storage, you can realistically expect a beautifully preserved pumpkin for 1-2 weeks, sometimes stretching to 3 weeks in a cool climate. Without any treatment, you’re often looking at 3-5 days before significant decay sets in.
With a little proactive care, you can stop watching your hard work turn to mush. Pick the methods that work for your schedule and climate, and enjoy your jack-o’-lanterns all season long. Happy Halloween.
Leave a Reply