Upcycling pistachio shells into wall art is a sophisticated way to transform kitchen waste into high-end, textured decor.
Because of their natural curvature and durability, these shells mimic organic shapes like flower petals, fish scales, and feathers with remarkable accuracy.
By cleaning, painting, and meticulously arranging these shells on a canvas or wooden backing, you can create three-dimensional masterpieces that rival expensive boutique gallery pieces.
This guide provides a comprehensive roadmap for mastering pistachio shell art, from basic preparation to advanced design techniques.
Essential Materials and Preparation
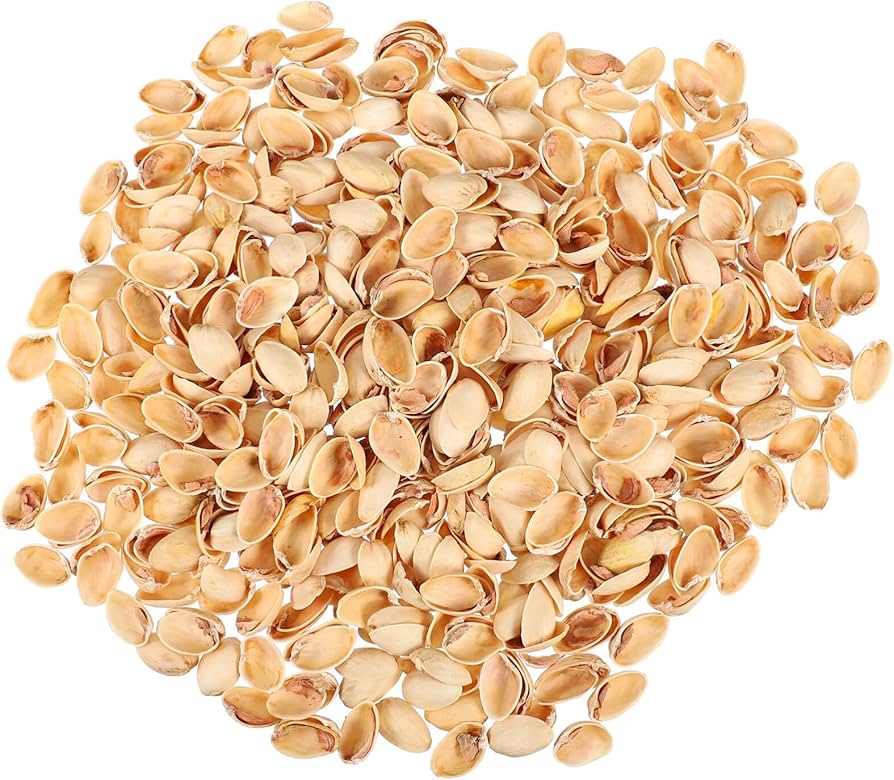
Before diving into specific projects, you must properly prepare your “petals.”
Pistachio shells are naturally oily and salty, which can prevent paint and glue from adhering correctly.
The Cleaning Process
- ✓ Soak: Place your shells in a bowl of warm water with a few drops of degreasing dish soap.
- ✓ Scrub: Agitate the shells to remove any salt, skin, or leftover nut residue.
- ✓ Dry: Spread them on a towel and let them air dry for at least 24 hours. They must be completely moisture-free before painting.
Recommended Tools
| Tool | Purpose | Why it’s better |
|---|---|---|
| Hot Glue Gun | Instant bonding | Best for building 3D floral layers quickly. |
| Tacky Glue | Precision placement | Allows for slight adjustments before setting. |
| Acrylic Paint | Color application | Dries fast and offers vibrant coverage. |
| Spray Sealer | Protection | Prevents dust buildup and adds a professional sheen. |
| Tweezers | Handling | Essential for placing small shells in tight patterns. |
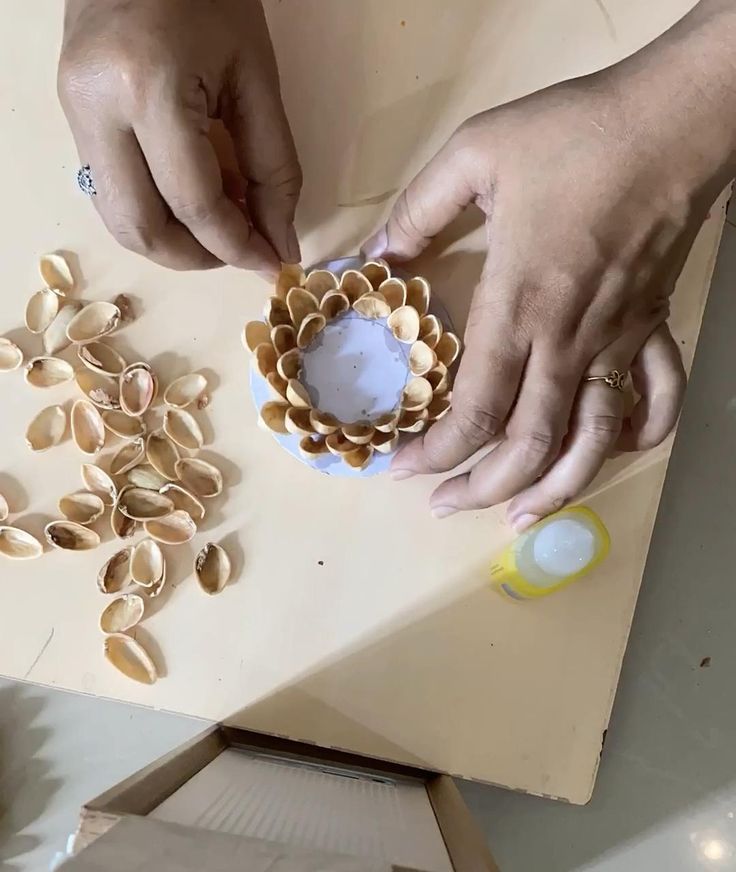
1. The 3D Succulent Garden Canvas
One of the most popular uses for pistachio shells is creating realistic succulents.
The natural concave shape of the shell perfectly mimics the fleshy leaves of an Echeveria or Sempervivum.
To create this, start by cutting a small circular cardboard base (about 1–2 inches).
Apply a bead of hot glue to the center and stand three shells upright, leaning against each other to form the “heart” of the succulent.
Continue gluing shells in concentric circles, slightly overlapping the previous layer and tilting them outward.
Once the glue is set, use a small brush to apply acrylic paint—mint greens, dusty purples, and rosy pink tips will give it a lifelike appearance.
Mount several of these “plants” onto a reclaimed wood board for a vertical garden effect.
2. Geometric Mosaic Patterns
For those who prefer a modern, minimalist aesthetic, geometric mosaics offer a clean look.
Instead of building upward, you lay the shells flat or on their sides to create repetitive, rhythmic patterns.
Start with a square canvas and draw a grid.
You can align the shells in rows where the curves face opposite directions in each square, creating a “basketweave” texture.
Alternatively, arrange them in a herringbone pattern.
Using a monochromatic color scheme—such as all-white or matte black—highlights the shadows and textures rather than the individual shells, making the piece look like carved stone or high-end ceramic.
3. The Tree of Life Mural
This project combines painting with 3D elements.
On a large canvas, paint the silhouette of a sprawling, gnarled tree trunk using dark brown or charcoal acrylics.
Once the paint is dry, use the pistachio shells as the “leaves.”
You can paint the shells in various shades of green, or use autumnal oranges, reds, and yellows.
Glue the shells in clusters at the ends of the branches.
For added depth, glue some shells overlapping others to create a thick canopy.
This piece works exceptionally well in dining rooms or entryways where the texture can be appreciated up close.
4. Modern Ombre Gradient Panel
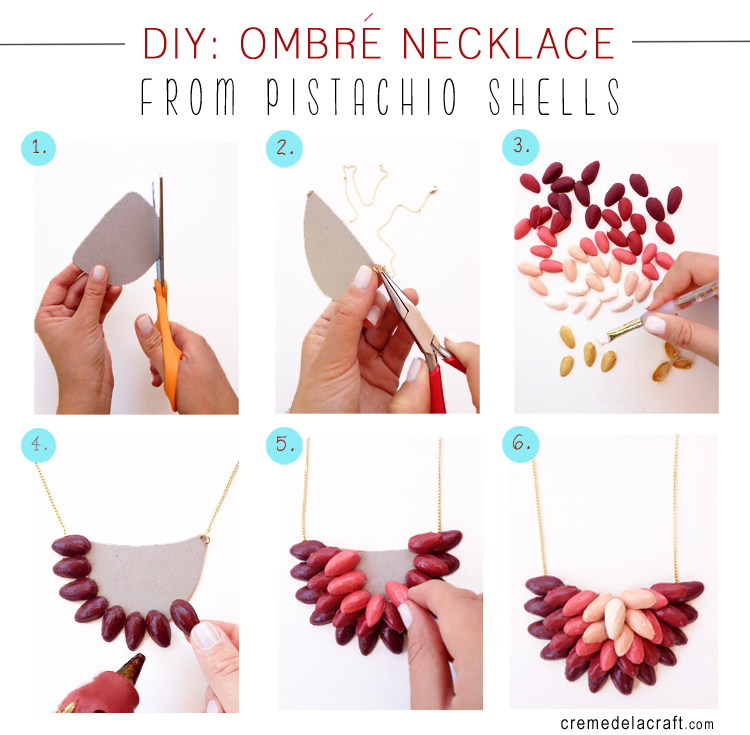
An ombre effect creates a sense of movement and professional polish.
This project involves painting your shells in five to six varying shades of a single color before attaching them to the board.
Divide your canvas into horizontal sections.
Start at the bottom with your darkest shells (e.g., deep navy) and glue them in tight, overlapping rows like fish scales.
As you move up the canvas, transition to the lighter shades, ending with the palest tint at the top.
The transition should be seamless.
This technique is excellent for creating “wave” art or abstract sky scenes.
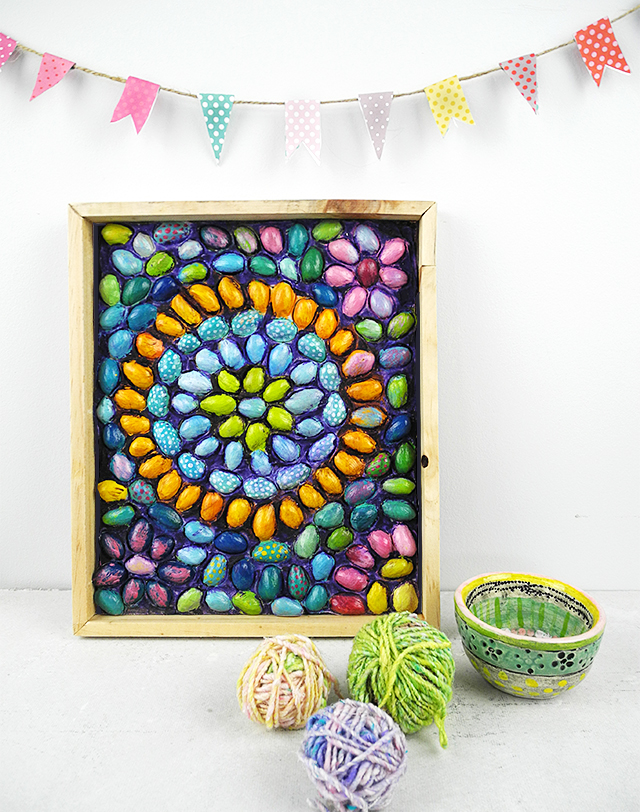
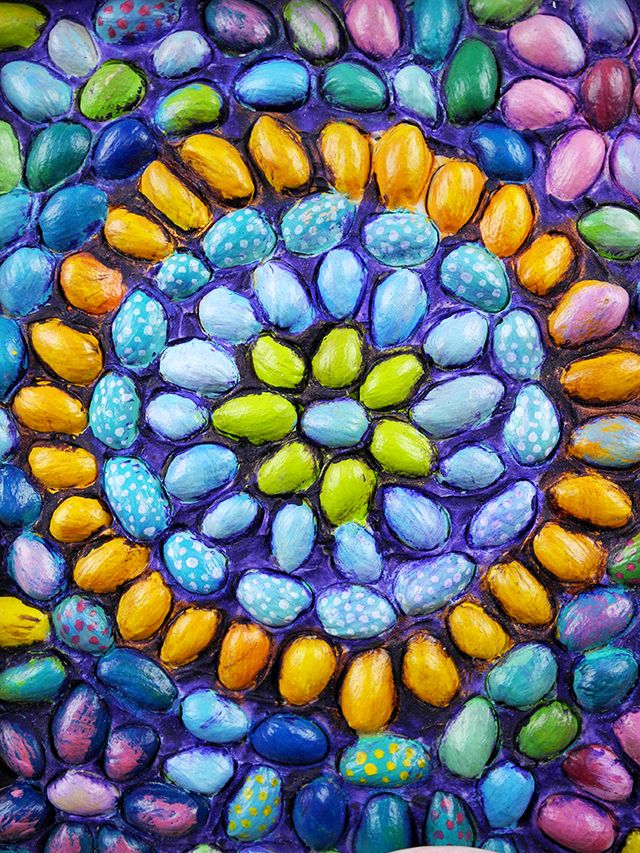
5. Bohemian Mandala Wall Hanging
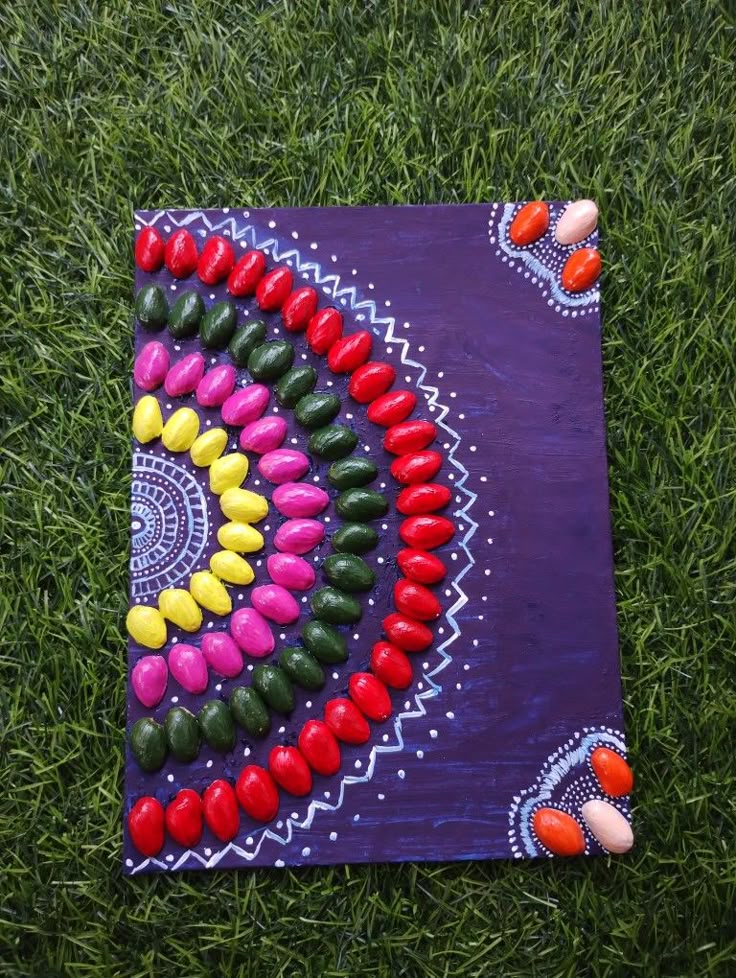
Mandalas are symbols of harmony and balance.
Using pistachio shells to create a mandala results in a stunning, tactile piece of art that invites meditation.
Find the exact center of your wooden round or canvas.
Start with a single shell or a small bead, then build outward in perfect circles.
Use different orientations for each ring—one ring with shells pointing inward, the next with shells laying flat, and another with shells standing on their edges.
To enhance the “Boho” vibe, leave the shells in their natural cream color but accent specific rings with gold leaf or metallic copper paint.
6. Coastal Scalloped Frames
The texture of pistachio shells is remarkably similar to sea shells or fish scales, making them ideal for coastal-themed decor.
Instead of a full canvas, you can upcycle a plain, flat picture frame.
Glue the shells in an overlapping “scallop” pattern around the frame’s border.
Once the frame is covered, paint it in a soft “seafoam” or “eggshell” white.
To give it an authentic beach-house feel, apply a light brown wax or a watered-down gray paint (a “wash”) and immediately wipe it off.
This leaves the pigment in the crevices of the shells, mimicking the weathered look of driftwood.
7. Initial Monogram Art
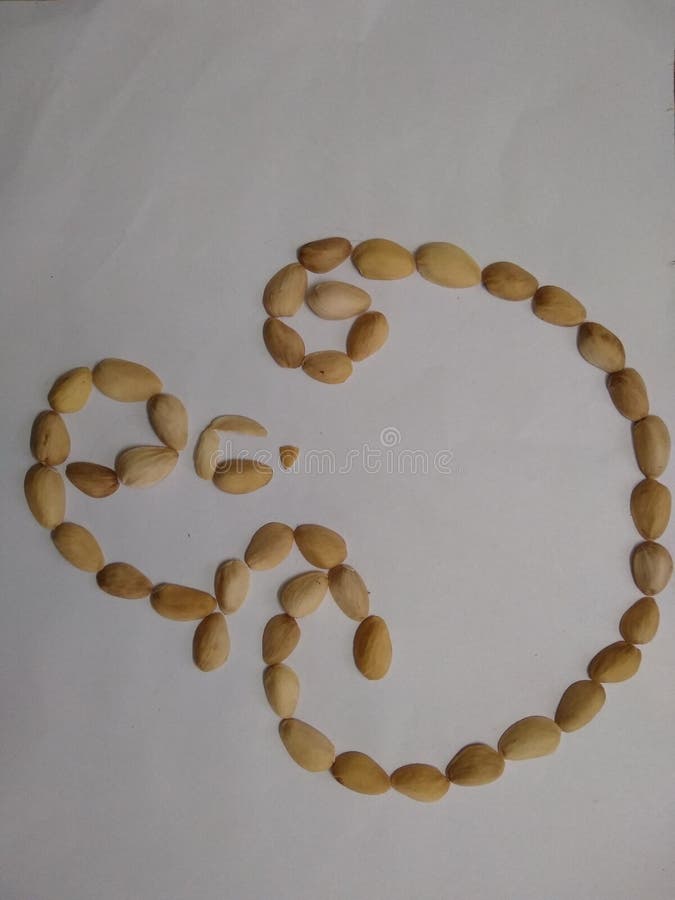
Personalized decor is a staple in DIY home crafts.
This project is perfect for nurseries or gallery walls.
Print out a large, bold-font letter and trace it onto a piece of sturdy cardstock or a wooden plaque.
Fill the entire interior of the letter with pistachio shells.
For a “shabby chic” look, use different sizes of shells and glue them in a chaotic, “crushed” arrangement.
For a cleaner look, align them perfectly along the borders of the letter first, then fill the center.
Paint the letter in a contrasting color to the background to make it pop.
8. Abstract Texture Canvas
In high-end interior design, texture often trumps color.
An abstract texture canvas uses shells not as “things” (like flowers or leaves) but as a medium to create light and shadow.
Apply a thick layer of modeling paste or heavy-body gel medium to a canvas.
While it is still wet, press pistachio shells into the paste in random, sweeping curves or clusters.
Don’t worry about symmetry.
Once the paste dries, it will lock the shells in place.
Paint the entire canvas—shells and all—in a single matte color.
This creates a “sculpted” look that changes appearance as the light in the room shifts throughout the day.
9. Sunburst Mirror Frame
A sunburst mirror is a classic statement piece.
You can create a high-authority version using a small circular mirror and a larger wooden backing.
Glue the mirror to the center of the wood.
Radiating outward from the mirror, glue rows of pistachio shells.
The first row should touch the mirror’s edge, with the shells pointing outward.
Each subsequent row should be tucked slightly under the previous one, creating a “bursting” effect.
Painting this in a metallic gold or brass finish will make the shells look like expensive metalwork.
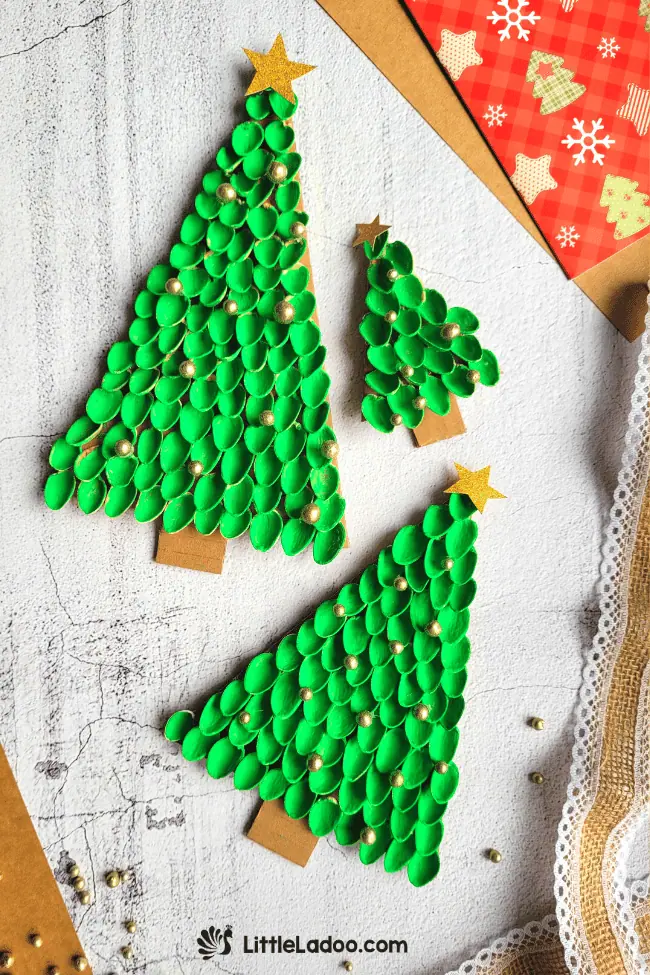
10. Seasonal Wreath Plaque
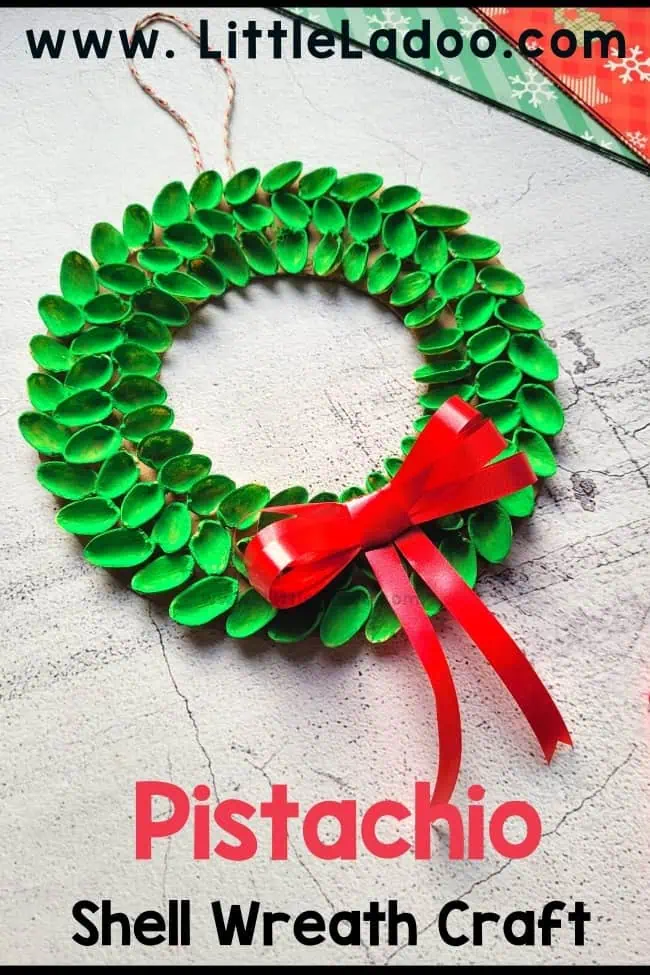
While traditional wreaths are made of greenery, a pistachio shell wreath is a permanent, durable alternative that can be styled for any season.
Using a wreath-shaped wooden cutout, cover the surface with “pistachio flowers” (the succulent style mentioned in project #1).
For a spring theme, paint them in pastels.
For Christmas, use deep reds and whites to mimic poinsettias, adding small red beads in the centers to represent berries.
This “wreath” can be mounted directly onto a wall or hung with a silk ribbon for a softer touch.
Pro-Tips for a Professional Finish
To elevate your work from “scout craft” to “designer decor,” follow these professional finishing steps:
- ★ Gesso First: If you plan on using light-colored paint, prime the shells with white gesso. This hides any dark spots or natural staining on the shells.
- ★ Varnish is Non-Negotiable: Pistachio shells are porous. Without a sealer, they will absorb dust over time and become impossible to clean. Use a UV-resistant spray varnish (matte, satin, or gloss) to protect the color and make the piece wipeable.
- ★ Mind the Glue Strings: Hot glue is notorious for leaving thin, spider-web-like strings. Once your project is finished, use a hair dryer on a high-heat setting to quickly melt away these invisible strings.
FAQ
Q: Are pistachio shells durable enough for long-term art?
A: Yes. Pistachio shells are incredibly hardy. Once cleaned and sealed with a varnish or acrylic paint, they will last for decades without degrading.
Q: Can I use food coloring to dye the shells?
A: You can, but it is not recommended for wall art. Food coloring is not lightfast and will fade quickly when exposed to sunlight. Acrylic paints or alcohol inks are much better for longevity.
Q: What is the best way to hang heavy shell art?
A: Because a large amount of shells and glue can become heavy, use French cleats or heavy-duty sawtooth hangers. Ensure your base (canvas or wood) is sturdy enough to support the weight without warping.
Q: How do I clean the art once it’s on the wall?
A: Use a soft-bristled makeup brush or a can of compressed air to remove dust from the crevices between the shells. Avoid using wet cloths unless the piece is heavily sealed with waterproof varnish.
Conclusion
Turning pistachio shells into wall art is a masterclass in the “zero-waste” movement.
By seeing the potential in a common discarded item, you can create intricate, textured pieces that add organic warmth to your home.
Whether you choose the complex geometry of a mandala or the soft curves of a 3D succulent garden, the key to success lies in the preparation and the finishing touches.
Start small, experiment with color gradients, and soon you’ll have a gallery-worthy collection that tells a story of creativity and sustainability.
Leave a Reply