
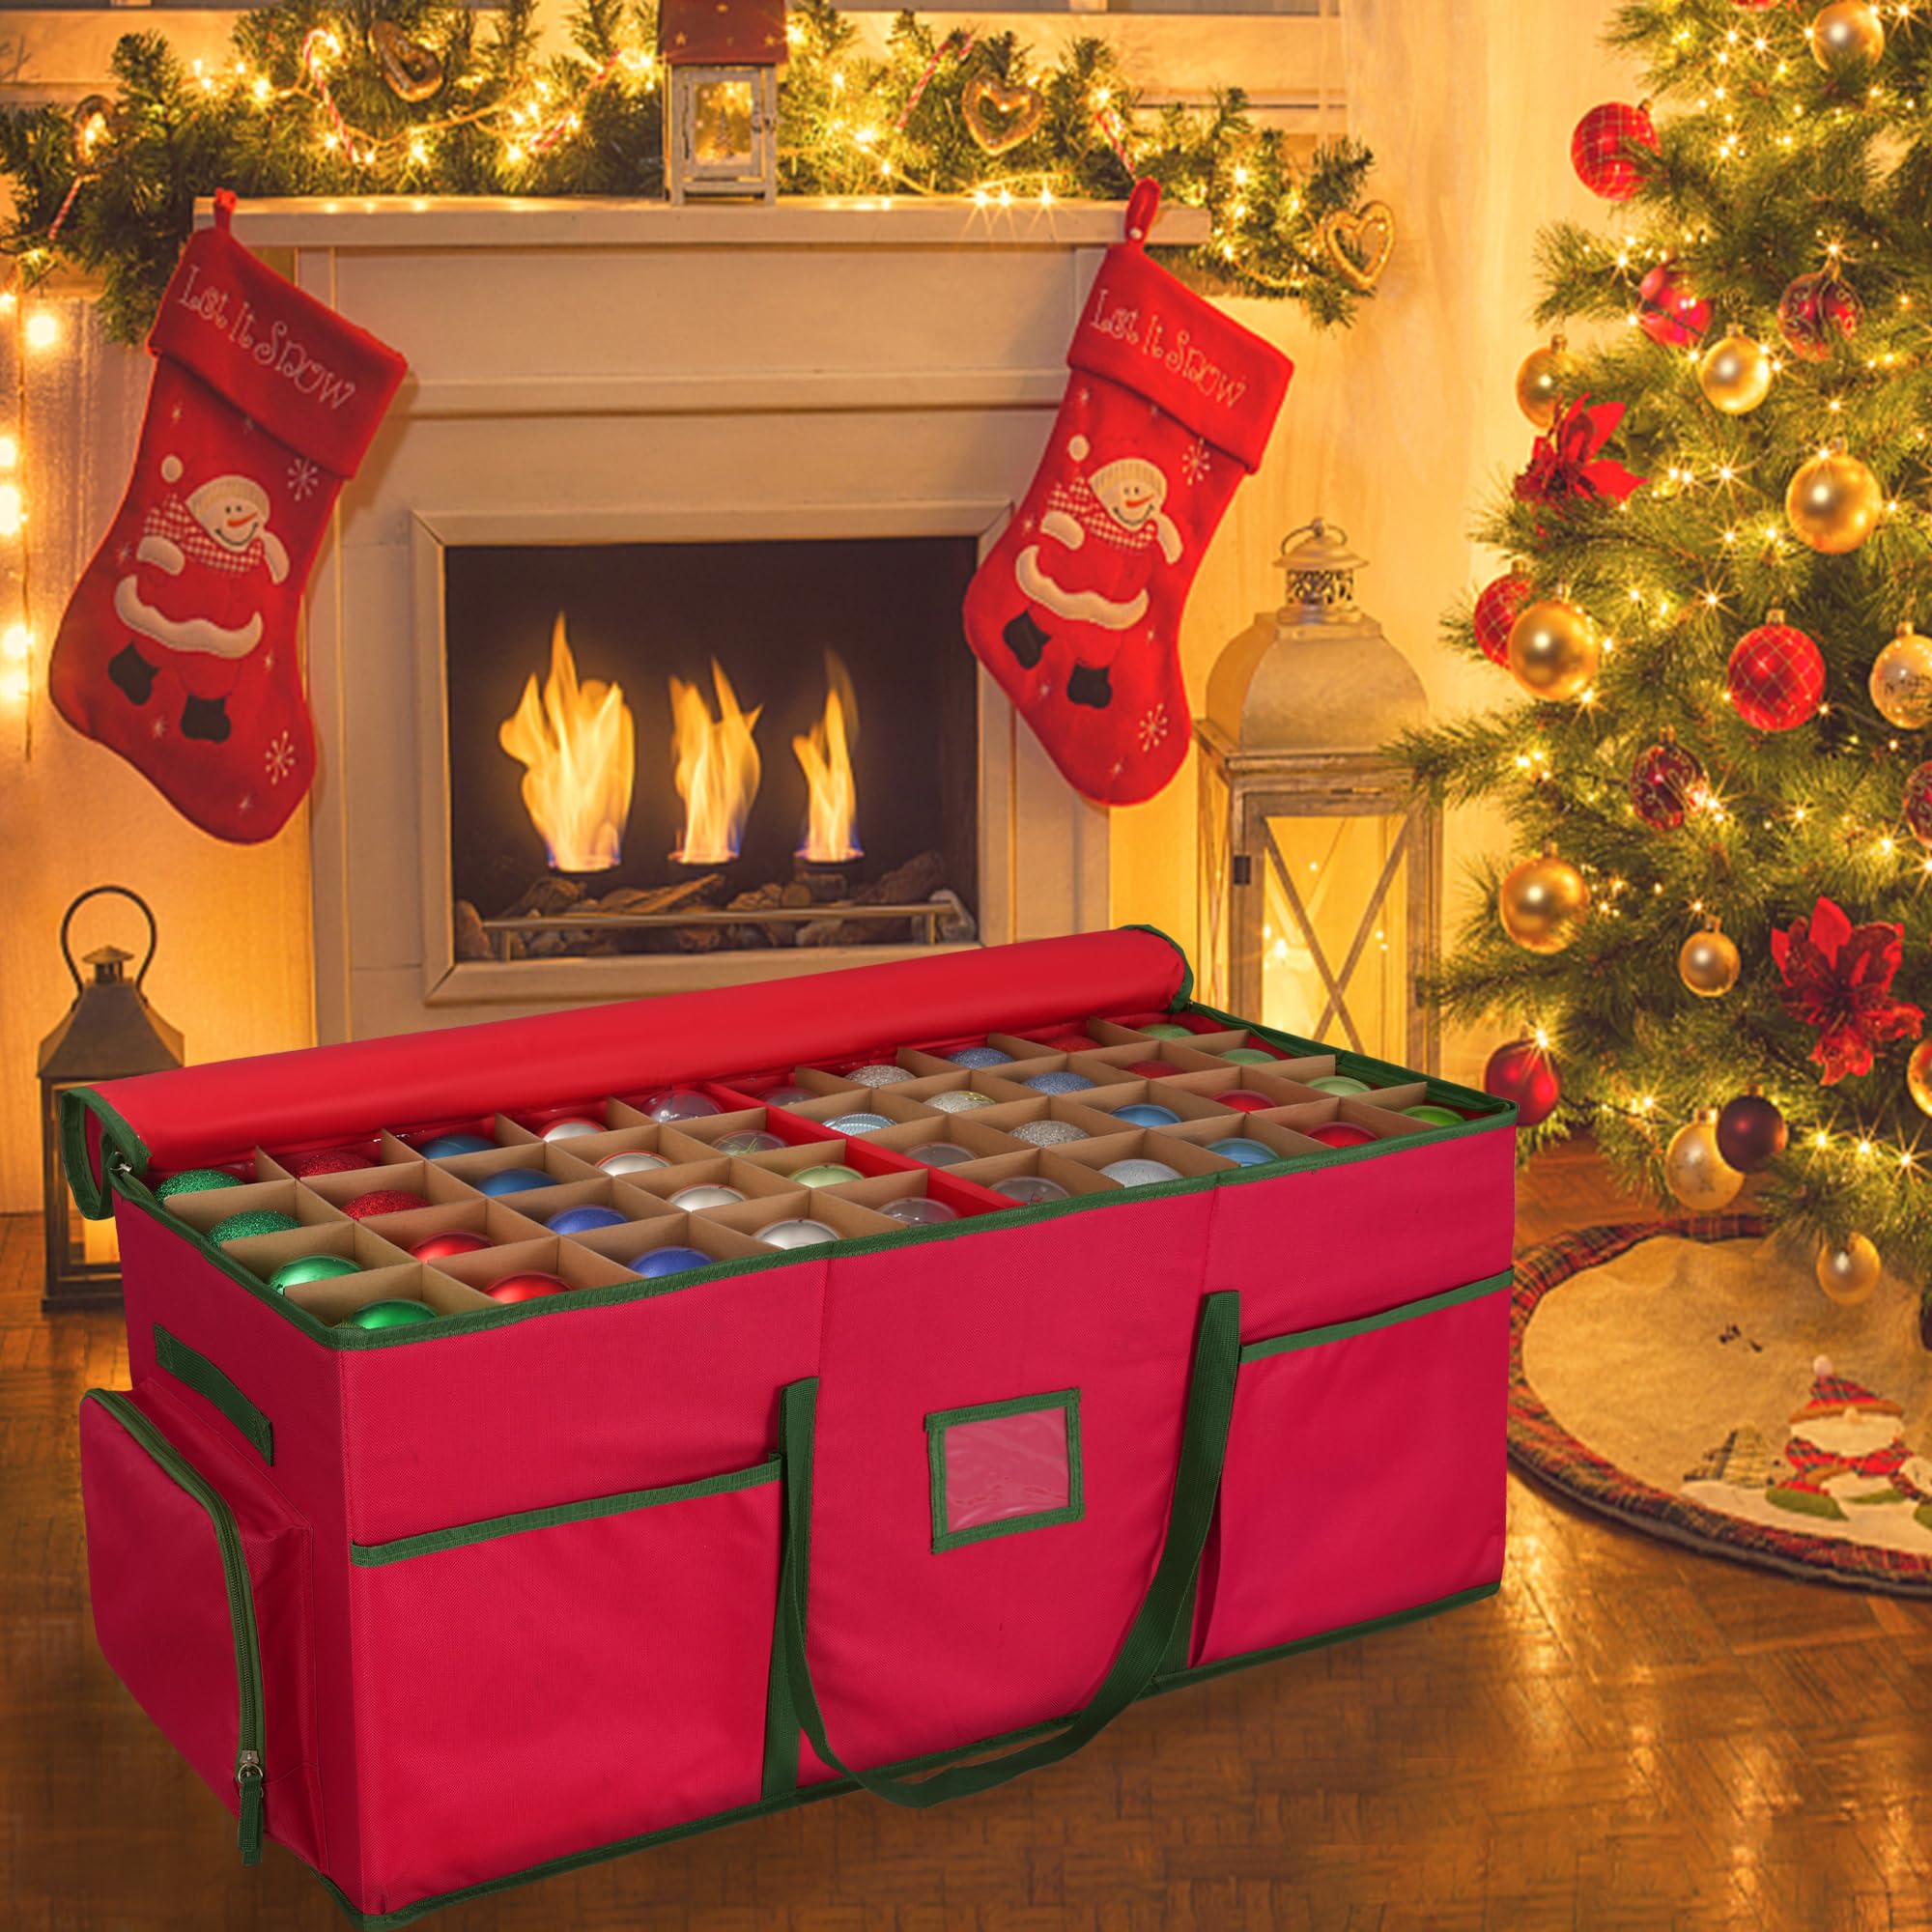
Packing away Christmas properly is one of those jobs that pays you back twice — once in the calm of your house on December 27th, and again next November when every single strand of lights works and nothing is broken. The difference between a miserable January afternoon and a smooth one is almost always the same handful of habits: wrap things well, label honestly, and store everything where the temperature and moisture won’t hurt it. Here’s exactly how I pack our decorations down every year, in the order I actually do it.
Photograph the Display Before You Dismantle It

Before a single hook comes out of the wall, grab your phone and take a picture of every decorated spot — the tree, the mantel, the banister, the front porch, the shelves. Ten seconds per photo saves you the annual argument about where the garland went and how the ribbon was tied on the staircase. Photos also show you which bins to open first next year, because you can see which room needed the most stuff.
If you want to be extra organized, make a quick album called “Christmas 2024 Display” and jot one line per photo about anything you’d change — swap the red beads for gold, use the taller tree, buy two more wreath hangers. That’s your shopping list for next October, already written.
Declutter as You Pack, Not Sometime in January
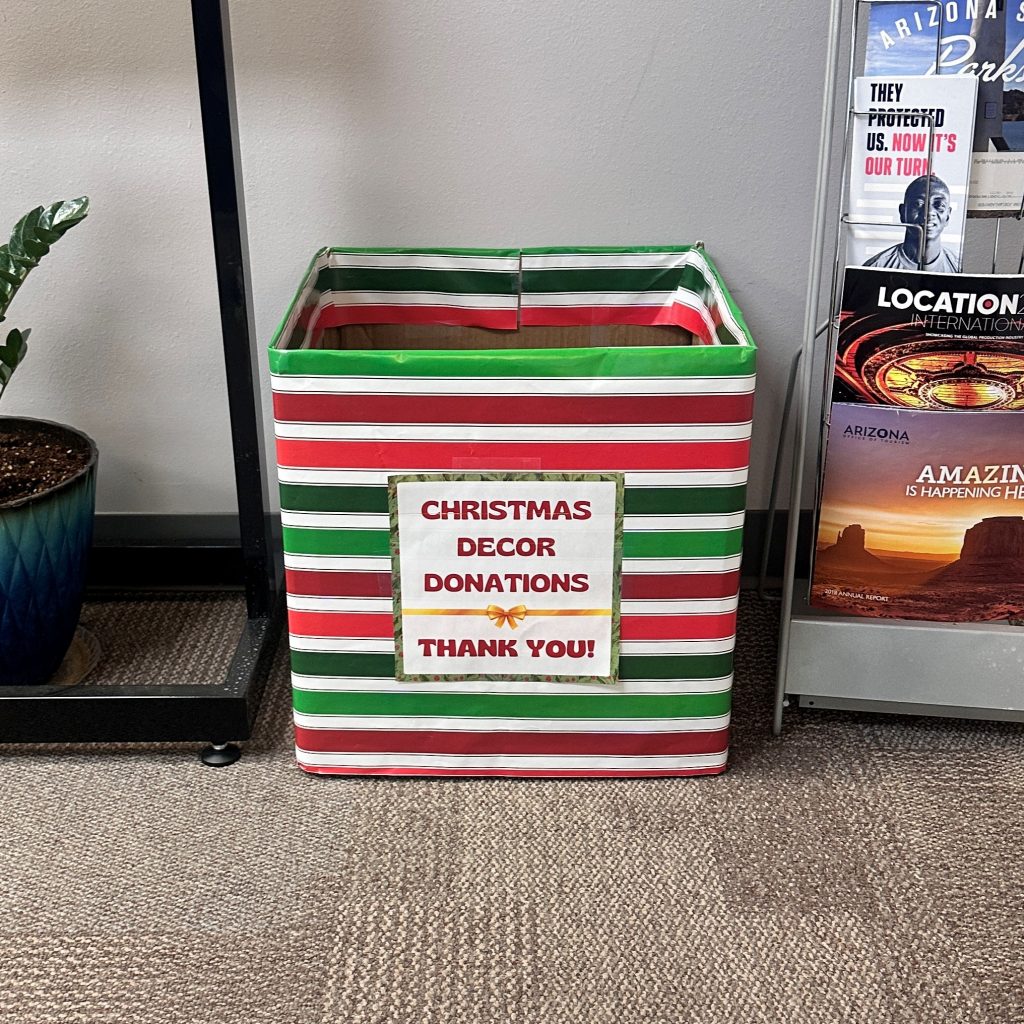
This is the single biggest efficiency gain available to you. Set up two boxes next to your packing station as you work: one for donating, one for the bin.
Every ornament you didn’t hang, every strand of lights that flickered, every tablecloth with a stain — deal with it now, while it’s in your hands. Nothing gets “sorted later,” because later never comes and you end up storing the same broken stuff for another twelve months.
The good news is that Christmas decor resells and donates beautifully in late December and early January. Offer boxes of ornaments on Facebook Marketplace or drop them at Goodwill while they can still be used by someone this season.
Wrap Every Ornament Like It’s Going in a Suitcase
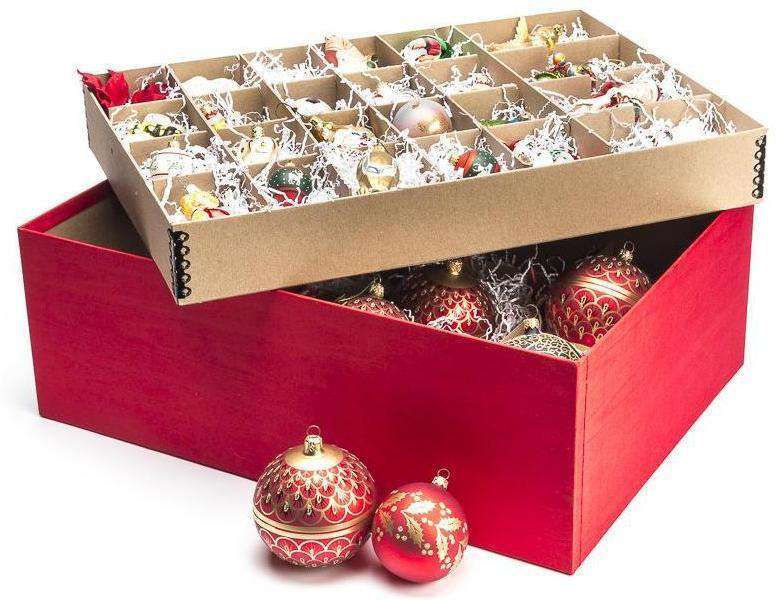
Ornament breakage is almost entirely preventable, and it’s not about expensive containers — it’s about each ornament having its own padded spot where it can’t touch anything else. A hard-sided ornament storage box with dividers is the fastest route (Sterilite and Iris both make good ones with adjustable cardboard cells), but you can get the same protection with things you already have.
Whatever you use, the goal is a snug nest, not a crowded one:
- ✦Acid-free tissue paper for anything painted, mercury glass, or antique — plain colored tissue can transfer dye onto pale surfaces
- ✦Cut-down egg cartons or cardboard drink carriers for small ball ornaments
- ✦Plastic cups hot-glued into a plastic tote for oversized or fragile pieces
- ✦Bubble wrap only for genuinely breakable glass; it traps humidity against vintage finishes
- ✦Wrinkled kraft paper as filler around figurines so they can’t shift when the bin gets stacked
Keep a roll of painter’s tape and a marker on the table too, so anything fragile gets a note on it before it disappears.
Wind Your Lights Onto a Reel or a Piece of Cardboard
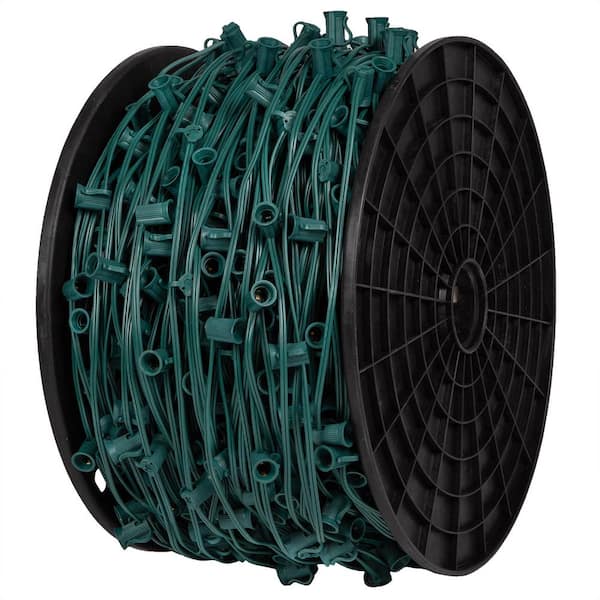
Tangled lights are the reason packing takes three hours instead of one. Wind every strand as you take it down, immediately, before you move on to the next branch. Half a minute of winding per strand saves you twenty minutes of untangling and testing next year — plus you’ll spot the dead strand now instead of mid-decorating.
- ✦Cardboard light winders (the flat kind sold in packs of four) — cheap and perfect for standard strands
- ✦Plastic light storage bags with built-in reels — worth it if you own a lot of lights and want them all in one place
- ✦A plain piece of sturdy cardboard with a slit cut in the side — free, and works exactly as well
- ✦Command hooks inside the bin lid for shorter accent strands
Whatever you choose, wrap the plug end into the coil so it can’t unravel, and label each reel by location (“front porch,” “tree,” “garland”) so you know which strand is which without testing them all.
Coil Garlands Around a Tube or Hang Them Up
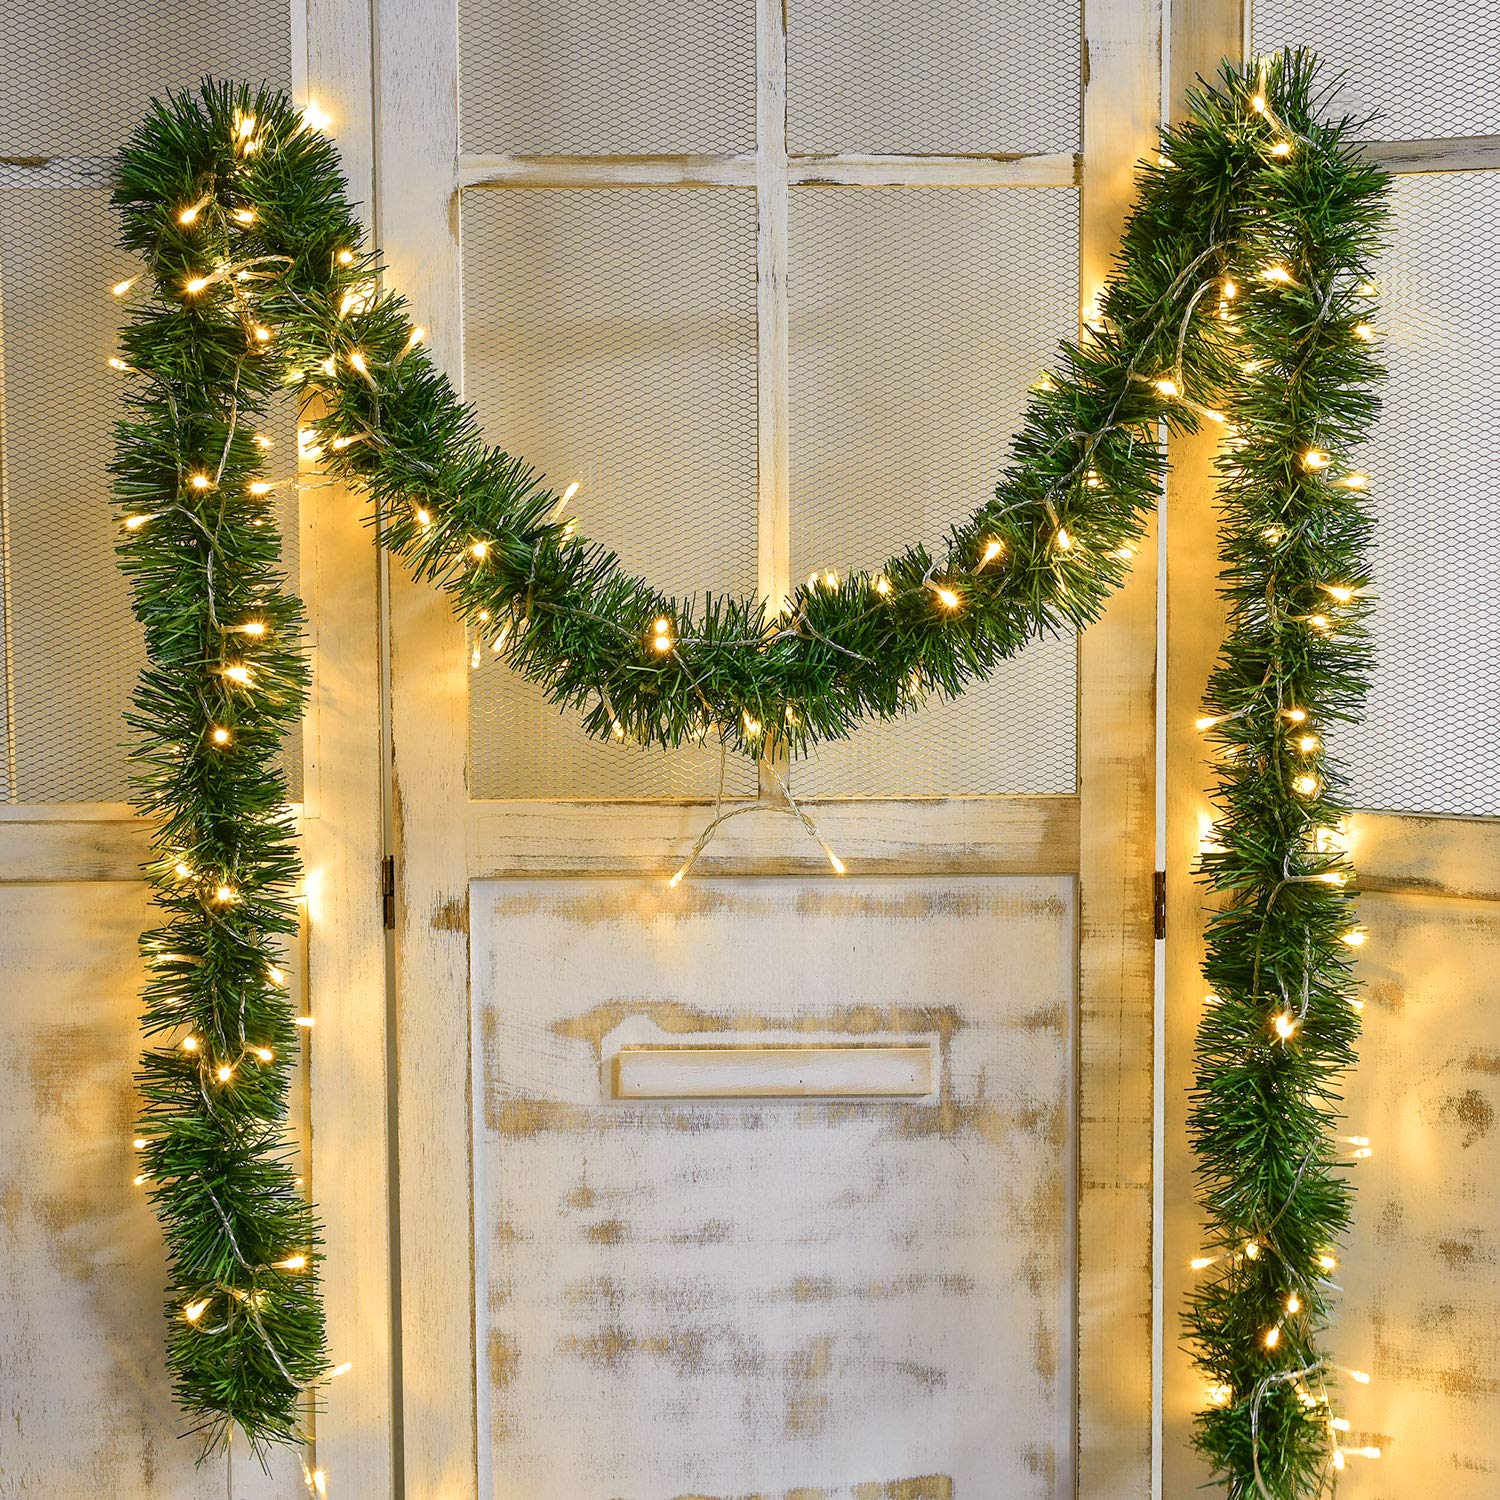
Garland is bulky and it remembers whatever shape you store it in. Stuffing it into a bag in a lumpy heap means you get creased, mangled greenery next year.
Coil each garland loosely around a cardboard shipping tube, a pool noodle, or even a clean wrapping paper tube, then stand the tubes upright in a tall bin. Tinsel and beaded garlands do well draped over a padded clothes hanger inside a garment bag.
The one rule is never fold garland sharply. Pre-lit garland in particular hates tight bends — the wire can break inside the branches and you’ll lose a whole section of lights. Keep the coils wide and don’t stack anything heavy on top.
Give Every Wreath Its Own Bag
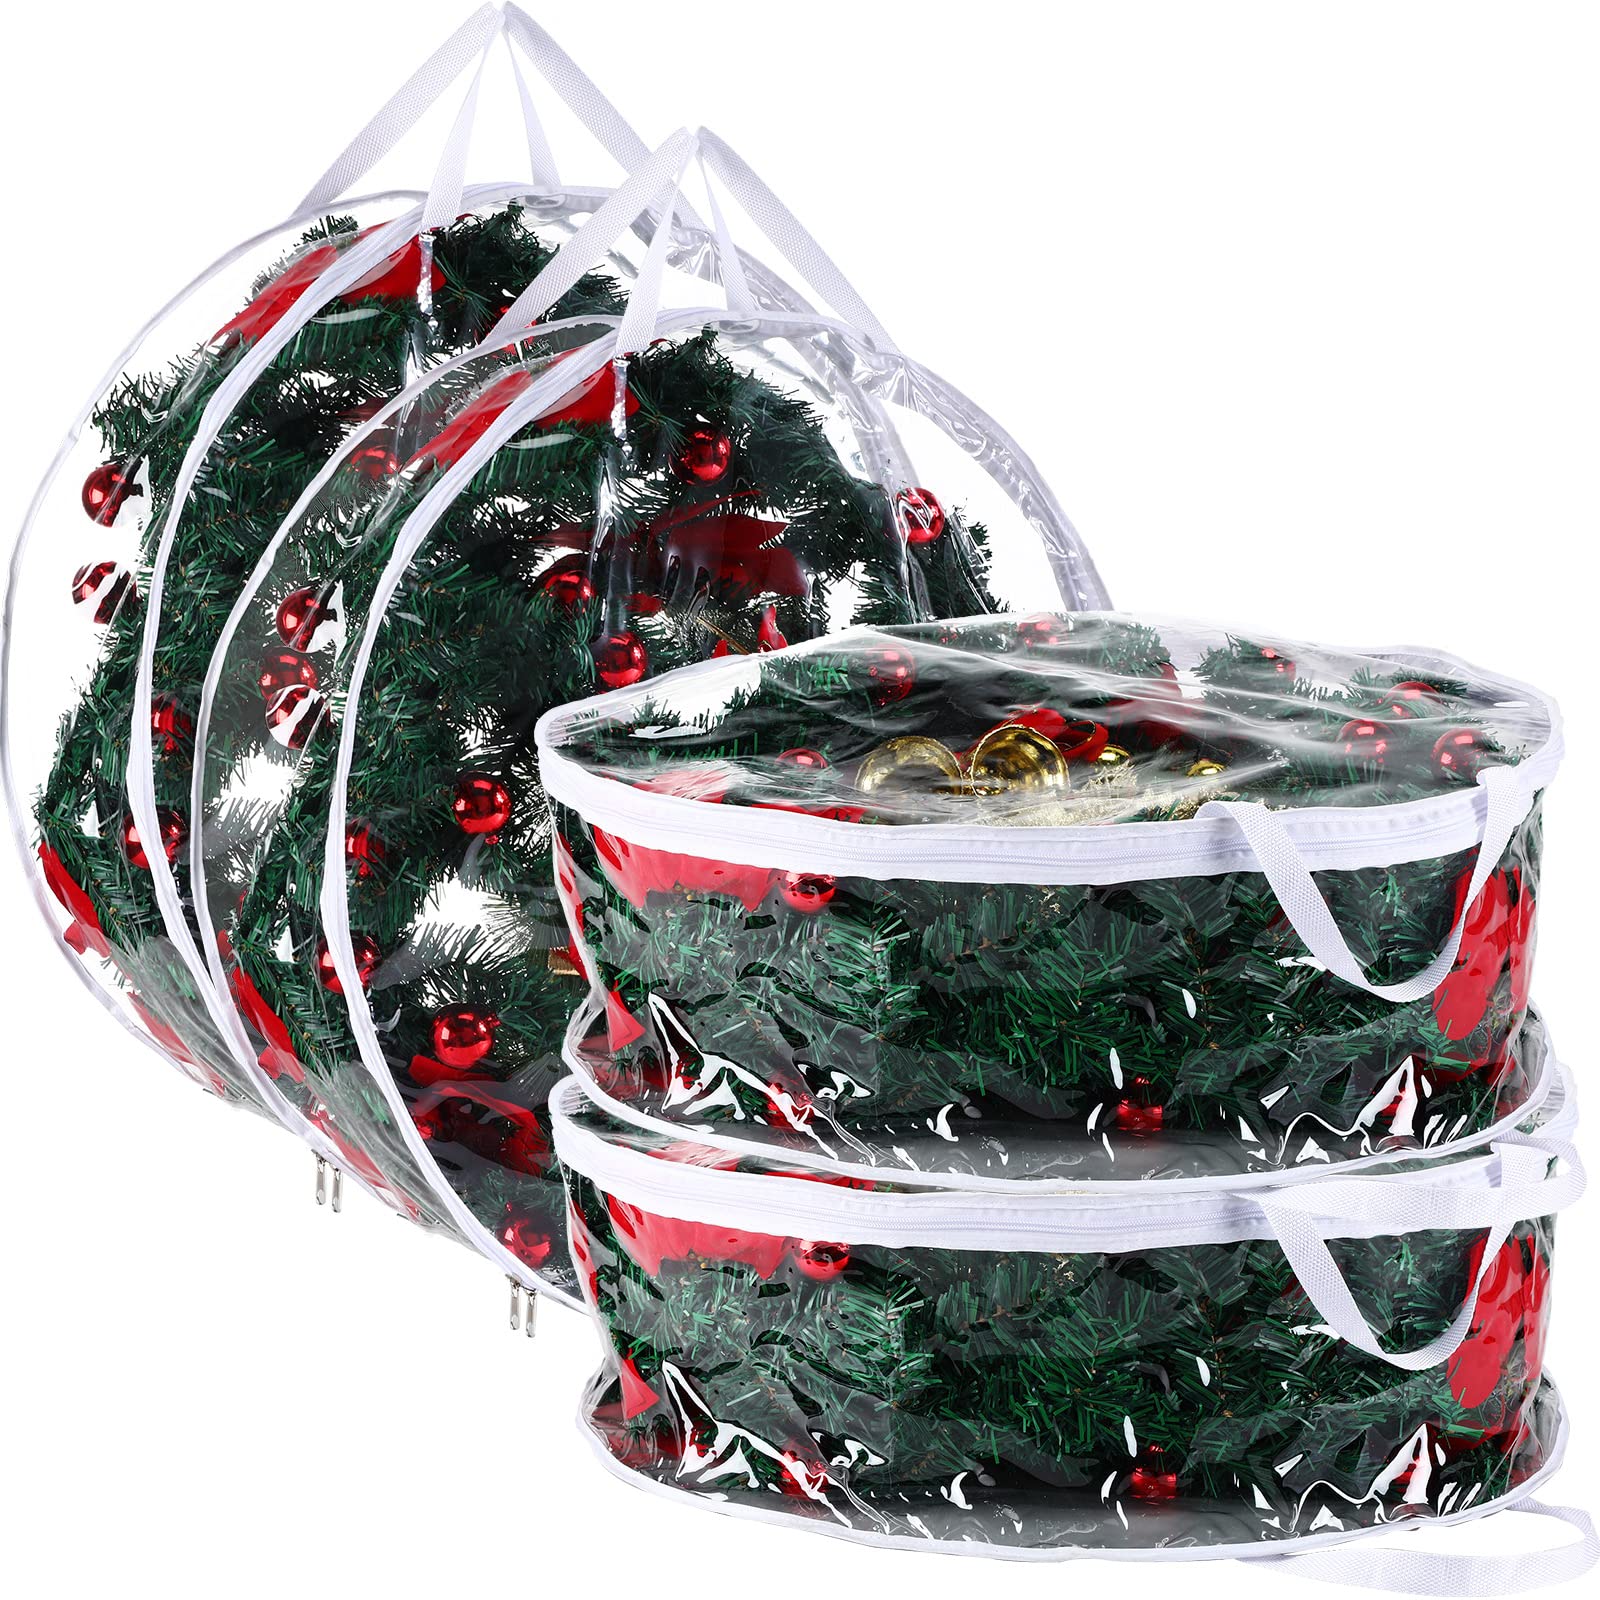
Flat wreath storage is the whole trick. A zippered wreath box or bag (Honey-Can-Do and Zober both make 24- and 30-inch versions) keeps wreaths from getting crushed and keeps artificial needles from shedding all over your storage space. Slip the wreath in, then slide the hanging wire or over-the-door hanger in beside it so you’re not hunting for it next December.
If you don’t want to buy a bag, hang wreaths on a hook on the back of a closet door or lay them flat in a large, shallow plastic bin — the kind designed for wrapping paper works well. What you never want is a heavy bin sitting on top of a wreath all year. Flocked wreaths in particular will shed their snow if they’re pressed against something.
Protect the Tree Topper in Its Own Box

Tree toppers are the most fragile thing you own and the first thing to get crushed, because they always end up at the bottom of a random bin. Give each one a dedicated box — the original packaging if you still have it, otherwise a hat box or a small hard-sided container lined with tissue. Pop a label on the outside and store it somewhere it won’t bear weight.
If your topper is a fiber-optic or battery type, take the batteries out first. Old alkaline batteries leak, and I’ve seen the resulting corrosion destroy a lovely glass star from the inside out. Tape the batteries to the inside of the lid so they’re easy to find.
Bag the Tree Instead of Wrestling It Back Into the Box
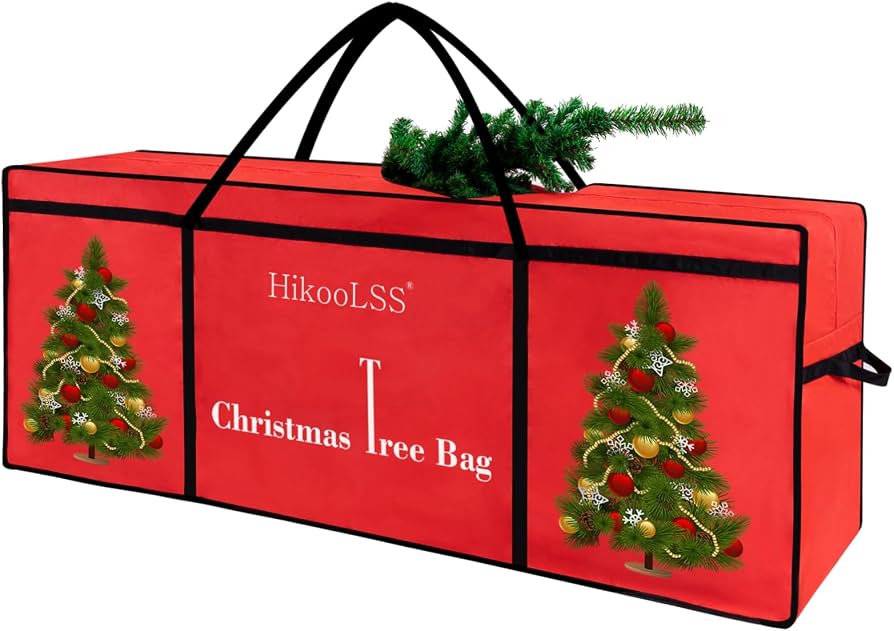
Most artificial tree boxes give up after two or three years — the cardboard splits and the lid never quite fits again. A proper tree storage bag (a zippered poly bag sized for your tree height, like the TreeKeeper or Elf Stor versions) makes pack-up dramatically faster and lets you store a slightly messy tree without guilt. Rolling duffel-style bags with wheels are worth every cent for heavy pre-lit trees.
Disassemble from the top down so the branches fold in the same direction they were built, and keep the three sections in the order they stack. If the tree came with a stand, wrap the stand separately in a towel so its metal feet don’t tear the bag. And do label the bag with the height — after a couple of years you will genuinely not remember whether it’s the seven-footer or the nine.
Label Every Bin — and Pack by Room
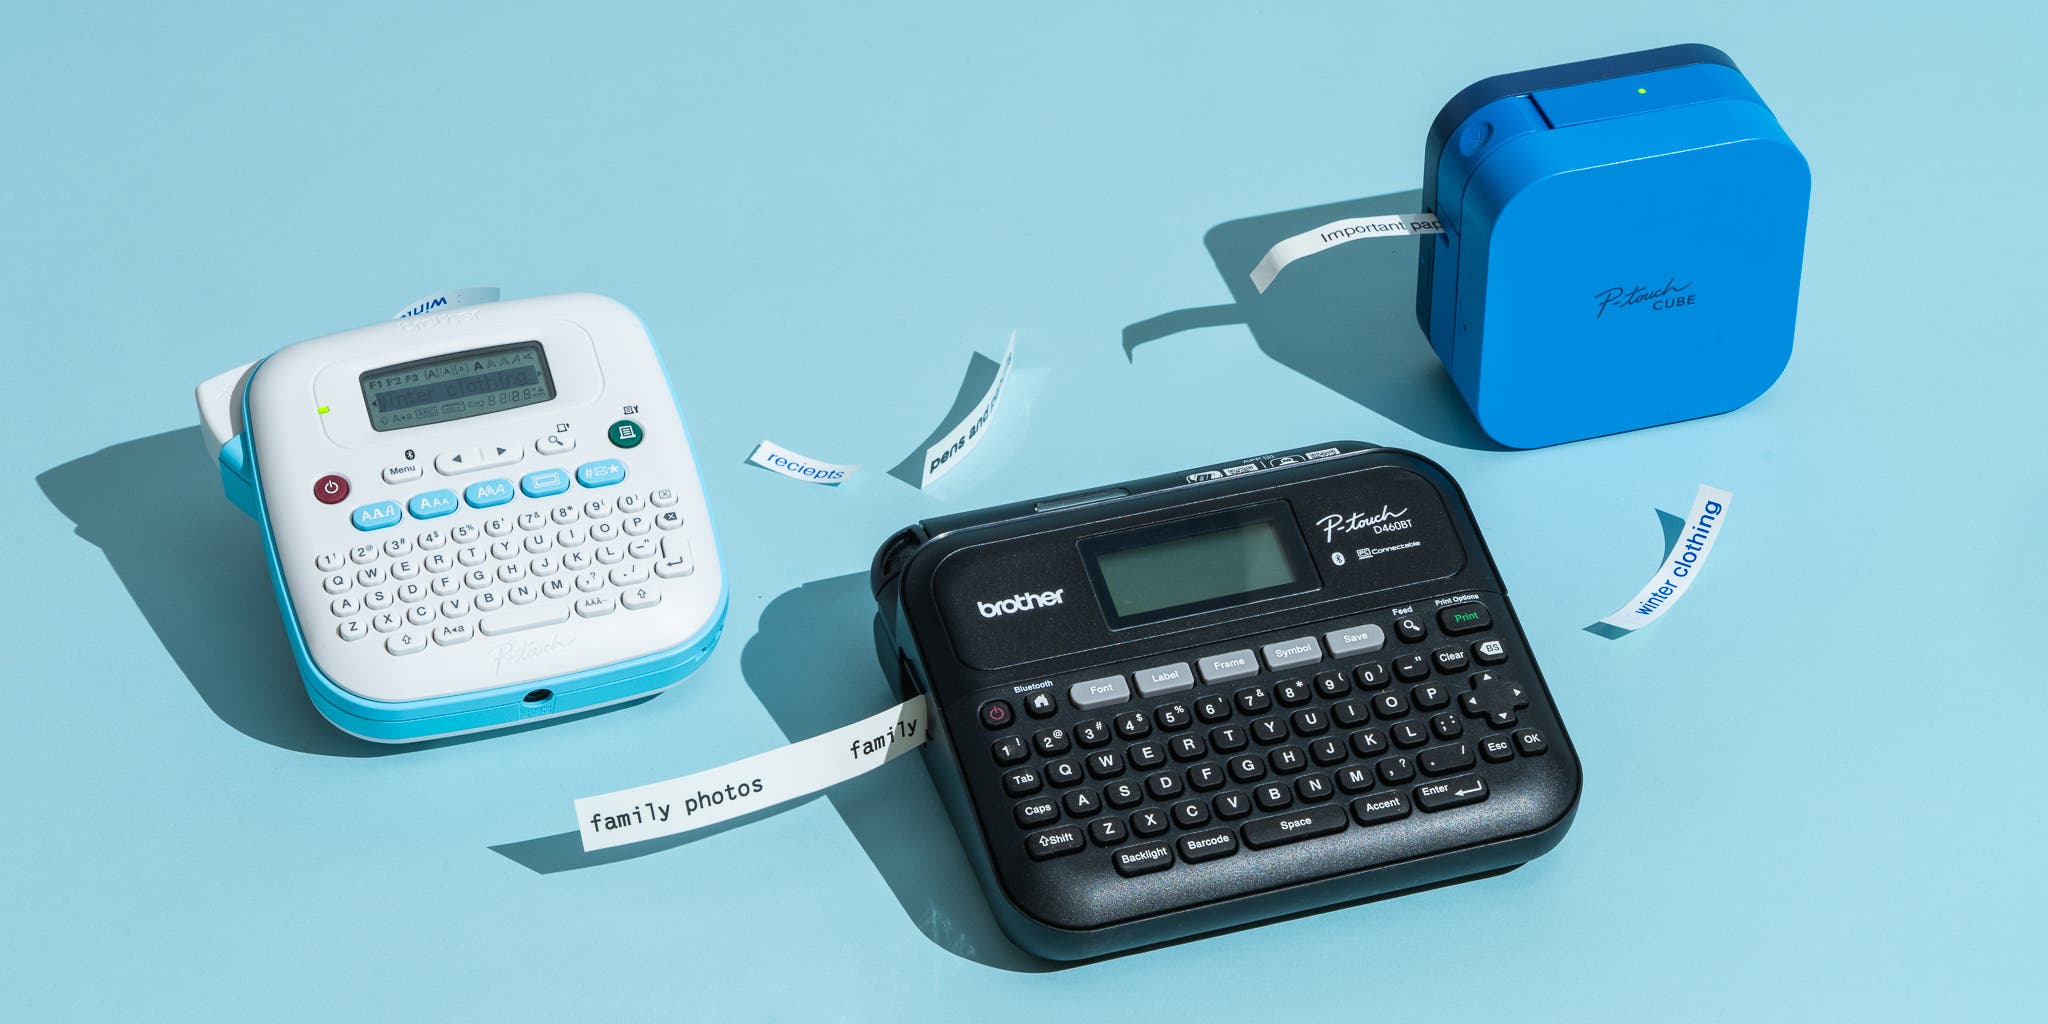
This is the part almost everyone skips, and it’s what makes next year fast. Label each bin with what’s inside and where it goes: “Living Room — mantel garland, stockings, throw pillows.” A Brother P-touch label maker does it in ten seconds per bin, but a Sharpie on blue painter’s tape works and is easier to change. Numbering helps too — write “Bin 1 of 4, Living Room” so you know at a glance if anything is missing when you pack up.
Also write a one-page contents list on an index card and tape it to the inside of the lid. That way you can find the stockings in November without dumping out every tote in the garage.
Keep Wrapping Paper and Gift-Wrap Supplies Together

Christmas wrapping supplies are decorations too, and they’re the fastest thing to organize. Store rolls upright in a long under-bed container or a hanging wrapping paper organizer, and keep tape, tags, ribbon, gift bags, and a pair of scissors in a small caddy that lives in the same bin. Ribbons do best on a ribbon spool holder or simply wound around a folded piece of cardboard.
I keep one bin labelled “Gift Wrap — Christmas” and it makes December infinitely calmer, because everything I need is in one place. Resist the urge to add general-purpose wrapping paper to it; that bin should be Christmas only, so you can pull it out and know everything in it is holiday-ready.
Store Everything Cool, Dry, and Off the Floor

Where you store matters as much as how you wrap. Heat, moisture, and pests are the three things that ruin Christmas decor, so aim for a spot that’s temperature-stable and dry — a basement shelf, a closet under the stairs, or inside a bedroom closet. If you must use an attic or an unheated garage, elevate the bins on sturdy shelving and add moisture protection.
- ✦Climate-controlled basement or interior closet — the best option by far
- ✦Wall-mounted garage shelving — fine in mild climates if bins stay sealed and off the concrete
- ✦Insulated attic — acceptable if it stays under about 80°F and you avoid the spot directly above the kitchen
- ✦Toss silica gel packets or a small desiccant tub into each bin, and check them annually
Flocked and feathered decor, real dried greenery, candles, and vintage paper ornaments are the first casualties of damp storage. Those deserve the coolest spot you can find. And never set bins directly on a garage or basement floor — one small flood and they’re the first thing ruined.
Build a “First Box” for Next December

Here’s the trick that makes decorating genuinely fast: pack one bin with everything you’ll need first, and store it last so it comes out first. Ornament hooks, Command strips, spare bulbs, a working extension cord, the tree stand key, ribbon, a couple of trash bags for packaging, and a fresh roll of tape all go in together. Label it “OPEN FIRST — Christmas Setup.”
When you pull this out next year, you won’t spend an hour searching for hooks or discovering that every extension cord is three rooms away. It’s the kind of small organizational kindness that turns decorating from a chore into something you actually look forward to.
FAQ
Should Christmas decorations be stored in the attic or the basement?
A cool, dry basement is generally safer than an attic, because attics swing hot in summer and can damage ornament finishes, candle wax, and anything flocked. If the attic is your only option, keep bins away from the eaves, use sealed plastic totes, and avoid storing anything delicate or valuable up there.
How do I keep Christmas lights from tangling in storage?
Wind each strand as you take it down onto a cardboard light winder, a plastic reel, or a piece of sturdy cardboard, and tuck the plug into the coil. Label each reel by location so you can grab exactly what you need next year without untangling everything.
What is the best way to store Christmas ornaments?
Give each ornament its own padded compartment — an ornament storage box with dividers is fastest, or use cut-down egg cartons, plastic cups, or tissue paper nests inside a tote. Wrap painted, antique, and mercury glass pieces in acid-free tissue, since colored tissue can transfer dye.
When should you take down Christmas decorations?
Tradition says by Twelfth Night (January 5th or 6th, depending on how you count), and that timing works well practically too — you get the benefit of the decor through the holidays and still have a clear house before the work routine starts again. Whenever you do it, take one full afternoon rather than dragging it out over several days.
Pack away your decorations well once and you’ll wonder why it ever felt like a dreaded chore. A few labelled bins, properly wrapped ornaments, and a “first box” waiting for next December are all it takes to make the whole cycle painless — and to actually enjoy the decorating part when it comes around again.
Leave a Reply