Transform everyday scraps into a melodic backyard treasure with this easy rustic wind chime tutorial.
Using upcycled wood, metal bits, and natural elements, you’ll create a weather-resistant piece that sways gently in the breeze.
It adds charm to patios, gardens, or porches. No fancy tools required—just basic supplies like driftwood, beads, and twine.
In under 2 hours, you’ll have a personalized wind chime that echoes farmhouse vibes.

Why Make a Rustic Wind Chime at Home?
Rustic wind chimes blend sustainability with serenity.
They’re perfect for upcyclers who love repurposing materials like old barn wood or bottle caps.
Hang it high to catch wind without tangling.
- ♡ Cost-effective: Under $10 using household items.
- ♡ Customizable: Tailor sounds and looks to your style.
- ♡ Therapeutic: The crafting process reduces stress, while the chimes promote mindfulness outdoors.
- ♡ Eco-friendly: Reduces waste by reusing metals and wood.
This project suits beginners, requiring only scissors, pliers, and glue.
Essential Materials and Tools
Gather these for a sturdy 2-3 foot chime.
Pro Tip: Source free items from beaches, thrift stores, or recycling bins for authentic upcycled appeal.
Step-by-Step Instructions
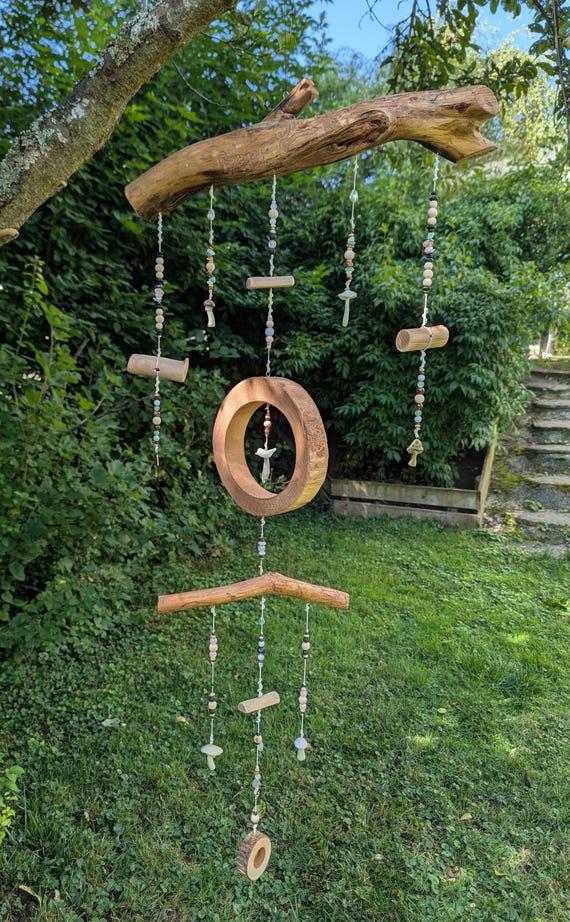
Step 1: Prepare the Top Hanger
Select a sturdy branch. Sand rough edges for safety.
- Drill or carve two holes near ends for hanging strings.
- Optional: Stain with diluted tea for aged patina.

Step 2: Create the Windcatcher (Sail)
Cut a 6×4″ metal lid or wooden plank.
- Punch a center hole.
- Decorate with paint or etch rustic motifs like leaves.
- This sways to strike tubes.
Step 3: Assemble the Tubes/Strikers
Measure and cut tubes to staggered lengths (e.g., 8″, 10″, 12″).
- String each with 12-18″ cord, knotting beads at intervals for spacers.
- Loop ends through top holes or wrap around branch.
Tuning Tip: Test hang loosely; shorter tubes make higher pitches.
Step 4: Suspend and Balance
- Tie 4-6 equal-length strings from branch center to tubes.
- Attach windcatcher below with longer central string.
- Balance by adjusting knots—ensure even weight distribution.
Step 5: Add Rustic Embellishments
Thread acorns, feathers, or keys onto strings for texture and extra chimes.
- Secure with glue dots to prevent slipping.
- Wrap twine around joints for boho reinforcement.
Step 6: Finishing and Hanging
Seal wood with outdoor varnish. Hang from shepherd’s hook or eaves using S-hooks.
Prime location: Sheltered spot with steady breeze (5-15 mph ideal).
Customization Ideas for Unique Rustic Styles
Elevate your chime with these 5 themed variations.
- 🌸 Farmhouse Flair: Use galvanized buckets, cowbells, and burlap-wrapped wood.
- 🌸 Beachside Bliss: Incorporate seashells, driftwood, and fishing floats for coastal tones.
- 🌸 Boho Garden: Add macramé knots, terracotta shards, and hanging plants.
- 🌸 Vintage Industrial: Repurpose gears, chain links, and rusted nails.
- 🌸 Woodland Whisper: Acorns, pinecones, and bark strips for earthy whispers.
Common Mistakes to Avoid
- ⚠️ Overloading: Too many tubes muffle sounds—stick to 5-9.
- ⚠️ Weak Strings: Use braided line to resist fraying.
- ⚠️ Poor Balance: Uneven weight causes spinning; test indoors first.
- ⚠️ No Sealer: Exposed wood rots; always protect.
Troubleshooting Table:
Maintenance for Longevity
Rustic chimes last 5+ years with care.
- Clean monthly with mild soap.
- Store indoors during storms.
- Retie knots annually.
- Refresh patina with vinegar soak.
10 Creative Variations of Rustic Wind Chimes (Bonus Projects)
For endless inspiration, here are 10 fully detailed upcycled variations.
Each uses the base tutorial with twists.
1. Spoon Symphony Wind Chime
Repurpose 7 silver spoons (vintage thrifted).
- Drill spoon holes; suspend by handles.
- Add forked stick top.

Description: Gentle, twinkly notes mimic silver bells. Ideal for kitchens.
2. Bottle Cap Cascade
Collect 20-30 colorful caps.
- Punch and link with wire.
- Hang in clusters from barn beam.

Description: Crisp, percussive clinks for playful patios.
3. Copper Pipe Harmony
Cut 1/2″ pipes to 7-14″ lengths.
- Sand ends smooth; thread with leather strips.

Description: Rich, resonant tones like wind harps.
4. Seashell Serenade
String 15-20 large shells on hemp.
- Central starfish striker.
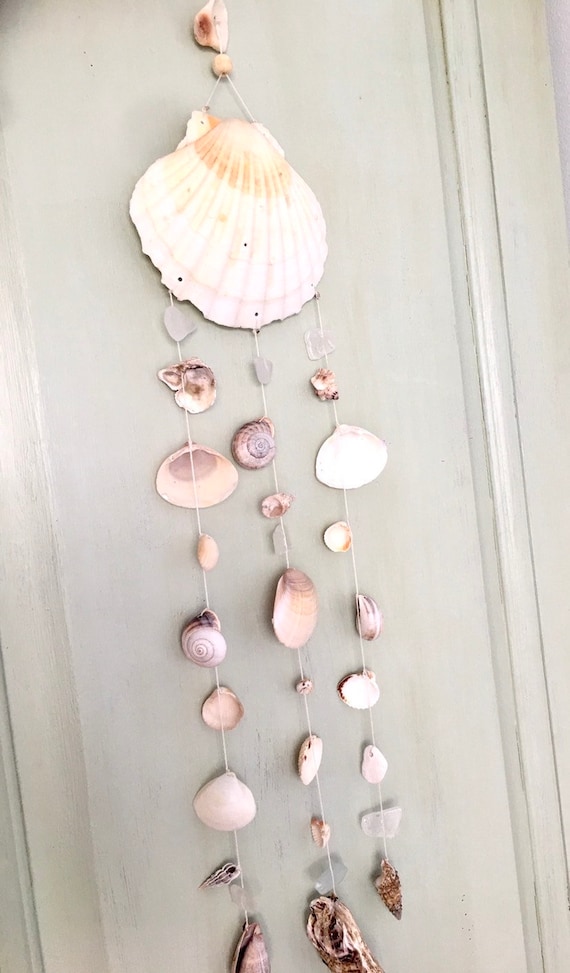
Description: Soft, oceanic shimmers for coastal homes.
5. Acorn Autumn Rattle
Forage 30 acorns; glue caps for bells.
- Oak branch frame.
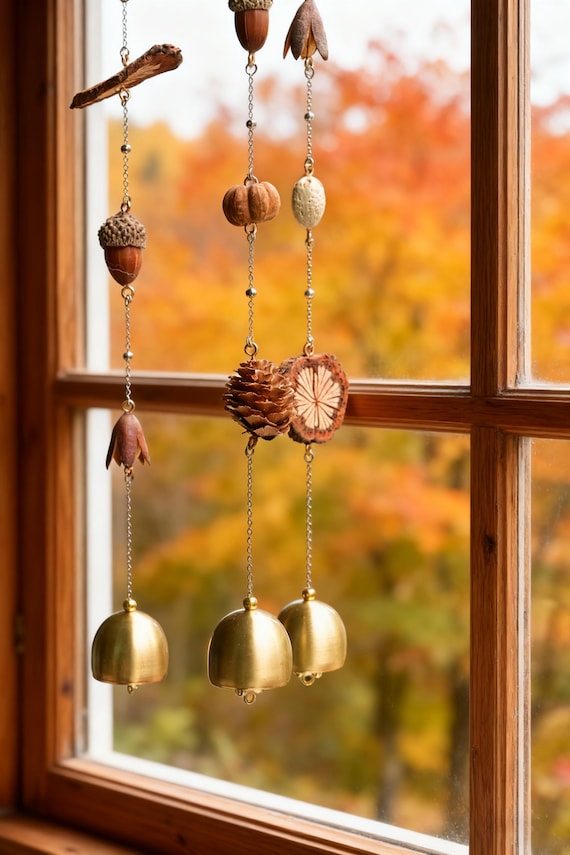
Description: Nutty rattles evoke fall forests.
6. Key Clatter Keeper
Bundle 10-15 old skeleton keys.
- Twine-wrap for vintage lock vibe.
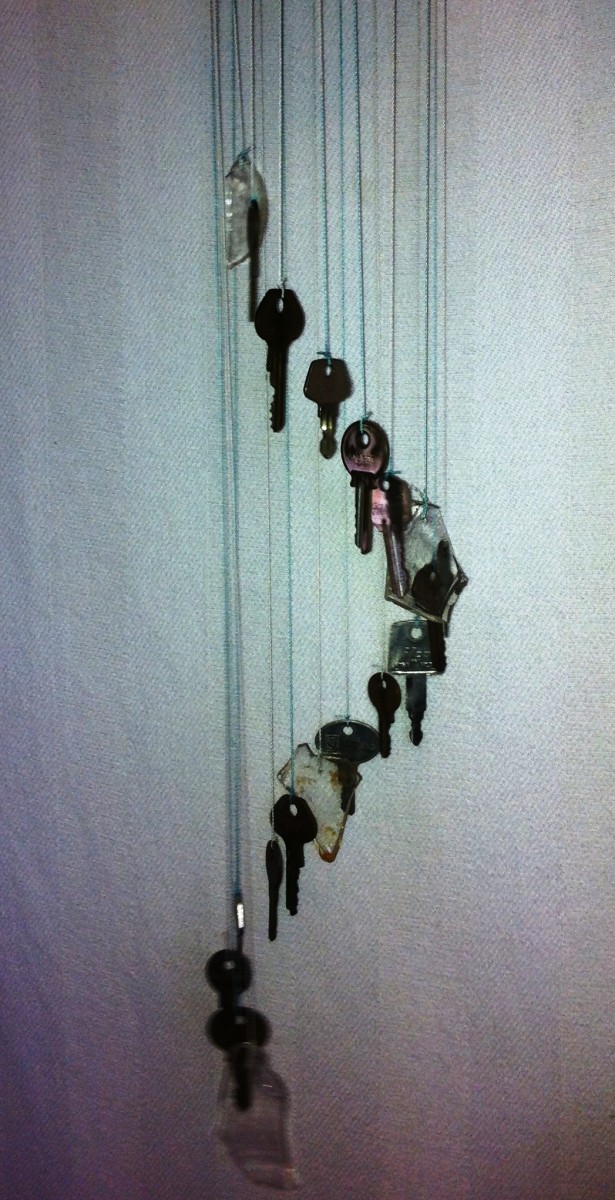
Description: Jingling mystery for entryways.
7. Fork Forest Chime
Bend 5 garden forks into curves.
- Wooden disk top.
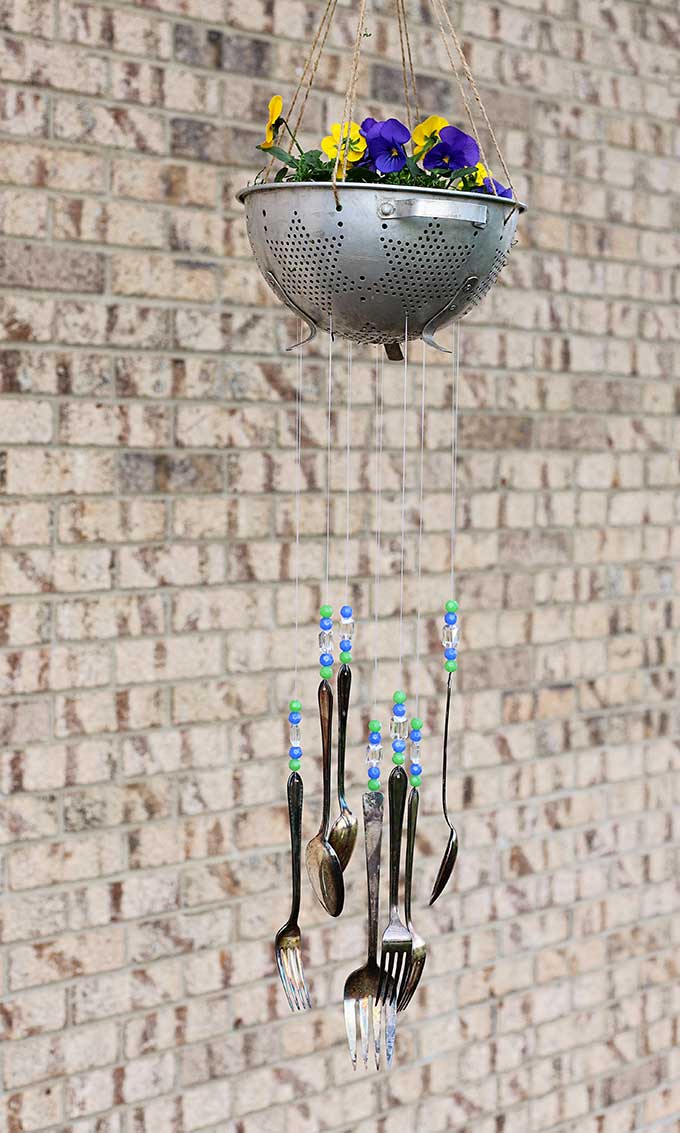
Description: Deep, metallic gongs for modern rustics.
8. Lid Lagoon Layer
Layer 6 tin can lids.
- Paint ombré; central driftwood.
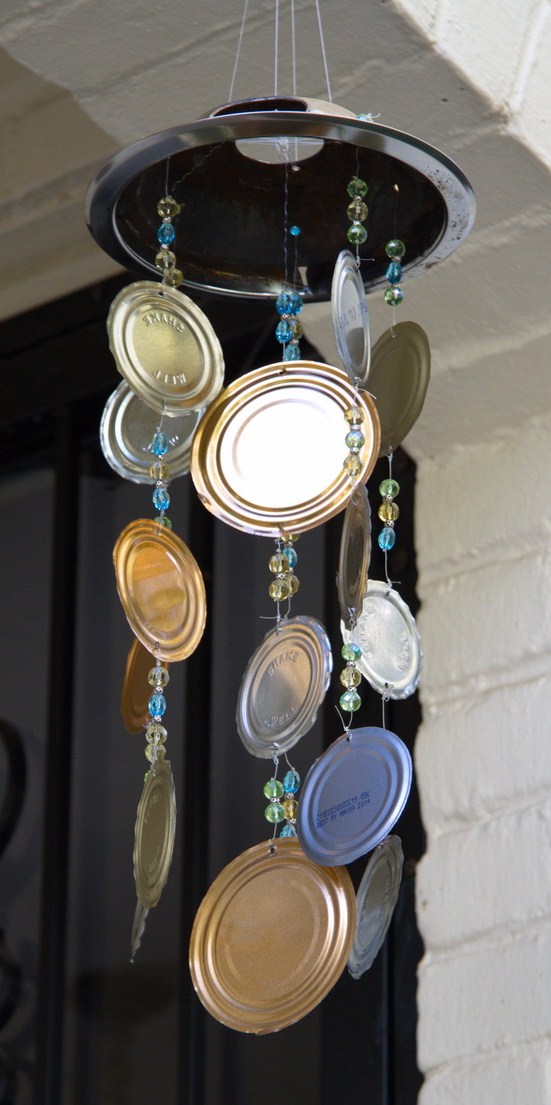
Description: Layered pings like rain on metal roofs.
9. Button Blossom Breeze
Thread 50 vintage buttons on wires.
- Flowerpot shard accents.

Description: Delicate tinkles for fairy gardens.
10. Nut & Bolt Symphony
Assemble 15 assorted hardware.
- Chain-link connectors.
Description: Industrial clangs for man-cave hangs.
FAQ
Q: How long does a DIY rustic wind chime last?
A: 3-7 years outdoors with proper sealing; tune annually.
Q: Can I make it pet-safe?
A: Yes—use blunt edges, non-toxic materials, and elevate.
Q: What if there’s no wind?
A: Add a fan indoors or battery-operated rotator for demos.
Q: Kid-friendly version?
A: Use plastic bottles and yarn; supervise gluing.
Q: Louder sounds?
A: Larger metals or hollow tubes amplify resonance.
Conclusion
Crafting a rustic wind chime is more than a project.
It’s a gateway to mindful upcycling that brings nature’s music home.
With minimal investment and endless tweaks, you’ll fill your space with soothing sounds and sustainable pride.
Start simple, experiment boldly, and soon your garden will sing.
Share your creations online for community inspiration—who knows, it might spark your next DIY adventure!
Leave a Reply