Creating a magical gift box 3D card—often referred to as an exploding box—is the ultimate way to combine a greeting card with a physical gift.
Unlike a traditional flat card, this 3D paper engineering marvel features multiple layers that explode outward when the lid is removed, revealing photos, messages, and a central surprise.
It is a high-impact, sentimental project that uses basic scrapbooking skills to create a professional-grade keepsake.
Essential Materials and Tools for 3D Card Making
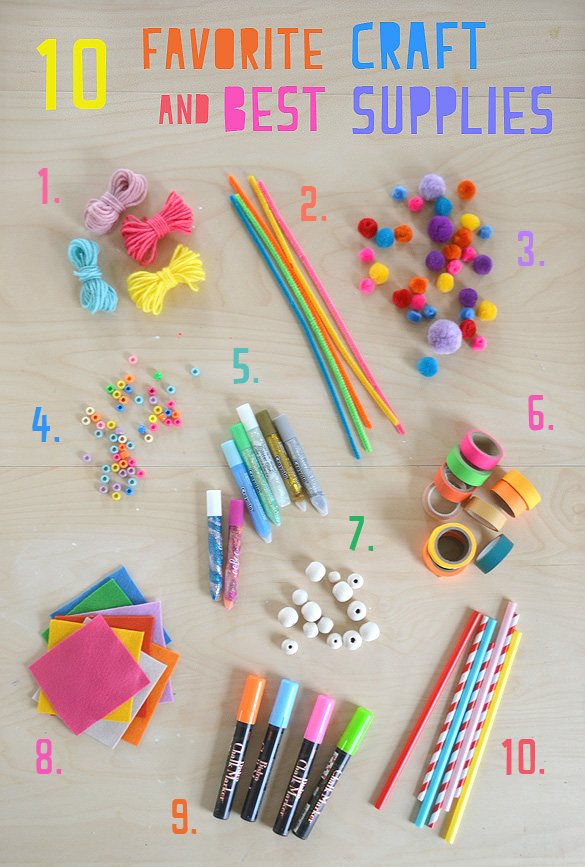
Before diving into the construction, you need the right materials. The magic of this box relies on the structural integrity of the paper.
- ✨Heavyweight Cardstock: 250-300 GSM is ideal for the base layers.
- ✨Patterned Scrapbook Paper: For decorating the panels.
- ✨Scoring Tool and Bone Folder: Essential for crisp, clean folds.
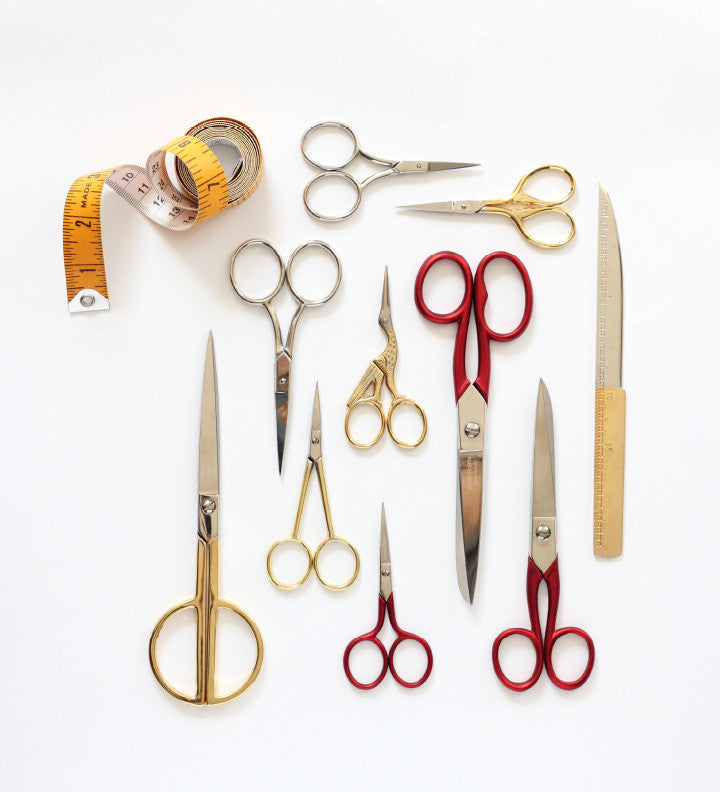
- ✨Paper Trimmer or Craft Knife: Precision is key for the box to fit together perfectly.
- ✨Adhesives: Double-sided tape for large areas and precision liquid glue for embellishments.
- ✨Embellishments: Ribbons, stickers, charms, and 3D foam squares for depth.
Box Layer Measurement Guide
| Layer | Outer Base Size | Scoring Mark (All sides) | Resulting Center Square |
|---|---|---|---|
| Layer 1 (Outer) | 12″ x 12″ | 4″ | 4″ x 4″ |
| Layer 2 (Middle) | 10.5″ x 10.5″ | 3.5″ | 3.5″ x 3.5″ |
| Layer 3 (Inner) | 9″ x 9″ | 3″ | 3″ x 3″ |
| The Lid | 6.1″ x 6.1″ | 1″ | 4.1″ x 4.1″ |
Step 1: Choosing Your Cardstock and Foundation
The foundation of your magical gift box card determines its durability. For a standard 4-inch cube, you will need a 12″ x 12″ sheet of sturdy cardstock.
Choose a color that will act as the frame for your inner designs. Darker colors like navy, charcoal, or deep burgundy provide a sophisticated look, while pastels work best for baby showers or weddings.
Ensure your paper is acid-free if you plan on adding photographs, as this prevents yellowing over time.
Step 2: Measuring and Scoring the Base
Precision is the difference between a box that opens smoothly and one that catches. Place your 12″ x 12″ cardstock on a scoring board.
Score at the 4-inch mark and the 8-inch mark. Rotate the paper 90 degrees and repeat the process. You should now have a grid of nine equal 4-inch squares.
Use a bone folder to crease these lines firmly. A sharp crease ensures that when the lid is lifted, the sides fall away instantly, creating that exploding effect.
Step 3: Cutting the Corners for the Exploding Effect
To allow the walls of the box to fall flat, you must remove the four corner squares. Using a craft knife or sharp scissors, cut out the four squares located at the corners of your grid.
You will be left with a plus or cross shape.
Pro Tip: Instead of completely discarding the corner squares, you can cut them into heart shapes or tags to be used as decorative elements later in the project. This reduces waste and ensures color coordination.
Step 4: Crafting the Inner Layers
To make the card truly magical, you need layers. Repeat the scoring and cutting process with smaller sheets of cardstock (refer to the measurement table above).
For the second layer, use a 10.5″ x 10.5″ sheet. This creates a slightly smaller plus shape that will sit inside the first.
By nesting three or four layers, you create a tiered effect that allows for more photos and hidden pockets. Glue only the center square of each layer to the one beneath it, ensuring the side flaps remain free to move.
Step 5: Engineering the Perfect Lid

The lid is the most technical part of the 3D card. It must be slightly larger than the base to fit over the folded walls.
For a 4-inch box, cut a square of 6.1″ x 6.1″. Score it at 1 inch on all four sides. This creates a 1-inch wall for the lid.
To assemble, cut a single slit on each corner score line to create tabs. Fold the tabs inward and glue them to the adjacent wall.
Use paper clips to hold the corners in place while the glue sets. This ensures a snug, square fit that keeps the explosion contained until the recipient opens it.
Step 6: Designing the Centerpiece Surprise
The center of the box is the stage. When the card opens, the recipient’s eye goes straight to the middle.
You can place a small physical gift here, such as a piece of jewelry, or create a paper sculpture. Popular ideas include a 3D paper cake, a miniature bouquet of paper flowers, or a small pop-up box that holds a gift card.
If the box is for an anniversary, a small 3D tree with carved initials is a high-authority touch that shows immense effort.
Step 7: Adding Interactive Pockets and Tags
Static walls are boring. To make the card interactive, turn some of the inner flaps into pockets.
Cut a piece of patterned paper slightly wider than the flap, fold the edges over, and glue only the bottom and sides. Now you can tuck in pull-out tags containing secret messages, gift cards, or additional photos.
This encourages the recipient to explore the card rather than just looking at it.
Step 8: Personalizing with Photos and Sentiments

This is where the card becomes a keepsake. Print photos in small formats (2×2 or 3×3 inches).
Mat these photos on a slightly larger piece of contrasting cardstock before gluing them to the box walls. This matting technique creates a professional border that makes the images pop.
Mix your photos with handwritten sentiments or stamped quotes. Use a high-quality archival ink to ensure the writing doesn’t fade.
Step 9: Creating the Mechanical Pop-Up Elements
To elevate the magic factor, incorporate a mechanical element like a waterfall photo sleeve or a twist and pop panel.
A waterfall feature allows the recipient to pull a tab, causing a series of photos to flip over like a deck of cards.
While these require more advanced scoring and assembly, they provide the wow factor that defines a high-end 3D card.
Step 10: Finishing Touches and Exterior Decoration
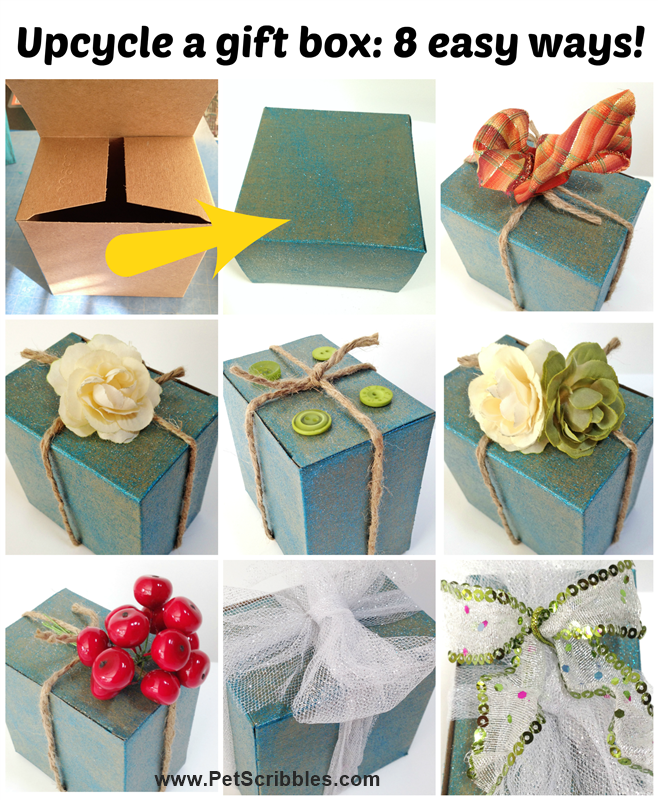
The outside of the box should look like a premium gift. Wrap a wide satin ribbon around the lid and tie a perfect bow.
You can add a To/From tag or a small cluster of silk flowers on top. Since the interior is busy, keep the exterior elegant and relatively simple.
This creates a stark contrast when the box is opened, making the internal explosion of color and memories even more impactful.
5 Creative Themes for Your 3D Gift Box Card
1. The Romantic Anniversary Box
Focus on a Timeline of Us theme. Use the outermost layer for photos of your first year together, the middle for recent memories, and the center for a ring or a heartfelt letter.
Use a palette of cream, gold, and blush pink for a timeless, elegant aesthetic.
2. The Wanderlust Travel Box
Perfect for someone going on a trip or celebrating a past vacation. Use map-print paper for the backgrounds.
In the center, create a miniature 3D suitcase made of brown cardstock. Include boarding pass style tags in the pockets with flight details or destination bucket lists.
3. The Whimsical Birthday Celebration Box
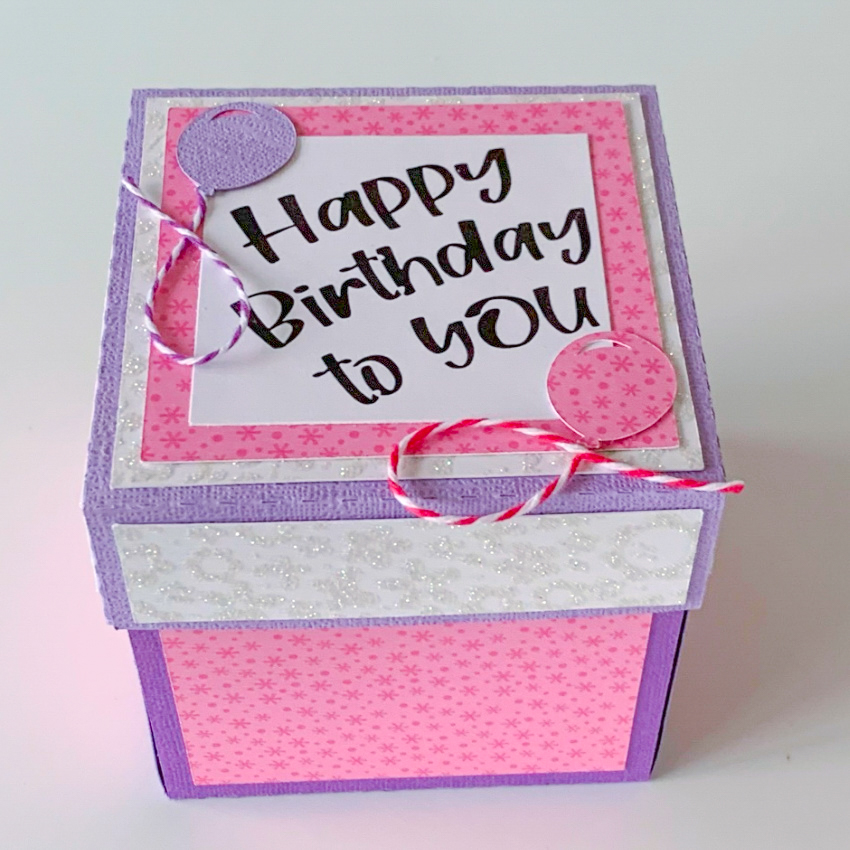
Go bright and bold with primary colors and polka dots. The center should feature a pop-up birthday cake or a small box filled with actual confetti.
Use wobblers (small springs) to make paper balloons dance when the box opens.
4. The Minimalist Monochrome Box
For a modern look, use only black, white, and silver. Focus on typography and high-contrast photography.
This style is perfect for graduations or corporate gifts where a cutesy look might not be appropriate. Use vellum overlays for a sophisticated, semi-transparent texture.
5. The Festive Holiday Surprise Box
Transform the box into a winter wonderland. Use forest green and deep red cardstock with silver glitter accents.
The center can hold a custom Christmas ornament. Add a scent element by tucking a small cinnamon stick or a dried orange slice into one of the pockets.
FAQ: Mastering the 3D Gift Box Card
Q: What is the best glue for 3D cards?
A: For structural elements (the box walls), use a high-tack double-sided tape (like red line tape). For decorative paper and photos, a glue runner or a thin layer of PVA glue works best. Avoid school glue as the high water content will warp your cardstock.
Q: My lid is too tight/too loose. What did I do wrong?
A: The lid must be exactly 1/8th of an inch (or about 2-3mm) larger than the base. If your base is 4″, your lid’s center square must be 4 1/8″. If it’s too loose, the box won’t stay closed; if it’s too tight, you’ll crush the sides when trying to put it on.
Q: How do I mail a 3D gift box card?
A: These cards are bulky and fragile. It is best to hand-deliver them. However, if you must mail one, use a sturdy box mailer (not a padded envelope) and wrap the card in bubble wrap to prevent the lid from being crushed in transit.
Q: Can I make this without a scoring board?
A: Yes. You can use a ruler and a dried-out ballpoint pen or a knitting needle to dent the paper along the ruler’s edge. This breaks the fibers of the paper and allows for a clean fold without cracking the cardstock.
Conclusion
The magical gift box 3D card is more than just a craft; it is an immersive storytelling experience.
By following the precise measurements and layering techniques outlined in this guide, you can transform simple sheets of paper into a sophisticated gallery of memories.
Whether you choose a romantic theme or a whimsical birthday design, the key lies in the details—the crispness of the folds, the hidden pockets, and the surprise center.
Start with high-quality cardstock, take your time with the measurements, and watch as your recipient’s face lights up when the lid is lifted to reveal the magic inside.
Leave a Reply