Creating DIY painted ladybug stones is one of the most accessible and rewarding upcycling projects for crafters of all ages.
By transforming ordinary river rocks into vibrant garden accents, you can add a whimsical touch to your flower beds, indoor planters, or even use them as charming paperweights.
This project requires minimal investment—often just a few bottles of acrylic paint and stones found in your backyard—making it a high-impact, low-cost way to personalize your living space.
The Essential Supplies for Rock Painting

Before you begin, gathering the right materials is crucial for ensuring the longevity of your artwork, especially if the stones will be placed outdoors.
Materials and Tools Checklist
| Item | Purpose | Recommended Type |
|---|---|---|
| Stones | The canvas for your art | Smooth, flat river stones or beach pebbles |
| Paint | Color and detail | Multi-surface acrylic paint or outdoor acrylics |
| Brushes | Application | Small flat brush for base, fine liner brush for dots |
| Sealer | Weatherproofing | Clear UV-resistant spray or brush-on varnish |
| Stylus/Toothpick | Creating perfect dots | Dotting tools or common household items |
| Soap & Water | Preparation | Basic dish soap to remove dirt and oils |
Step-by-Step Guide: How to Paint a Ladybug Stone
Follow these detailed steps to ensure a professional, durable finish on your ladybug stones.
Step 1: Stone Selection and Preparation
Not all stones are created equal. Look for stones that are naturally oval or round with a smooth surface.
Avoid porous or jagged rocks, as they absorb too much paint and make fine detailing difficult.
Once you have your stones, scrub them thoroughly with warm, soapy water to remove dirt, moss, or oils. Let them dry completely; any trapped moisture can cause the paint to peel later.
Step 2: Priming the Surface
While you can paint directly onto the stone, applying a base primer (or a solid coat of white acrylic) helps the red paint pop.
Without a primer, the dark gray or brown of the stone may dull the vibrancy of your colors. Apply one thin coat and let it dry for 15–20 minutes.
Step 3: Applying the Base Color
Paint the entire top and sides of the stone with a bright red acrylic paint. Use a flat brush for even coverage.
Depending on the quality of the paint, you may need two coats. Ensure the first coat is dry to the touch before adding the second to avoid dragging the paint.
Step 4: Painting the Head and Wing Line
Once the red base is dry, use black paint to create the ladybug’s head. Imagine the stone is an oval; paint a solid black C shape or a semi-circle at one end.
Next, draw a thin black line from the center of the head down to the back of the stone to represent the split between the wings.
Step 5: Adding the Iconic Spots
Using a dotting tool, the end of a paintbrush, or a toothpick, dip into black paint and press firmly onto the red wings.
Try to keep the spots symmetrical for a classic look, or vary the sizes for a more organic feel.
Step 6: The Eyes and Final Details
A ladybug isn’t complete without its personality. Use a small dotting tool to add two white dots on the black head for eyes.
Once the white is dry, add a tiny black dot inside the white to create pupils. You can also add tiny white highlights on the red wings to give the appearance of a shiny shell.
Step 7: Sealing for Longevity
This is the most important step for outdoor decor. Use a clear, UV-resistant acrylic sealer.
A glossy finish works best for ladybugs as it mimics their natural sheen. Apply in a well-ventilated area and let it cure for 24–48 hours before placing the stone outside.
10 Creative Variations and Styles for Ladybug Stones

If you want to move beyond the classic red and black, here are 10 unique styles to try for your next batch of stones.
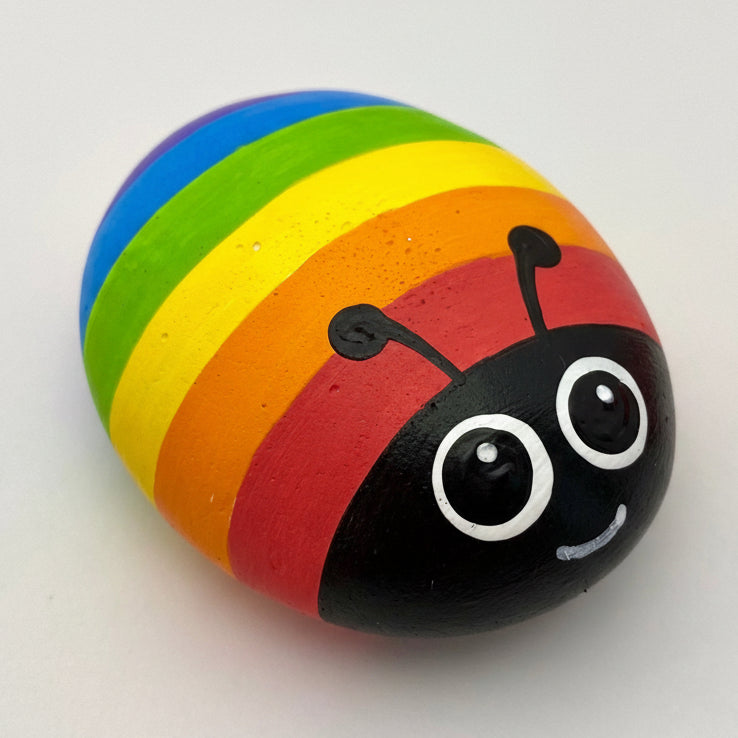
1. The Classic Red Garden Ladybug
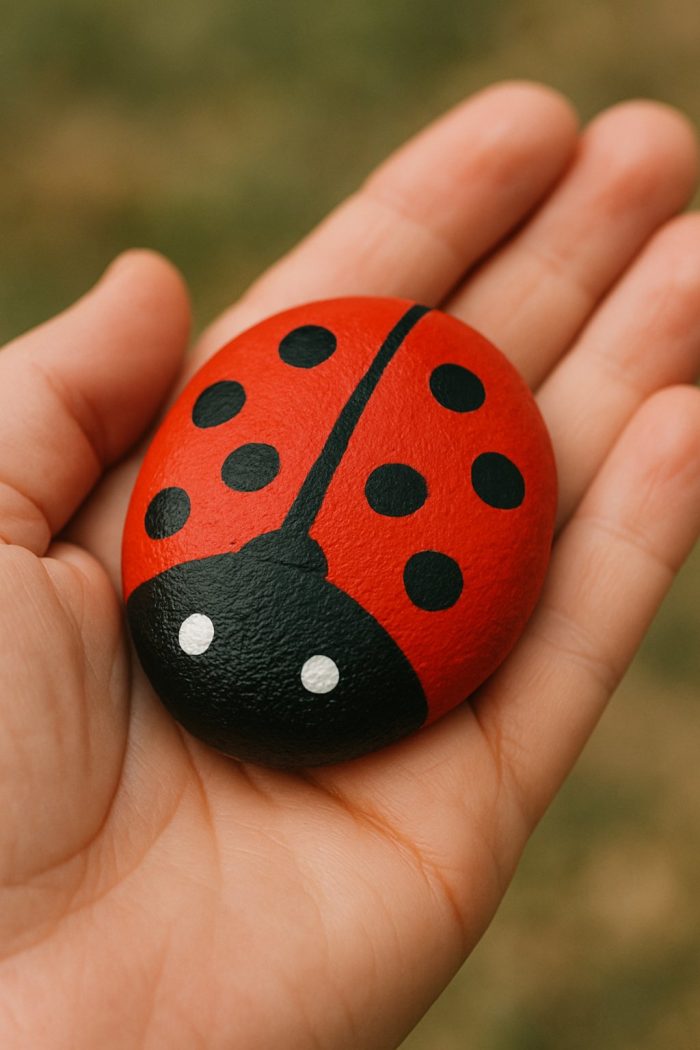
This is the traditional design featuring a deep crimson body and stark black spots. It is the most recognizable version and looks stunning when nestled among green foliage or succulent arrangements.
Focus on high-contrast colors to make them stand out from a distance.
2. Pastel Spring Ladybugs
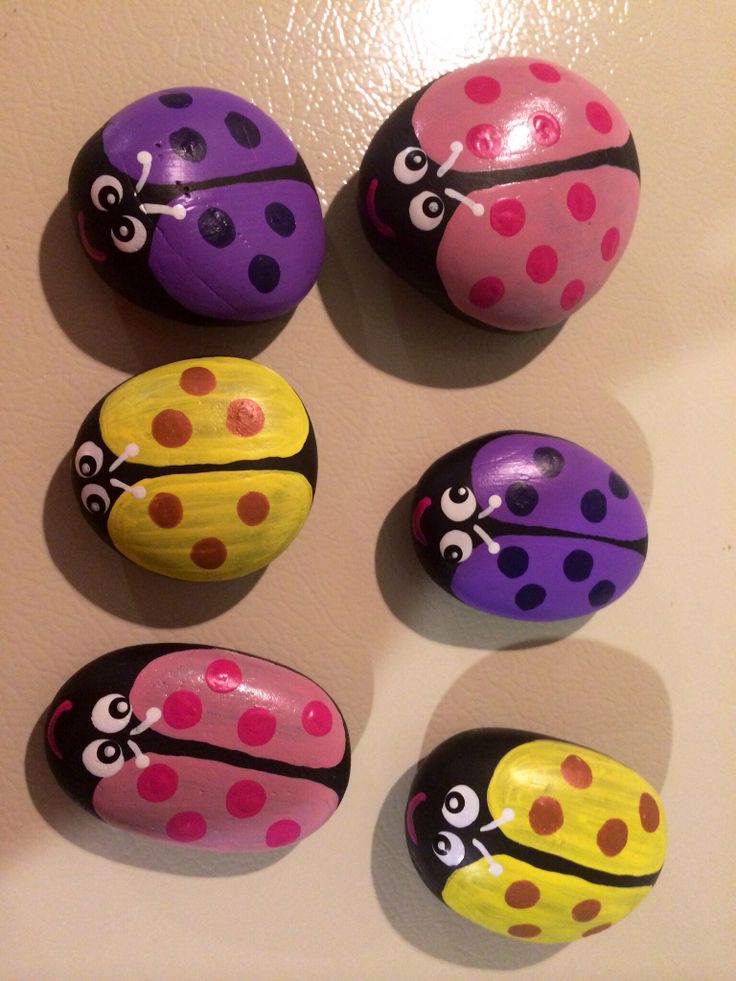
Perfect for Easter decor or a nursery, these ladybugs swap red for soft mint, lavender, and baby pink.
Use white spots instead of black to maintain the soft aesthetic. These look particularly lovely in indoor fairy gardens or as decorative accents on a bookshelf.
3. Metallic Gold and Glamour Bugs

For a sophisticated boho-chic look, use metallic gold or copper paint for the body.
Use a matte black for the spots and head. These metallic stones catch the sunlight beautifully and serve as elegant paperweights or desk decor for a home office.
4. Glow-in-the-Dark Night Crawlers
By using phosphorescent (glow-in-the-dark) acrylic paint for the spots or the wing highlights, you can create a magical garden scene at night.
These are a favorite for kids’ secret gardens and help illuminate pathways in a whimsical way.
5. Rainbow Gradient Ladybugs
Instead of a solid color, blend three colors (like orange, yellow, and red) across the back of the stone to create a sunset or rainbow effect.
This requires a bit of wet-on-wet blending technique but results in a stunning, artistic piece of garden art.
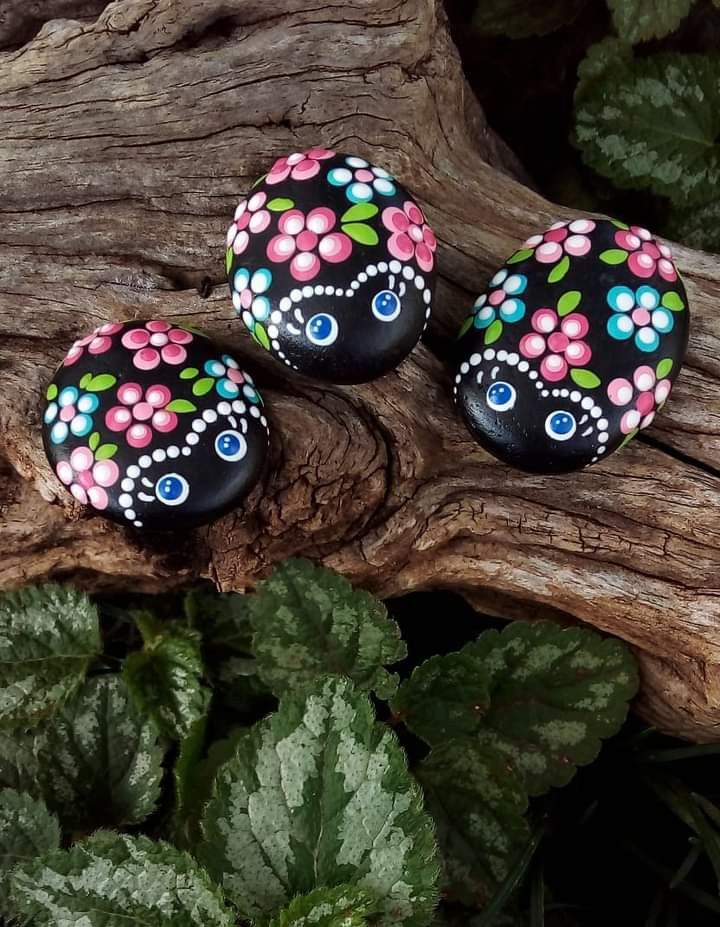
6. Polka Dot Pattern Mix
Who says spots have to be black? Experiment with inverted ladybugs—a black body with colorful neon spots, or a white body with blue and green patterns.
This style leans into the mandala rock trend and focuses more on intricate patterns than realism.
7. Miniature Pebble Ladybugs
Gather very small, pea-sized pebbles and paint them as tiny ladybugs.
These can be glued onto the rims of flower pots, placed inside clear vases, or even used as game pieces for a DIY ladybug-themed Tic-Tac-Toe set.
8. Heart-Shaped Ladybugs

Look for stones that have a natural heart shape. Paint the lobes of the heart as the wings and the point as the tail.
These make wonderful kindness rocks to leave in public parks for strangers to find, or as personalized gifts for Valentine’s Day.
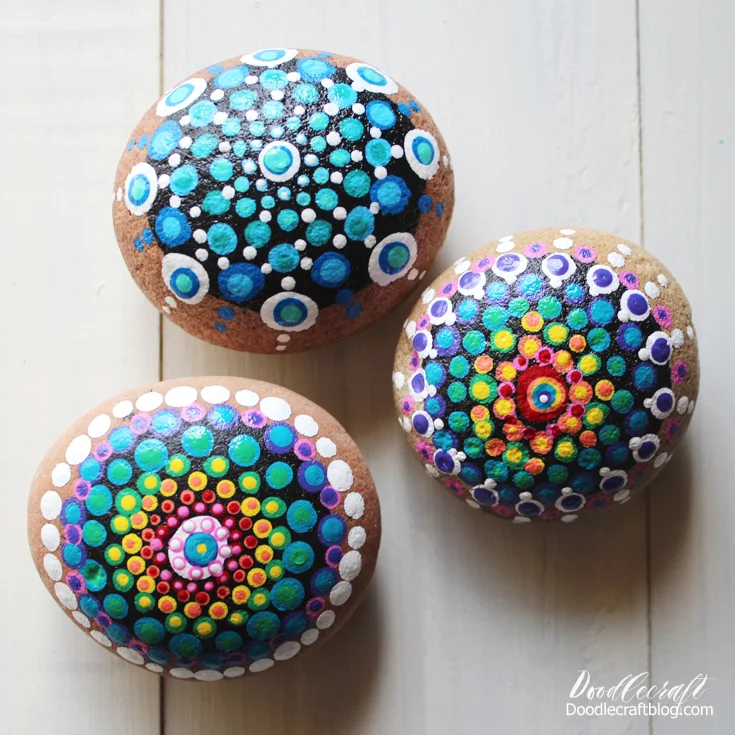
9. Mandala-Inspired Ladybugs
Incorporate the dot-art technique by filling the wings with concentric circles of tiny dots rather than large solid spots.
Use various shades of the same color (e.g., light blue, navy, and turquoise) to create a hypnotic, meditative design on the ladybug’s back.
10. Holiday-Themed Ladybugs

Adapt your ladybugs for the seasons! Paint a Santa Ladybug with a tiny red hat, or a Spooky Ladybug using orange and black with spider-web patterns on the wings.
This keeps your rock painting hobby fresh and relevant throughout the year.
Expert Tips for High-Quality Rock Painting
- ✓ Avoid Over-working the Paint: If you brush over the same spot too many times while the paint is drying, it will become gummy and leave visible streaks.
- ✓ Use Paint Pens for Fine Lines: If you find a brush difficult to control, acrylic paint pens (like Posca or Artistro) offer much better control for the wing lines and pupils.
- ✓ Temperature Matters: Never seal your rocks in high humidity or freezing temperatures, as the sealer may turn cloudy or blush, ruining your hard work.
- ✓ Thin Your Paints: If your acrylic paint is too thick, add a single drop of water or acrylic medium to help it flow smoothly over the stone’s texture.
Frequently Asked Questions (FAQ)
What is the best paint for rocks?
Acrylic paint is the gold standard for rock painting. For outdoor use, look for Multi-Surface or Outdoor acrylics, which contain resins that help the paint adhere to stone and resist moisture better than standard craft paint.
Do I need to seal my painted stones?
Yes, especially if they are going outside. Without a sealer, the sun will fade the colors, and rain will eventually cause the paint to chip or peel. A clear acrylic spray sealer is the easiest and most effective option.
Can I use markers instead of paint?
Yes, but they must be acrylic-based paint markers. Standard permanent markers (like Sharpies) will often bleed or turn a yellowish-purple color when a clear sealer is applied over them.
Where can I find smooth stones?
You can find them at local riverbeds, beaches (where legal to collect), or purchase river rocks in bulk from landscaping centers, craft stores, or home improvement warehouses.
Conclusion
Painting ladybug stones is a therapeutic and creative way to upcycle natural materials into beautiful home and garden decor.
Whether you stick to the classic red design or experiment with metallic gradients and mandala patterns, the key to success lies in proper preparation and sealing.
This project is not only a great way to bond with family but also a wonderful method for adding a splash of permanent color to your outdoor landscape. Grab a brush, find a stone, and start your ladybug colony today!
Leave a Reply