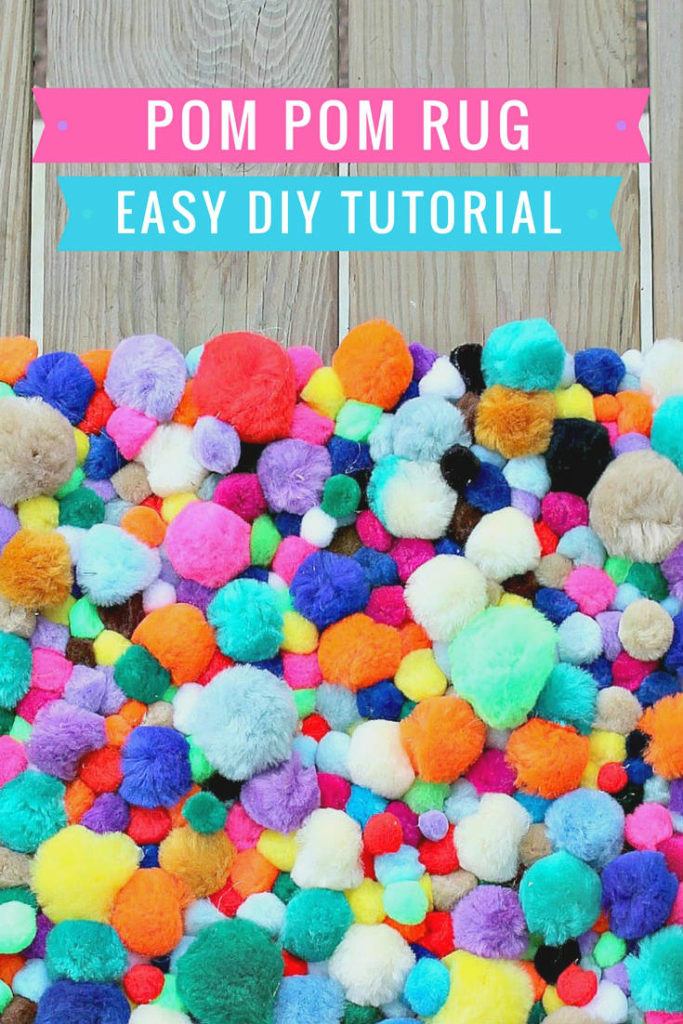
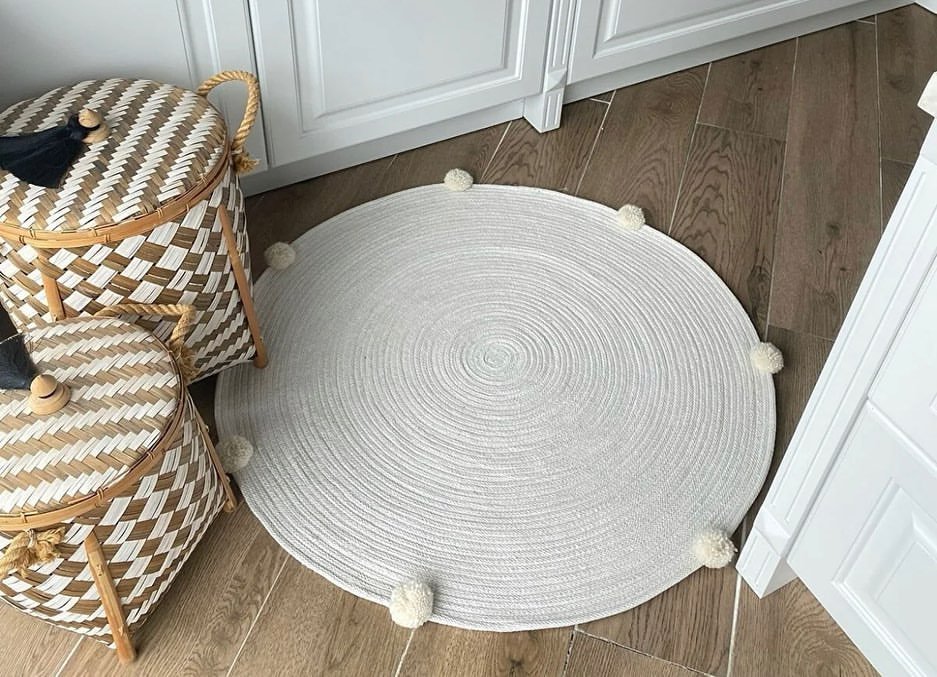
Creating a beautiful rug from DIY pom poms is an affordable, eco-friendly upcycling project. It adds cozy texture and vibrant color to any room.
Using leftover yarn, fabric scraps, or thrift-store finds, you can craft a custom rug in sizes from small accent pieces to full room coverings.
This guide walks you through materials, techniques, and pro tips for a durable, plush result that rivals high-end boutique rugs. It’s perfect for DIY enthusiasts seeking boho, modern, or playful vibes.
Why Choose a Pom Pom Rug?
Pom pom rugs are lightweight, machine-washable (with care), and endlessly customizable.
They’re ideal for high-traffic areas like entryways or kids’ rooms, offering slip-resistance when backed properly.
Plus, they’re a fantastic way to upcycle yarn scraps, reducing waste while creating a one-of-a-kind piece. Expect to spend $20–$50 on supplies for a 3×5-foot rug, versus $200+ for store-bought versions.
Materials You’ll Need
Gather these basics before starting—most are household items or cheap thrift buys.
Pro Tip: Sort yarn by color families for a cohesive look—think neutrals with pops of mustard yellow or teal for trendy appeal.
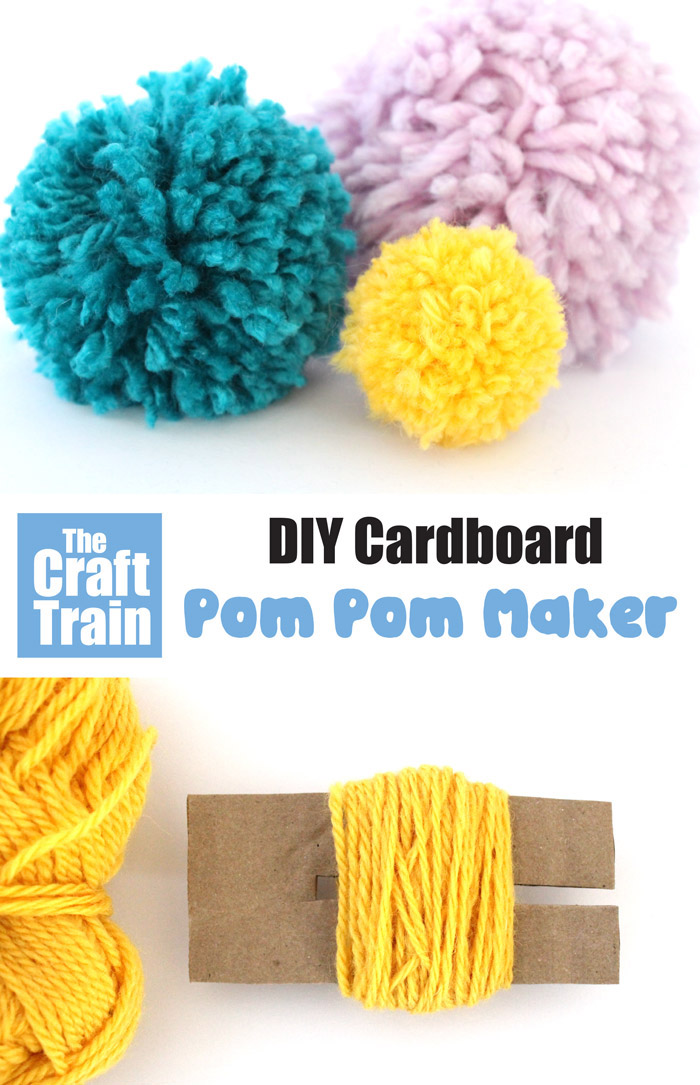
How to Make Perfect Pom Poms: Step-by-Step
Mastering pom poms is key; uneven ones lead to a lumpy rug. This method yields fluffy, uniform spheres.
Step 1: Create a Pom Pom Template
- Cut two identical cardboard circles (3–4 inches diameter) with a 1-inch center hole. Or buy plastic pom pom makers for speed.
✂️
Step 2: Wind the Yarn
- Hold templates together and wrap yarn tightly around the ring, filling the center hole evenly (50–100 wraps for fluffiness).
🧶 - Vary wrap counts for mixed sizes: 30 wraps for small (1-inch), 80 for large (3-inch).
📏
Step 3: Secure and Trim
- Cut through yarn between templates with scissors.
✂️ - Tie tightly with a 12-inch yarn strand around the middle—knot securely.
🔗 - Remove templates, fluff, and trim into a perfect sphere. Repeat for 300–500 pom poms (scale by rug size).
✨
Time Estimate: 10–15 pom poms per hour once practiced.
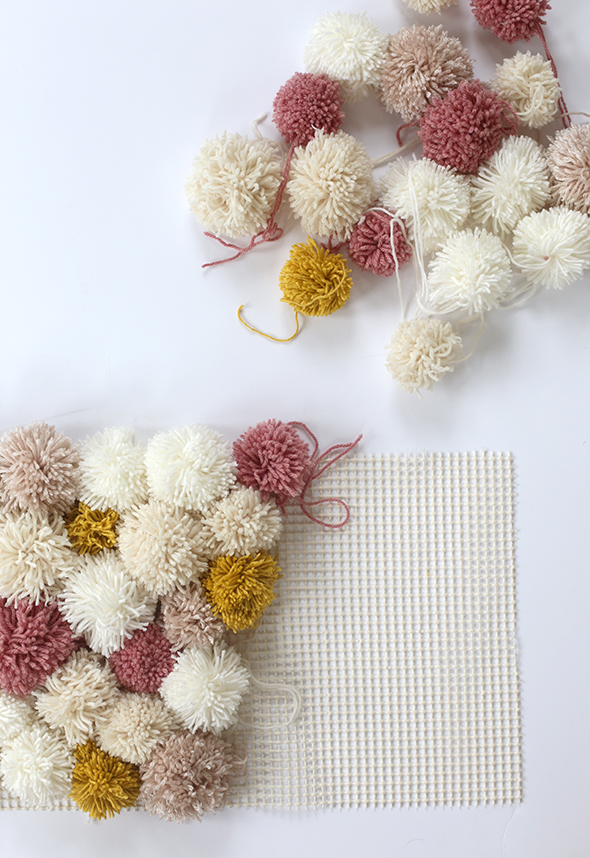
Assembling Your Pom Pom Rug
Layout is creative—go for tight grids, organic clusters, or ombre gradients.
Step 1: Plan Your Design
- Lay out pom poms on the floor in your desired pattern. For a 3×5 ft rug: 15 rows of 20 medium pom poms.
📐 - Snap a photo to reference.
📸
Step 2: Join Pom Poms Securely
Method 1: Sewing (Most Durable)
- Thread a needle with double-stranded yarn matching your pom poms.
🪡 - Stitch pom poms together in rows: Pierce through centers, linking 4–6 at a time.
🔗 - Connect rows similarly, pulling taut for a seamless weave.
🧵
Method 2: Hot Glue (Quick but Less Flexible)
- Dot glue on pom pom bases and press onto backing fabric.
🔥 - Overlap slightly for density.
Method 3: Interlocking Chains
- Link pom poms by threading yarn through centers in a chain, then weave chains together.
⛓️
Step 3: Add Backing for Stability
- Glue or sew rug pad to the underside.
📌 - Trim edges and add fringe from leftover yarn for polish.
Total Assembly Time: 4–8 hours.
Design Ideas for Every Style
Elevate your rug with these 5 versatile styles—mix pom pom sizes and colors for dimension.
-
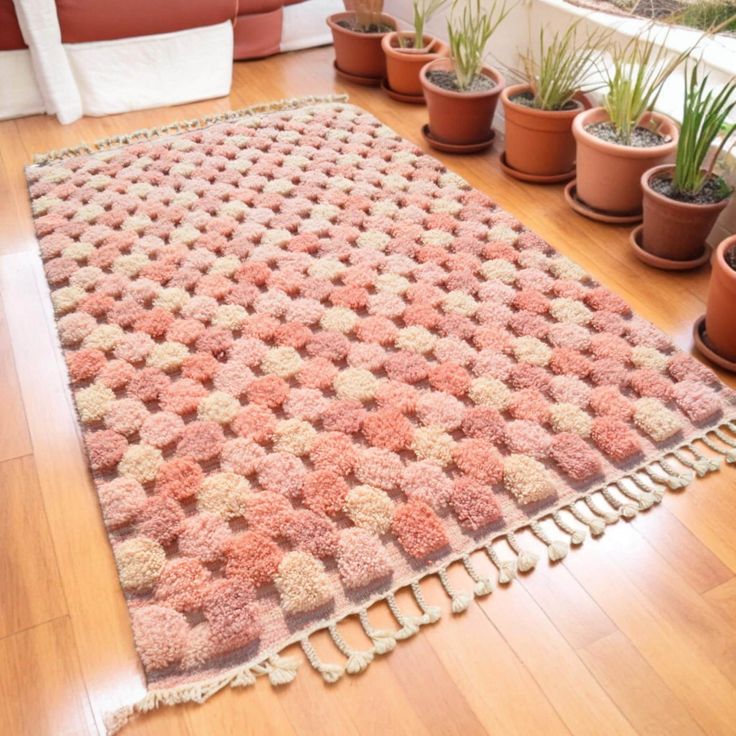
1
Boho Dreamcatcher Vibes
Layer earth tones (beiges, terracottas) with oversized white pom poms for a free-spirited accent. Ideal for bedrooms.
-
2
Modern Minimalist
Uniform gray or ivory pom poms in a grid—crisp and sophisticated for living rooms.
-
3
Playful Kids’ Corner
Bright primaries (red, blue, yellow) in fun shapes like animals or letters.
-
4
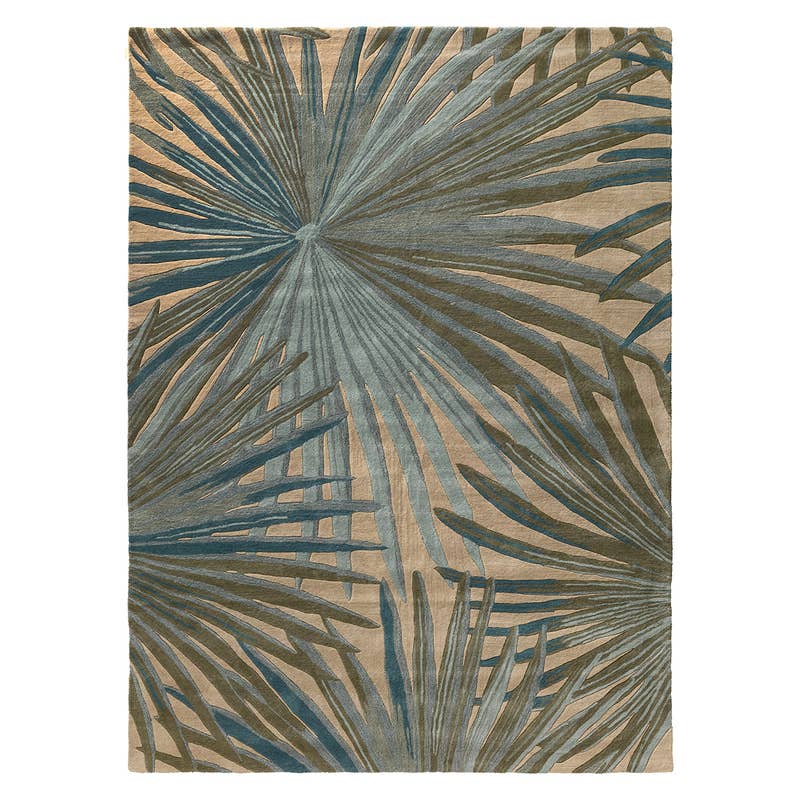
Coastal Retreat
Blues, whites, and seafoam with seashell embeds between pom poms.
-
5
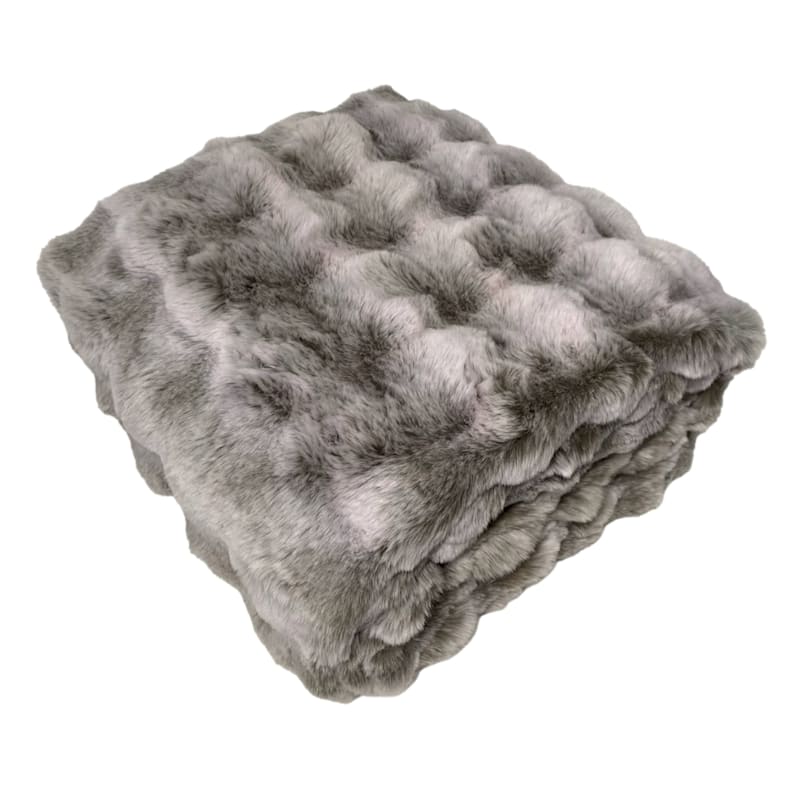
Luxury Velvet Touch
Thick wool yarn in jewel tones (emerald, sapphire) for a plush, high-end feel.
Customization Tips and Variations
- Size Scaling: Small (2×3 ft): 150 pom poms. Large (5×8 ft): 800+. Use a hula hoop as a layout guide.
📐 - Texture Play: Mix yarn types—cotton for firmness, acrylic for softness.
🧶 - Eco-Upcycle: Raid thrift stores for old sweaters; unravel for unique fibers.
♻️ - Durability Hacks: Brush with fabric stiffener spray post-assembly; vacuum gently with upholstery attachment.
🛡️ - Common Mistakes to Avoid: Over-trimming (loses fluff), loose ties (pom poms detach), skipping backing (slips on floors).
⚠️
For pet-friendly rugs, opt for synthetic yarns—they shed less and clean easily.
Maintenance and Longevity
Spot-clean with mild soap and water; air-dry flat.
Full wash in a mesh bag on gentle cycle every 6 months. With proper care, your rug lasts 3–5 years in moderate use.
Refresh by adding new pom poms to worn spots.
FAQ
How long does a full rug take to make?
From scratch, 10–20 hours over a weekend, depending on size and experience.
Can I use fabric scraps instead of yarn?
Yes! Cut strips and wind like yarn for a rag-rug hybrid—great for upcycling old T-shirts.
What if my pom poms aren’t uniform?
Embrace imperfection for an artisanal look, or remake outliers. Practice on scraps first.
Is this pet-proof?
Mostly—use tight knots and non-fraying yarns. Supervise playful pets initially.
Can I sell my creations?
Absolutely! List on Etsy with handmade pom pom rug tags; disclose materials for transparency.
Conclusion
Crafting a DIY pom pom rug is a rewarding project that turns humble yarn into a showstopping home accent.
With minimal tools and endless creative freedom, you’ll gain a custom piece that reflects your style while honing upcycling skills.
Start small, experiment boldly, and soon your floors will boast plush, handmade luxury.
Share your makes on social media—tag #DIYPomPomRug for inspiration!
Leave a Reply