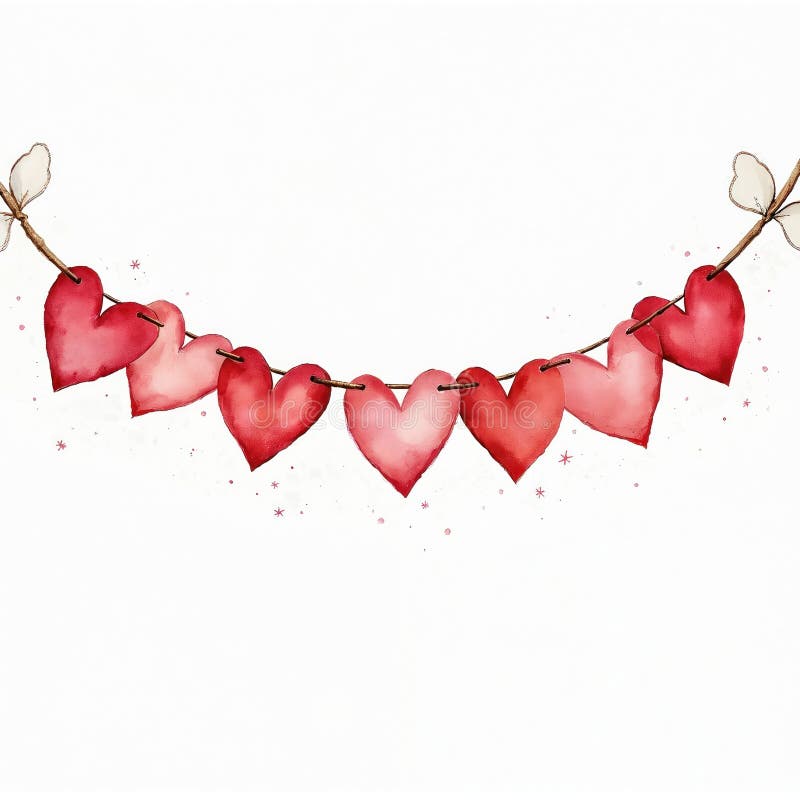
Creating a DIY paper heart garland is one of the most versatile, budget-friendly, and charming ways to elevate your home decor.
Whether you are prepping for Valentine’s Day, decorating a nursery, or adding a whimsical touch to a wedding celebration, this project requires minimal supplies and delivers high-impact visual appeal.
By using various paper weights, textures, and assembly techniques, you can transform simple cardstock into a professional-looking decorative piece that rivals high-end boutique finds.
The Essential Supplies for Paper Heart Crafting
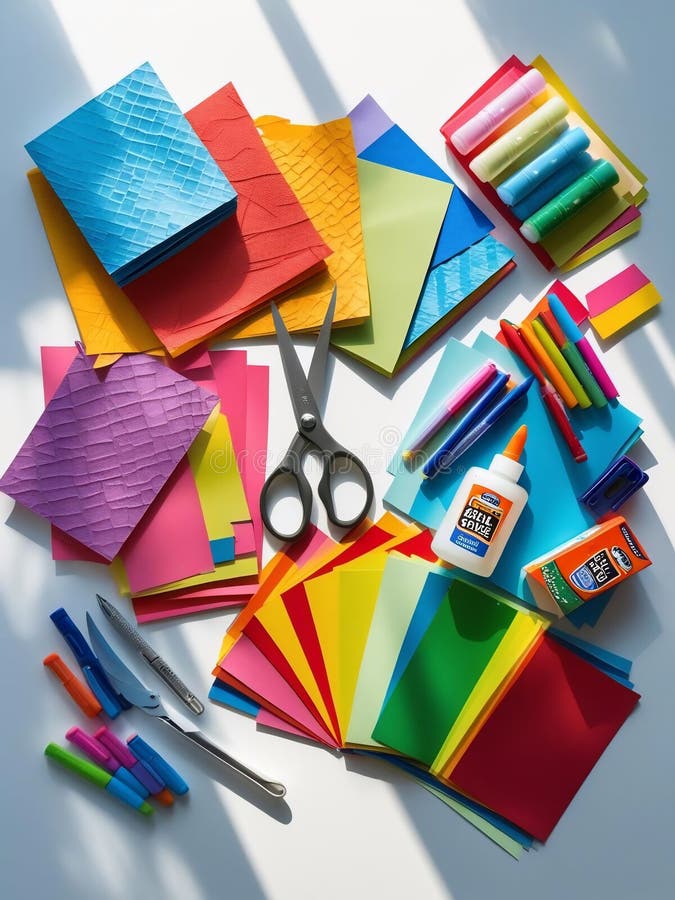
Before diving into the specific styles, you need to gather your DIY Toolkit.
The quality of your materials will dictate the longevity and hang of your garland.
- ❤ Paper Selection: Cardstock (65lb to 80lb) is ideal for durability. For a more delicate look, use vellum or recycled book pages.
- ❤ Cutting Tools: A pair of precision scissors is essential, but for high-volume garlands, a heart-shaped craft punch or a Cricut/Silhouette machine will save hours of labor.
- ❤ Adhesives: Double-sided tape, hot glue, or a standard glue stick work well. If you prefer a floating look, a sewing machine is the secret weapon of professional crafters.
- ❤ Stringing Material: Baker’s twine, fishing line (for an invisible look), or embroidery floss.
- ❤ Measuring Tools: A ruler and pencil for consistent sizing.
Step-by-Step: The Classic 3D Paper Heart Garland
The 3D heart garland is a favorite because it adds dimension and shadows to your walls, making it look much more expensive than it actually is.
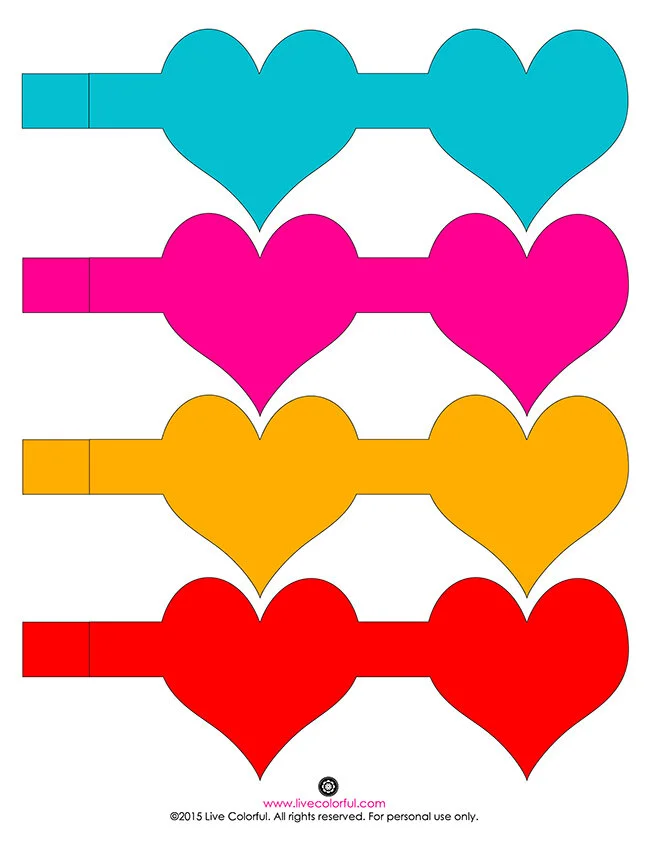
Step 1: Cut Your Hearts
For every 3D heart, you will need two paper hearts of the exact same size.
Fold your cardstock in half and draw half a heart shape along the fold to ensure perfect symmetry.
Once you have a template you like, trace and cut approximately 20–30 hearts for a 5-foot garland.
Step 2: Create the Fold
Take each heart and fold it vertically down the center.
This creates a spine for the heart.
Step 3: Glue the Pairs
Apply a thin line of glue or a strip of double-sided tape along the outer spine of one folded heart.
Press it against the spine of a second heart.
Now you have a heart with four wings.
Step 4: Stringing the Garland
Lay your twine flat on a table.
Place the center spine of your 3D heart over the twine and secure it with a small dab of hot glue or by sandwiching the twine between the two paper layers.
Space the hearts about 3 to 4 inches apart.
10 Creative DIY Paper Heart Garland Variations
To help you find the perfect aesthetic for your space, here are 10 distinct styles of paper heart garlands you can create today.
1. Vintage Book Page Heart Garland
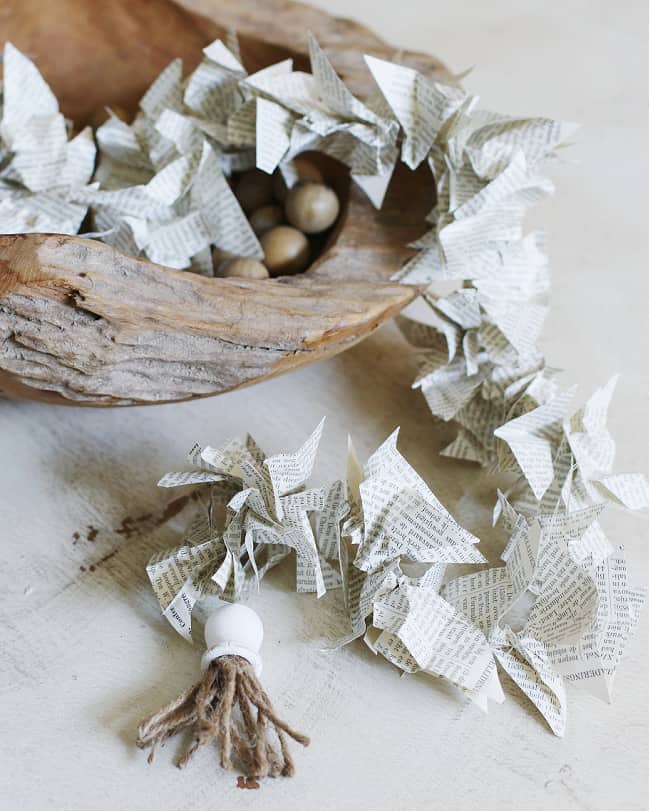
This style is perfect for bibliophiles and fans of the Dark Academia or Cottagecore aesthetic.
Use pages from an old, yellowed book (thrift stores are great for this).
The typography provides a neutral yet textured background that fits into almost any room.
To add a shabby chic touch, lightly tea-stain the edges of the paper before assembly.
2. Ombre Watercolor Heart Garland
If you want a soft, ethereal look, use watercolor paper.
Paint large washes of color—starting from deep crimson and fading to pale blush.
Once dry, punch your hearts out of the different tonal areas.
When you string them together in a gradient, it creates a stunning ombre effect that looks beautiful draped over a headboard.
3. Glitter Cardstock Heart Garland

For parties and celebrations, glitter is a must.
The key to making this look high-authority and not elementary school is to use high-quality, non-shedding glitter cardstock.
Choose sophisticated metallics like champagne gold, rose gold, or frosted silver.
Use a sewing machine to stitch through the center of these hearts for a streamlined, modern finish.
4. Sheet Music Heart Garland

Similar to the vintage book style, sheet music garlands are incredibly elegant.
They are particularly popular for weddings and music rooms.
The black notes against the white or cream paper create a rhythmic visual pattern.
Pair this with black velvet ribbon instead of twine for a high-contrast, luxury feel.
5. 3D Puffy Stitched Heart Garland
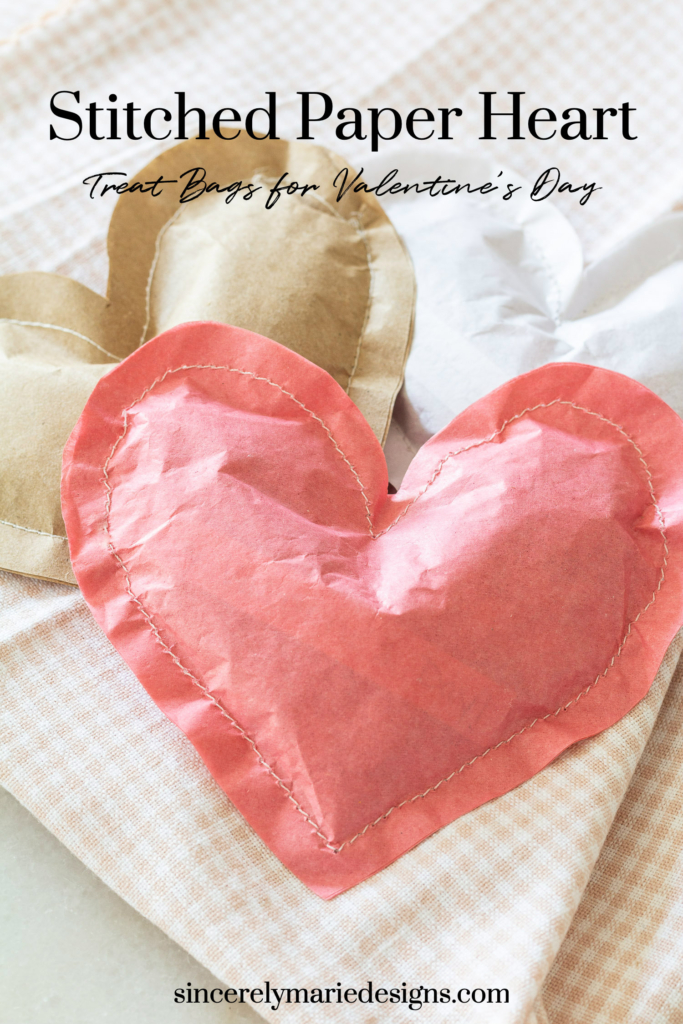
Instead of gluing two hearts together, take two hearts and sew them together around the edges, leaving a small gap.
Lightly stuff the inside with a tiny bit of cotton ball or tissue paper, then sew the gap shut.
This creates a puffy paper heart that has incredible texture.
These look best when hung vertically from a doorway.
6. Origami Folded Heart Garland
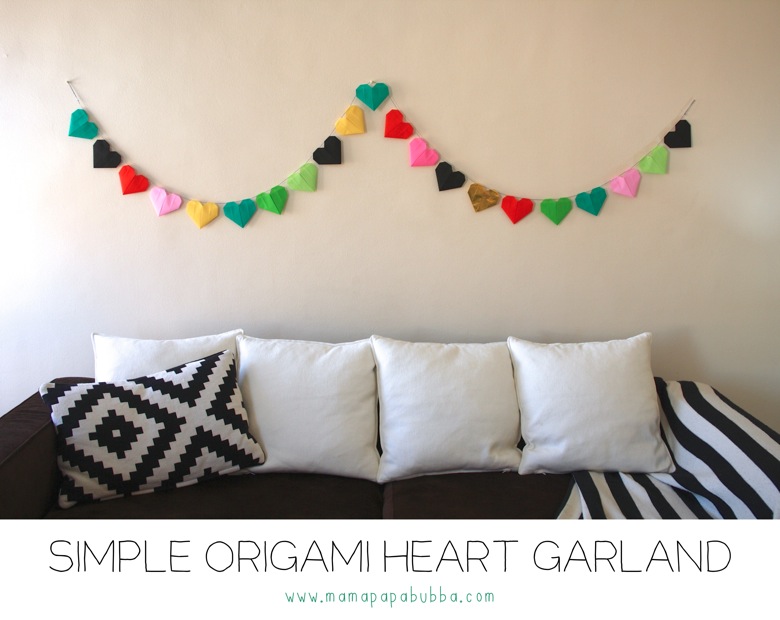
For those who enjoy precision, origami hearts are the way to go.
Using Japanese Washi paper or thin double-sided origami paper, fold individual hearts that have a pocket in the back.
You can slide your string directly through these pockets, meaning no glue is required.
This results in a very clean, geometric look.
7. Washi Tape Patterned Heart Garland
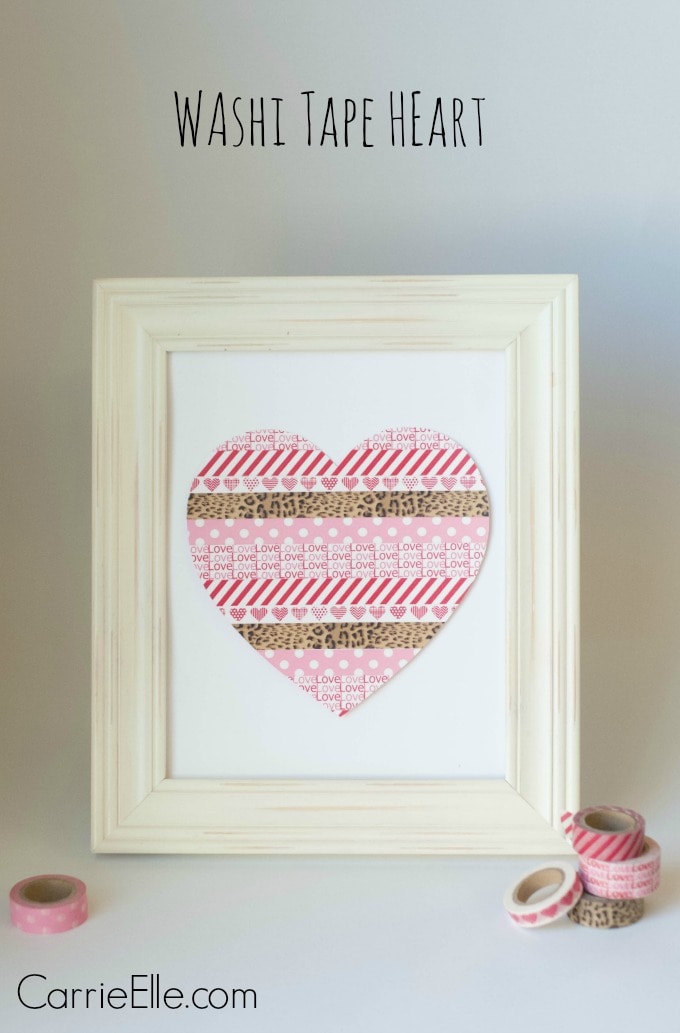
If you have plain white cardstock, you can create custom patterns using Washi tape.
Lay strips of various patterned tapes across your paper before cutting out the heart shapes.
This allows you to mix stripes, polka dots, and florals within a single heart, giving the garland a playful, scrapbook vibe.
8. Recycled Magazine Collage Heart Garland
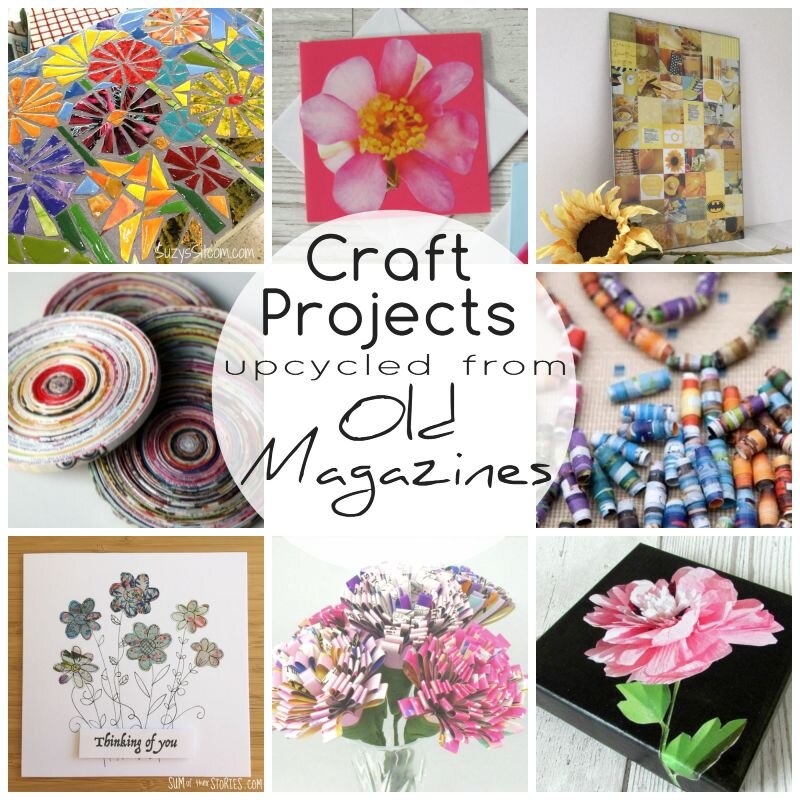
This is the ultimate upcycling project.
Go through old fashion or travel magazines and look for pages with vibrant colors.
Don’t worry about the images; focus on the colors.
When you punch hearts out of these pages, you get unique, abstract patterns.
It’s an eco-friendly way to add a pop of color to a dorm room or creative studio.
9. Quilled Paper Filigree Heart Garland
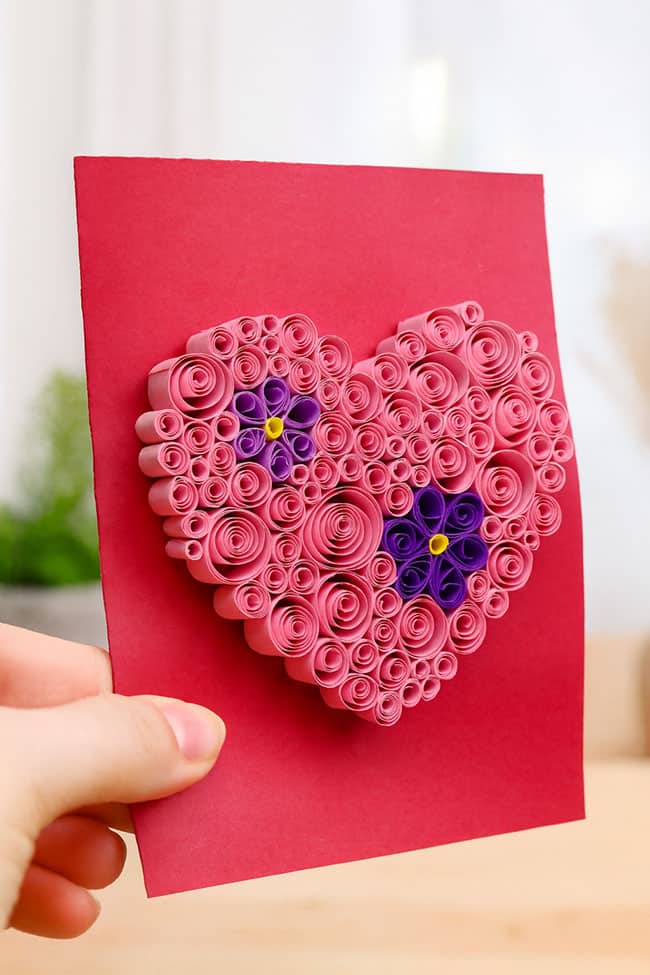
Quilling involves rolling thin strips of paper into intricate shapes.
To make a quilled heart garland, create the outline of a heart with a thick strip of paper, then fill the inside with coils and scrolls.
This is a time-consuming method, but the result is a piece of art that looks like delicate lace.
10. Minimalist Kraft Paper Heart Garland
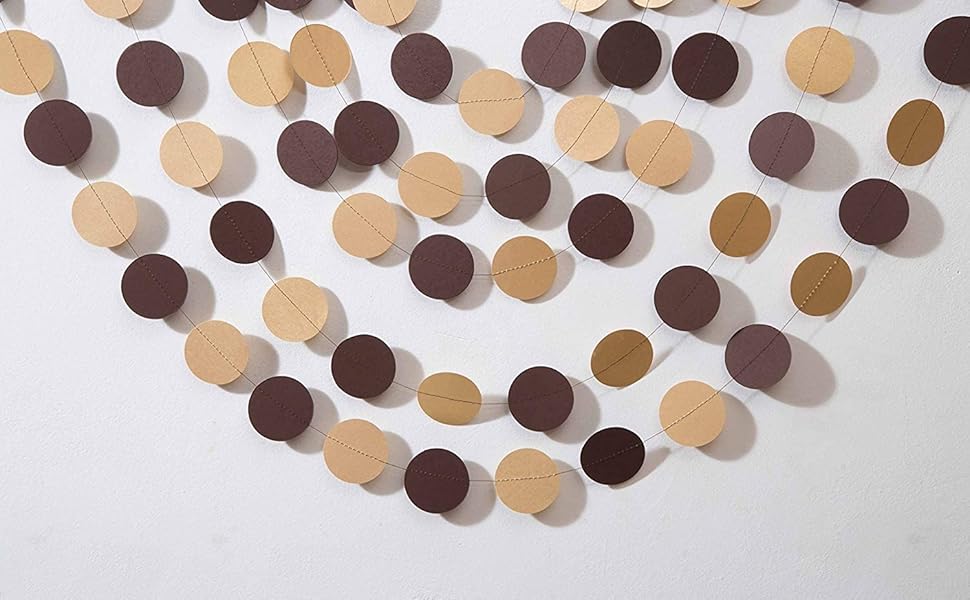
For a rustic or Scandinavian look, use simple brown Kraft paper (or recycled grocery bags).
The raw, organic texture of the paper looks beautiful when paired with white cotton twine.
This is a less is more approach that works perfectly for holiday decor or minimalist nurseries.
Comparison of Paper Types for Garlands
| Paper Type | Durability | Best Aesthetic | Difficulty Level |
|---|---|---|---|
| Cardstock (65lb) | High | Modern, Clean | Easy |
| Vellum | Medium | Soft, Translucent | Moderate |
| Book Pages | Low | Vintage, Academic | Easy |
| Watercolor Paper | High | Artistic, Custom | Moderate |
| Glitter Paper | High | Festive, Glamorous | Easy |
| Origami Paper | Medium | Geometric, Minimalist | Hard |
Pro Tips for a Professional Finish
- ❤ The No-Tangle Secret: When hanging long horizontal garlands, use a tiny bit of poster tack on the back of every 5th heart to keep it flush against the wall. This prevents the garland from twisting and showing the back side of the paper.
- ❤ Vary the Sizes: For a more organic, bubbling look, use three different sizes of heart punches. Mix them randomly along the string to create visual interest.
- ❤ Edge Distressing: If using book pages, run a brown ink pad along the edges of the cut hearts. This hides the white core of the paper and emphasizes the vintage look.
- ❤ Spacing Consistency: Use a scrap piece of wood or a ruler as a spacer while gluing. Placing a 4-inch block between hearts ensures perfectly even spacing every time.
FAQ: Frequently Asked Questions
How do I stop my paper hearts from curling?
Paper usually curls due to moisture or the direction of the paper grain. To prevent this, use a heavier weight cardstock (at least 65lb).
If you are painting them with watercolors, tape the paper down to a board until it is 100% dry before cutting your shapes.
Can I make this garland without a sewing machine?
Absolutely. While sewing is fast, using a high-quality double-sided tape or a dot-glue runner is just as effective.
For a floating effect without sewing, sandwich the string between two hearts using a small dab of hot glue.
How do I store the garland without it tangling?
The best way to store a paper garland is to wrap it around a piece of flat cardboard.
Start at one end, and wind it loosely. Place a piece of tissue paper between layers to prevent glitter or glue from sticking.
What is the best way to hang a garland without damaging walls?
Clear command hooks or poster tint (tack) are the best options.
If the garland is very lightweight (like vellum or book pages), even a small piece of decorative Washi tape can hold it up securely.
Conclusion
A DIY paper heart garland is more than just a craft; it’s an opportunity to infuse your personal style into your living space.
From the sophisticated textures of vintage book pages to the vibrant energy of watercolor ombre, the possibilities are limited only by your choice of paper.
By following the 3D assembly method or experimenting with the ten variations listed above, you can create a high-quality decor piece that is both sustainable and stunning.
Grab your scissors, find some beautiful paper, and start crafting a piece that brings a little more love into your home.
Leave a Reply