

Every winter, that first heating bill lands in your inbox and you wince. But here’s the thing — in most homes, the real problem isn’t the furnace.
It’s all the warm air escaping through gaps, bare windows, and overlooked habits that bleed money without you realizing it. I’ve spent years testing these fixes in my own drafty, 1960s-era house, and almost every one of them costs little or nothing.
You don’t need a contractor or a renovation budget. You need a few hours, some basic supplies, and the willingness to walk around your house with a critical eye.
Seal Drafts Around Doors and Windows
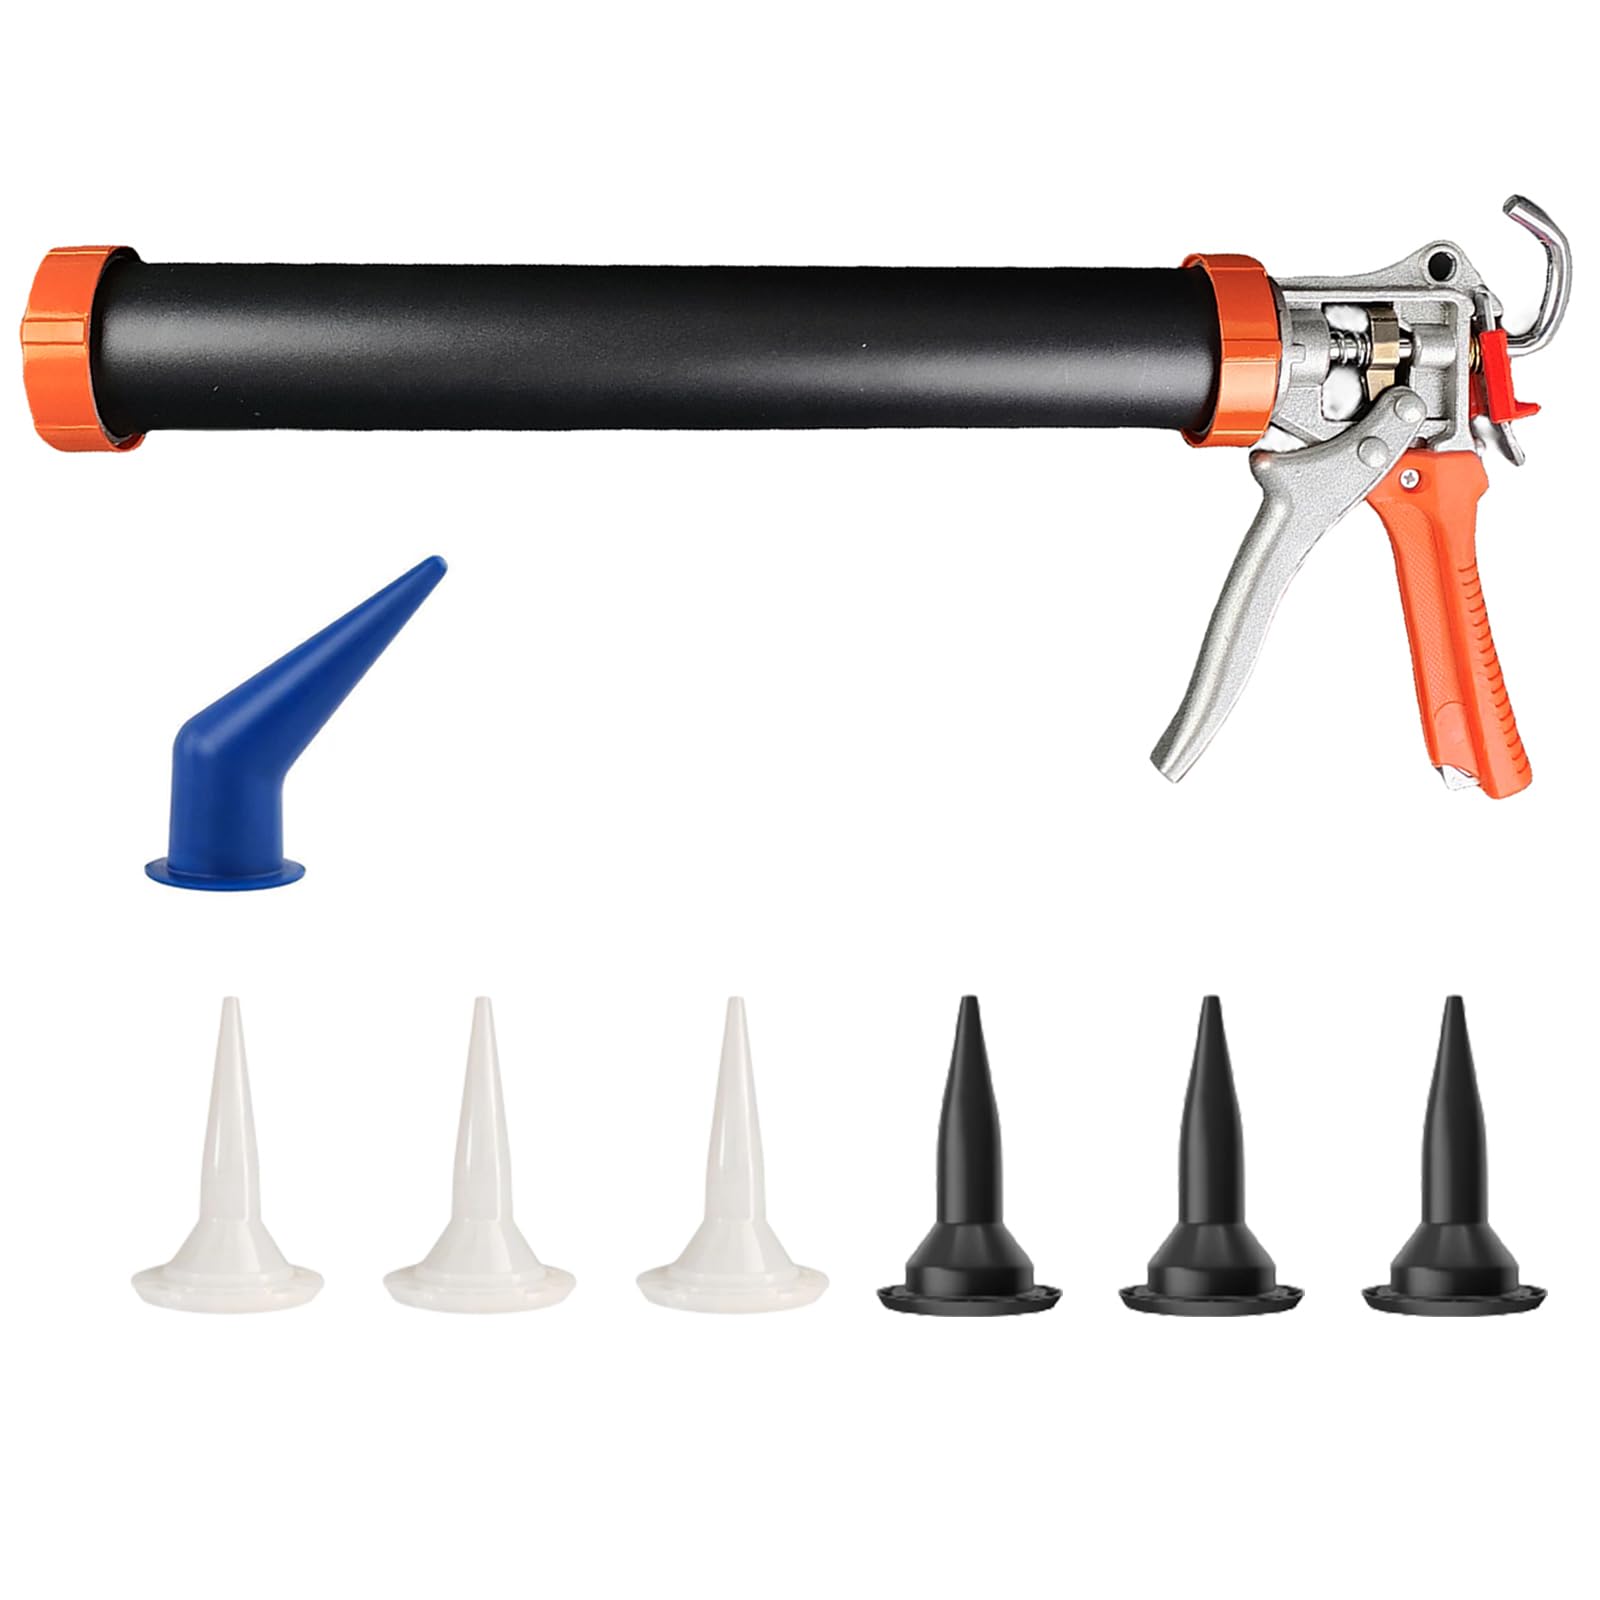
Air leaks are the number-one source of wasted heat in most homes, and they’re also the cheapest to fix. Gaps around window frames, door frames, electrical outlets on exterior walls, and anywhere pipes or wires penetrate the siding can add up to the equivalent of leaving a window cracked open all winter.
The quick test: hold a lit incense stick near suspected gaps on a windy day. If the smoke wavers or gets sucked out, you’ve found a leak.
What you use depends on the gap:
- ✦Silicone or latex caulk for stationary gaps — where a window frame meets the wall, around exterior trim, or around pipe penetrations. DAP Dynaflex 230 is a reliable, paintable option that holds up to temperature swings. A $5 tube and a $3 caulk gun is all you need.
- ✦Peel-and-stick foam weatherstripping for movable joints — the sides and top of door frames, operable window sashes. It’s cheap and easy, but compresses over time and needs replacing every year or two.
- ✦V-strip (tension seal) weatherstripping for doors and windows you open regularly. It’s more durable than foam and springs back into shape. Frost King’s V-seal is widely available and lasts for years.
Focus on exterior doors and windows first — that’s where the biggest losses happen. Interior gaps matter far less unless they lead to an unheated space like a garage or crawlspace.
Apply Window Insulation Film
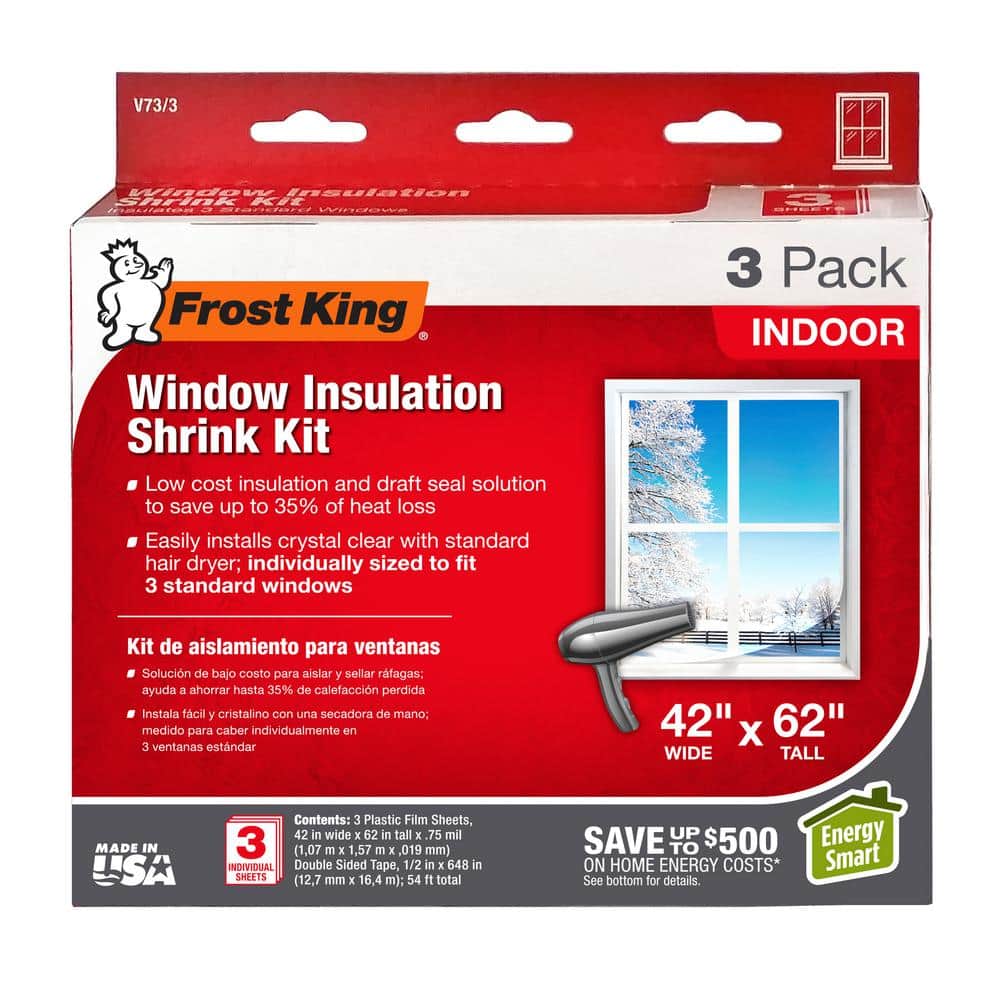
If your windows are old, single-pane, or just chronically drafty and you can’t replace them right now, window insulation film is one of the best bang-for-your-buck temporary fixes available. These kits — Frost King and 3M both make them at most hardware stores for $5–10 per window — are basically a sheet of clear shrink-wrap that you tape to the inside of the window frame, then tighten with a hair dryer until it’s taut and nearly invisible.
The film creates a dead-air pocket between the plastic and the glass that works like an extra pane, cutting heat loss through the window significantly. You peel it off in spring, so there’s zero commitment.
The trade-off is that you can’t open the window while the film is up, so skip rooms where you rely on ventilation. Also, don’t waste your time on windows that already get strong afternoon sun — you’d be blocking free solar heat (more on that below).
Focus the film on north- and east-facing windows and any window where you can physically feel cold air radiating off the glass.
Hang Thermal Curtains
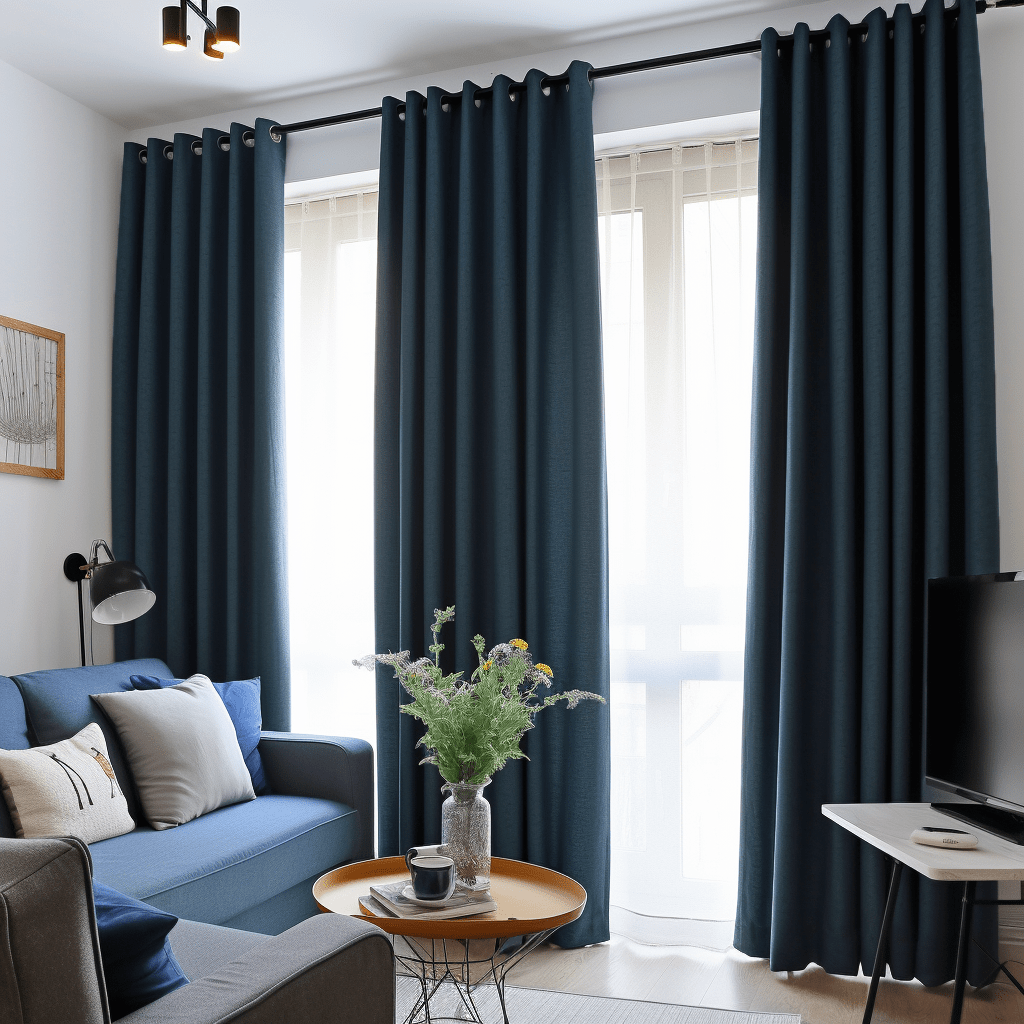
Thermal curtains — sometimes sold as insulated or blackout curtains — have a dense, usually foam-backed lining that blocks cold air from radiating off the window glass into your room. They’re one of the easiest upgrades because hanging a curtain rod is basic DIY, and you get better sleep as a bonus from the blackout effect.
To get the most out of them, mount the rod a few inches wider than the window frame on each side and let the curtains reach the floor or sill. This seals the air pocket on all sides instead of letting cold air sneak around the edges.
Open them during the day to let the sun warm the room, then close them before sunset to trap that heat in. NICETOWN’s thermal curtains on Amazon are a solid, affordable option with tons of colors.
If you already have curtains you like, buy thermal lining fabric by the yard (Roc-Lon is a common brand) and clip or sew it to the back — same effect, less waste.
Reverse Your Ceiling Fans
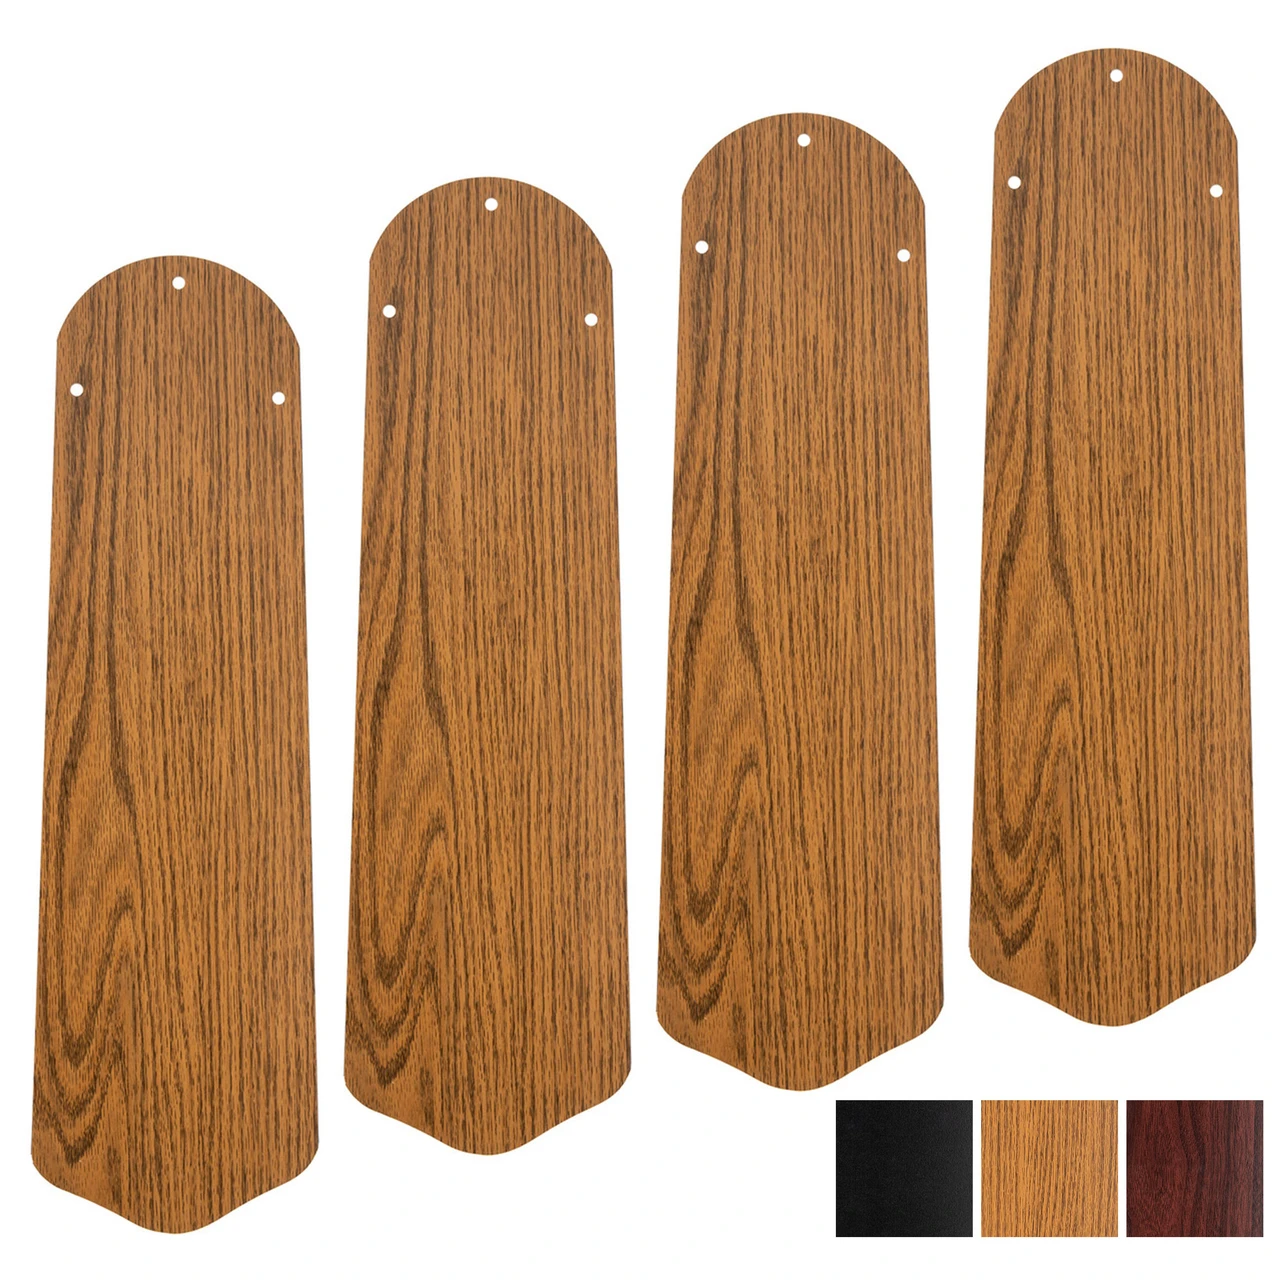
Ceiling fans aren’t just for summer. That little toggle switch on the fan’s motor housing — the one most people have never touched — reverses the blade direction.
In summer, the fan spins counterclockwise to push air down and create a breeze. In winter, flip it to clockwise on the lowest speed.
The blades now pull cool air up and push the warm air that’s been sitting uselessly at the ceiling back down the walls and into the room.
This makes the biggest difference in rooms with high or vaulted ceilings where stratification is a real problem — the ceiling can be 10°F or more warmer than where you’re sitting. But even in standard eight-foot rooms, redistributing that trapped warm air means your furnace cycles less often.
Run it on the lowest setting; you don’t want to feel a breeze, just a gentle circulation. This costs practically nothing in electricity — pennies per day — and takes ten seconds to flip.
Add Area Rugs to Hard Floors
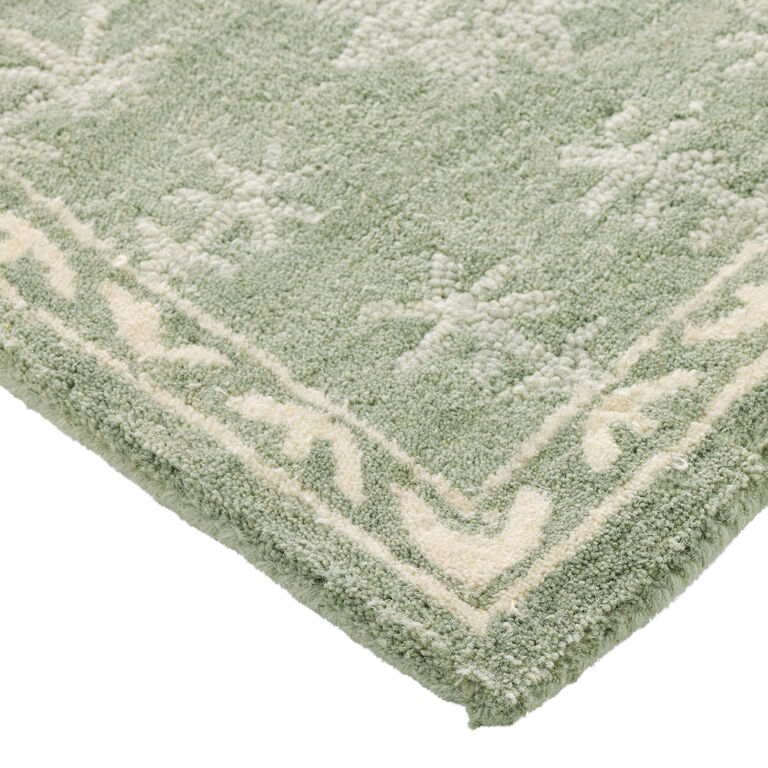
Hardwood, tile, and concrete floors are brutal in winter — not just on your bare feet, but for your heating bill. Those hard surfaces are a direct thermal bridge to the cold crawlspace, basement, or slab underneath, and they radiate cold into the room all day. A good area rug with a thick pad underneath insulates the floor and makes the whole room feel warmer, not just your feet.
You don’t need to carpet the whole space. Focus on the areas where you actually walk and sit — beside the bed, in front of the couch, at the kitchen sink.
A dense wool rug is the warmest option, but even a synthetic shag with a quality felt rug pad (Mohawk and RugPadUSA both make good ones) makes a noticeable difference. On a tight budget, layering two or three inexpensive bath rugs in high-traffic zones works better than you’d think.
Just make sure the rug isn’t covering a floor vent — that’s a common mistake that blocks heated air from reaching the room.
Use a Programmable Thermostat Wisely

A programmable or smart thermostat doesn’t make your furnace more efficient — it makes your habits more efficient. The Department of Energy estimates you save about 10% on heating per year by turning the thermostat back 7–10°F for eight hours a day. The thermostat automates that so you don’t have to remember.
The strategy is simple: let the temperature drop when you’re asleep or out of the house, then bring it back up before you wake up or get home. Set it to 62–65°F overnight and while you’re at work, then back to 68–70°F thirty minutes before you need it warm.
A smart thermostat like the Google Nest or Ecobee learns your schedule over time and adjusts automatically, which is especially helpful if your routine is irregular. If you rent and can’t swap out the thermostat, the same principle works manually — just be intentional about dialing it down when you leave and when you go to bed.
Even dropping it 3–4°F makes a measurable dent in the bill.
Layer Your Bedding
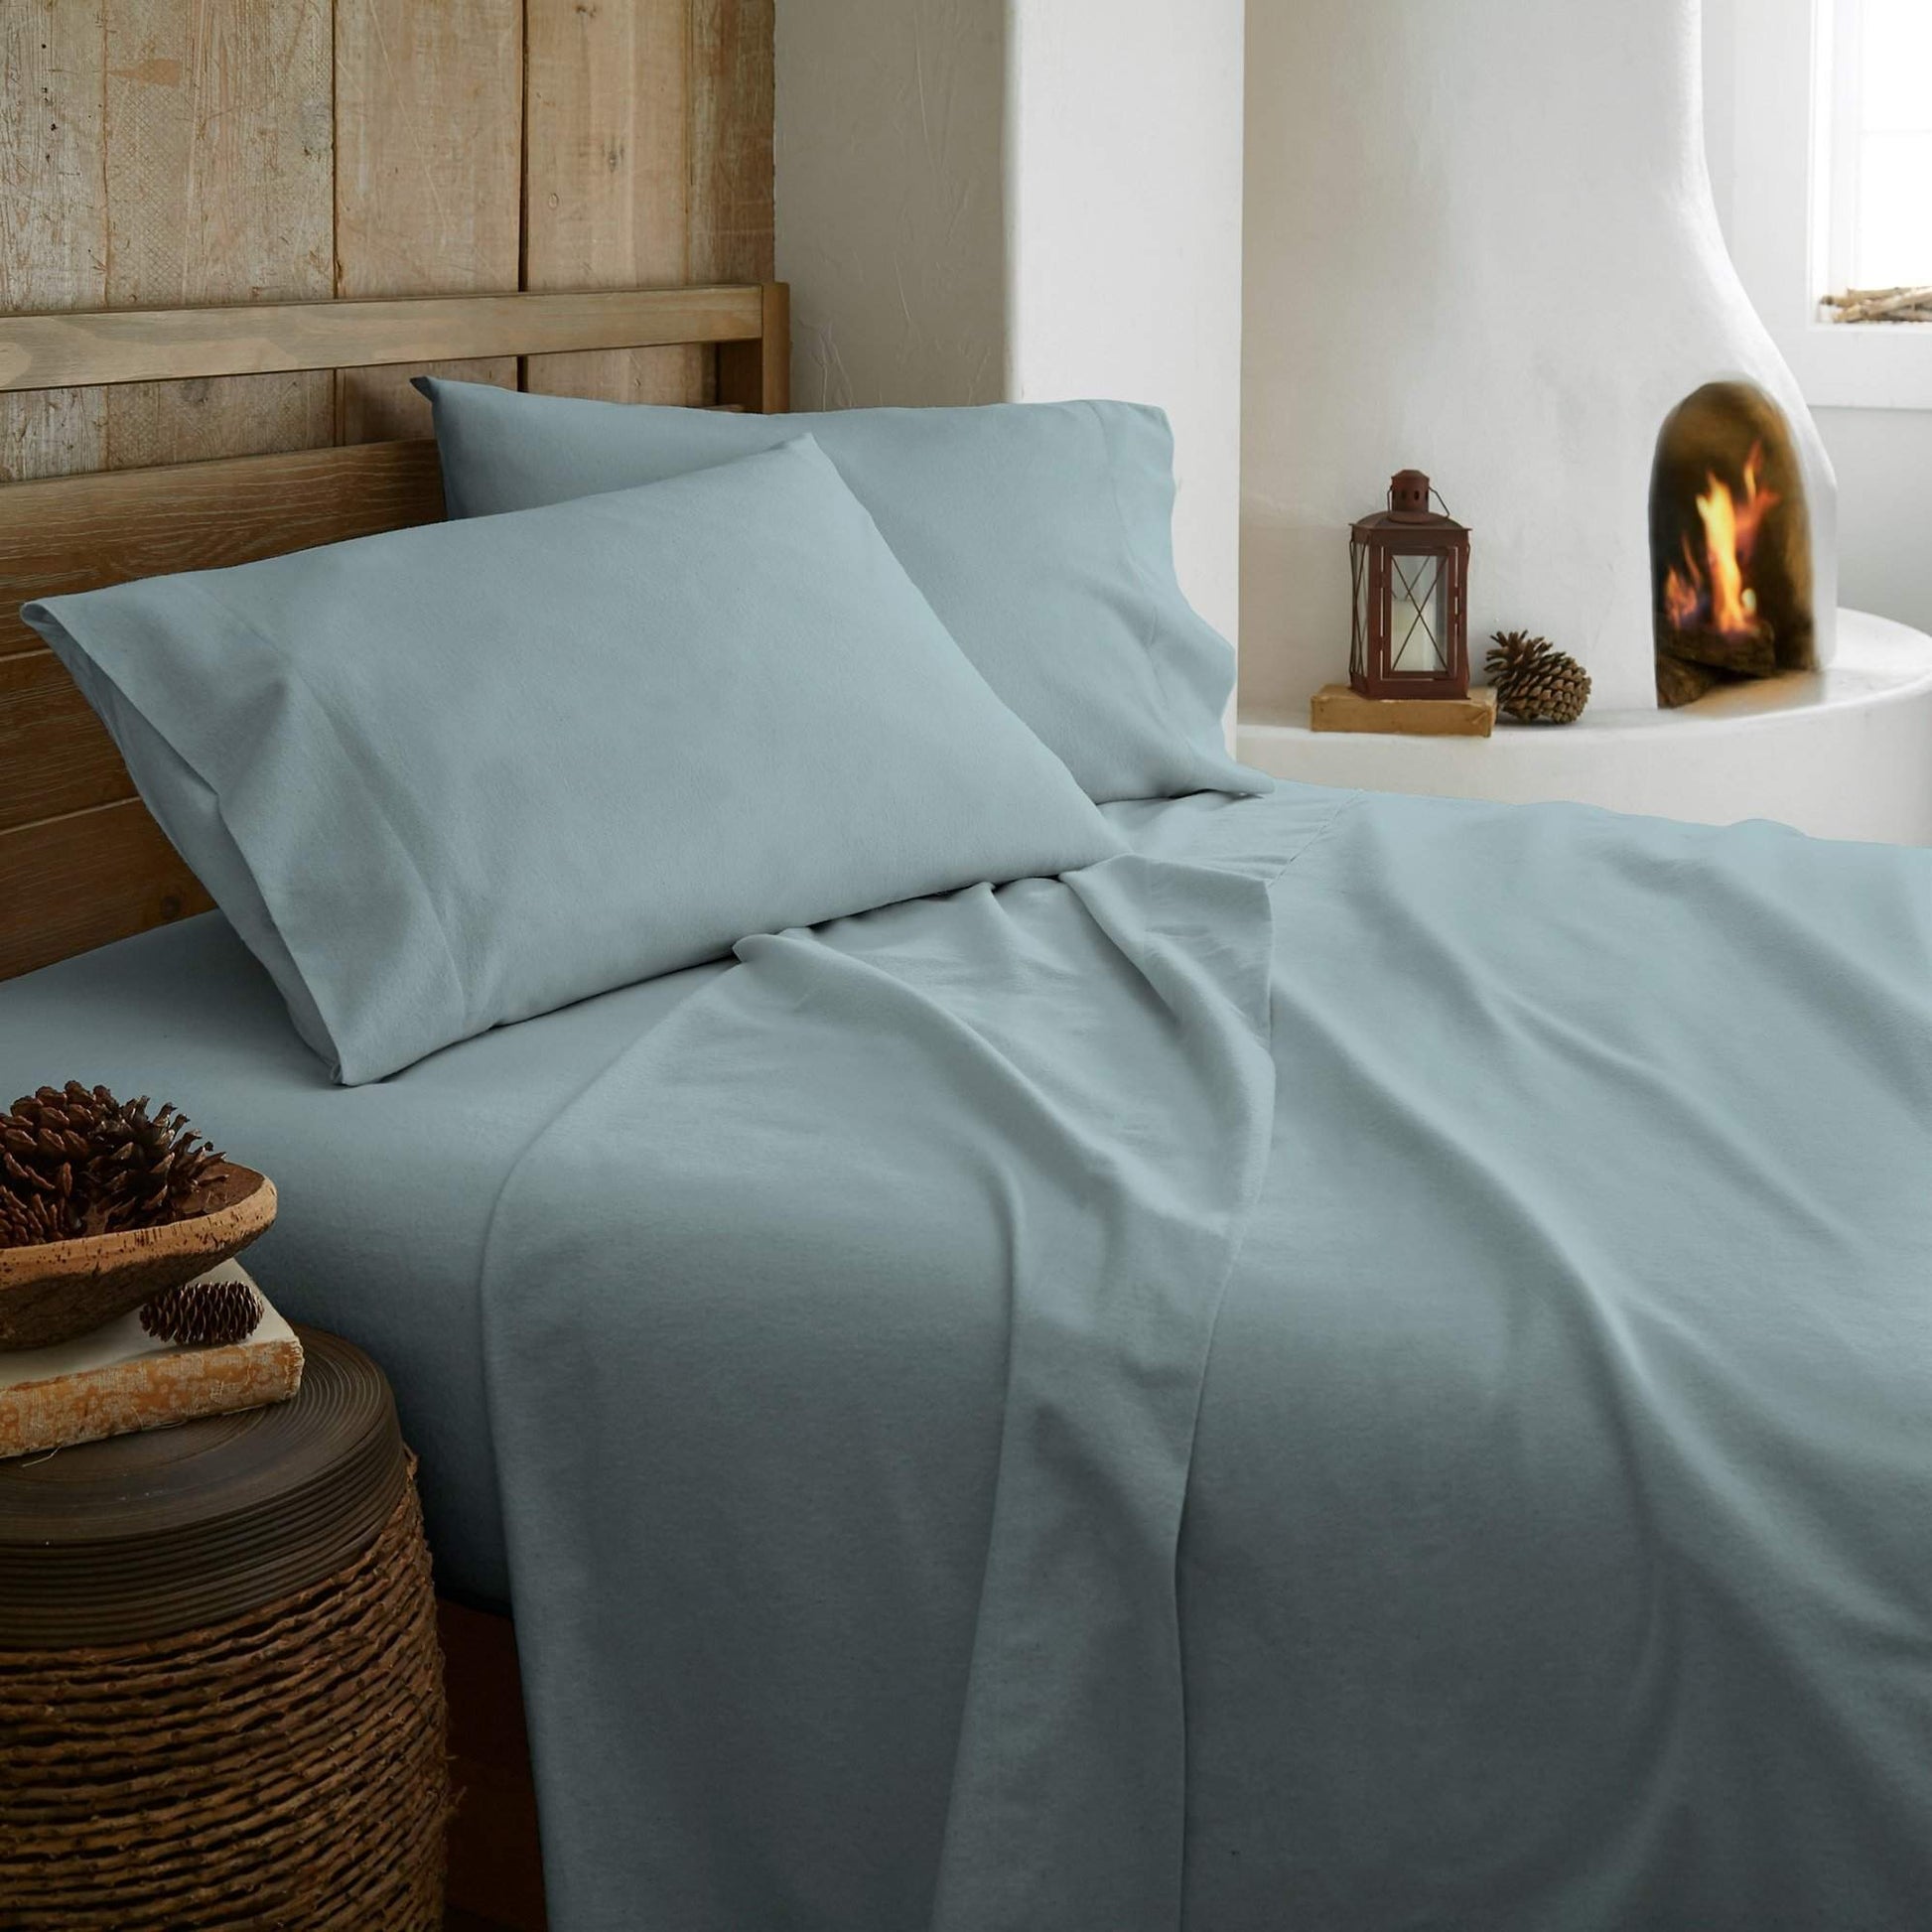
Your bedroom doesn’t need to be 72°F for you to be warm all night. The right bedding layers trap your body heat so efficiently that you can keep the thermostat low and still sleep comfortably. This is one of the easiest, most immediately satisfying changes on this list.
Here’s how to build a cold-weather bed:
- ✦Cotton flannel sheets as the base layer — they’re softer and warmer than standard percale or sateen. L.L.Bean’s Ultrasoft Comfort Flannel is the longtime favorite, but Threshold by Target is a great budget option.
- ✦A down-alternative comforter or real down duvet as the main insulating layer. Down with 600+ fill power is warmer for its weight than anything synthetic, but good down-alternative options (like the one from Buffy) are plenty warm for most climates.
- ✦A wool or fleece blanket between the sheet and comforter if you sleep particularly cold.
- ✦A heated mattress pad (Sunbeam makes reliable ones) for the ultimate move — it heats you from below, which is far more efficient than heating the air above you. Run it for 20 minutes before bed, then turn it off or let the timer shut it down. It uses a tiny fraction of the energy a space heater does.
Close Off Unused Rooms
If there’s a guest room, formal dining room, or spare bedroom you rarely use, shut the door and close the vent. There’s no reason to pay to heat square footage where nobody sits. Every door you close reduces the area your system needs to condition, which lets the furnace cycle less and the rooms you actually use warm up faster.
One caveat: if you have a forced-air system, don’t go overboard. Closing too many doors at once can unbalance the pressure in your ductwork and make the furnace work harder or cause air leaks in the ducts themselves.
A safe rule of thumb is to leave a few interior doors open on each floor so air can circulate back to the return vents. Focus on closing the rooms that are least used and farthest from the thermostat — that way the thermostat reads the temperature in the spaces where you actually spend time, not in an empty room that stays cold and tricks the system into running longer.
Let Sunlight In During the Day

This is the oldest trick in the book and it costs exactly nothing. The sun’s shortwave radiation passes straight through glass and heats up whatever it hits — your floor, your couch, your kid’s art project on the table. That’s free thermal energy being absorbed directly into your living space, and all you have to do is get out of the way.
Open every curtain and blind on south- and west-facing windows as early in the day as you can, especially on bright, cold days when the winter sun is low and direct. East-facing windows help in the morning.
The critical part is closing those curtains again before sunset — once the sun drops, that same glass becomes the coldest surface in the room and starts radiating cold inward. If you’re forgetful, tie it to a daily habit: coffee brewing, curtains open.
Dinner prep, curtains closed. It takes seconds and the savings add up all winter.
Use Door Draft Stoppers
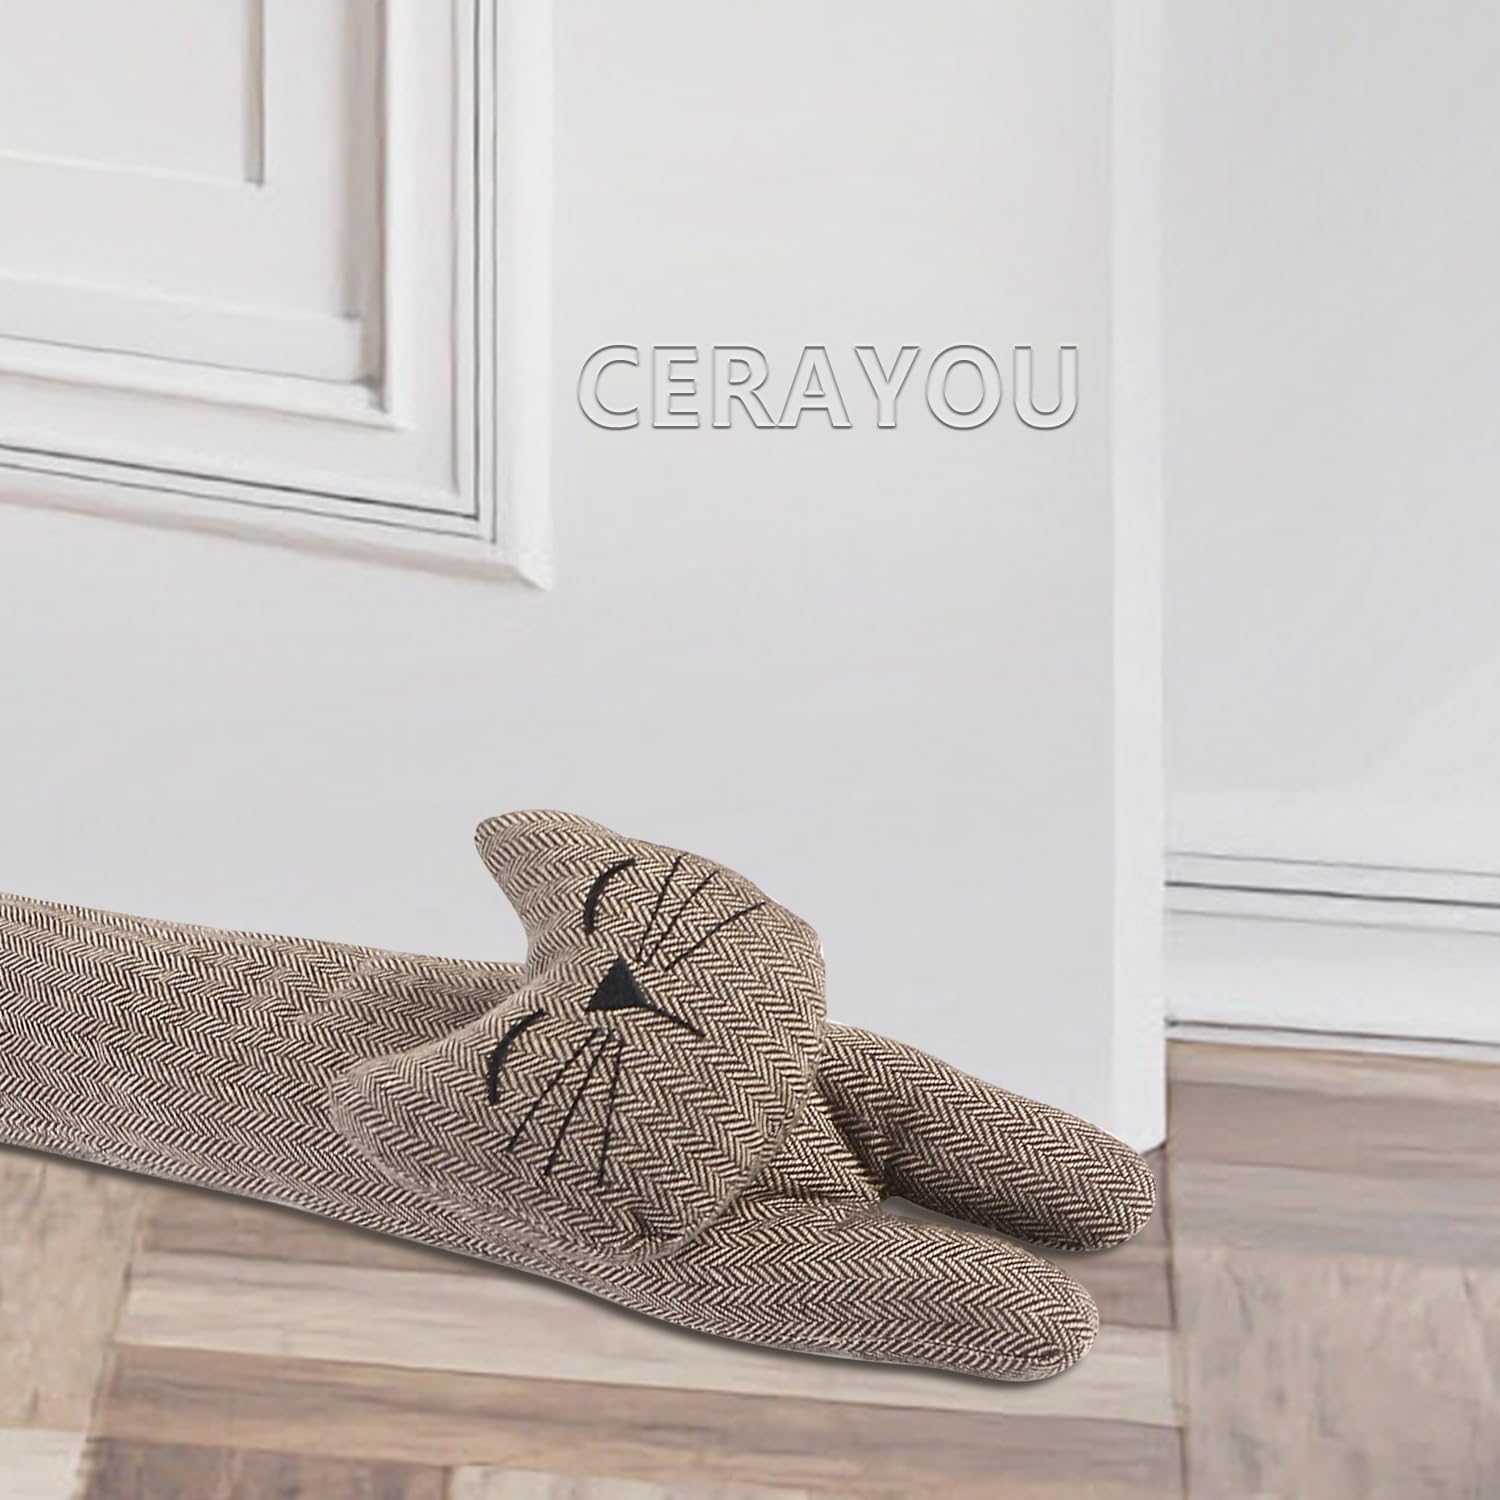
Even after you’ve weatherstripped your exterior doors, there’s usually a stubborn gap along the bottom that lets cold air pour in. A draft stopper — that long fabric tube you lay across the base of the door — is a simple physical barrier that blocks it.
The ones with two tubes connected by a strip of fabric (one tube on each side of the door) seal better than a single tube because they block air from both directions. You can find them for under $10, or make your own in about fifteen minutes with scrap fabric, a sewing machine, and a filling of rice, dried beans, or sand.
Concentrate these on exterior doors and any door that opens to an unheated garage, basement, or porch. Interior doors between heated rooms don’t need them unless you’re deliberately trying to isolate a colder zone — like closing off a seldom-used wing of the house.
Run a Humidifier
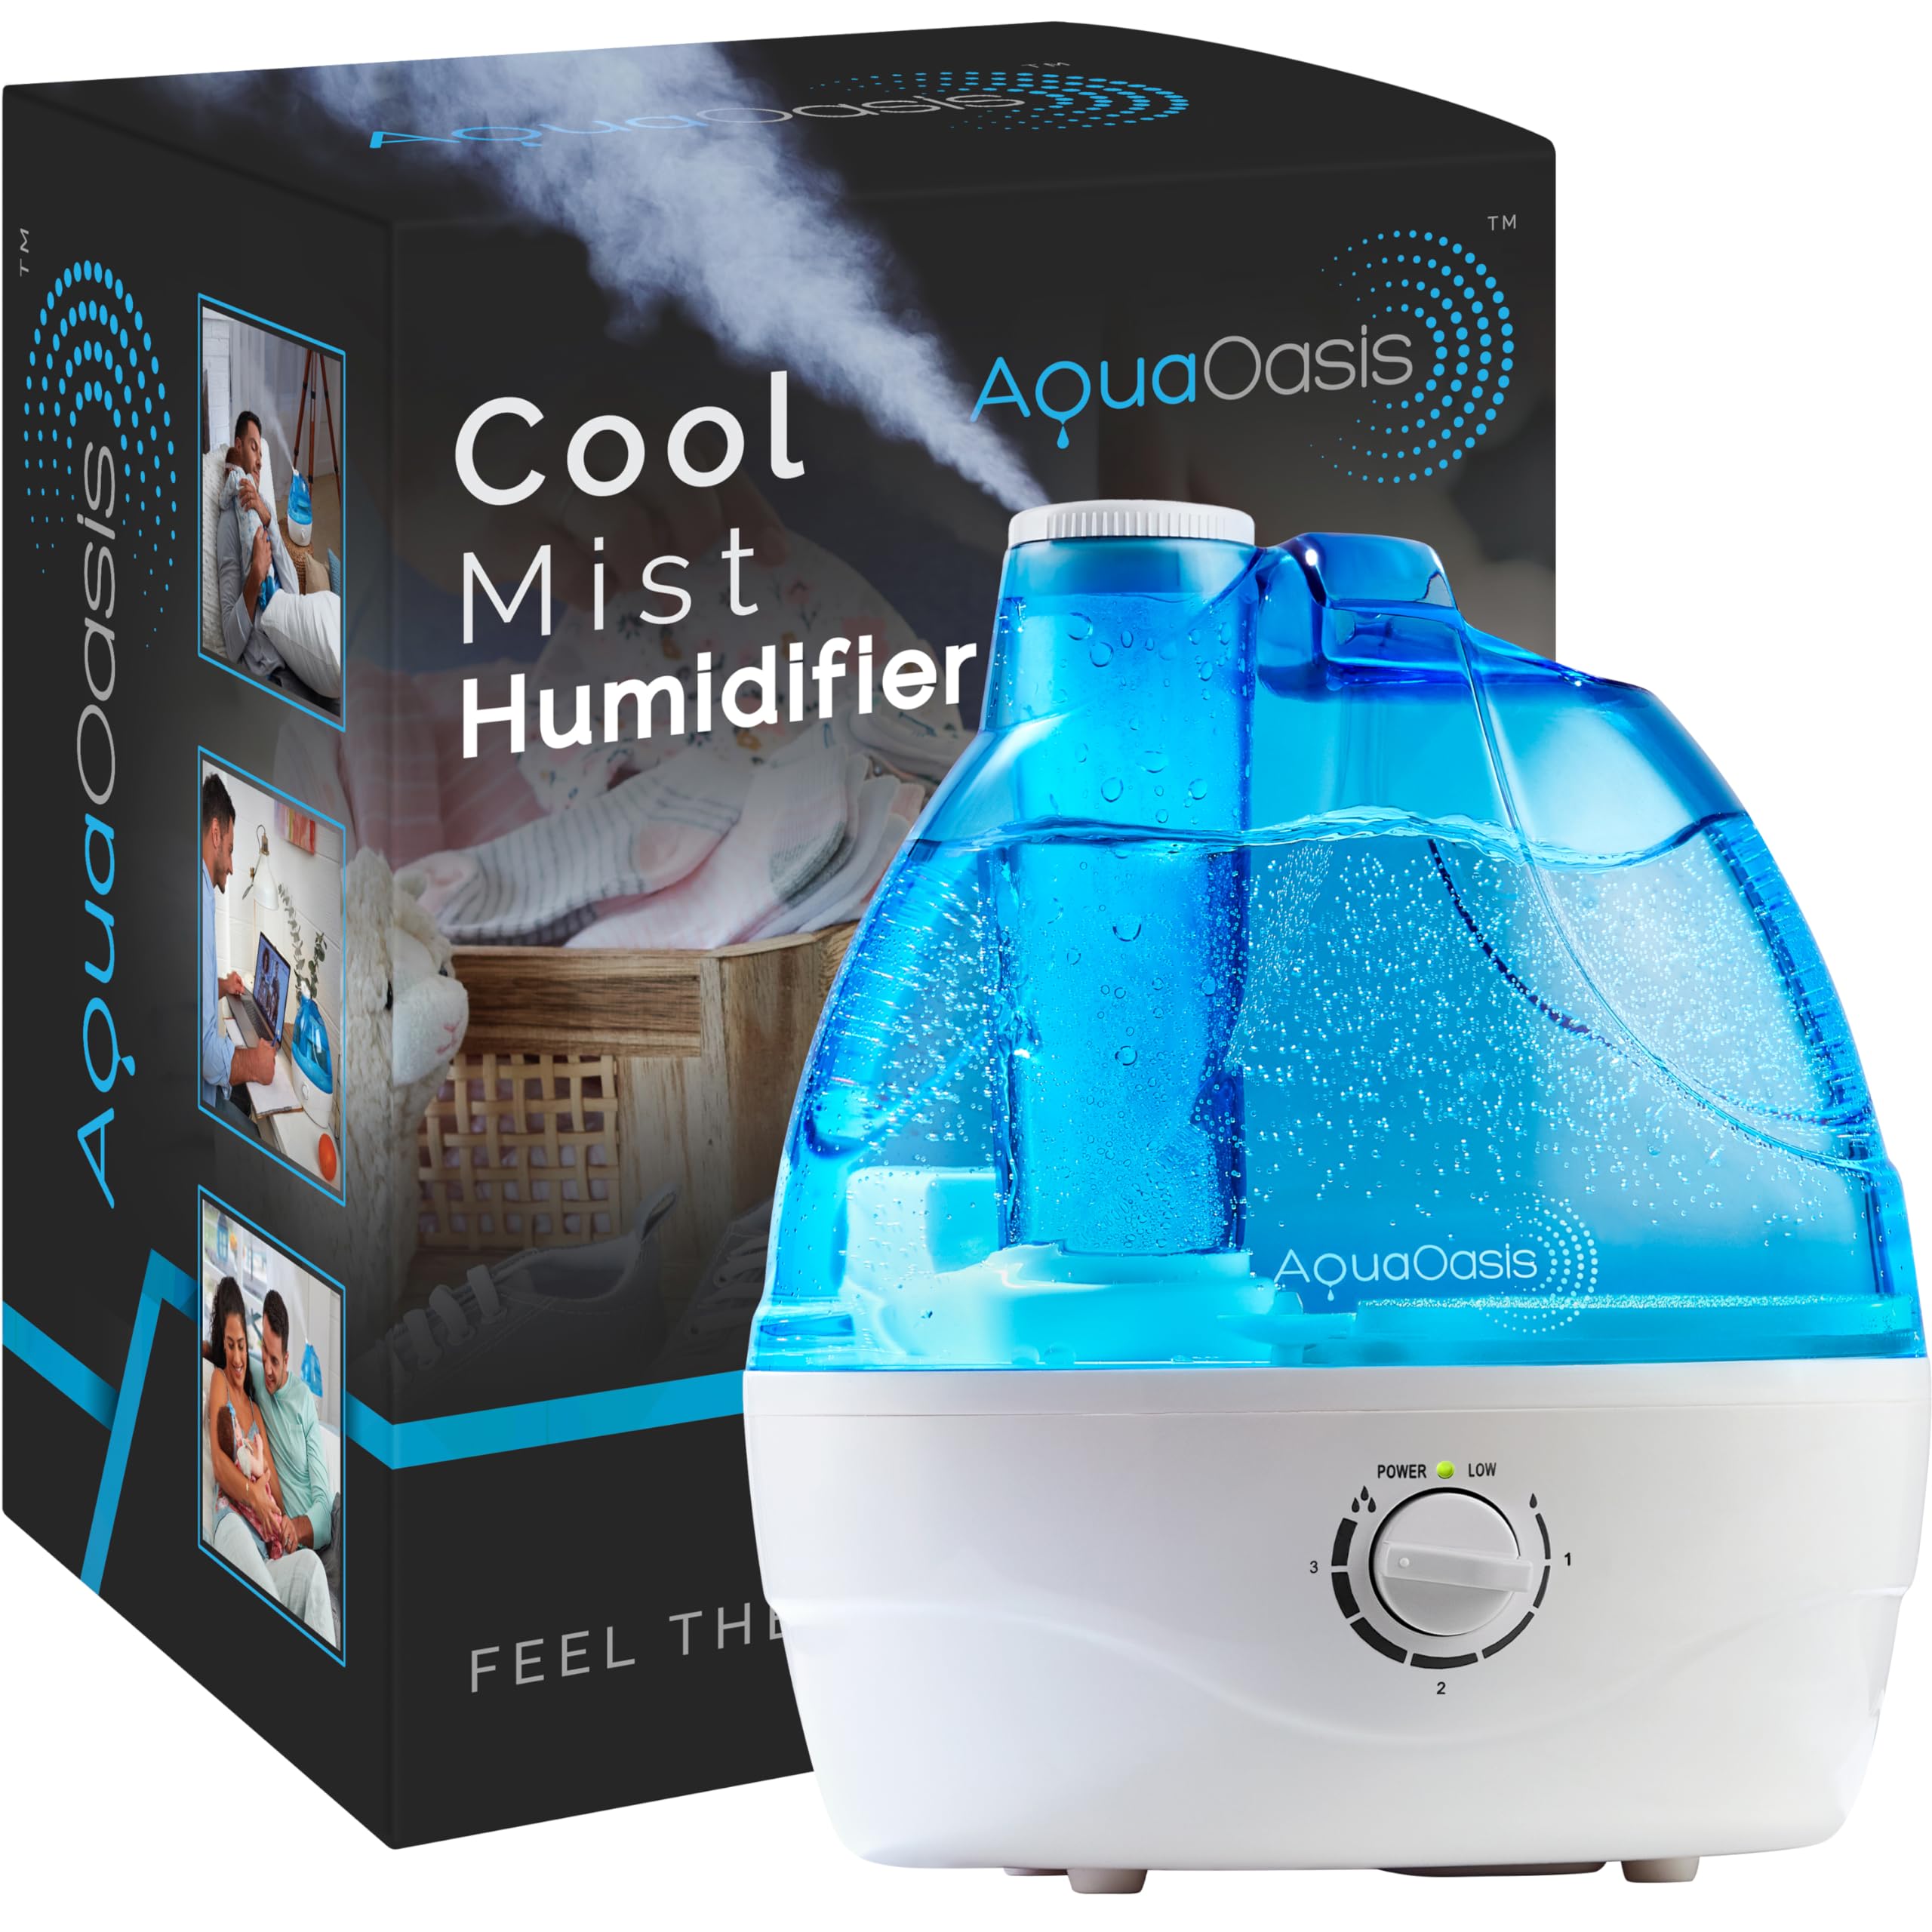
Humidity has a bigger effect on perceived warmth than most people realize. Dry winter air — which heated homes produce in spades — causes moisture on your skin to evaporate faster, pulling heat away from your body. The same thermostat setting feels noticeably warmer when the air holds some moisture.
A humidifier in the rooms where you spend the most time — bedroom and living room, typically — can make the air feel 2–3°F warmer at the same temperature. That’s enough to nudge the thermostat down a notch without feeling colder.
Aim for 30–50% relative humidity; above that, you risk condensation on windows, which invites mold. A cheap digital hygrometer ($10 or so) keeps you in the safe zone.
Honeywell and Levoit both make quiet, reliable units. The one thing you can’t skip: cleaning it regularly.
A neglected humidifier breeds bacteria and blows it into the air you breathe, which defeats the purpose entirely.
Rearrange Furniture Strategically
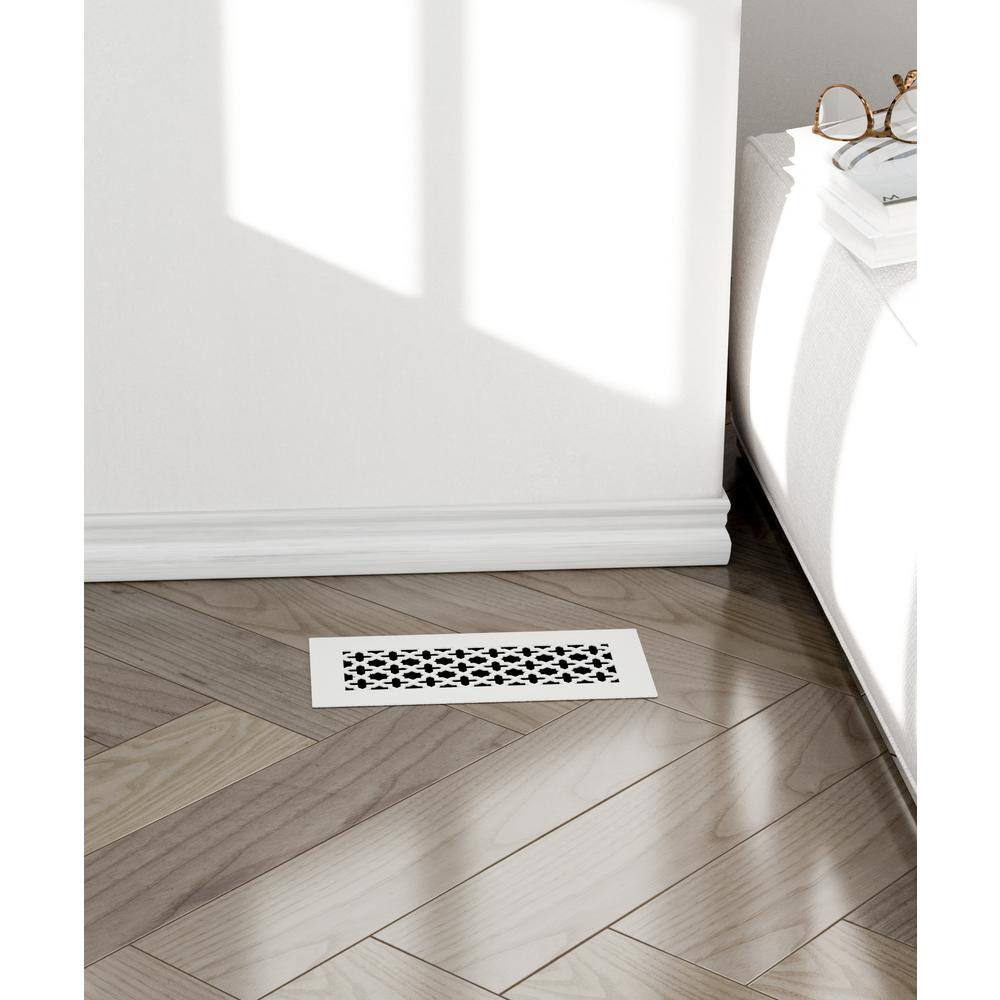
This one costs nothing and takes ten minutes, but it’s invisible until you think about it. If a couch, dresser, or bookshelf is sitting on top of a floor vent or pushed right up against an exterior wall, you’re paying to heat the back of the furniture or the wall cavity instead of the room.
Walk through your main living spaces and check every vent, register, and baseboard heater. Is anything blocking airflow?
Even a heavy curtain draped over a baseboard heater or a rug covering a floor register can cut the heat output of that vent dramatically. If you can’t move the furniture — a couch wedged into the only logical spot, for example — a vent deflector is a cheap workaround.
It’s a simple plastic clip-on attachment (about $5) that redirects the airflow out from under the obstruction and into the room. Lowes and Home Depot carry them in the HVAC aisle, and they’re one of those small fixes that makes you wonder why you didn’t do it years ago.
Frequently Asked Questions
What is the single most effective way to keep heating costs down?
Sealing drafts. Air leaks waste more energy than any other single factor in most homes, and they’re the cheapest to fix.
A $5 tube of caulk and a roll of weatherstripping can eliminate gaps that are collectively leaking hundreds of dollars’ worth of heated air every winter. Start there before anything else.
Does closing vents in unused rooms actually save money?
It depends on your system. With forced-air furnaces, closing one or two vents is fine, but closing too many can increase duct pressure and reduce overall efficiency.
With radiant heat or mini-splits, you have much more flexibility to zone rooms independently. The safest approach: close doors to unused rooms, but leave the vents open unless you know your system can handle it.
How much can a smart thermostat really save?
Most manufacturers and the Department of Energy cite 10–15% annual savings on heating costs. For the average household, that’s $100–200+ a year depending on local energy prices and how aggressively you let temperatures drop when you’re away or asleep. A $130 Nest thermostat typically pays for itself within the first winter.
Is it cheaper to use a space heater in one room instead of heating the whole house?
In certain situations, yes — if you live alone or spend most of your time in one room, a small ceramic or oil-filled radiator space heater can keep that room comfortable while you drop the central thermostat significantly. But electric space heaters are expensive to run in large doses (most pull 1,500 watts), so they only make financial sense for targeted, short-term use in a small area, not as a whole-house replacement.
Keeping your house warm without cranking the thermostat is really about closing the gaps — literally and figuratively. A few rolls of weatherstripping, some thermal curtains, and a handful of small habit changes won’t just save you money.
They’ll make the rooms you actually live in feel warmer and more comfortable, which matters more than what the thermostat says. Start with the drafts, work your way through the rest, and by midwinter you’ll wonder why you didn’t do this sooner.
Leave a Reply