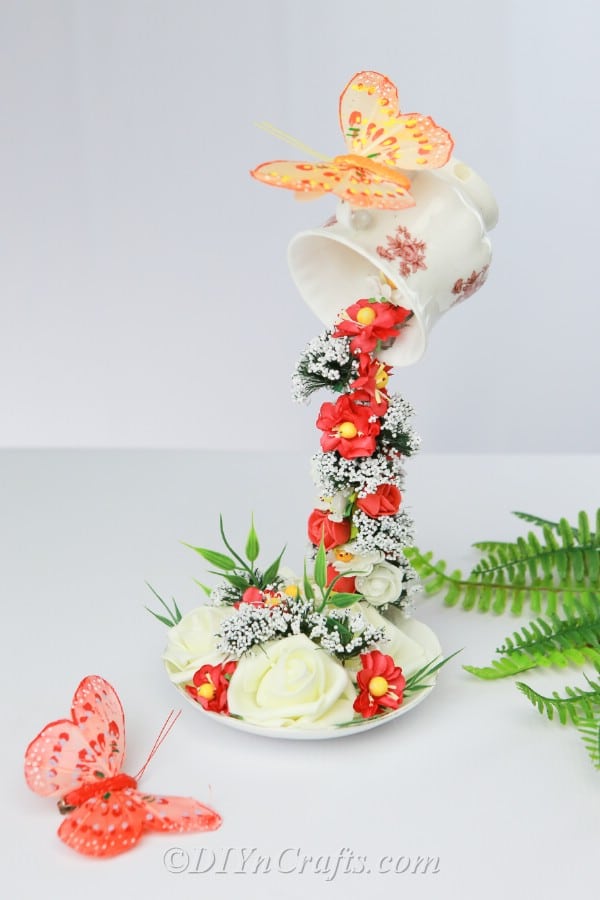
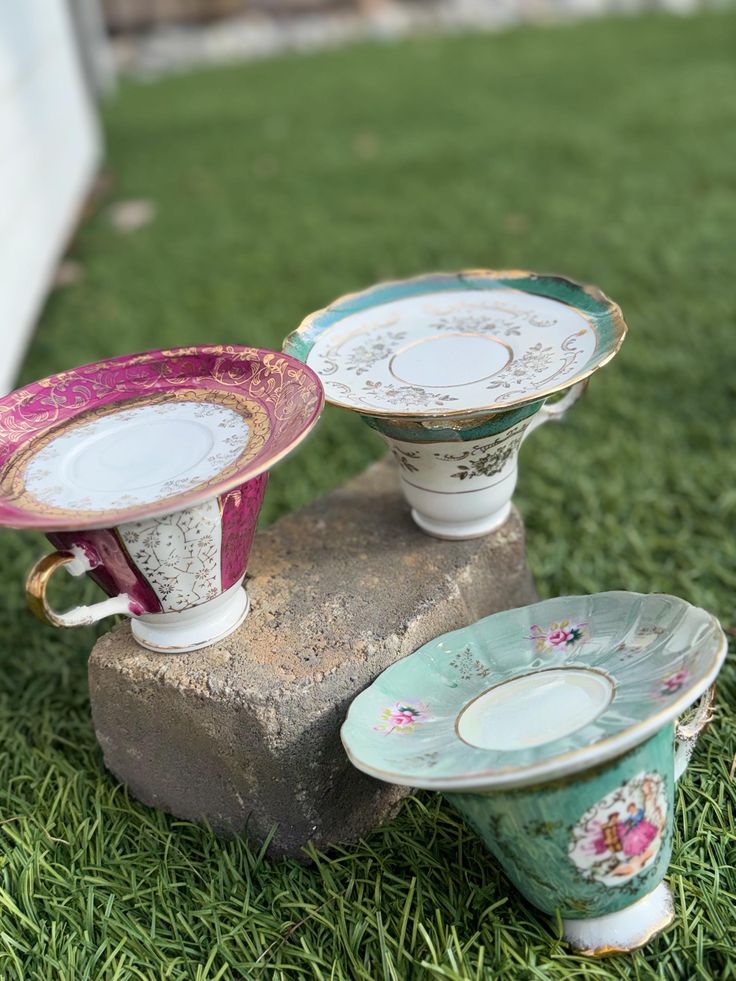
Creating a floating teacup garnish—often called a cascading teacup—is a centerpiece technique that transforms vintage chinaware into a gravity-defying work of art.
By using a hidden internal structure, typically a bent fork or heavy-gauge wire, you can create the illusion of a teacup suspended in mid-air, perpetually pouring a waterfall of flowers, beads, or greenery into a saucer below.
This project is a staple in upcycling and shabby chic decor because it breathes new life into chipped or mismatched tea sets.
Essential Materials for Your Floating Teacup
Before you begin, gathering the right supplies is crucial for structural integrity.
Because the cup is suspended, the weight distribution must be perfect to prevent the centerpiece from tipping over.
| Item | Purpose | Recommendation |
|---|---|---|
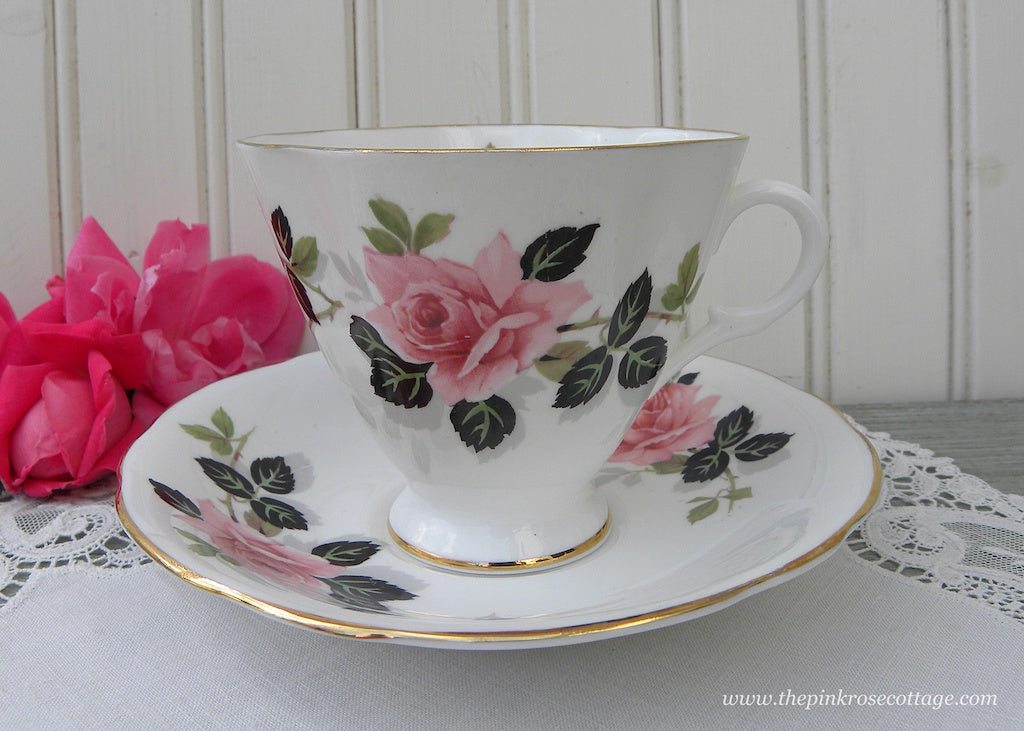
| Teacup and Saucer | The main vessel | Use a lightweight porcelain or bone china set. |
| Support Structure | The skeleton | A sturdy metal fork or 12-gauge copper wire. |
| Adhesive | To bond metal to ceramic | High-temp hot glue for speed; E6000 for permanent hold. |
| Decorative Filler | The liquid flow | Artificial flowers, moss, pearls, or coffee beans. |
| Wire Cutters/Pliers | Shaping the support | Heavy-duty needle-nose pliers. |
| Weight (Optional) | Stability | Small pebbles or glass gems for the saucer base. |
Step-by-Step Tutorial: Building the Foundation
The secret to a successful floating teacup lies in the S-curve of your support beam.
Follow these steps to ensure your garnish is stable and visually stunning.
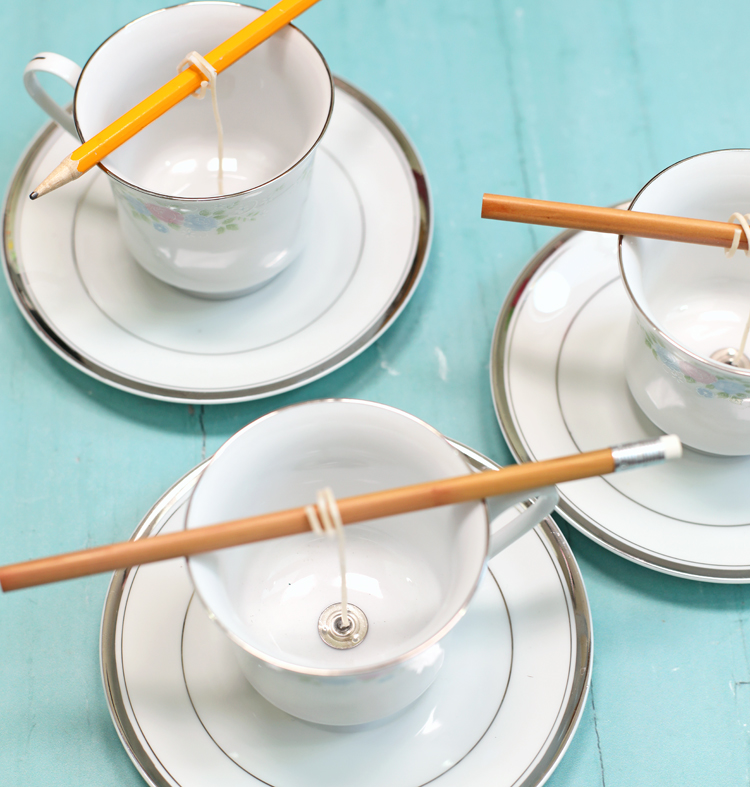
Step 1: Prepare the Support
Take your metal fork and use pliers to bend the tines slightly upward.
Then, bend the handle of the fork into a soft S shape. The tines will eventually be glued to the saucer, and the end of the handle will be glued inside the teacup.
Tip: Ensure the angle allows the teacup to sit high enough to create a pour effect, but not so high that it becomes top-heavy.
Step 2: Secure the Saucer Base
Apply a generous amount of E6000 or high-temperature hot glue to the tines of the fork.
Press them firmly onto the center of the saucer. If you are using E6000, let it cure for at least 12 hours.
If using hot glue, hold it in place until the glue is completely opaque and hard.
Step 3: Attach the Teacup
Apply glue to the top end of the fork handle.
Position the teacup so that the handle of the fork is glued to the inside bottom of the cup (which is now tilted sideways). The cup should look like it is pouring toward the saucer.
Expert Tip: Position the teacup’s handle at the top or side to keep the visual lines clean.
Step 4: Balancing the Structure
Once the glue is set, test the balance.
If the cup makes the saucer tip over, you will need to glue some counterweights (like flat marbles or stones) to the saucer on the opposite side of the tilt before adding your decorations.
10 Creative Themes for Your Floating Teacup Garnish
To make your centerpiece truly unique, you must choose a theme that fits your table setting.
Here are 10 high-authority design ideas to inspire your next project.
1 The Classic Victorian Rose Cascade
The most popular version of this craft uses miniature silk rosebuds.
Start by gluing the largest flowers at the base (the saucer) and the mouth of the teacup. Fill the space between along the fork handle with smaller buds and green leaves to hide the metal completely.
This creates a lush, romantic look perfect for bridal showers or afternoon tea.
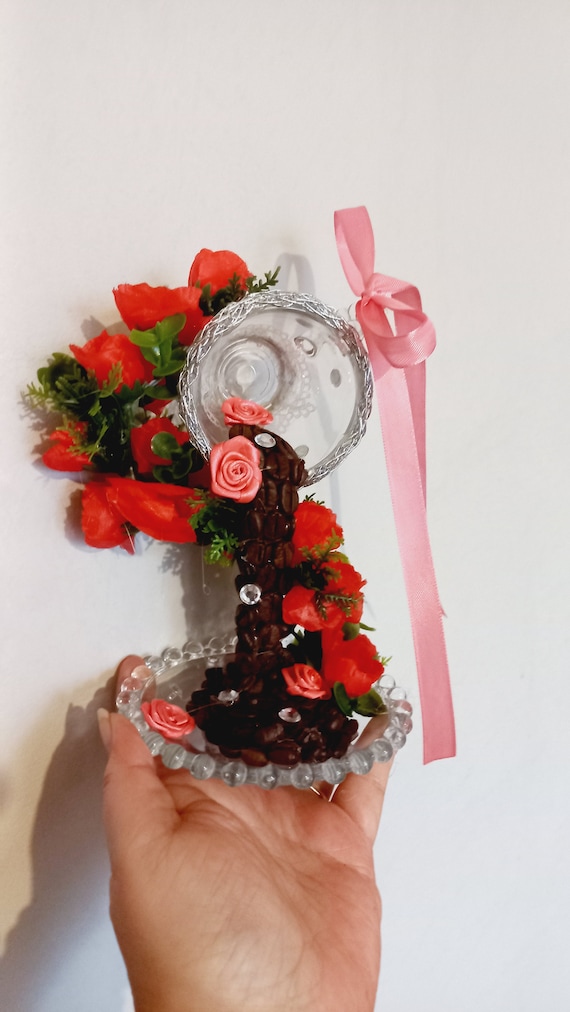
2 The Morning Brew Coffee Pour
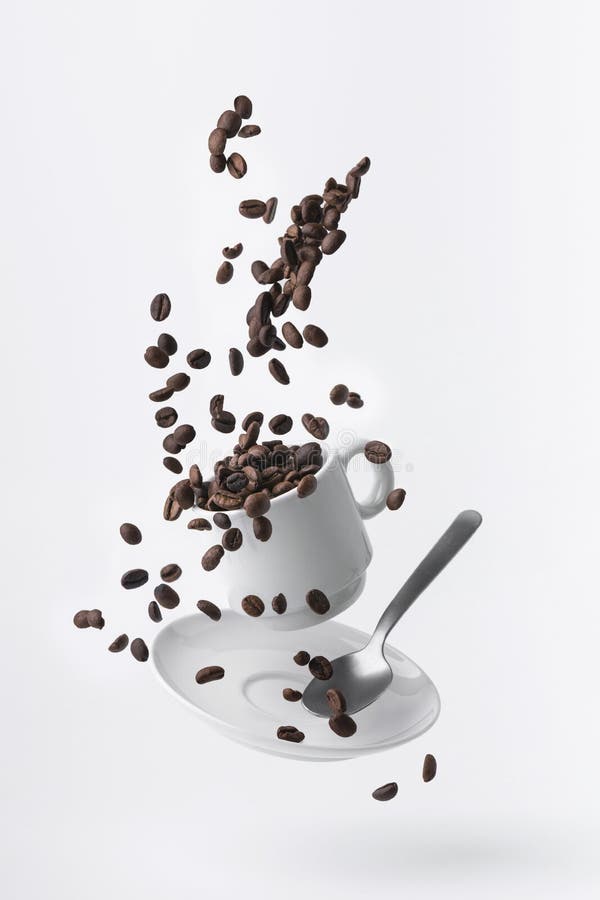
Ideal for a kitchen island or a brunch buffet, this version uses real coffee beans.
Coat the fork handle in brown acrylic paint first. Then, glue layers of coffee beans along the waterfall.
Use a glossy Mod Podge finish over the beans to give them a wet look, as if coffee is actually flowing.
3 Succulent Spiller
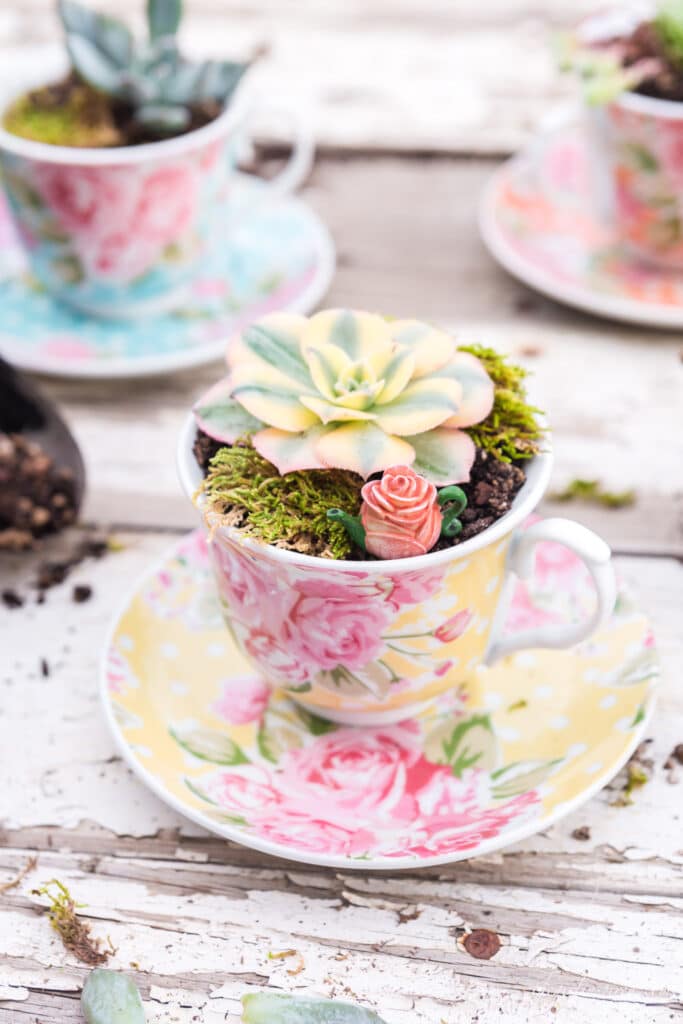
For a modern, earthy vibe, use faux succulents.
Mix different textures—like string-of-pearls hanging down the sides and rosette-shaped Echeveria at the base. Use preserved reindeer moss to fill in any gaps where the wire might show.
This living sculpture works beautifully in sunrooms.
4 Enchanted Fairy Garden Pour
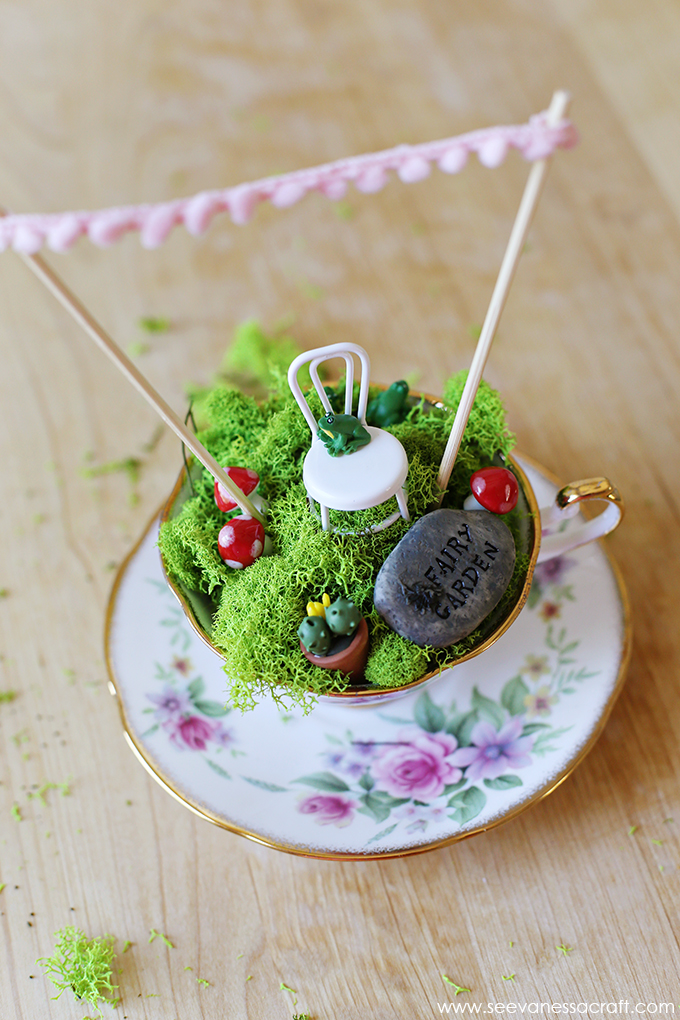
Turn your teacup into a miniature world.
Use moss as the liquid and nestle tiny fairy figurines, miniature mushrooms, and a small ladder leaning against the cup.
This is a fantastic conversation piece for a child’s bedroom or a whimsical garden party.
5 Pearl and Jewelry Overflow
If you have broken costume jewelry or loose craft pearls, this is the perfect upcycling project.
Drape strands of pearls from the cup to the saucer, allowing them to puddle at the bottom.
Mix in some vintage brooches for a high-end, glamorous aesthetic that suits a vanity or dressing table.
6 Autumn Harvest Garnish
Celebrate the season by using mini pumpkins, acorns, and silk maple leaves.
Use warm tones like burnt orange, gold, and deep red.
This version looks stunning as a Thanksgiving table centerpiece, especially when paired with a rustic, cream-colored stoneware set.
7 Winter Wonderland Snowfall

Use white iridescent glitter, cotton batting, and tiny silver ornaments to create a frozen pour.
You can even add small icicles made from clear hot glue drips hanging from the rim of the cup.
This creates a magical, chilly effect for holiday decor.
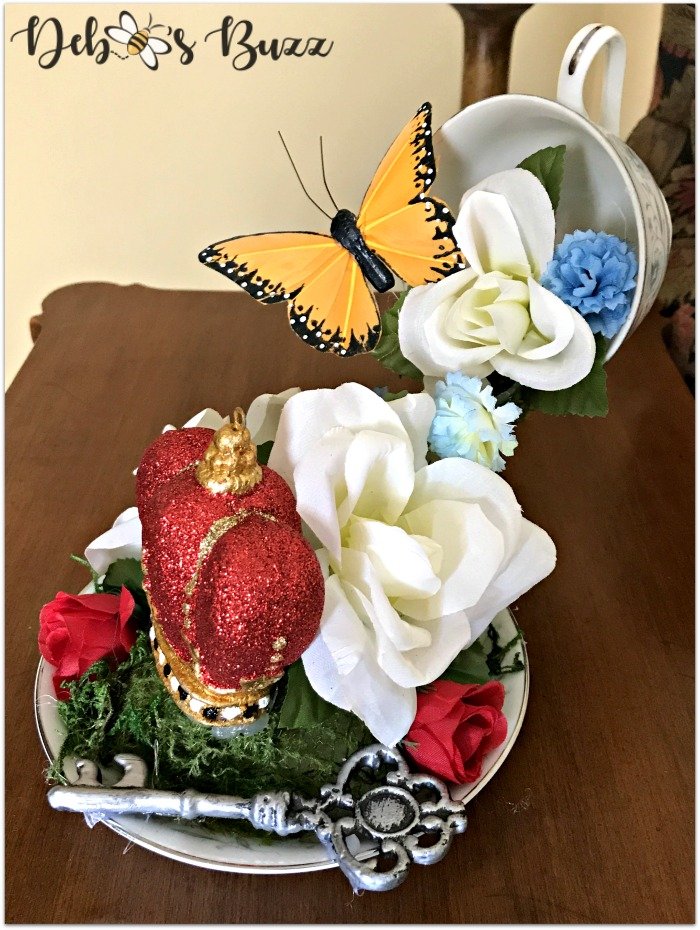
8 Butterfly Flight Path
Instead of a solid flow of flowers, glue thin floral wire branches to the main support and attach feathered or paper butterflies.
It will look as though a cloud of butterflies is erupting from the teacup.
This provides a very airy and light visual that doesn’t feel as heavy as flower-dense designs.
9 Seaside Shell Cascade
Perfect for a coastal home, use tiny seashells, starfish, and sea glass.
Incorporate some sand-colored grit or fine gravel at the base of the saucer to mimic the ocean floor.
This works best with blue or seafoam green teacups.
10 The Candy Land Sweet Treat

For a birthday party or dessert table, use faux candy (or real hard candies like peppermints and gumdrops).
Create a rainbow of pouring sweets.
Just be sure to use a clear sealant if using real candy to prevent ants and stickiness over time.
Advanced Tips for Professional Results
To elevate your craft from a DIY project to a boutique-quality garnish, consider these professional styling tips:
-
•
Hide the Skeleton: The biggest mistake beginners make is leaving the fork or wire visible from the back. Always check your piece from a 360-degree angle. Use leaves, moss, or small petals to wrap around the back of the support. -
•
The Puddle Effect: To make the flow look realistic, the liquid (flowers/beads) should spread out as it hits the saucer. Don’t just glue them in a straight line; create a wide pool at the bottom that overflows slightly over the edge of the saucer. -
•
Color Coordination: Choose flowers that complement the pattern on your china. If your teacup has blue cornflowers, use white and blue filler. If the cup is a solid bright color, use contrasting colors (e.g., yellow flowers in a purple cup).
Troubleshooting Common Issues
| Problem | Solution |
|---|---|
| The cup keeps falling over. | Your base is too light. Glue heavy coins or flat washers to the bottom of the saucer and cover them with moss or spilled flowers. |
| The glue isn’t holding the metal. | Sand the surface of the fork and the ceramic where you plan to glue. The rough texture gives the adhesive more bite. |
| The flowers look stiff. | Vary the sizes. Use large blooms at the bottom and tiny buds near the top. Add tendrils of greenery or ribbon to create movement. |
FAQ: Frequently Asked Questions
What is the best glue for a floating teacup?
For the structural bond (fork to ceramic), E6000 is the gold standard because it is a permanent, industrial-strength craft glue.
However, it takes time to dry. Many crafters use a hybrid method: a few dots of hot glue for an instant hold, surrounded by E6000 for long-term durability.
Can I use real flowers?
It is not recommended to use real flowers for the cascade because they will wilt and lose their shape, and the weight of the water needed to keep them fresh would collapse the structure.
Stick to high-quality real-touch silk flowers or dried florals.
How do I clean my floating teacup garnish?
Since these cannot be submerged in water, use a can of compressed air (like the kind used for keyboards) to blow off dust.
For stubborn dust on silk flowers, a soft makeup brush works wonders.
Can I use a plastic teacup?
You can, and it will be much easier to balance because it is lightweight.
However, plastic often lacks the vintage charm and weightiness that makes this project look like a high-end garnish. If using plastic, consider painting it with a ceramic-effect spray paint.
The floating teacup garnish is a masterclass in visual storytelling through DIY craft.
By mastering the simple physics of the bent-fork support, you can create a centerpiece that defies logic and captures the imagination of your guests.
Whether you opt for a romantic floral cascade or a whimsical fairy garden, the key is in the details: hiding the structure, balancing the weight, and choosing a theme that resonates with your personal style.
Start with a simple thrift store find, and soon you’ll be creating these gravity-defying wonders for every season and occasion.
Leave a Reply