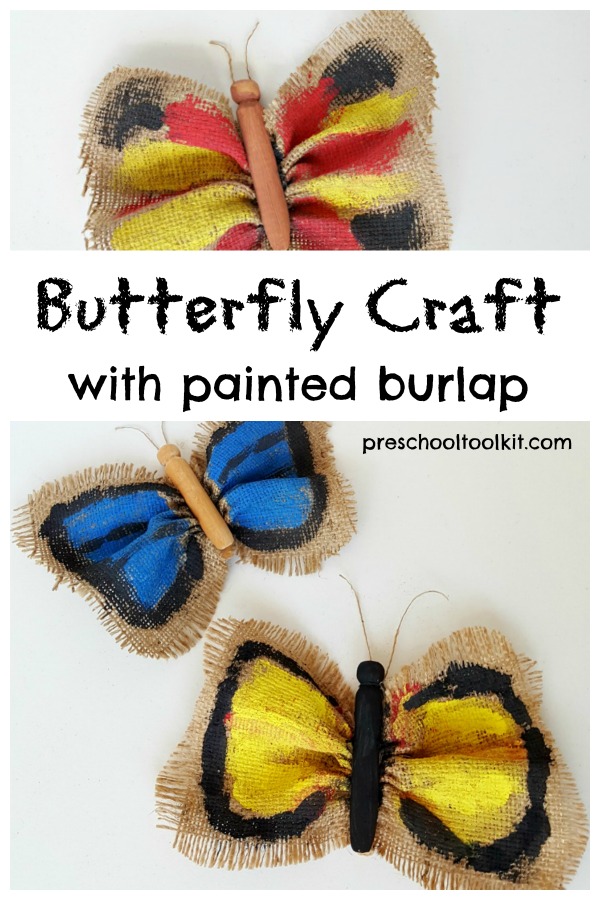
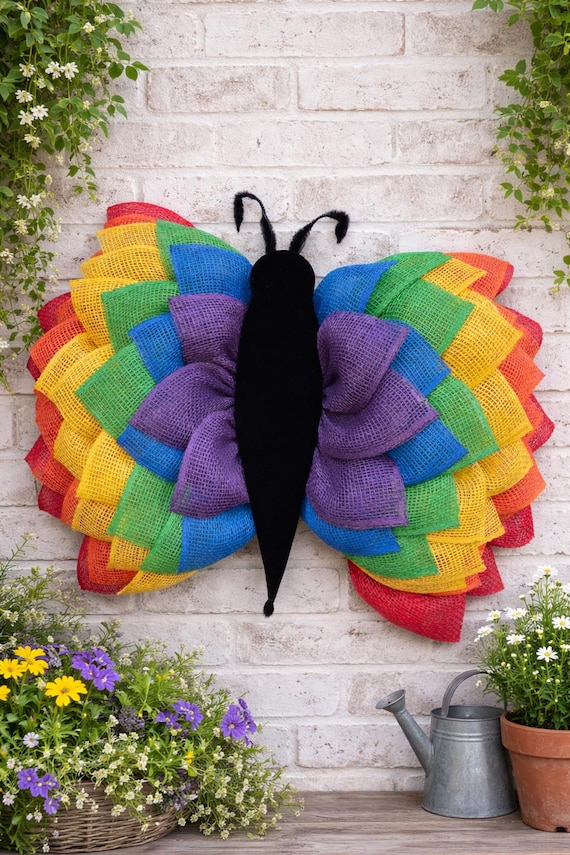
Creating a beautiful burlap butterfly is one of the most rewarding quick-craft projects for home decorators.
By using simple folding techniques and a few dabs of hot glue, you can transform a rugged, utilitarian fabric into a delicate, rustic accent piece in under five minutes.
These butterflies are perfect for adorning wreaths, upgrading gift wrapping, or adding a farmhouse touch to your tiered trays.
The Essential Burlap Butterfly Toolkit
Before you begin your crafting session, gather these essential supplies.
Using the right weight of burlap ensures your butterfly holds its shape without drooping.
| Item | Purpose | Recommended Type |
|---|---|---|
| Burlap Ribbon | The main body/wings | 2.5-inch to 4-inch wired ribbon |
| Floral Wire/Twine | Securing the center | 26-gauge wire or natural jute |
| Hot Glue Gun | Permanent bonding | High-temp for fabric |
| Fabric Scissors | Clean cuts | Sharp, dedicated fabric shears |
| Embellishments | Finishing touches | Pearls, buttons, or lace |
Step-by-Step: The Classic 5-Minute Burlap Butterfly
Creating the base butterfly requires a simple accordion fold technique.
Follow these steps for a foolproof result:
1. Measure and Cut
Cut two strips of burlap ribbon.
For a standard medium butterfly, cut one piece at 8 inches (top wings) and one piece at 6 inches (bottom wings).
If you are using wired ribbon, ensure the wire stays tucked inside the finished edges.
2. The Accordion Fold
Take the 8-inch strip and fold it back and forth in 1/2-inch increments, similar to making a paper fan.
Repeat this process with the 6-inch strip.
Pinch both folded strips tightly in the center.
3. Secure the Center
Place the smaller folded strip underneath the larger one.
Wrap a piece of floral wire or jute twine tightly around the center of both pinched strips. Twist the wire at the back to secure.
This creates the waist of the butterfly and causes the wings to flare out.
4. Shape the Wings
Gently pull the folds of the burlap outward to create volume.
If you used wired ribbon, you can slightly curve the edges of the wings to give them a lifelike, fluttering appearance.
Trim the corners of the burlap into rounded or pointed shapes depending on your preference.
5. Add the Antennae
If you used wire to secure the center, leave two long ends poking up.
Curl these ends using a pencil or pliers to create antennae.
If you used twine, tie a knot at the tips of two short strands to mimic the look of a butterfly’s feelers.
10 Creative Styles for Burlap Butterflies
To truly elevate your home decor, you can customize the basic butterfly design into various styles.
Here are 10 unique ideas to inspire your next project:
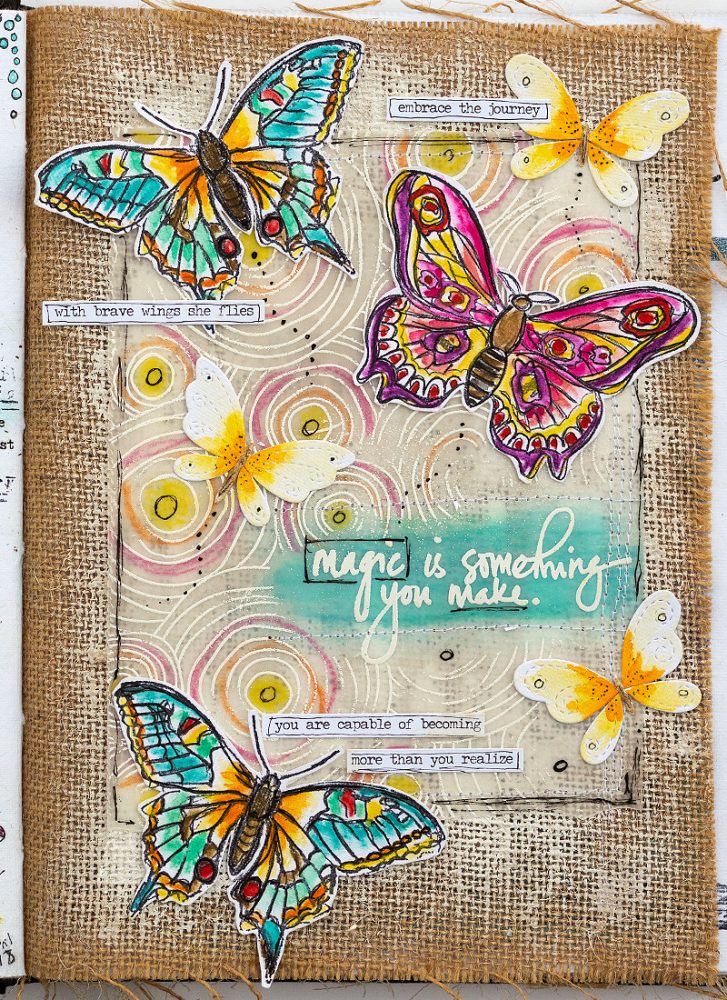
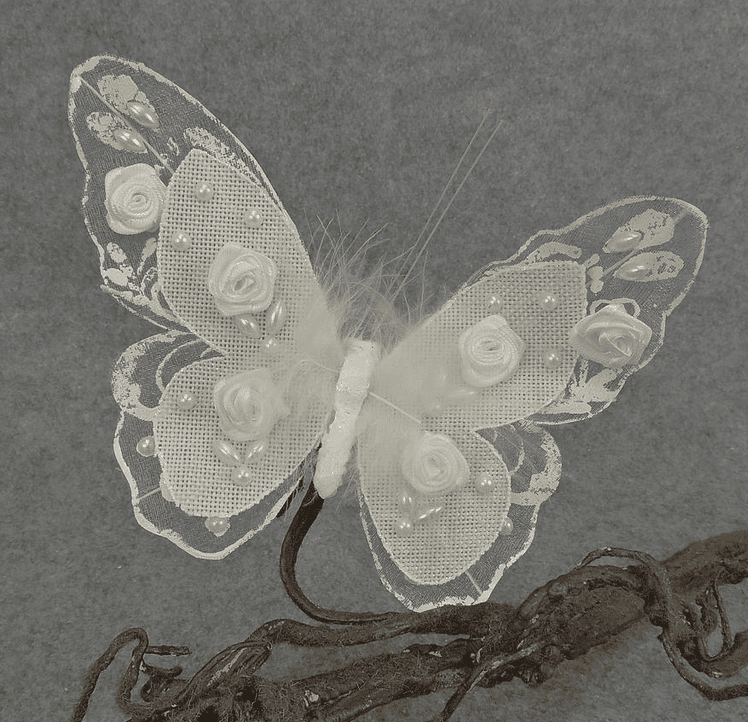
1. The Vintage Lace Overlay
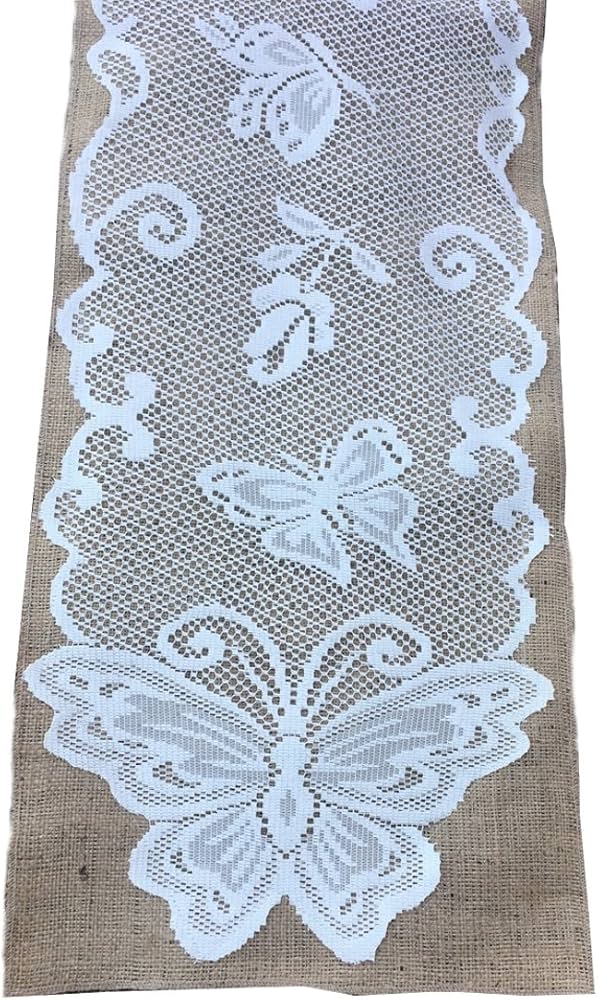
Adding a layer of delicate cream lace over the burlap before folding creates a stunning contrast between the rugged jute and the soft thread.
This style is a staple for Shabby Chic or Victorian farmhouse decor.
Simply cut a piece of lace ribbon the same size as your burlap and fold them together as one unit.
2. Hand-Painted Polka Dot Butterfly
Using a sponge dauber and white acrylic paint, add small polka dots to the burlap ribbon before assembly.
This adds a whimsical, playful touch that works beautifully in nurseries or as part of a springtime mantel display.
Ensure the paint is completely dry before you begin folding to prevent sticking.
3. The Jeweled Monarch
For a touch of elegance, skip the twine center and use a string of flat-back pearls or a vintage brooch to secure the middle.
The sparkle of the jewels against the matte texture of the burlap creates a high-end look that is perfect for wedding decor or formal table settings.
4. Distressed Sun-Bleached Butterfly
Instead of natural tan burlap, use off-white or cream-colored burlap.
You can further distress the edges by pulling a few horizontal threads to create a soft, frayed fringe.
This look mimics the appearance of a moth or a sun-bleached butterfly found in a coastal cottage.
5. Glitter-Tipped Garden Butterfly
Apply a thin line of clear-drying glue along the very edges of the wings and dip them into fine gold or iridescent glitter.
This subtle shimmer catches the light when the butterflies are tucked into a Christmas tree or a floral arrangement, adding a magical element to the rustic fabric.
6. The Multi-Layered Monarch
Instead of two strips of burlap, use four.
Layer different widths of ribbon (e.g., a 4-inch strip at the bottom and a 2-inch strip on top) before cinching the center.
This creates a 3D effect with double wings that look much more intricate and professional.
7. Stenciled French Country Butterfly
Use a small alphabet or fleur-de-lis stencil to apply black ink to the wings.
This French Industrial style is very popular in modern farmhouse design.
It gives the butterfly the appearance of being made from an old grain sack or vintage postal bag.
8. Colorful Ombre Dyed Burlap
Burlap takes fabric dye exceptionally well.
Dip the ends of your cut burlap strips into a bowl of diluted fabric dye (teal, coral, or lavender work best) to create an ombre effect. Once dry, assemble the butterfly.
The color will be concentrated on the wingtips, fading to natural tan toward the center.
9. The Rustic Button-Body Butterfly

Instead of wire antennae, glue a vertical row of mismatched wooden buttons down the center of the butterfly.
This covers the wire/twine and creates a body for the insect.
This folk-art style is perfect for primitive decor and looks great on kitchen wreaths.
10. Mini Clothespin Butterfly Clips
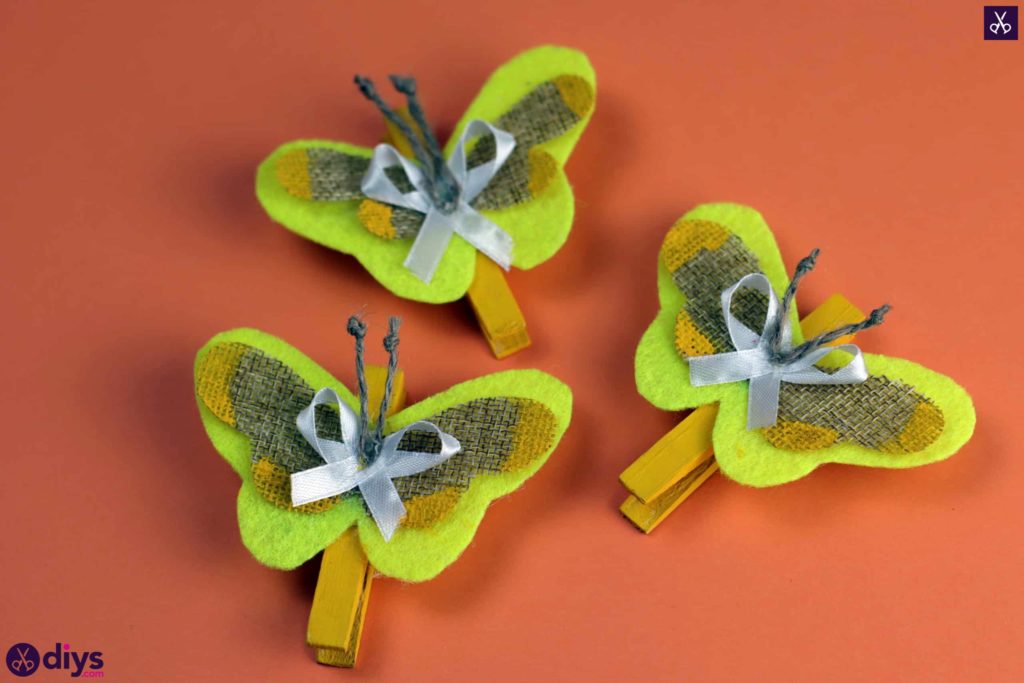
Glue your finished burlap butterfly onto a miniature wooden clothespin.
These are incredibly functional; use them to clip photos to a twine string, seal bags of artisanal coffee, or attach name tags to wine glasses at a rustic-themed party.
Where to Use Your Burlap Butterflies
Once you have mastered the art of creating these in minutes, you will find endless uses for them.
- ✦ Wreath Accents: A cluster of three butterflies on a grapevine wreath provides an instant seasonal update.
- ✦ Curtain Tie-Backs: Pin a large burlap butterfly to your linen curtains for a subtle, nature-inspired touch.
- ✦ Gift Toppers: Replace standard plastic bows with a handmade butterfly for a more personal, eco-friendly gift presentation.
- ✦ Table Scapes: Scatter small butterflies across a burlap table runner for a cohesive dinner party theme.
- ✦ Wall Art: Frame a collection of different-sized butterflies in a shadow box for a rustic specimen-style art piece.
Pro-Tips for Working with Burlap
- ✦ Prevent Fraying: Burlap is notorious for shedding. If you aren’t using wired ribbon with finished edges, spray the fabric with heavy-duty hairspray or a commercial fabric stiffener before cutting.
- ✦ Clean Cuts: Always use your sharpest scissors. Dull blades will pull the jute fibers and distort the weave.
- ✦ Scenting: You can add a drop of essential oil (like lavender or cedar) to the center of the butterfly. The burlap fibers hold the scent well, acting as a natural room freshener.
Frequently Asked Questions
Can I make these with regular fabric instead of burlap?
Yes! The accordion-fold technique works with cotton, linen, and even felt.
However, burlap is preferred for this specific look because its stiffness allows the wings to stand up without extra starching.
How do I clean burlap butterflies if they get dusty?
Do not put them in the washing machine.
Use a canned air duster (the kind used for keyboards) to blow away dust, or gently dab them with a lint roller.
Is wired or non-wired ribbon better?
Wired ribbon is significantly easier for beginners.
It allows you to pose the wings and ensures the butterfly doesn’t go flat over time.
If using non-wired burlap, you may need to apply a fabric stiffener spray.
What is the best glue to use?
Hot glue is the gold standard for this project because it sets instantly.
If you are crafting with children, a fast-drying tacky glue is a safer alternative, though it will require a clothespin to hold the pieces together while drying.
Conclusion
Creating a beautiful burlap butterfly is a testament to the fact that you don’t need expensive materials or hours of time to create high-impact home decor.
By mastering the simple fold-and-cinch method, you can produce a variety of styles—from vintage lace to painted modern designs—that suit any room in your house.
Whether you are embellishing a spring wreath or looking for a unique gift topper, these 5-minute butterflies are the perfect DIY solution for any craft lover.
Grab your ribbon and glue gun, and start fluttering into your next project today!
Leave a Reply