Upcycling empty food cans into chic, rustic storage containers is one of the most cost-effective ways to organize your home while embracing the shabby chic or farmhouse aesthetic.
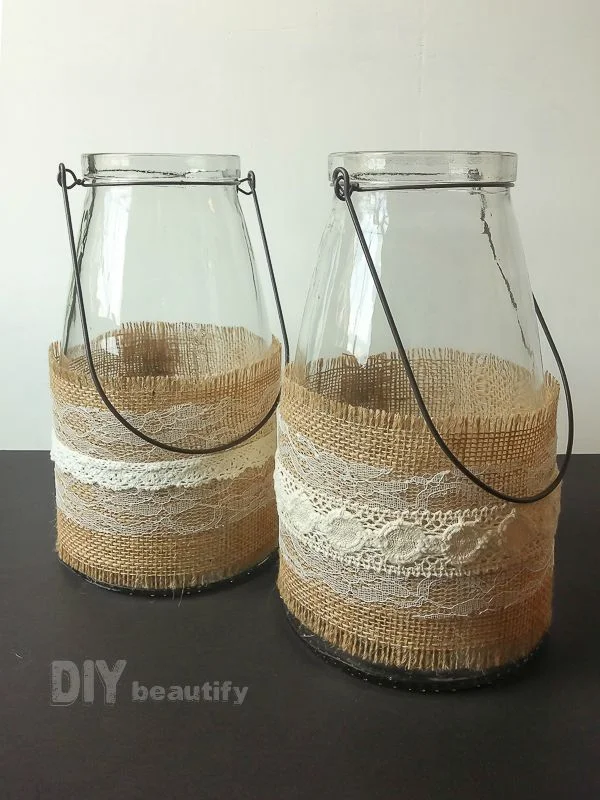
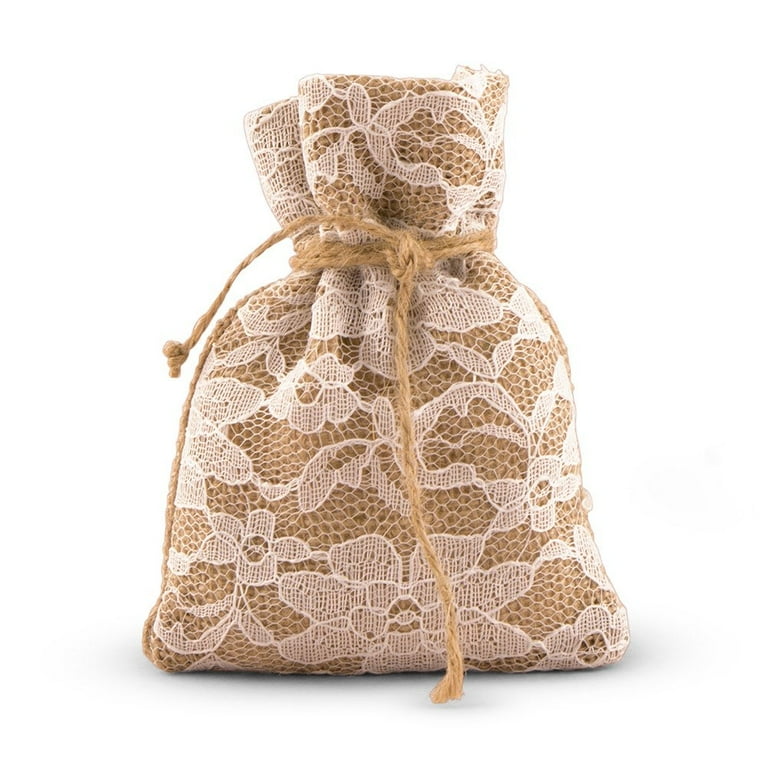
By combining the raw, organic texture of burlap with the delicate, intricate patterns of lace, you create a visual contrast that works beautifully in kitchens, craft rooms, offices, or even as high-end wedding decor.
This project transforms common household waste into a durable, functional piece of art in under 30 minutes.
Essential Materials for Your Burlap and Lace Project
Before you begin, gather your supplies. Using the right tools ensures that your fabric adheres smoothly and the finished product looks professional rather than homemade.
| Material | Recommended Type/Size | Purpose |
|---|---|---|
| Tin Cans | Standard 15oz or large 28oz | The base structure of the storage unit. |
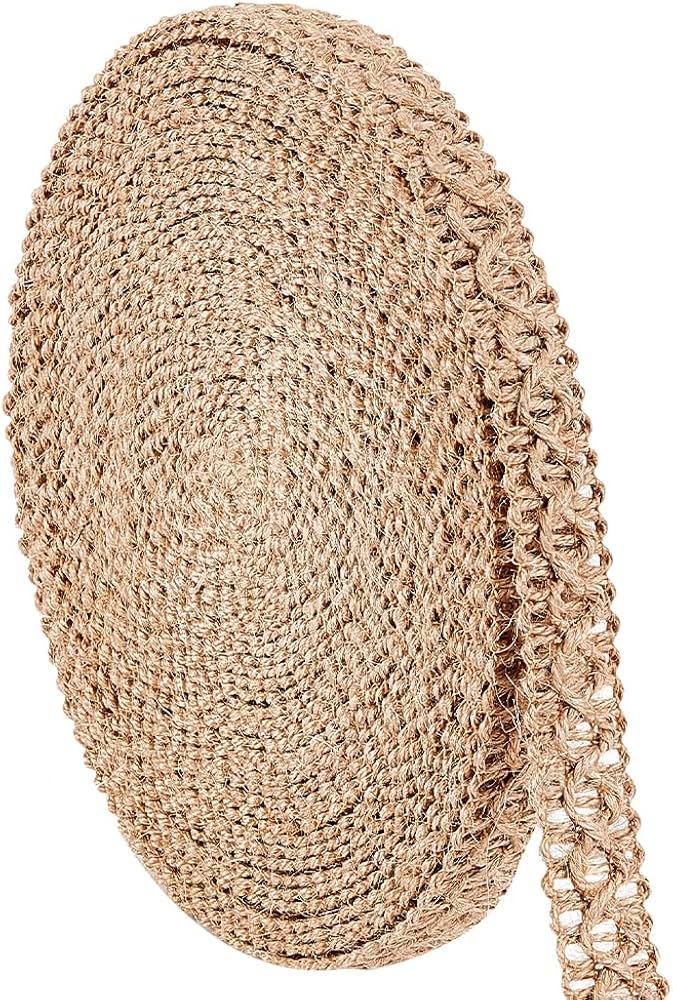
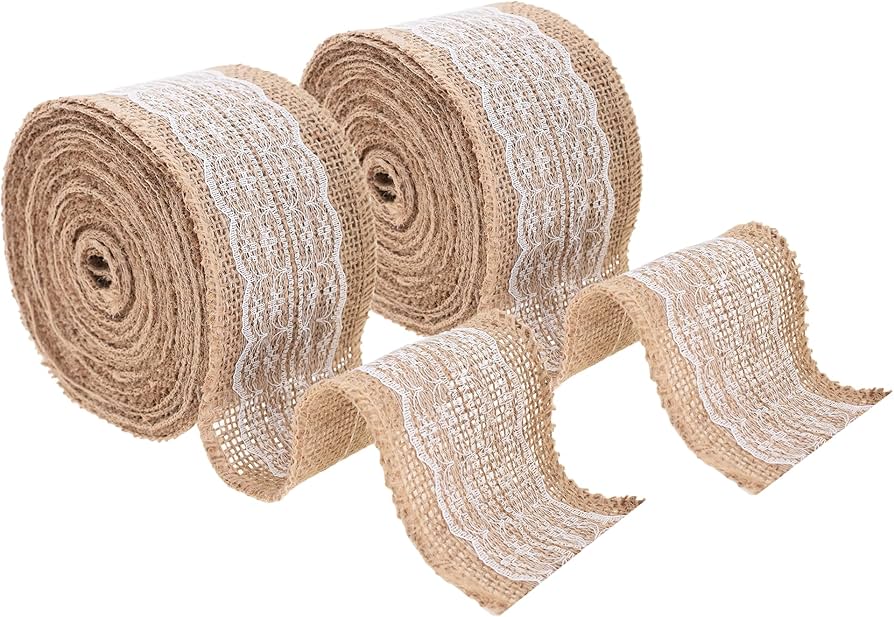
| Burlap | 4-inch or 6-inch wide ribbon rolls | Provides the rustic base layer. |
| Lace Trim | Cotton crochet or nylon lace | Adds the delicate decorative overlay. |
| Adhesive | High-temp hot glue gun or E6000 | Secures the fabric to the metal surface. |
| Scissors | Heavy-duty fabric shears | Ensures clean, fray-free edges. |
| Measuring Tape | Flexible tailor’s tape | Measures the circumference of the can. |
| Sandpaper | Medium grit (optional) | Smooths any sharp edges on the rim. |
Step-by-Step Tutorial: Crafting Your Storage Can
Follow these steps to ensure a clean finish and a long-lasting bond between the fabric and the metal.
1. Preparing the Can
Start with a clean, dry tin can. Remove the paper label and use an adhesive remover (like Goo Gone) to eliminate any sticky residue.
If the can has a sharp inner rim from the can opener, use a pair of pliers to crimp it down or a piece of sandpaper to smooth it over. This prevents accidental cuts during use.
2. Measuring and Cutting the Burlap
Wrap your burlap ribbon around the can to determine the length needed. Add a half-inch overlap to ensure the metal is completely covered at the seam.
For the height, you can either cover the entire can or leave a small silver lip at the top and bottom for an industrial touch. Cut the burlap using sharp fabric shears to prevent excessive fraying.
3. Adhering the Burlap Layer
Apply a vertical line of hot glue to the back seam of the can. Press the starting edge of your burlap into the glue.
Wrap the burlap tightly around the cylinder, ensuring it stays level. Apply another line of glue over the starting edge and press the finishing edge down firmly.
4. Layering the Lace
The lace is the star of the design. Measure a length of lace equal to your burlap. You can center the lace in the middle of the burlap strip or align it with the top edge for a skirted look.
Apply small dots of glue every two inches to secure the lace. Avoid using too much glue, as it can seep through the holes in the lace and create unsightly clumps.
5. Sealing the Edges
Check the top and bottom edges. If you have chosen to wrap the burlap over the rim, apply glue to the inside of the can and fold the fabric over for a finished look.
If you are keeping the fabric on the outside only, ensure the edges are glued down flush to prevent peeling.
10 Creative Design Variations for Your Storage Cans
To give you inspiration for different rooms in your home, here are 10 unique ways to style your burlap and lace storage cans.
-
✨1. The Vintage Rose Garden

Combine your burlap and lace with small fabric rosettes or dried rosebuds. This style is perfect for a vanity or dressing table to hold makeup brushes. Use an ivory-colored lace to enhance the antique feel.
-
✨2. The Nautical Jute Wrap
Instead of covering the entire can in burlap, wrap the bottom third in thick jute twine and the top two-thirds in burlap. Overlay a wide, navy-blue tinted lace to give it a coastal, maritime vibe.
-
✨3. Industrial Chic Silver Peak
Leave exactly one-half inch of the silver tin can visible at the top and bottom. Wrap a thin strip of burlap in the center and top it with a very delicate, thin eyelash lace. This creates a bridge between modern industrial and rustic styles.
-
✨4. The Monogrammed Farmhouse
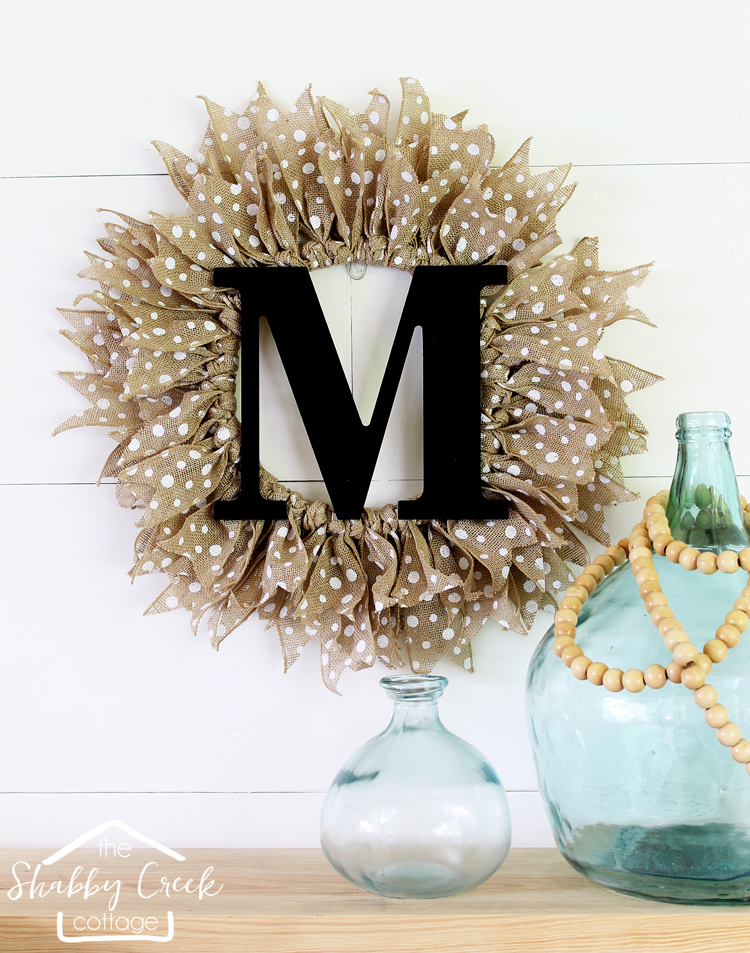
After applying your lace, glue a small wooden circle or a chalkboard tag to the front. Paint a single initial in white or black acrylic paint. These are excellent for organizing desk supplies for multiple family members.
-
✨5. Boho Tassel Overlay
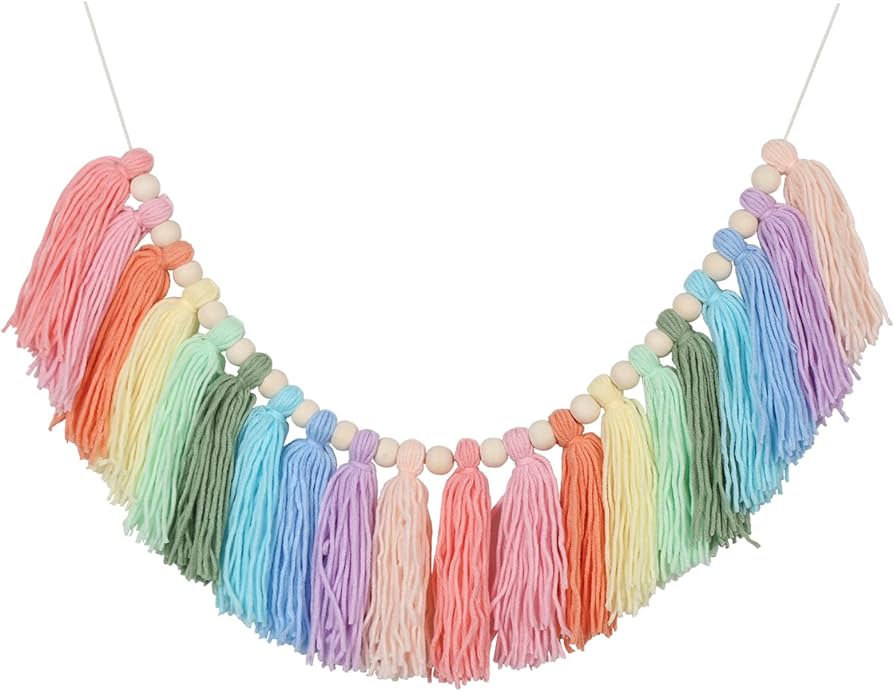
Replace standard lace with a tassel fringe or pom-pom trim. Layer this over the burlap for a whimsical, bohemian look. This style works exceptionally well in nurseries or creative craft rooms.
-
✨6. The Double-Lace Tier
Apply a wide piece of burlap as your base. Then, layer two different types of lace—a wide, flat lace on the bottom and a thinner, textured crochet lace directly on top of it. This adds depth and a high-end boutique appearance.
-
✨7. Rustic Button-Down
Glue a row of mismatched vintage wooden buttons down the seam where the burlap meets. This not only hides the seam perfectly but adds a homespun charm that fits well in a sewing room.
-
✨8. Pastel Ribbon Accent
Thread a thin satin ribbon through the eyelets of your lace before gluing it down. Use soft pastels like sage green, dusty rose, or baby blue. This adds a pop of color while maintaining the softness of the lace.
-
✨9. The Herb Garden Planter
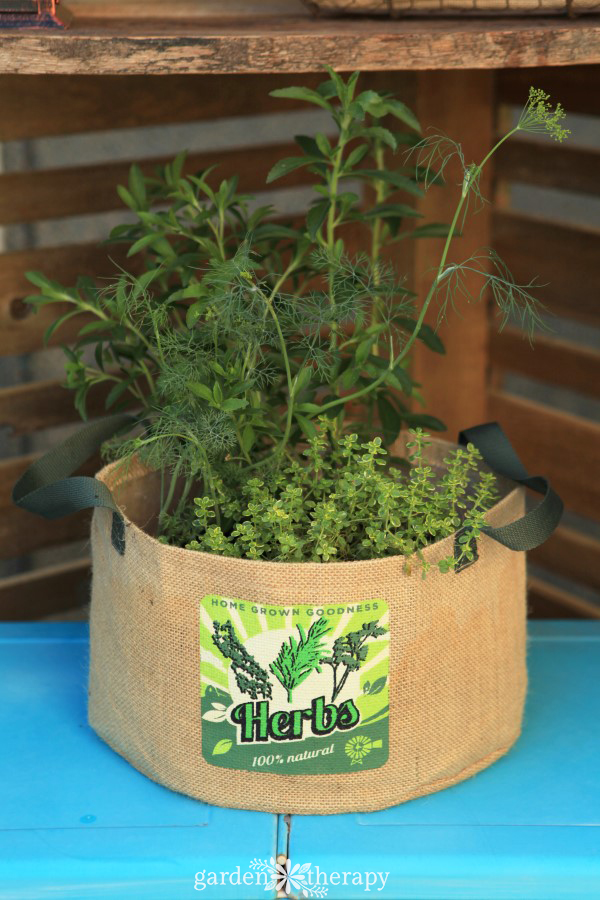
If using the can as a planter, poke drainage holes in the bottom. Use a heavy-duty waterproof adhesive to ensure the burlap doesn’t peel when you water the plants. A simple white lace band around the middle makes for a stunning kitchen windowsill herb set.
-
✨10. Holiday Twinkle Cans
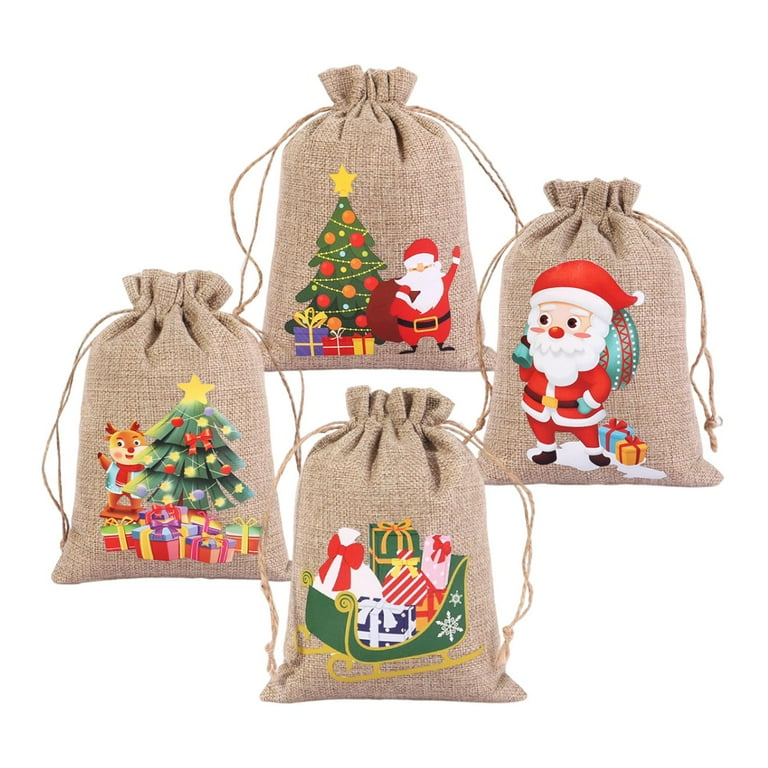
For the holiday season, use burlap with gold metallic thread woven in. Overlay with red lace or add a small sprig of artificial holly and a pinecone. These make wonderful, sustainable gift containers for homemade cookies.
Practical Uses for Your Upcycled Cans
Once you have mastered the technique, you can use these containers throughout your home to reduce clutter.
- ✓Kitchen: Store wooden spoons, spatulas, and whisks.
- ✓Office: Organize pens, scissors, and rulers.
- ✓Bathroom: Hold cotton swabs, makeup brushes, or toothbrushes.
- ✓Events: Use as centerpieces for weddings, baby showers, or rustic dinner parties.
- ✓Garden: Use as small pots for succulents or seedlings.
Pro-Tips for a Professional Finish
- ★Prevent Fraying: Use a small amount of Fray Check or clear nail polish on the cut edges of the burlap to prevent the fibers from unraveling over time.
- ★Glue Management: If you get hot glue strings on your lace, wait for them to dry completely, then use a hairdryer on high heat for a few seconds. The strings will disappear instantly.
- ★Weighting the Can: If you are using the can for tall items like heavy kitchen utensils, place a few decorative stones or marbles in the bottom before adding your items to prevent the can from tipping over.
FAQ: Frequently Asked Questions
Q: Can I wash these cans if they get dusty?
A: Because of the burlap and hot glue, these are not dishwasher safe. To clean them, use a lint roller to remove dust from the fabric or a damp cloth to spot-clean. Do not submerge the fabric-covered portion in water.
Q: What is the best glue to use if I don’t have a hot glue gun?
A: A permanent fabric glue or a multi-surface adhesive like E6000 works well. However, these have longer drying times, so you may need to use rubber bands to hold the fabric in place while it sets.
Q: Where can I find affordable lace?
A: Thrift stores often have notions bins where you can find vintage lace for pennies. Alternatively, check the clearance section of craft stores or repurpose old lace curtains.
Q: Can I use this technique on glass jars?
A: Yes! The same steps apply to Mason jars or glass pasta sauce jars. The only difference is that the glass is transparent, so you will see the back of the glue through the jar unless you paint the jar first.
Conclusion
Crafting a burlap and lace wrapped storage can is more than just a simple DIY project; it is an exercise in sustainable living and creative expression.
By taking an item destined for the recycling bin and giving it a second life with simple textiles, you add a touch of warmth and personality to your living space.
Whether you stick to the classic rustic look or experiment with the ten variations listed above, these versatile containers prove that high-style home decor doesn’t have to come with a high price tag. Grab your glue gun, find a can, and start creating today!
Leave a Reply