
There’s a particular kind of mess that only shows up between December 26th and the second week of January: dry, scratchy pine needles in every crack of the floor, welded to the sofa, and hiding behind the tree stand. A fresh-cut Fraser fir can shed for days after it comes inside, and dragging it out the front door is when the real explosion happens.
The good news is that this is a twenty-minute job if you attack it in the right order and with the right tools — most of which you already own. Here’s what has actually worked in my house, including the one trick that keeps the needles from flying back up into the air while you sweep.
Before we get into each one, here’s the quick version:
| Method | Best for | Effort |
|---|---|---|
| Rubber broom | Hardwood, tile, low-pile rugs | Low |
| Vacuum + attachments | Carpet, rugs, upholstery | Low |
| Light water mist | Static-charged hardwood and tile | Low |
| Lint roller | Fabric, lampshades, vents | Low |
| Damp rubber gloves | Furniture, windowsills, sills | Low |
| Flat microfiber mop | Baseboards, under furniture | Low |
| Duct or packing tape | Cracks, grates, stair stringers | Low |
| Pantyhose over the hose | Protecting your vacuum | Low |
| Bag before carrying | The trip to the curb | Medium |
| Compost or mulch | Disposal that isn’t wasteful | Low |
Start With a Stiff Rubber Broom
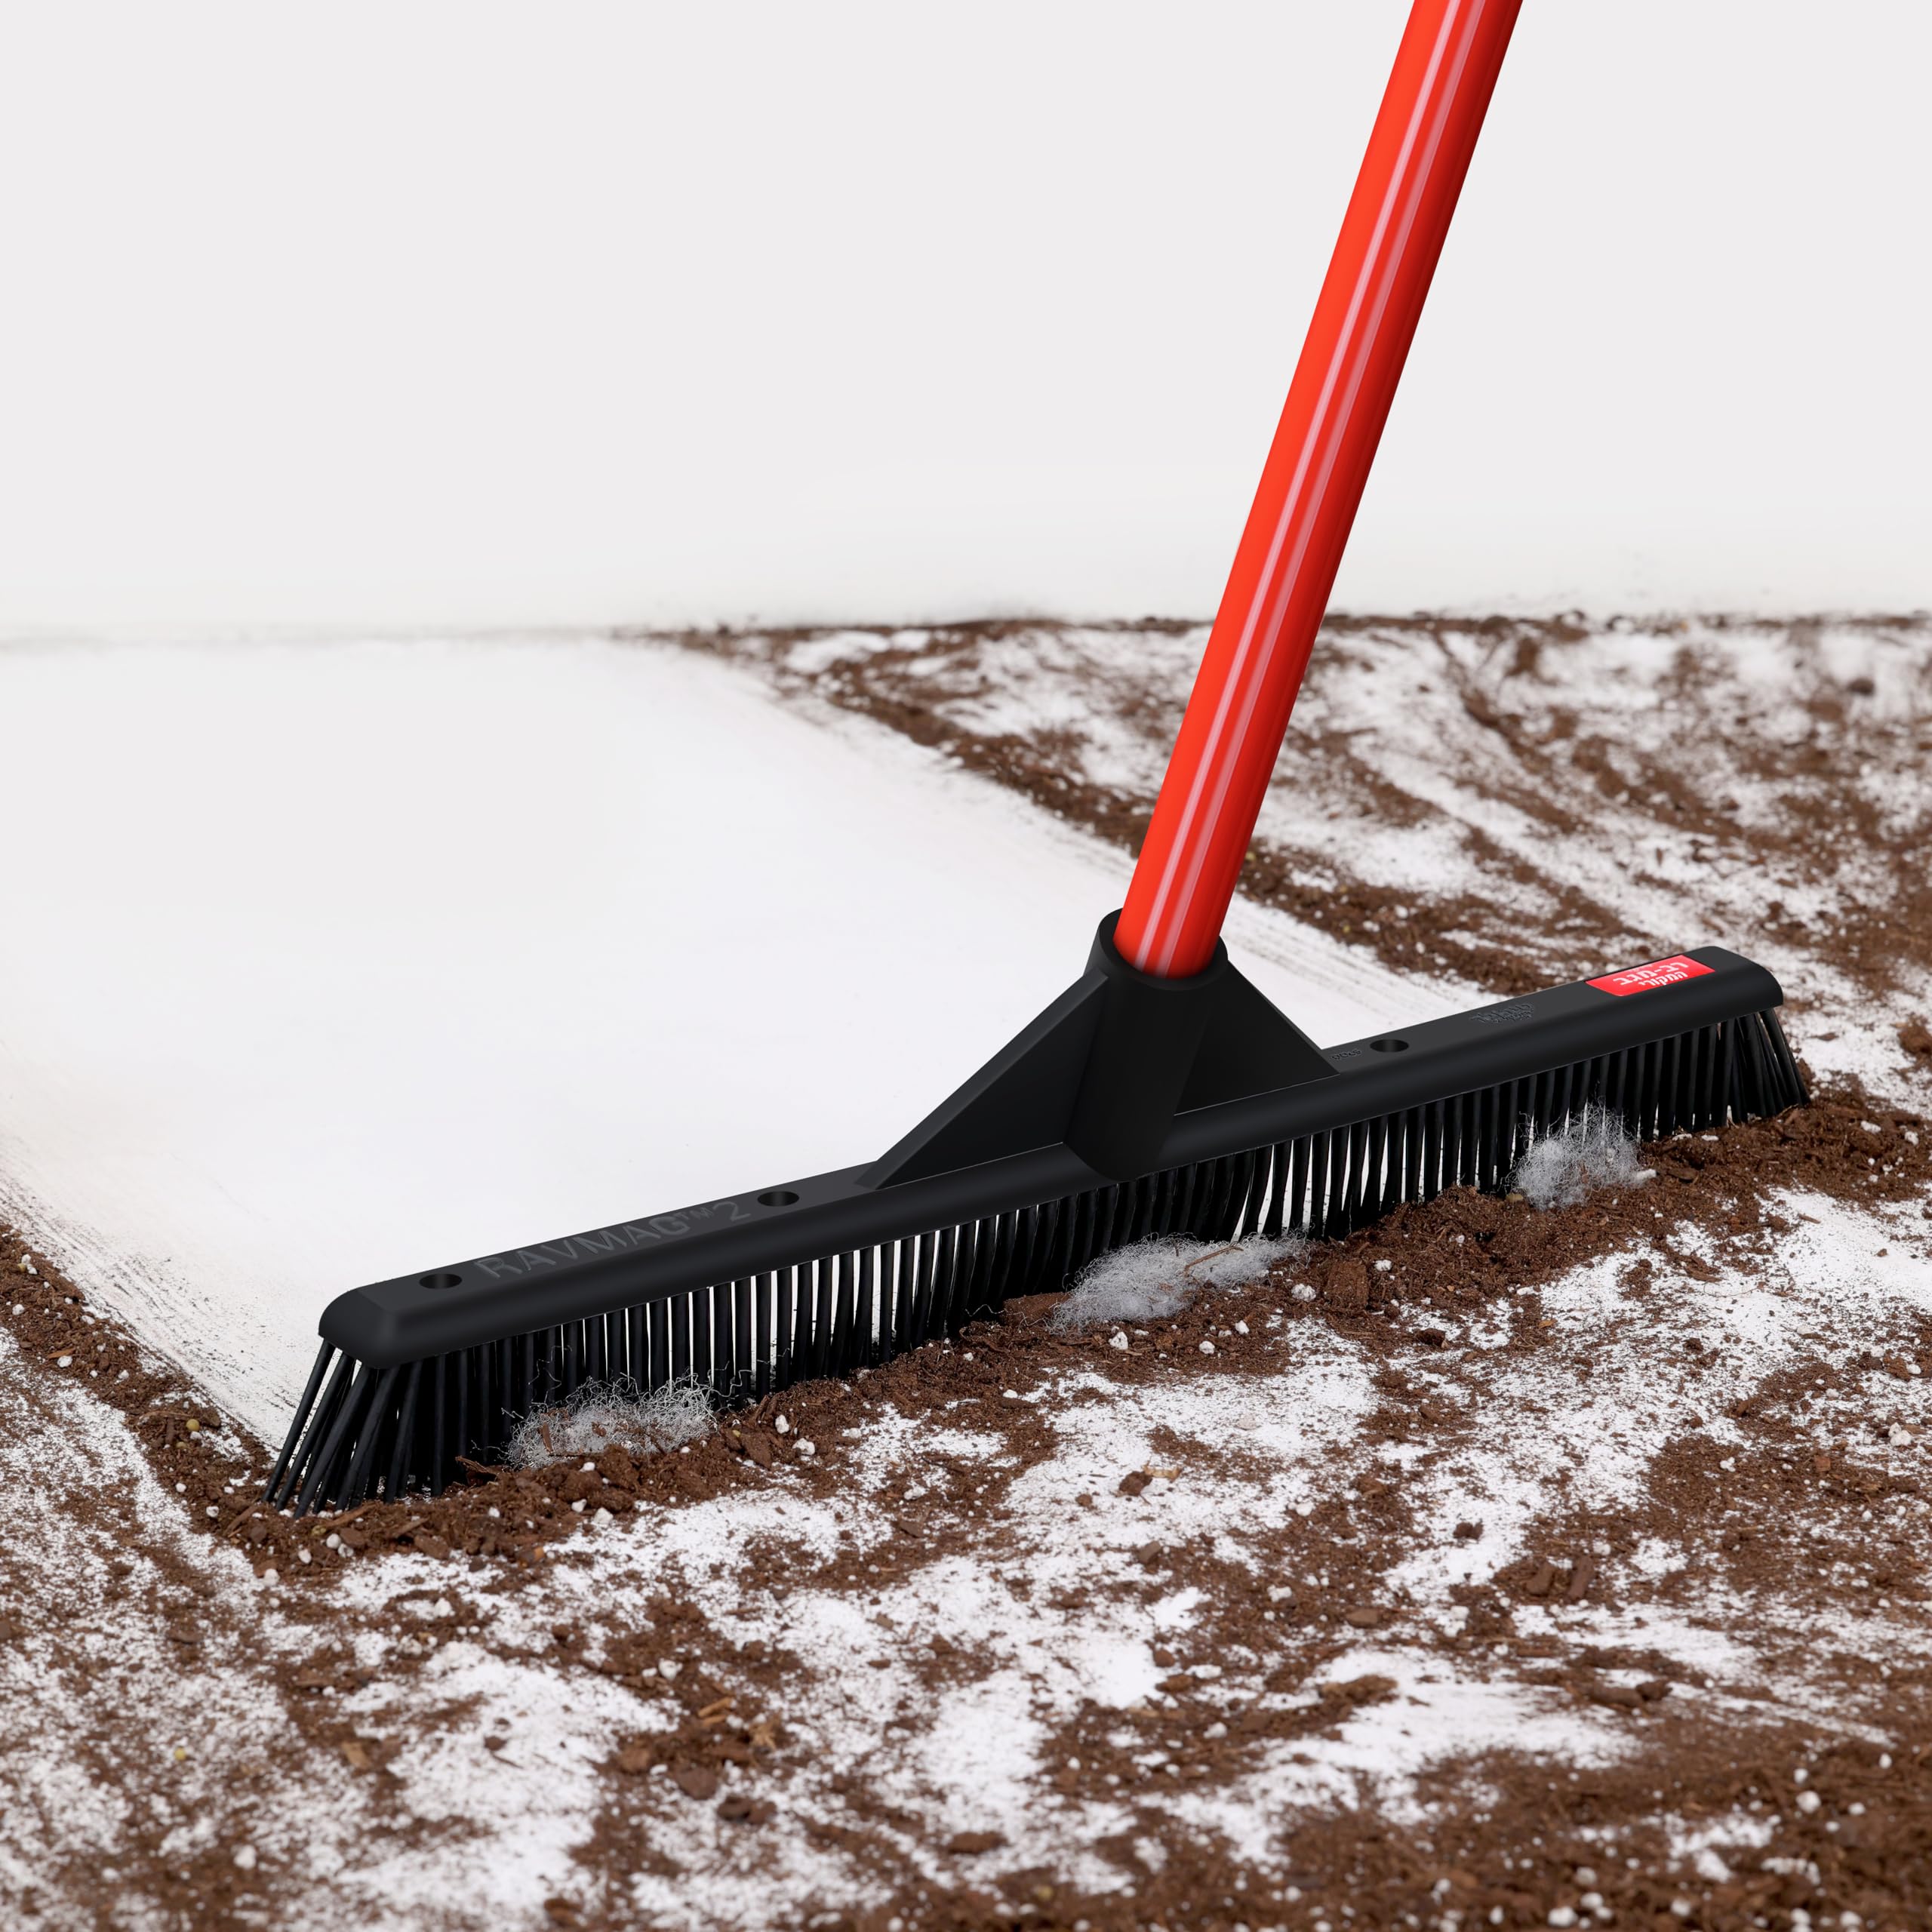
If you buy one tool for this job, buy a rubber broom — I’ve used a Libman for years and it beats every straw or synthetic broom I’ve tried. Rubber bristles generate static and grip the needles instead of flicking them across the room, so you get a clean sweep in one or two passes instead of chasing the same pile around the kitchen. Keep the broom head at a low angle and pull toward you in short, overlapping strokes; the needles gather into a tidy line you can dustpan without half of them escaping.
It’s useless on deep plush carpet, though — go to the vacuum there. And if there’s grit mixed in with the needles on a hardwood floor, sweep gently, because dragging sand across a finish is what actually causes scratches.
Vacuum With the Right Attachment
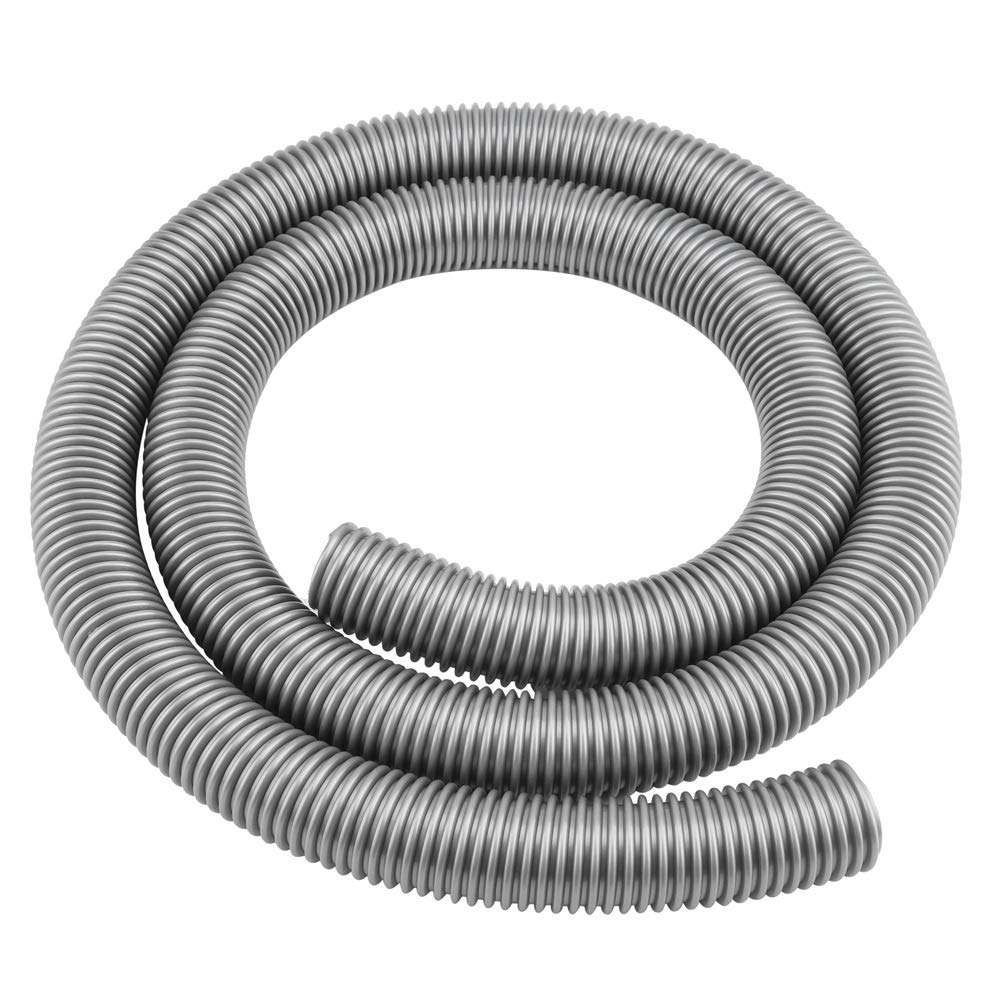
For carpet, rugs, and anything fabric-covered, the vacuum is still the fastest answer — just don’t use it like you would on regular dust. Turn the beater bar off for bare floors, and switch to bare-floor mode on sealed hardwood so the rotating brush doesn’t spray needles back out the sides. The real win is in the attachments, and this is where you want to reach for specific ones:
- ✦Crevice tool for the gap where floor meets baseboard and the ring of needles around the tree stand
- ✦Upholstery tool for the tree skirt, sofa, and any fabric storage bins
- ✦Dusting brush for the branches themselves, before the tree goes out
- ✦Wide floor nozzle with the brush roll on for wall-to-wall carpet
Empty the bin or bag halfway through, too. Pine needles pack down into a dense mat that chokes airflow long before it looks full.
Mist the Floor Before You Sweep
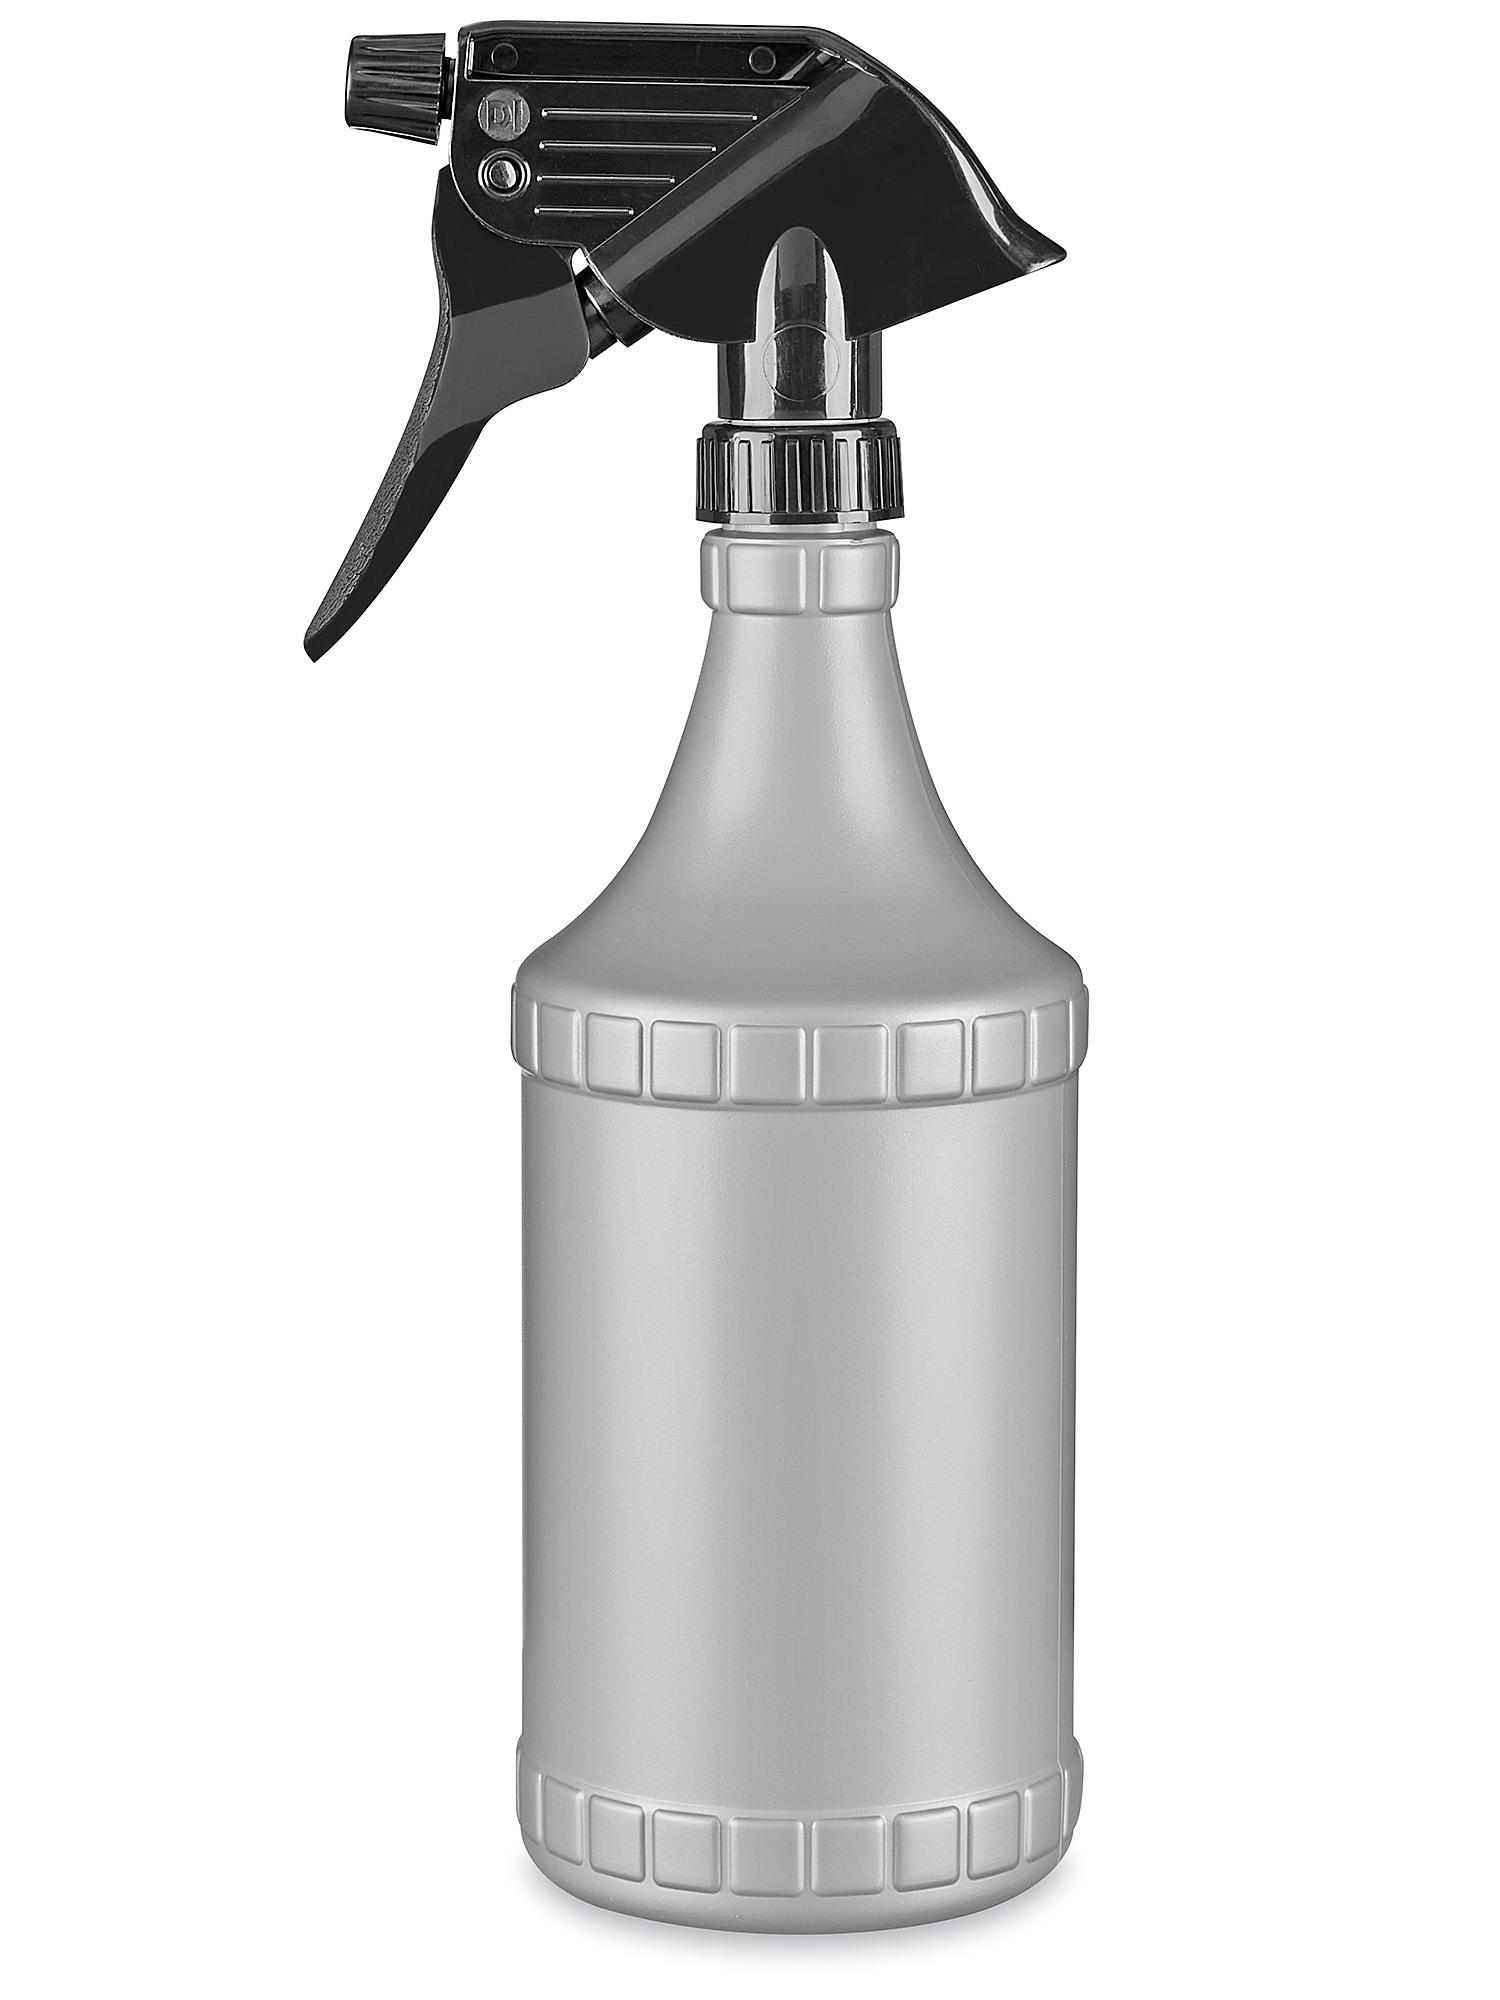
This is the small habit that changed the whole job for me. Dry pine needles are feather-light and full of static, so a broom sends a fine spray of them airborne to settle again an hour later.
Fill a plain spray bottle with water, set it to a wide fan, and mist a two- or three-foot section of floor ahead of you. Wait thirty to sixty seconds — the needles darken slightly as they absorb the moisture and get heavy enough to stay put.
Two cautions: only do this on sealed floors. Never leave standing water on hardwood or let moisture sit in laminate seams. And skip it near outlets, the tree stand, or anything with cords plugged in.
Lint Roller for Upholstery, Lampshades, and Vents
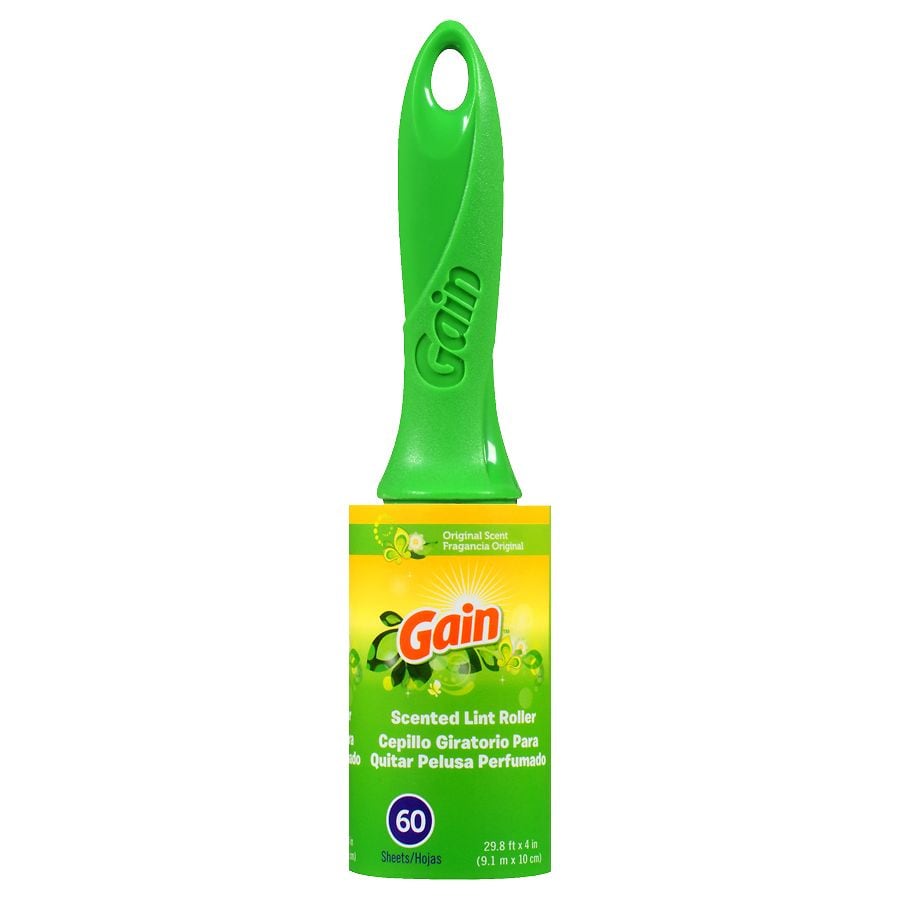
A lint roller is the tool nobody thinks of and everybody needs here, because needles cling to fabric through static long after the floor is clean. A Scotch 3M roller works fine, but a reusable ChomChom-style roller saves you from burning through sheets.
Roll with firm pressure in one direction rather than scrubbing back and forth — the back-and-forth motion just pushes needles deeper into the weave. It’s my go-to for:
- ✦Throw pillows, sofa cushions, and blanket edges
- ✦Lampshades and fabric drawer fronts
- ✦Stair carpet treads and the runner in the hallway
- ✦Fabric storage bins that lived under the tree
Cheap adhesive sheets start shedding sticky bits onto the fabric after a few passes. Swap in a fresh sheet before that happens.
Damp Rubber Gloves for Furniture and Windowsills
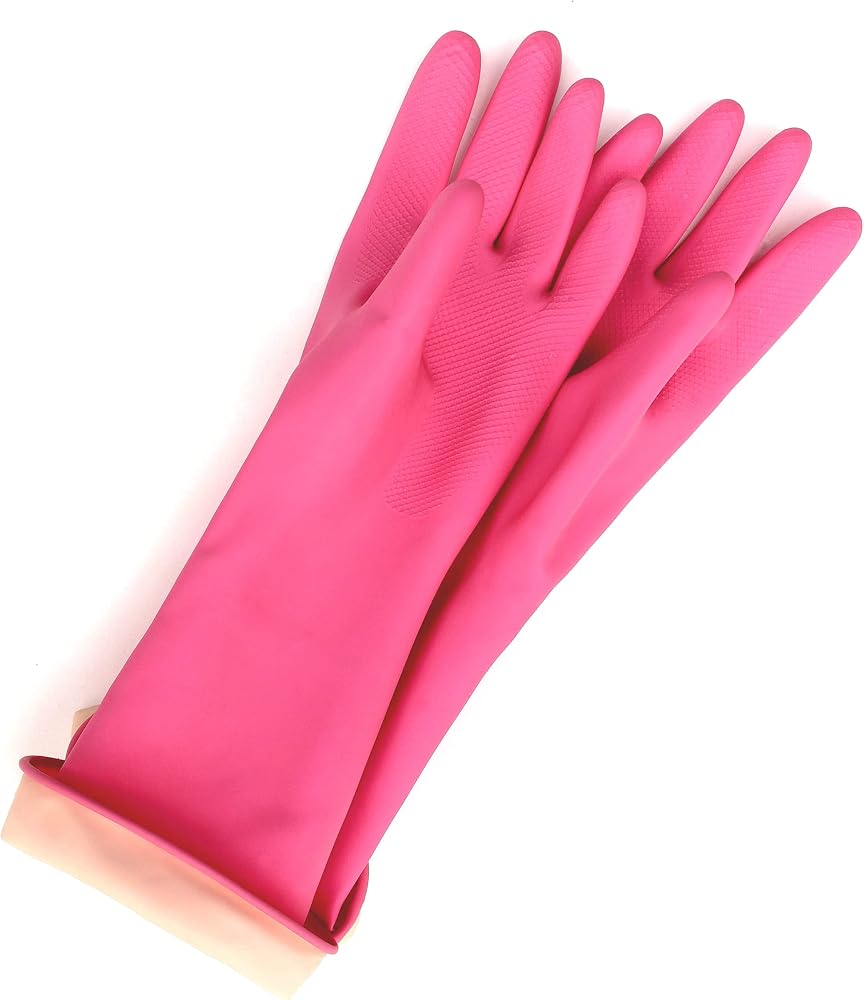
Yellow dish gloves work like a magnet on needles, and they cost nothing. Dampen them lightly — wring them out first, you want barely moist, not dripping — then pinch and lift needles off wood surfaces, windowsills, chair rails, and the ledge of any radiator cover. The rubber grips where a dry hand just pushes the needles around, and it’s precise enough to pull needles out of the crease where a seat cushion meets the frame.
Watch for drips on finished wood, and give the gloves a rinse when they start collecting fuzz along with needles. The same trick works on pet beds and the cat’s favorite chair before you finish up with a lint roller.
Flat Microfiber Mop for Baseboards and Under Furniture
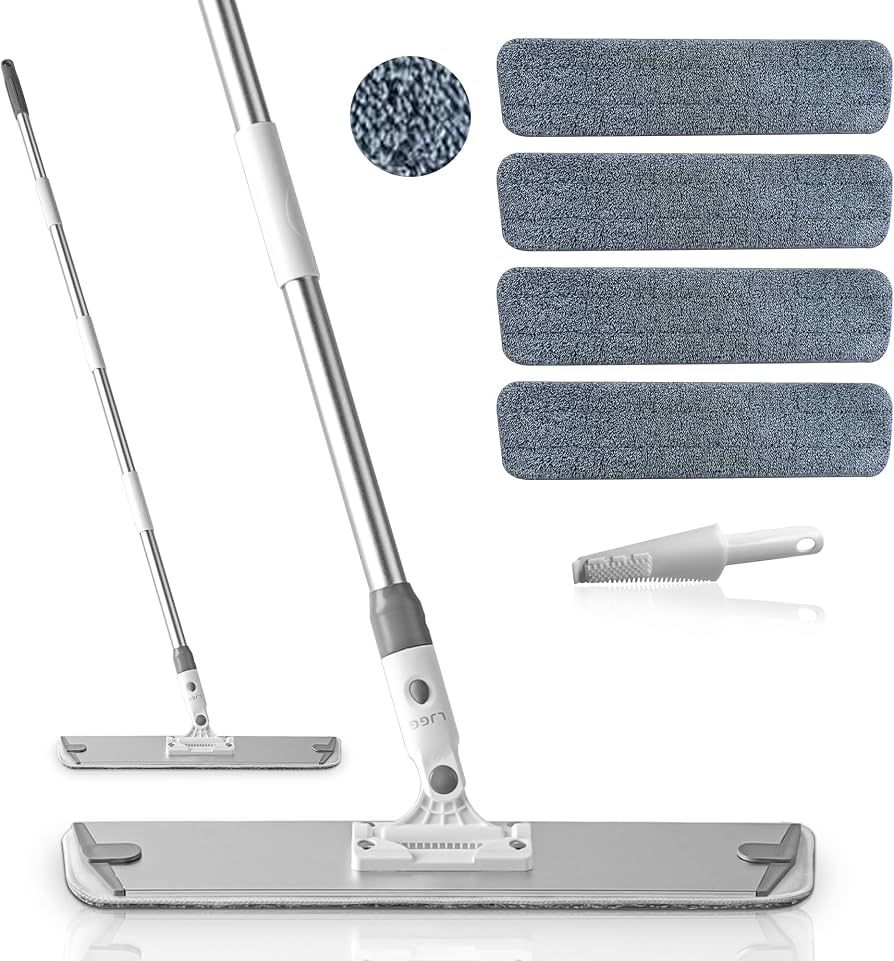
The needles you can see are never the whole story. A flat microfiber mop — an O-Cedar or Rubbermaid Reveal pad, or a Swiffer Sweeper with a dry sheet — slides into the two inches of clearance under a sofa, dresser, or bed where a broom can’t reach. Pull the furniture out a couple of inches if you can, then run the mop along the baseboard horizontally; the crease where baseboard meets floor collects an absurd amount of needles and the flat edge pulls them right out.
Dry pads grab needles with static, which is perfect on carpet edges. A slightly damp microfiber pad is better on hardwood, since it also picks up sap residue left behind by the trunk.
Duct Tape or Packing Tape for Tight Spots
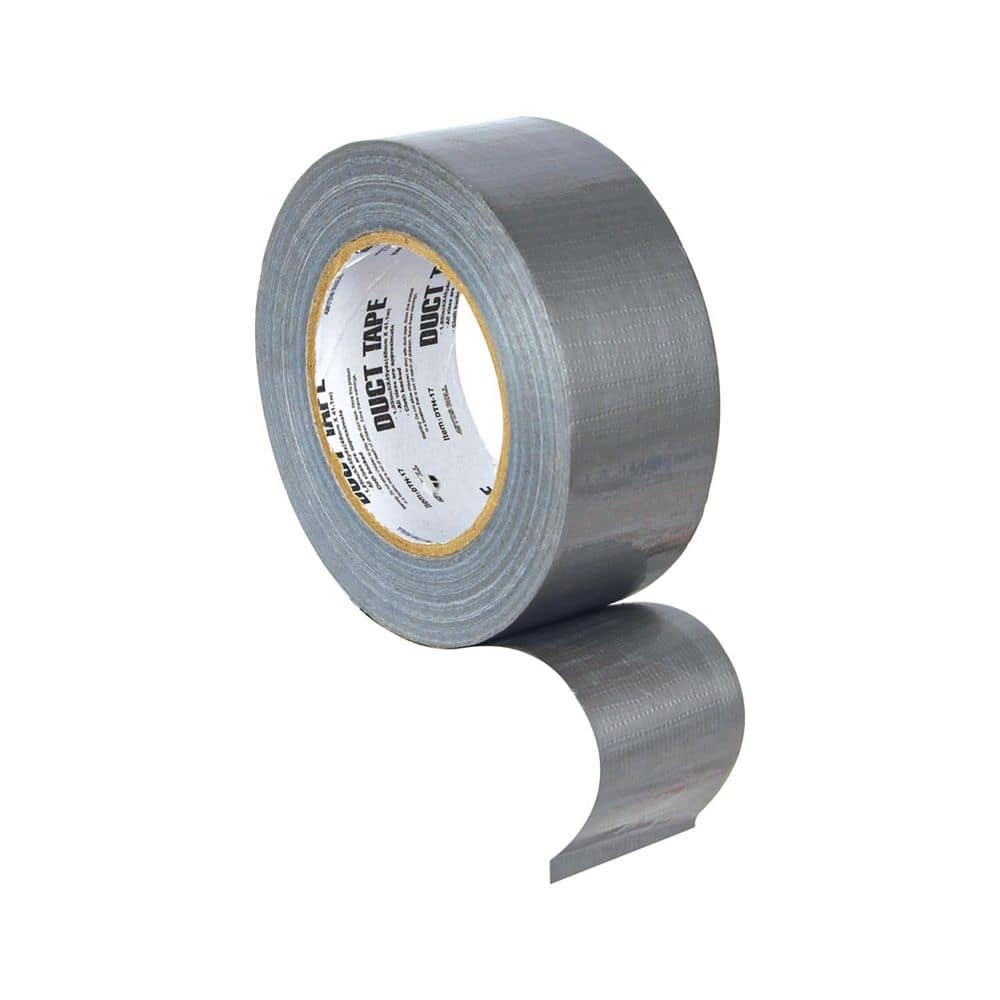
Some needle deposits are just too narrow for any tool: the gap behind the baseboard, radiator grates, the fold of a stair stringer, the seam of a wood floor. Wrap a length of duct tape or clear packing tape sticky-side out around your hand and press and lift, press and lift. For long thin gaps, tape a yardstick or a paint stirrer and run it along the crack like a squeegee.
If you’re working on a delicate finish, use low-tack painter’s tape instead — standard duct tape can leave adhesive behind on a fresh polyurethane coat. Test in a hidden corner first, and pull parallel to the surface rather than straight up.
Protect Your Vacuum With Pantyhose or a Sock
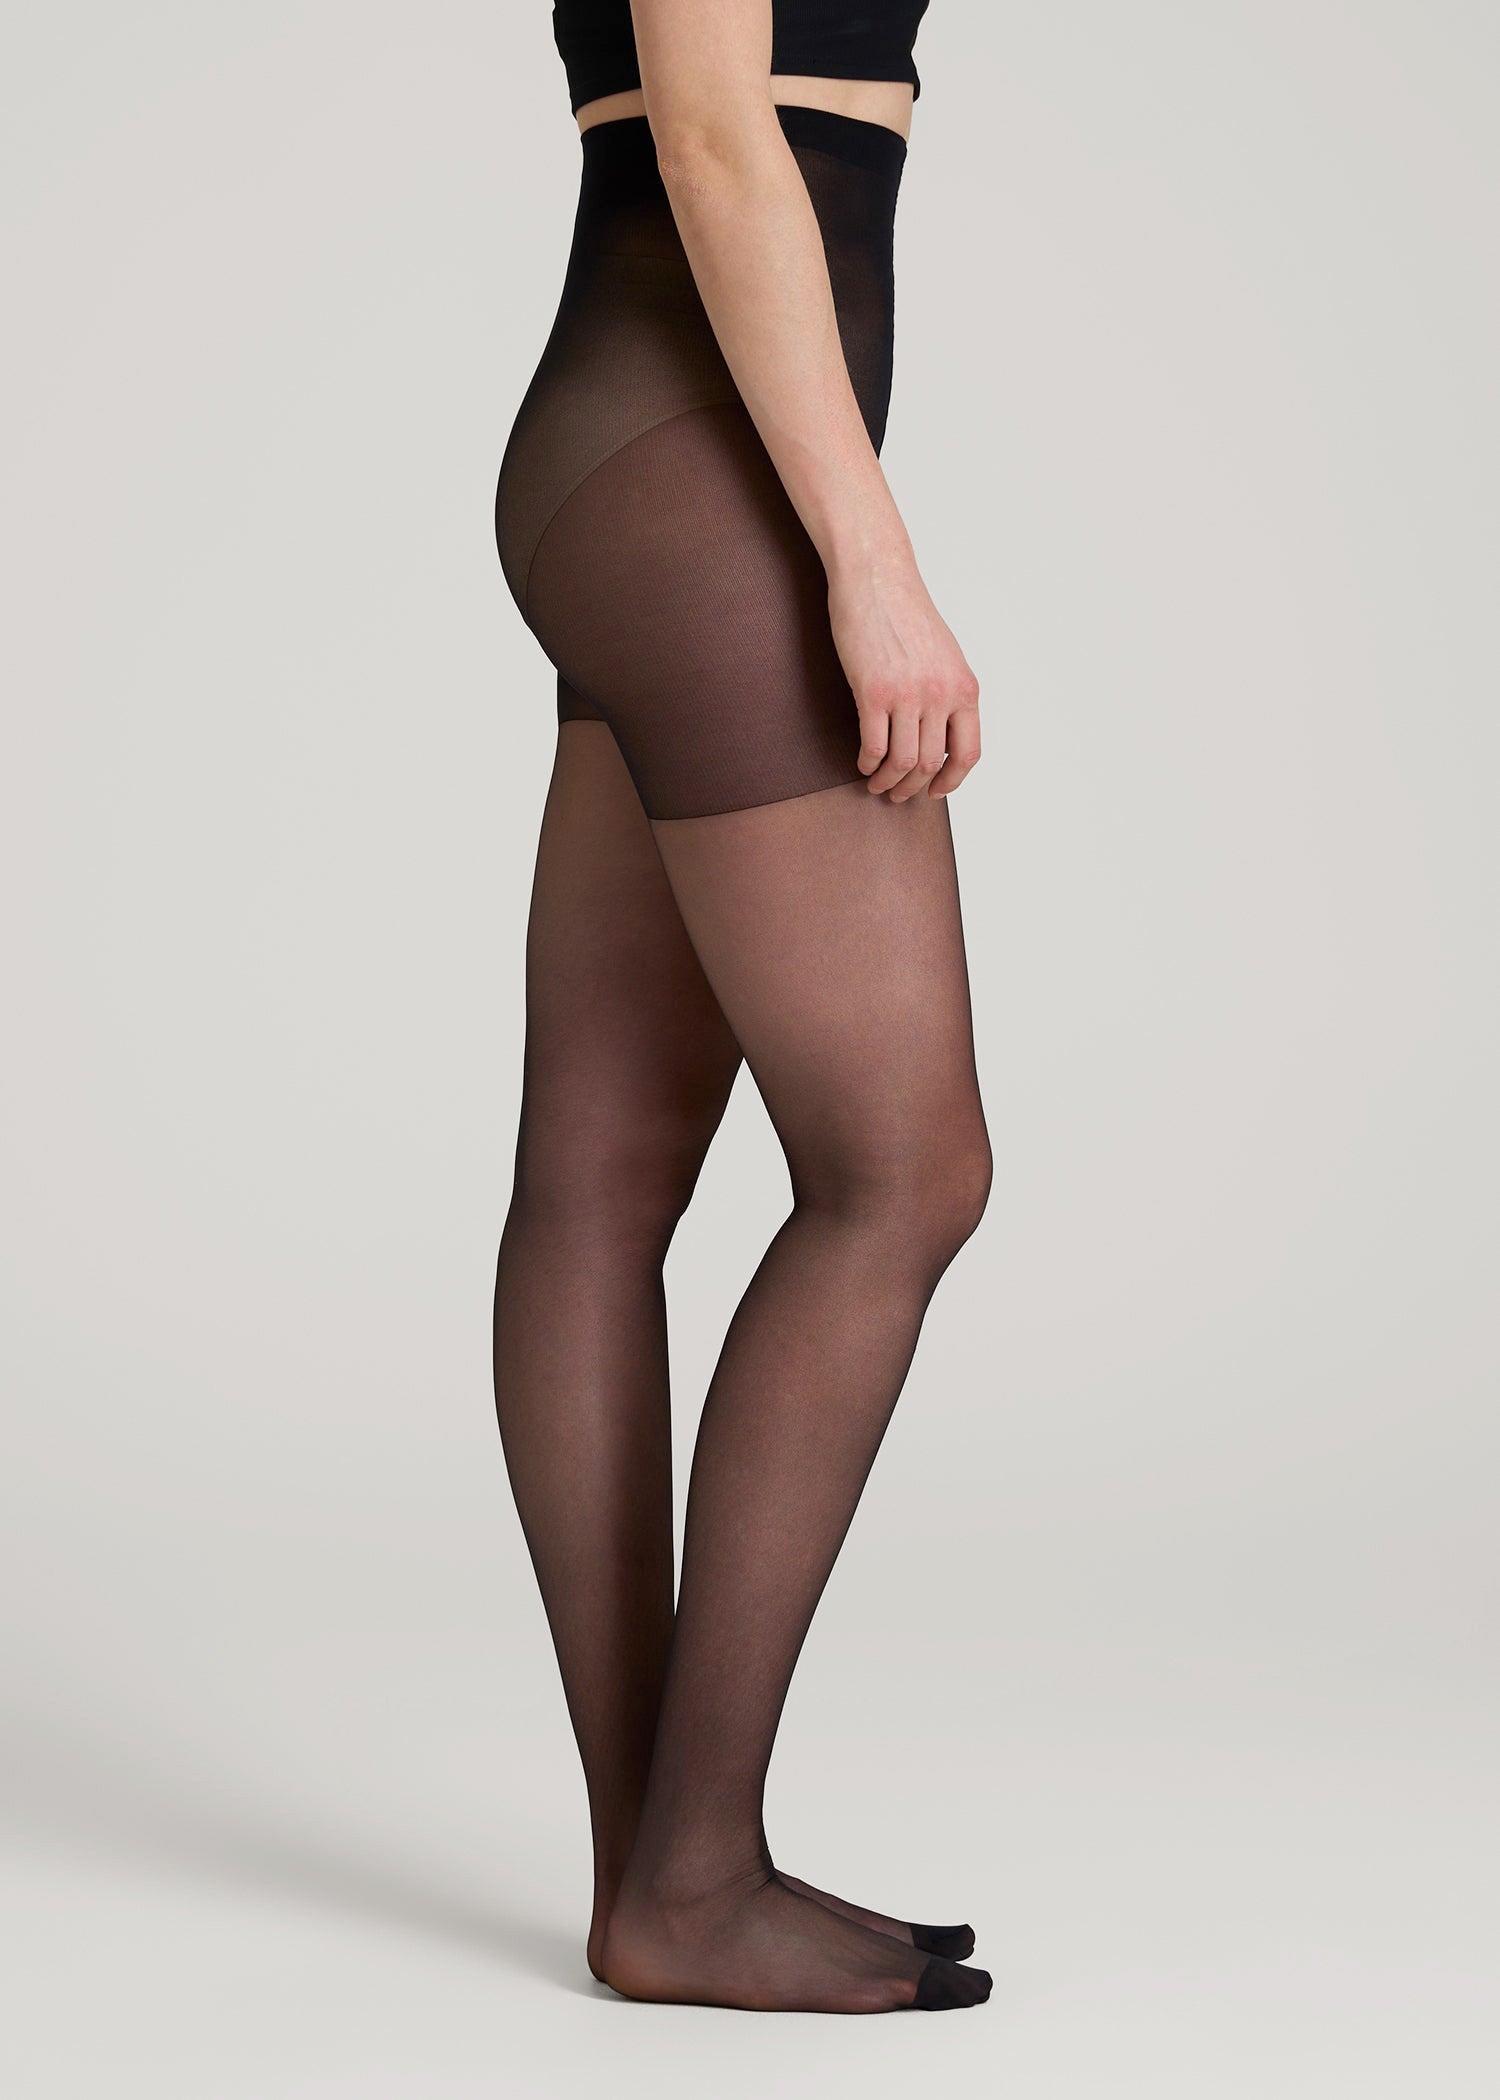
This one isn’t about speed, it’s about not wrecking a $300 vacuum. Pine needles jam into the wand, pack against the filter, and wrap around the brush roll until the machine overheats.
Stretch a nylon knee-high or a thin cotton sock over the hose opening and secure it with a rubber band; it acts as a coarse screen so clumps come out in one piece instead of wedging themselves into the plumbing. Check it every couple of minutes and don’t let it choke suction.
Never cover the exhaust, and don’t drop the nylon into the dustbin where it’ll tangle. And if needles do get wound around the brush roll, cut them off with scissors — yanking just snaps the bristles.
Bag the Tree Before You Carry It Out
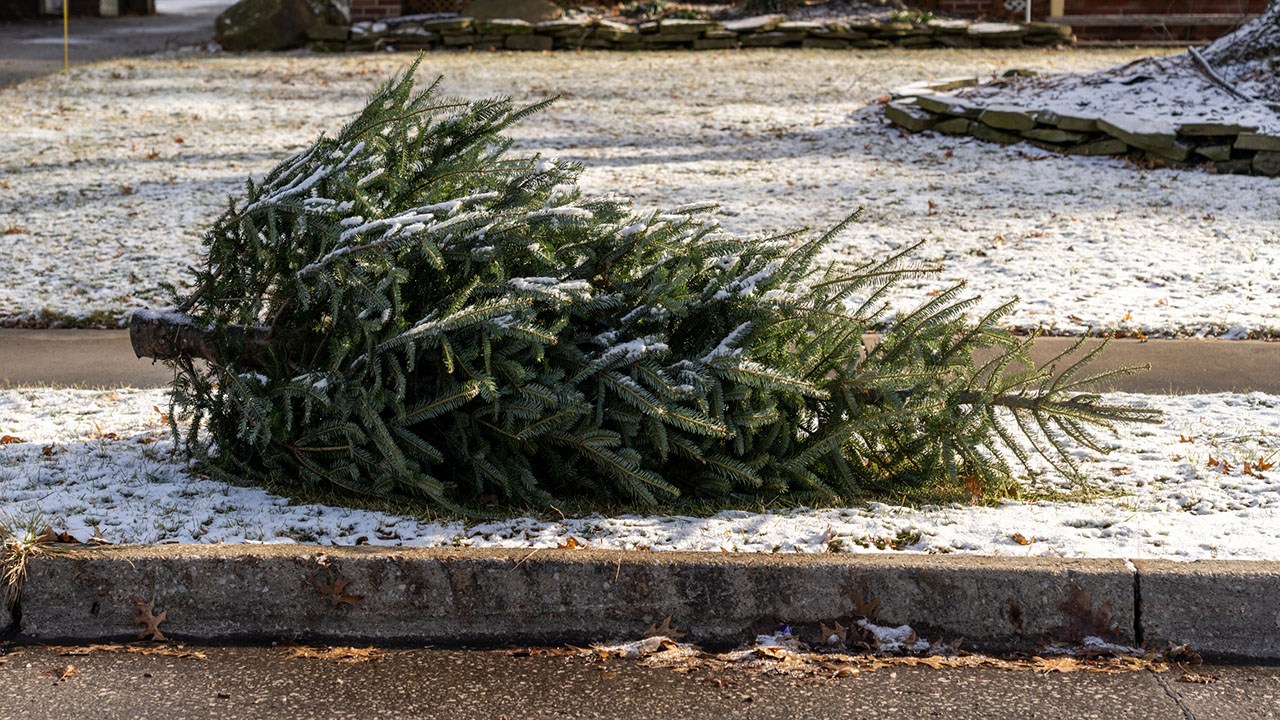
Here’s the part that undoes an hour of cleaning. Carrying a dry tree from the living room to the curb shakes loose half the needles it still has.
Use a proper Christmas tree removal bag, or a heavy contractor trash bag split open and wrapped around the trunk, or honestly just an old fitted sheet laid flat on the floor. Tip the tree onto the sheet while it’s still near where it stood, then drag the whole bundle out.
Wrap from the base up while the tree is upright, before you unmount it. For tight stairwells, cut the tree into two or three sections with a pruning saw first — a seven-footer on its side is a fight you don’t need.
Compost, Mulch, or Reuse the Needles
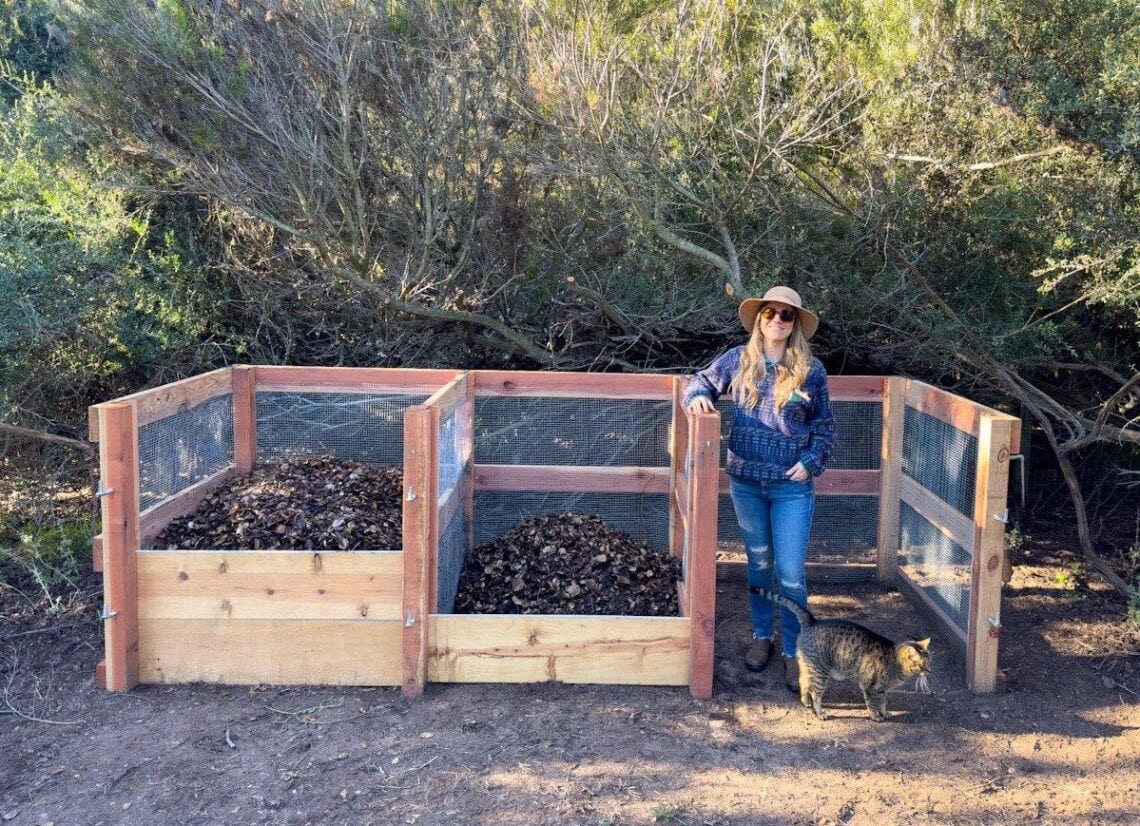
Don’t just bag the pile and call it trash. Pine needles are slow-decomposing “browns,” so they balance out kitchen scraps in a compost bin — just mix them in and add greens like coffee grounds or vegetable peelings to keep things moving. Raked needles also make excellent winter mulch for blueberries, azaleas, and other acid-loving plants, and a bucket of them spread over a muddy garden path keeps mud off your shoes all winter.
Don’t dump a whole tree in the compost; cut the branches into foot-long sections first. And check your city’s rules — plenty of municipalities chip trees for free in early January, which is the easiest disposal of all.
FAQ
How do you get pine needles out of carpet?
Vacuum with the beater bar on and go slow in overlapping passes, then follow up with a lint roller or a stiff-bristle brush on any spots the vacuum missed. Dampen a microfiber cloth and blot the surface if you still see needles standing up in the fibers. Never sweep carpet with a broom — you’ll just push the needles deeper into the pile.
Will pine needles clog my vacuum?
They can, especially in a bagless machine. Empty the bin before it looks full, clear needles off the brush roll with scissors, and rinse or tap out the filter afterward so the motor keeps full airflow. Stretching a nylon over the hose opening, as described above, catches most of the bulk before it ever reaches the motor.
Are pine needles safe to compost or use in the garden?
Yes, in moderation. They’re mildly acidic and slow to break down, so mix them with greens and expect them to take a season or two.
They’re ideal mulch for acid-lovers like blueberries and azaleas and work well on paths. Avoid piling them thickly against tree trunks or plant crowns, and keep them out of vegetable beds you want warm and crumbly in spring.
How do I keep needles from spreading next year?
Lay an old sheet or a tree skirt that actually covers the floor under the whole footprint of the tree, and mist the branches lightly once the tree is up to knock off the loose needles before they hit your floor. A tree stand with a wide collar catches a surprising amount, and keeping the tree watered slows the shedding considerably.
Pine needles are one of those small winter chores that feels endless until you have a system. Sweep first, vacuum second, hit the fabric last, and wrap the tree before it travels — do it in that order and you’ll be done before the leftover ham is gone. Save this one for next December; you’ll want it again.
Leave a Reply