

Salt dough needs complete drying before paint application to prevent bubbling, cracking, or color bleeding. Thickness, ambient conditions, and chosen drying method all shift the timeline from a single day to nearly a week.
Air Drying Salt Dough Projects
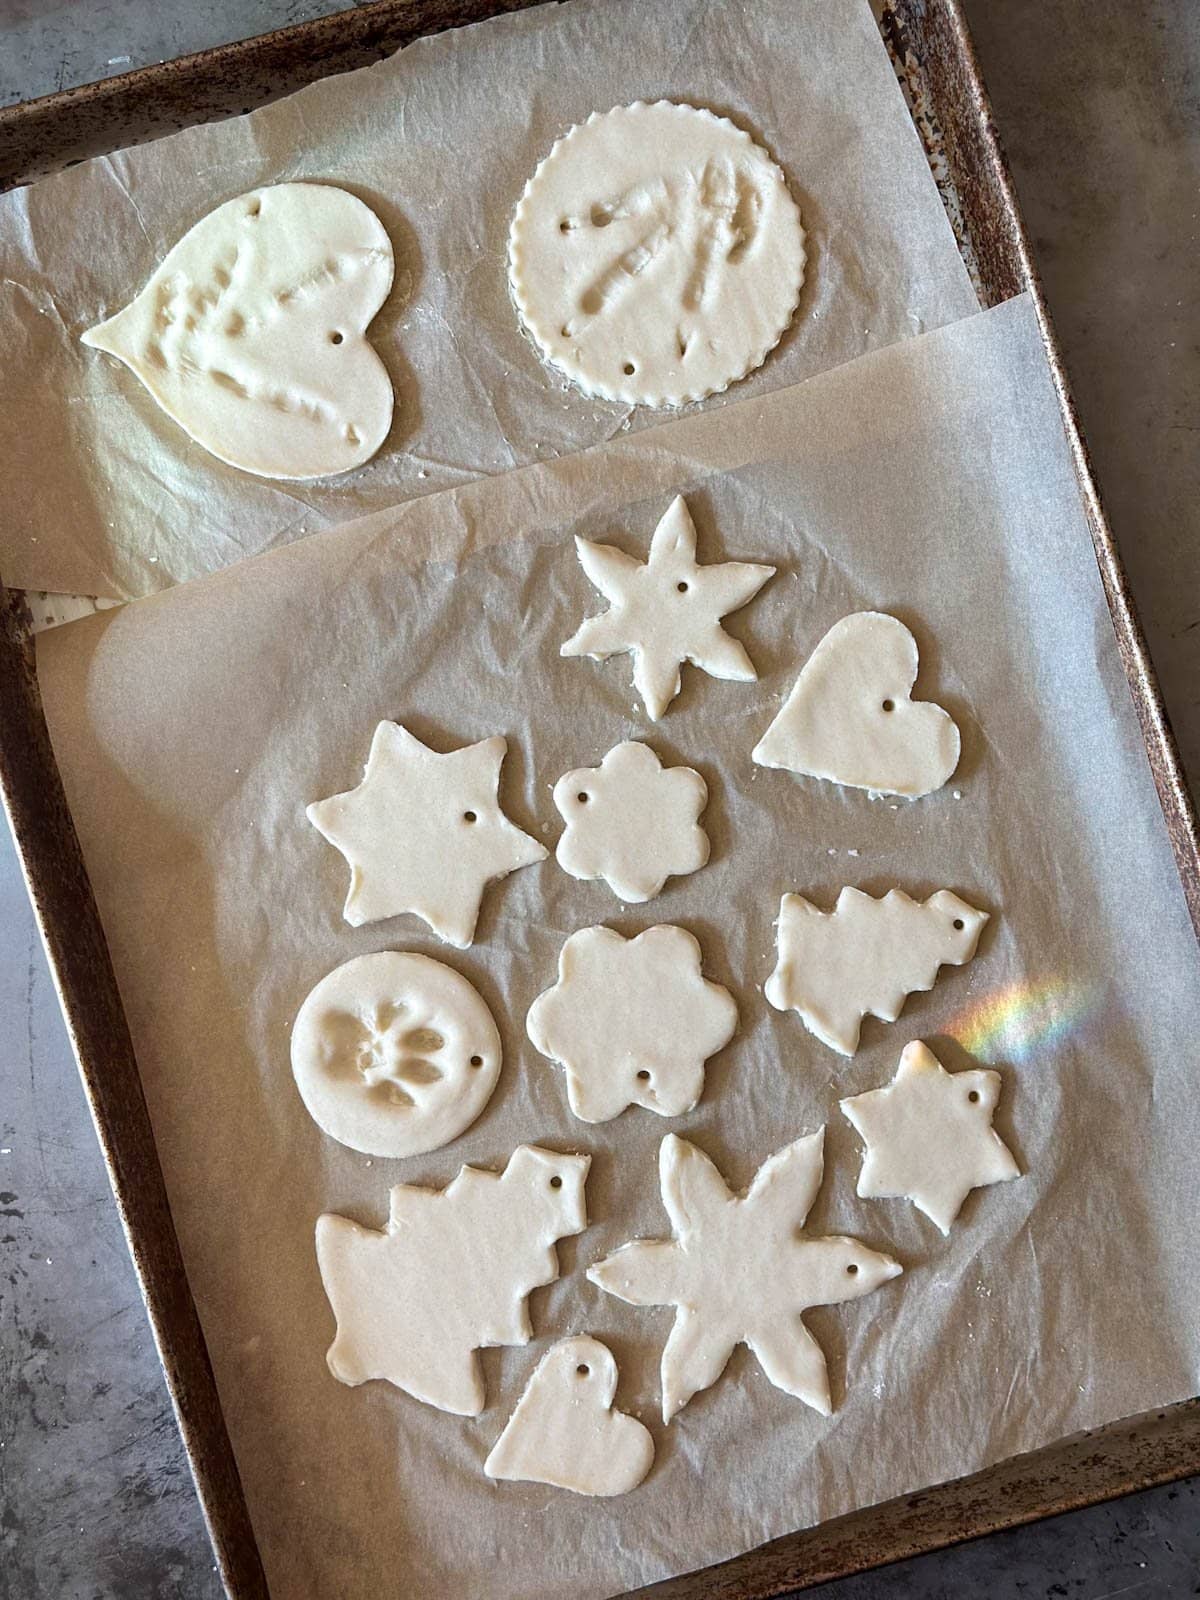
Air drying relies on steady room-temperature airflow rather than added heat. Place pieces on a wire rack or parchment-lined tray so air reaches every surface, and rotate them every few hours during the first day. Most projects between one-quarter and one-half inch thick reach a firm state in 48 to 72 hours, though thicker pieces or those with heavy detail may need an extra day or two.
Humidity levels change the outcome more than many crafters expect. In dry climates the surface can feel hard while the center remains slightly soft, leading to later cracks once paint is applied. Test readiness by tapping the underside; a solid, non-yielding sound indicates the interior has dried through.
Oven Drying Salt Dough Projects

Oven drying shortens the wait when time is limited. Set the temperature no higher than 200 degrees Fahrenheit and prop the door open slightly with a wooden spoon to release moisture.
Check pieces every 30 minutes and flip them midway through the cycle. Thin ornaments often finish in two to three hours, while half-inch thick items can require four to six hours total.
Lower heat over longer periods produces fewer surface bubbles than rushing at higher temperatures. Keep an eye on color; any browning means the oven was too hot and the piece may need light sanding before painting.
How Thickness Changes Drying Time

Thicker salt dough holds moisture longer in the center even when edges feel dry. A one-eighth-inch ornament may be paint-ready after 24 hours of air drying, but a full-inch piece can take five or six days before the interior is safe for color. Measure the thickest part of each project before starting so expectations stay realistic.
- Cut consistent thicknesses with a rolling guide or cookie cutters of known depth.
- Score deep designs only halfway through to avoid trapping moisture in grooves.
- Allow extra time for any added elements such as layered shapes or embedded beads.
Humidity and Temperature Effects

High indoor humidity slows evaporation dramatically. In rooms above 60 percent relative humidity, plan on at least an extra full day compared with average conditions. Placing projects near a dehumidifier or in a consistently heated space helps maintain steady progress without direct heat.
Temperature swings also matter. Cool basements extend drying by 30 to 50 percent, while warm upper floors can shorten it. Avoid spots with direct sun or heating vents, which create uneven drying and warped edges.
Testing Readiness Before Painting

A simple weight check reveals hidden moisture. Weigh the piece on a kitchen scale after it feels dry, then reweigh 24 hours later; no change means internal moisture has stabilized. Another reliable check involves pressing a fingernail into an inconspicuous edge; resistance without denting confirms the surface is cured.
A second full day of drying after the piece feels hard prevents most paint adhesion problems later. Light sanding with fine grit smooths any remaining surface tackiness before the first coat goes on.
Comparison of Drying Methods

| Method | Typical Time | Best For | Watch For |
|---|---|---|---|
| Air drying | 2–6 days | Detailed or thick pieces | Humidity swings |
| Oven drying | 2–6 hours | Thin ornaments | Browning or bubbling |
| Dehydrator | 4–12 hours | Multiple small items | Even tray spacing |
How does thickness affect drying time?
Thickness directly controls how long moisture needs to travel outward. Projects over three-quarters of an inch often require oven assistance or extended air drying to avoid a soft core. Test multiple spots rather than relying on edge dryness alone.
Can I paint salt dough the same day I make it?
Same-day painting rarely succeeds because residual moisture causes paint to lift or crack within hours. Even pieces that appear dry on the surface usually need at least overnight air exposure or a short oven cycle before color is applied.
What happens if salt dough is not fully dry?
Undried centers expand slightly during painting or sealing, producing hairline cracks that widen over time. The safest practice is to err on the side of extra drying rather than risk redoing an entire project.
FAQ
How long should salt dough dry before sealing?
Allow the same full drying period required before painting, then add one extra day to ensure no steam forms under the sealant coat. Test weight stability again before applying varnish or mod podge.
Does salt dough need to be flipped during drying?
Flipping promotes even moisture release and prevents one side from drying faster than the other, which can cause warping. Rotate pieces at least once during air drying and midway through oven sessions.
Can I speed up drying with a fan?
A gentle fan increases airflow without adding heat and can shave several hours off air-drying times for thin pieces. Position the fan so air moves across rather than directly at the projects to avoid uneven results.
Why did my salt dough crack after painting?
Cracking after painting almost always traces back to residual interior moisture that expanded once sealed. Extending the initial drying phase by 24 hours prevents this issue in most cases.
Salt dough rewards patience during the drying stage with smooth, long-lasting painted results that hold up on shelves or trees for years.
Leave a Reply