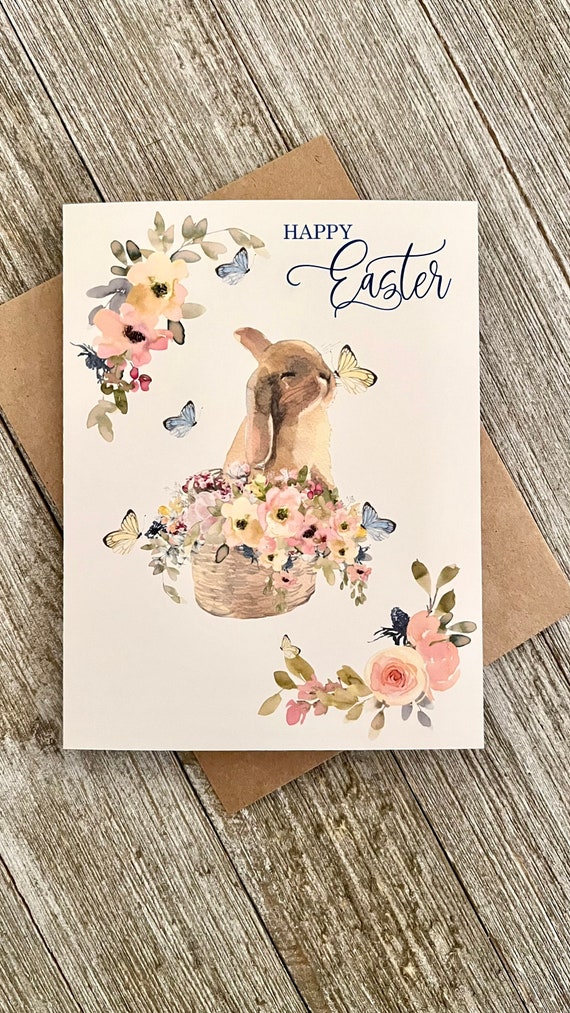
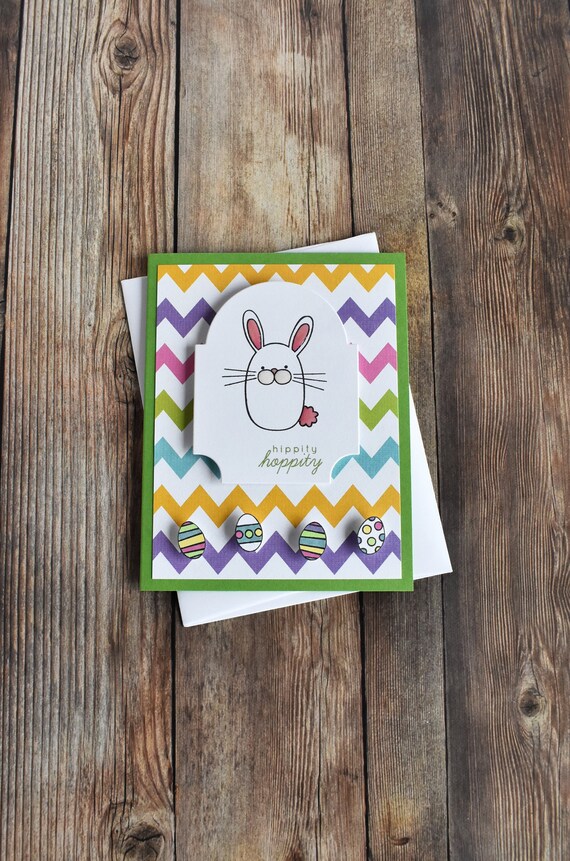
Handmade Easter cards offer a personal touch that store-bought versions simply cannot match. By combining vibrant spring palettes, tactile textures, and whimsical motifs like bunnies, eggs, and florals, you can create a keepsake that conveys genuine warmth.
Whether you are an experienced crafter or a beginner looking for a weekend project, these DIY designs utilize common household materials and upcycling techniques to celebrate the season of renewal.
Essential Supplies for Handmade Easter Cards
Before diving into specific designs, ensure your craft station is stocked with these foundational materials. Using high-quality cardstock is the secret to a professional-looking finish.
| Material | Best Use | Pro Tip |
|---|---|---|
| Heavy Cardstock | Card base (250-300 GSM) | Use a bone folder for crisp, clean creases. |
| Watercolor Paints | Soft, ethereal backgrounds | Use cold-press watercolor paper for better absorption. |
| Washi Tape | Borders and patterned shapes | Look for pastel or floral patterns for the Easter theme. |
| Craft Glue/Dots | Attaching 3D elements | Use foam tape to create a “pop-out” 3D effect. |
| Embellishments | Buttons, twine, and sequins | Upcycle old buttons from spare clothing sets. |
1. Minimalist Watercolor Bunny Silhouettes
Watercolor cards are timeless because of their soft, bled edges and artistic flair. For this design, focus on a simple silhouette.
You don’t need to be a master painter; the “bleeding” effect of the paint does the work for you.
How to Create:
- ✿Lightly trace a bunny shape with a pencil.
- ✿Using a wet-on-wet technique, dab soft lavender, mint green, or sky blue paint within the lines. Let the colors mingle.
- ✿Once dry, erase any visible pencil marks and add a tiny white pom-pom for the tail.
2. Pressed Wildflower Greeting
Nothing says “Spring” quite like real botanicals. This idea upcycles nature itself.
If you have a garden, you can press small pansies or daisies a week in advance to use as the centerpiece of your card.
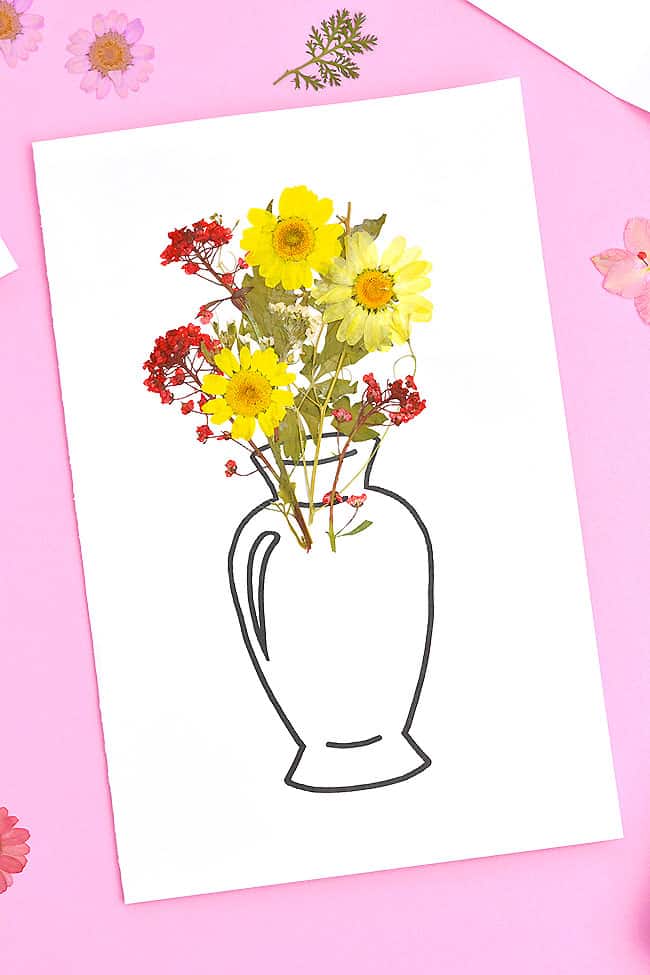
How to Create:
- ✿Arrange your dried, pressed flowers on a neutral cream cardstock.
- ✿Use a tiny drop of clear-drying glue to secure them.
- ✿For a high-end look, place a piece of vellum paper over the flowers and stitch the edges with a sewing machine or use thin gold washi tape.
3. Geometric Washi Tape Easter Eggs
Washi tape is a staple for DIY enthusiasts because it is forgiving and comes in endless patterns.
This project is perfect for using up those half-used rolls of tape sitting in your drawer.
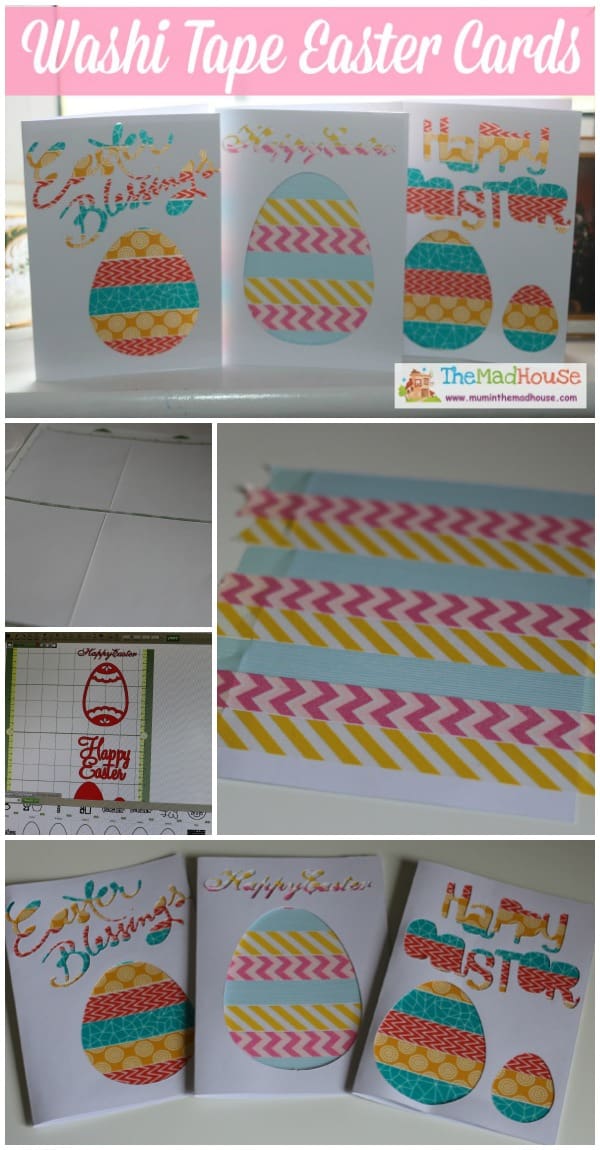
How to Create:
- ✿Cut an egg-shaped window out of a piece of scrap paper to use as a stencil.
- ✿On your main card, lay strips of various patterned washi tapes horizontally or diagonally.
- ✿Place the stencil over the tape to ensure your “egg” looks perfect, or simply cut the tape into egg shapes and layer them for a collage effect.
4. Vintage Button Chick Cards
Upcycling old buttons is a hallmark of sustainable crafting. Yellow buttons of varying sizes can easily be transformed into adorable Easter chicks that add a playful 3D element to your mail.

How to Create:
- ✿Glue two yellow buttons onto the card—a smaller one for the head and a larger one for the body.
- ✿Use an orange fine-liner pen to draw a tiny beak and spindly legs.
- ✿Add a “googly eye” or a simple black dot to finish the face.
5. 3D Paper Strip Eggs
This technique creates a stunning architectural look. By layering strips of colored paper, you create depth and shadow that makes the card stand out on a mantlepiece.

How to Create:
- ✿Cut thin strips (about 1/4 inch) of colorful cardstock.
- ✿Glue them across an egg-shaped cutout in a “woven” or overlapping pattern.
- ✿Mount this cutout onto a contrasting background using foam adhesive squares to give it a “floating” 3D appearance.
6. Embroidered Paper Florals
Paper embroidery is a rising trend in the DIY world. It combines the softness of textiles with the structure of stationery.
It’s a meditative process that results in a high-authority, handmade feel.

How to Create:
- ✿Lightly sketch a simple flower or a “Happy Easter” script.
- ✿Use a needle to pre-poke holes along the lines.
- ✿Using embroidery floss (pastels work best), stitch through the holes using a basic backstitch. The texture of the thread against the paper is incredibly sophisticated.
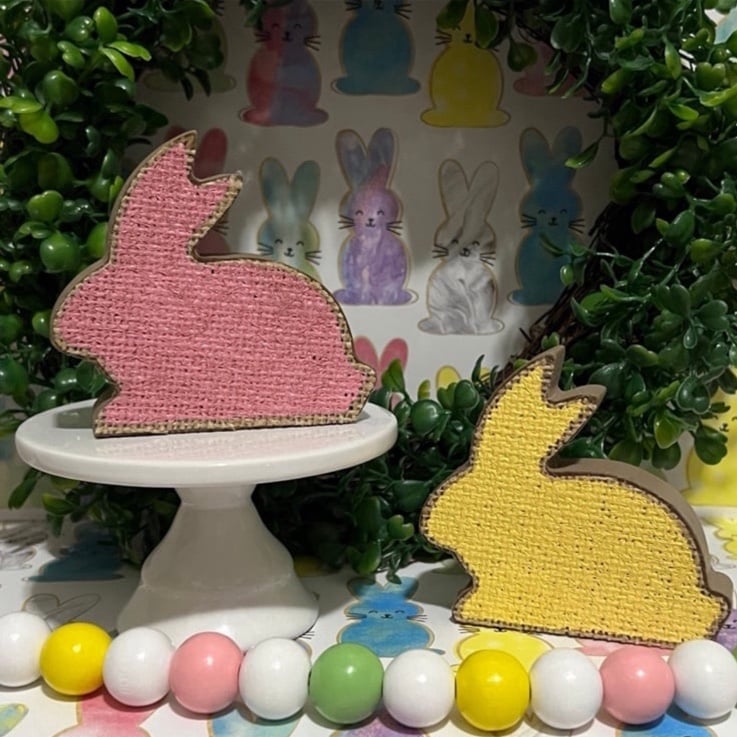
7. Rustic Burlap and Lace Bunnies
For those who love the farmhouse or “shabby chic” aesthetic, burlap and lace provide the perfect rustic contrast.
This card feels warm, tactile, and grounded.
How to Create:
- ✿Cut a bunny silhouette out of a scrap of burlap.
- ✿Glue it to a white or kraft paper card base.
- ✿Add a small strip of white lace trim at the bottom to represent a garden fence or a “grass” line. This mix of rough and soft textures is visually striking.
8. Fingerprint “Peeps” for Kids
If you are crafting with children, fingerprint cards are a wonderful way to involve them while creating a sentimental memento for grandparents.
How to Create:
- ✿Have the child dip their thumb into non-toxic yellow or pink ink/paint.
- ✿Press the thumb twice (one above the other) to create a “Peep” or chick shape.
- ✿Once dry, use a black gel pen to add eyes and a beak. It’s simple, messy fun that looks professional when framed with a clean border.
9. Quilled Paper Carrots
Paper quilling (rolling thin strips of paper) allows you to create intricate, jewel-like designs.
Carrots are the perfect shape for beginners to practice their quilling skills.
How to Create:
- ✿Roll orange paper strips into “teardrop” shapes to form the body of the carrot.
- ✿Roll green strips into small “marquise” or leaf shapes for the tops.
- ✿Arrange them in a cluster of three on the front of the card for a vibrant, textured display.
10. Modern Chalkboard Art Style
Black cardstock provides a dramatic backdrop for bright spring colors. This style mimics the look of a boutique cafe menu and is perfect for hand-lettering enthusiasts.
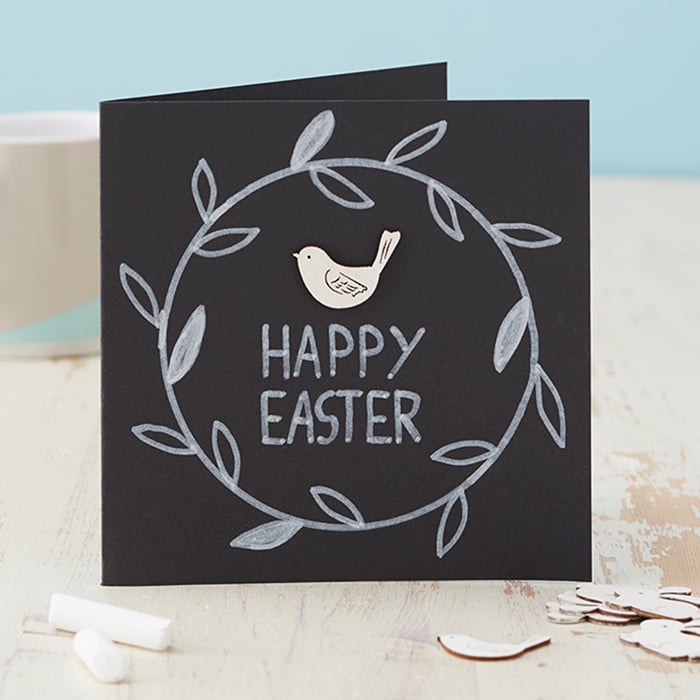
How to Create:
- ✿Use a black card base and white opaque paint markers or chalk markers.
- ✿Draw intricate floral wreaths or bold “He Is Risen” or “Happy Spring” typography.
- ✿The high contrast makes the colors of any added stickers or ribbons pop significantly.
11. Interactive “Hatching” Chick Card
Interactive cards engage the recipient and are often kept much longer than standard cards.
This design features a “cracking” egg that reveals a surprise inside.
How to Create:
- ✿Cut an egg shape out of white cardstock and “crack” it in half with a zigzag cut.
- ✿Attach the bottom half to the card with glue, but attach the top half using a brass brad (fastener) so it can swing open.
- ✿Hide a small yellow chick or a handwritten message behind the “shell.”
12. Tea Bag Stained Vintage Cards
For a Victorian or “Old World” feel, you can age your paper using tea.
This provides a beautiful, muted base for botanical illustrations or stamps.

How to Create:
- ✿Soak a white card in strong black tea for 5 minutes, then let it dry completely. The paper will take on a parchment-like tan hue.
- ✿Use a brown ink pad to distress the edges, and stamp a vintage rabbit or bird motif in the center.
13. Pom-Pom Tail Bunny Parade
Texture is a key element in high-end DIY. Adding a soft, fluffy pom-pom to a flat card immediately elevates the design and makes it “touchable.”
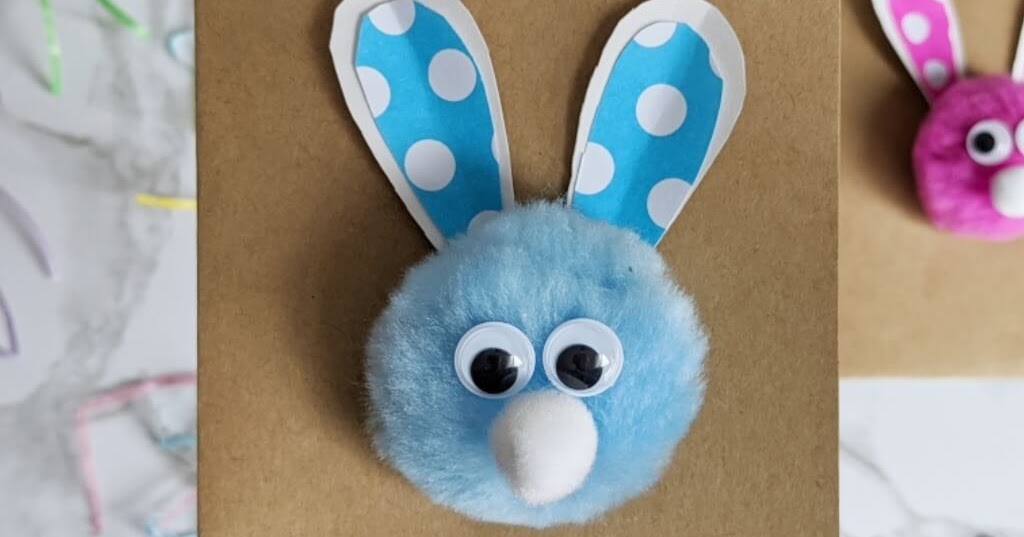
How to Create:
- ✿Cut out three or four bunny silhouettes from patterned scrapbooking paper (polka dots or ginghams).
- ✿Line them up in a row.
- ✿Glue a small white craft pom-pom onto each bunny’s rear. It’s a simple addition that adds a lot of character and whimsy.
14. Pressed Leaf Fern Wreath
If flowers aren’t in bloom yet, ferns and small leaves offer a lush, green alternative.
A wreath shape is a universal symbol of eternity and the cycle of seasons.
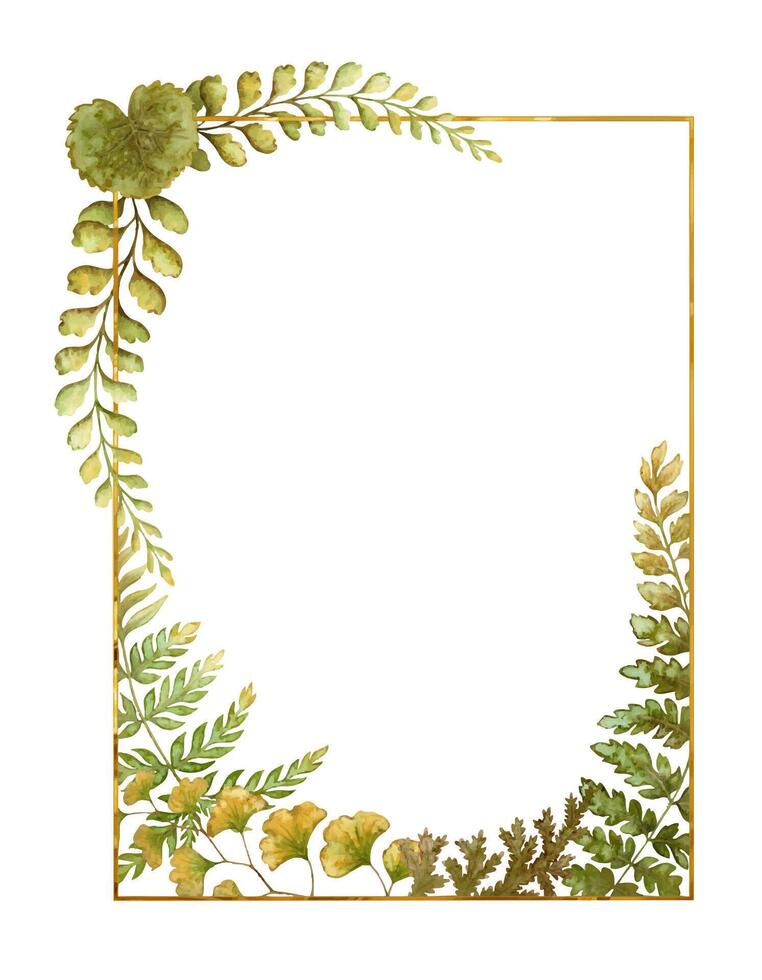
How to Create:
- ✿Arrange small, dried leaves in a circle.
- ✿Glue them down carefully.
- ✿In the center of the wreath, write a simple “Easter Wishes” in gold ink. The greenery against a white background looks clean, modern, and high-end.
15. Scandi-Style Stamped Eggs
Scandinavian design focuses on simplicity and repetitive patterns.
You can create your own stamps using a potato or a carved eraser to achieve this look.
How to Create:
- ✿Carve a simple stripe or dot pattern into a small potato half.
- ✿Dip it in acrylic paint and stamp a grid of eggs across the card.
- ✿Stick to a limited color palette—like mustard yellow, slate blue, and terracotta—for that specific “Scandi” aesthetic.
Tips for Mailing Handmade Cards
When you spend time on a DIY card, you want it to arrive in perfect condition. Follow these tips for a smooth delivery:
- Protect 3D Elements: If your card has buttons or pom-poms, place a piece of thin bubble wrap or extra cardstock over the face of the card before putting it in the envelope.
- Check Weight: 3D cards can be heavier or thicker than standard mail. Visit your local post office to ensure you have the correct postage.
- Use Envelopes as Canvas: Don’t stop at the card! Use a small stamp or a piece of washi tape on the envelope to give the recipient a “sneak peek” of the beauty inside.
FAQ
- Q: What is the best glue for paper crafting?
- A: For general paper-to-paper, a high-quality glue stick or double-sided tape runner is best. For 3D elements like buttons or burlap, use a clear-drying liquid craft glue or a hot glue gun (on low heat).
- Q: Can I make these cards with my kids?
- A: Absolutely! The Fingerprint “Peeps” (Idea #8) and the Washi Tape Eggs (Idea #3) are particularly kid-friendly and require minimal sharp tools.
- Q: Where can I find unique paper for upcycling?
- A: Look for old sheet music, pages from damaged vintage books, or even the inside of security envelopes (which often have beautiful blue or grey patterns).
Conclusion
Creating handmade Easter cards is more than just a craft project; it is a way to share the joy of the season through a tangible, thoughtful medium.
From the rustic charm of burlap to the sophisticated look of paper embroidery, these 15 ideas provide a starting point for your creativity. By upcycling materials you already have and adding a few artistic flourishes, you can send warm spring wishes that your friends and family will cherish long after the holiday has passed.
Grab your cardstock, find your favorite pastel palette, and start crafting your way into spring!
Leave a Reply