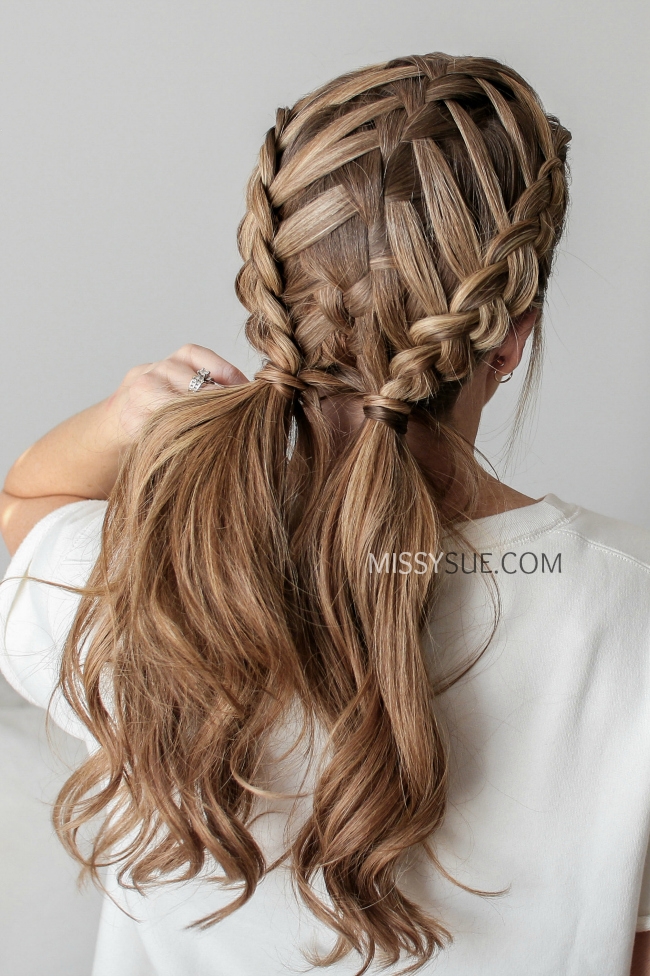
The Double Dutch braid—often referred to as the inside-out or boxer braid—is a versatile, durable, and stylish technique that creates a striking 3D effect on the hair. Unlike a traditional French braid where sections are crossed over the middle, the Dutch braid is achieved by crossing sections under, making the braid sit prominently on top of the hair.
This tutorial provides a comprehensive guide to mastering this technique, from the basic under-hand rhythm to advanced styling variations for every hair type.
The Fundamentals of Double Dutch Braiding
Before diving into the manual movements, it is essential to understand the structural difference that sets the Dutch braid apart. In hairstyling, the Dutch braid is considered a reverse French braid.
By pulling the hair underneath the central strand, you create a raised texture that doesn’t just blend into the scalp but pops against it. This makes it an ideal choice for people with fine hair who want to create the illusion of thickness, or for athletes who need a secure style that won’t budge during high-intensity movement.
The Double aspect refers to symmetry. The hair is parted down the center, creating two identical braids that frame the face and run down to the nape of the neck. While it looks complex, it is simply the repetition of a three-strand pattern with the addition of new hair at each interval.
Essential Tools and Preparation
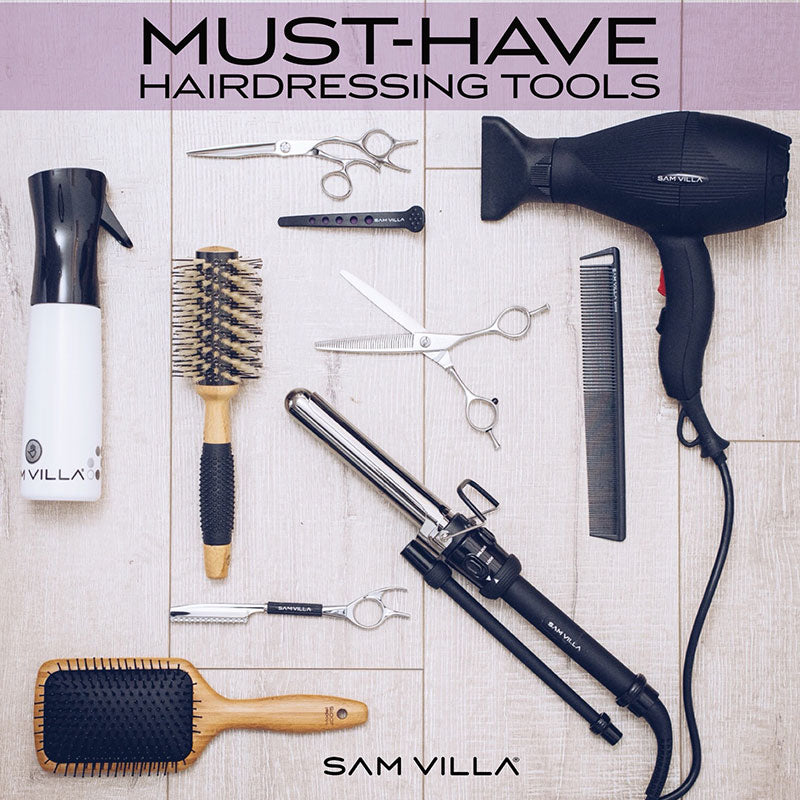
Success in braiding starts with the right foundation. You cannot achieve crisp, clean lines without proper sectioning and tension control.
| Tool | Purpose | Pro Tip |
|---|---|---|
| Rat-tail Comb | Creating a precise center part. | Use the metal tip for the straightest line possible. |
| Sectioning Clips | Keeping the non-braiding side out of the way. | Use alligator clips for thick or curly hair. |
| Clear Elastics | Securing the ends without bulk. | Double-wrap them to prevent snapping. |
| Texture Spray/Dry Shampoo | Adding grip to clean, slippery hair. | Apply to the roots before you begin braiding. |
| Edge Control/Pomade | Taming flyaways and baby hairs. | Apply a small amount to your fingertips as you braid. |
Preparing the Hair
For the best results, start with hair that is second-day clean. Freshly washed hair is often too slippery to hold the tension required for a Dutch braid.
If you have just washed your hair, apply a sea salt spray or a light-hold mousse and blow-dry it to add some grit. Brush thoroughly to ensure there are no tangles, as a single knot can ruin the flow of the braid.
Step-by-Step Guide: The Master Technique
Follow these steps as if you were watching a live video demonstration. The key is to maintain consistent tension with your fingers.
Step 1: The Center Part
Using your rat-tail comb, start at the forehead and draw a line straight back to the nape of the neck. Secure one side with a clip so it doesn’t interfere with your work.
Step 2: The First Section
At the very front of the unclipped side, grab a small triangular section of hair (about 1-2 inches wide). Divide this into three equal strands: Left, Middle, and Right.
Step 3: The First Under Cross
Take the Right strand and cross it under the Middle strand. Now, the original Right strand is your new Middle. Take the Left strand and cross it under the new Middle. This establishes the base of the braid.
Step 4: Adding Hair
Before your next cross-under, pick up a small, thin slice of hair from the loose section near your temple and add it to the Right strand. Now, cross that entire combined Right strand under the Middle.
Repeat this on the Left side, picking up a slice of hair from the part line and adding it to the Left strand before crossing it under the Middle.
Step 5: Maintaining the Path
As you move down the head, keep your hands close to the scalp. If you pull your hands away, the braid will be loose and saggy. Follow the curve of the ear and move toward the back of the head.
Step 6: Finishing the Tail
Once you reach the nape of the neck and have no more hair to add, continue a standard three-strand braid, still crossing the outer strands under the middle, until you reach the ends. Secure with an elastic.
10 Creative Ways to Style Your Double Dutch Braids
Once you have mastered the basic technique, you can adapt the Double Dutch braid into several high-fashion and functional looks.
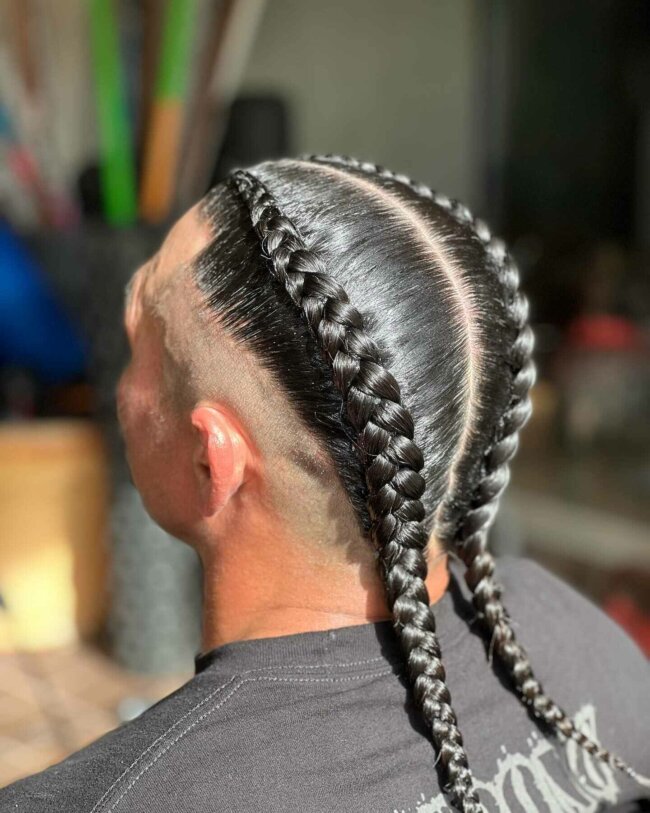
1 The Classic Boxer Braid
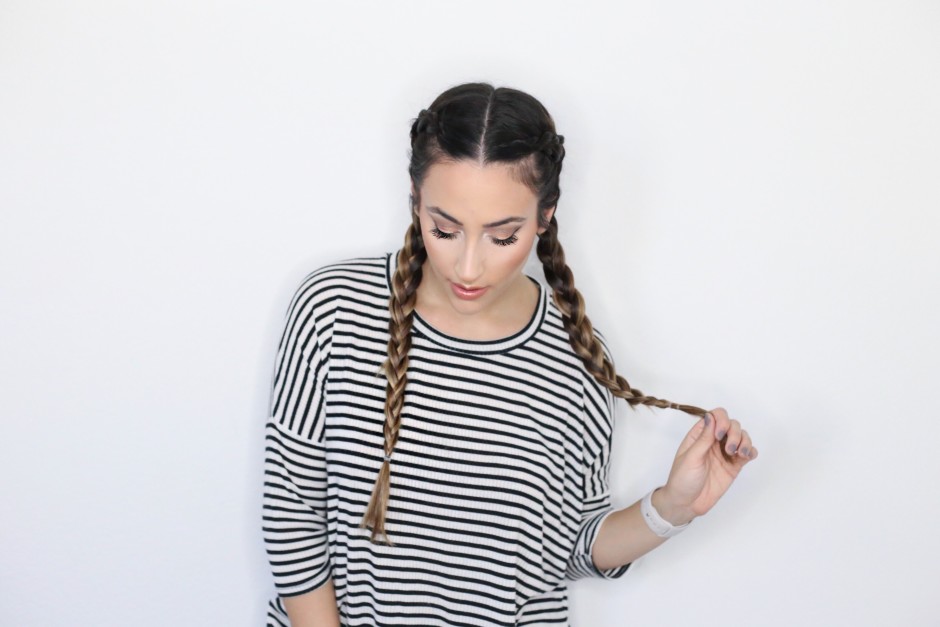
This is the standard, tight version of the style. It is pulled very tautly against the scalp and is perfect for the gym or a long day at a music festival. It emphasizes the 3D look of the braid.
2 The Pancaked Boho Look
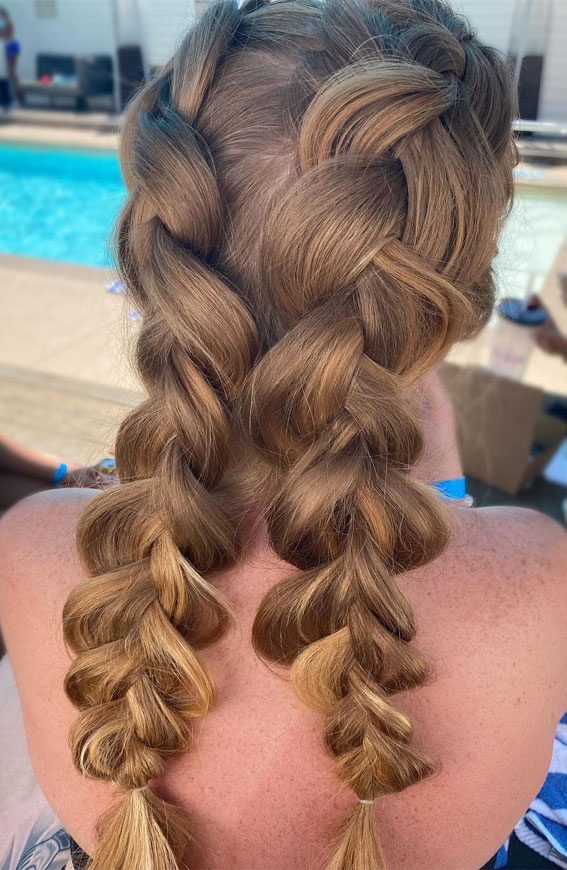
After finishing your braids, go back to the top and gently tug on the outer loops of the braid to widen them. This pancaking technique makes the braid look massive and effortless, perfect for a romantic or bohemian aesthetic.
3 Double Dutch Low Buns (Space Buns)
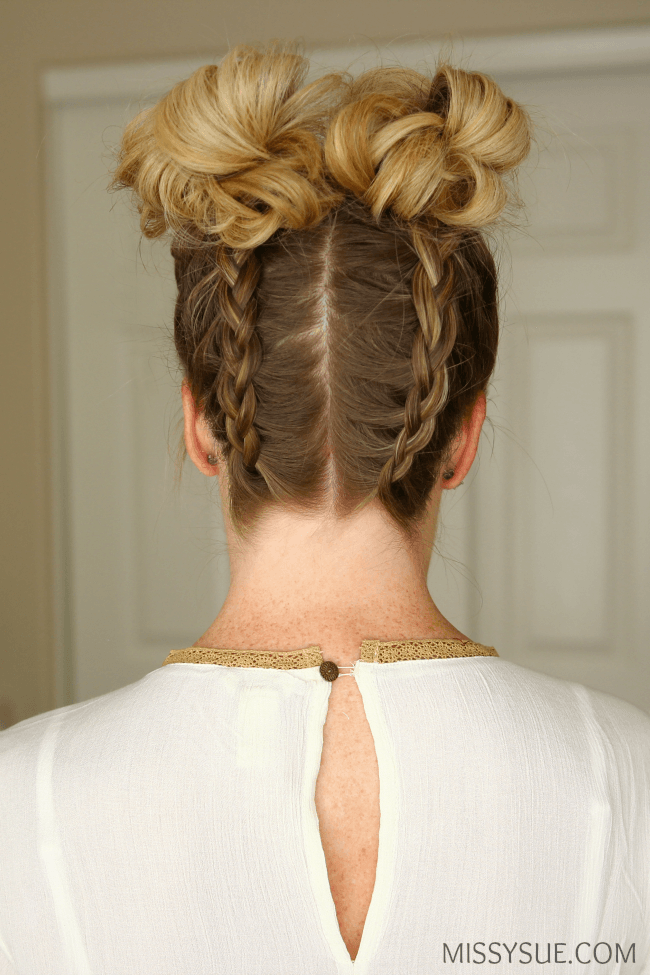
Instead of braiding all the way to the ends, stop at the nape of the neck. Secure the hair with a ponytail holder and wrap the remaining hair into two messy buns. This is a playful, youthful take on the style.
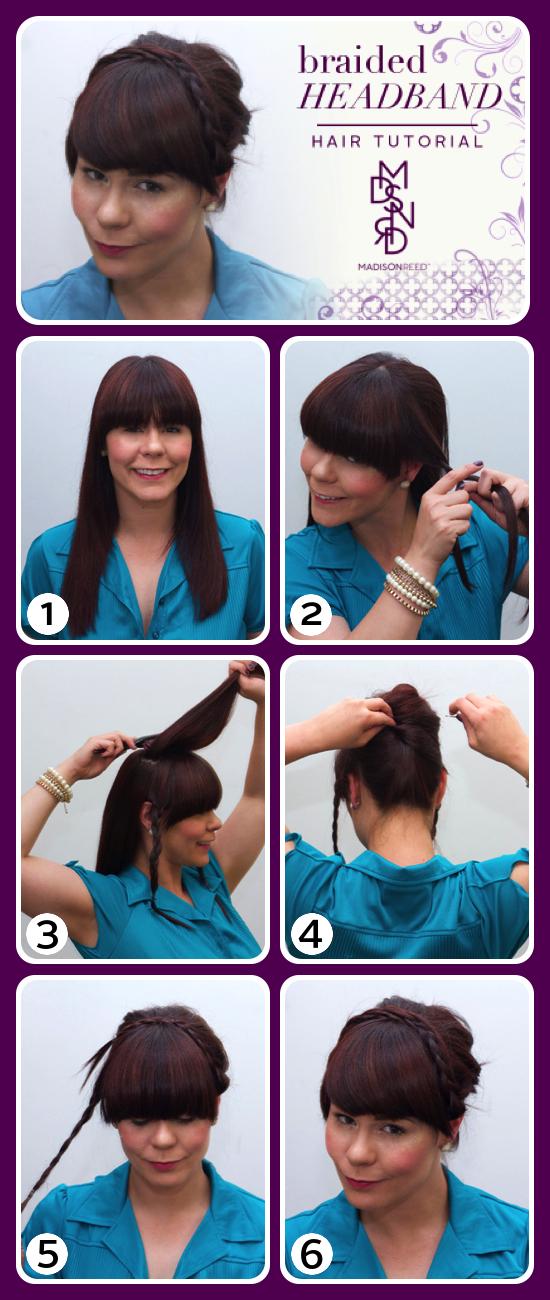
4 The Half-Up Dutch Braid
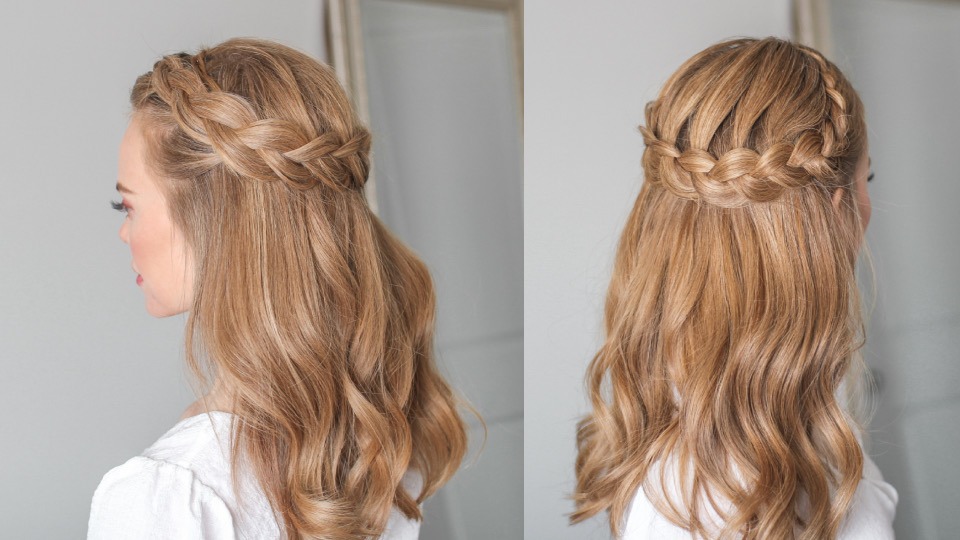
Only use the top half of your hair for the braids, stopping at the crown. Let the rest of your hair hang loose in waves. This is an excellent way to keep hair out of your face while showing off your length.
5 Dutch Braid into Fishtail
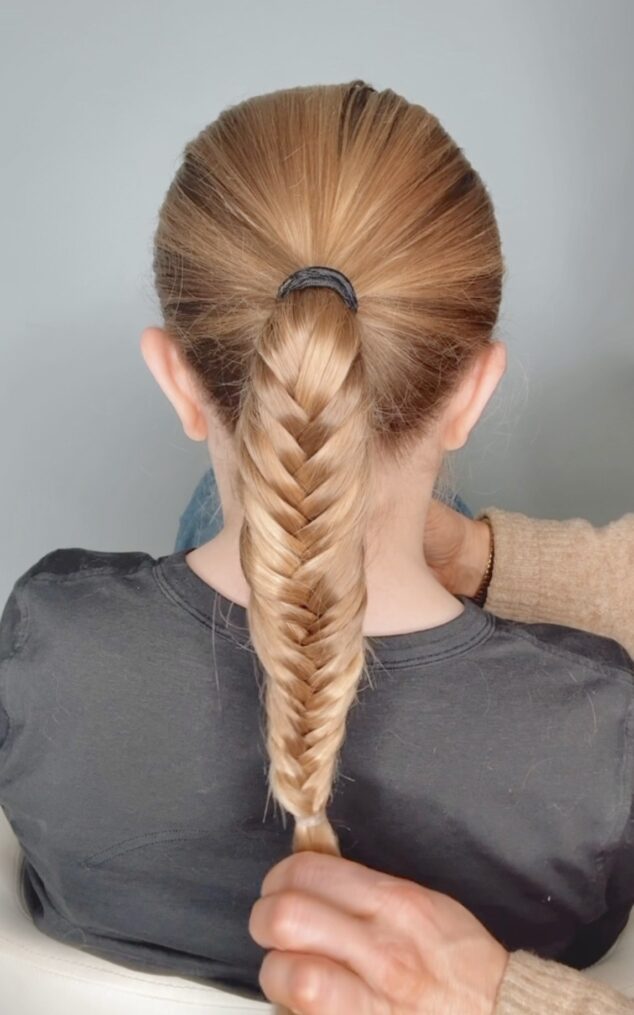
Transition from a Double Dutch on the scalp into a fishtail braid for the tails. This adds a level of intricate detail that makes the hairstyle look like it was done in a professional salon.
6 Glitter Roots Dutch Braids
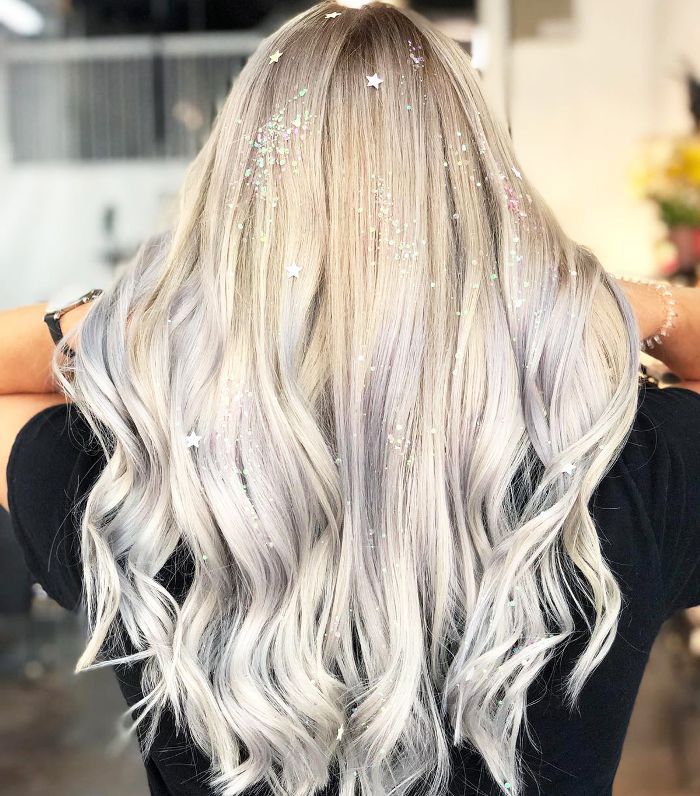
A favorite for festivals. Once the braids are complete, apply a mixture of hair gel and chunky glitter to the center part. This hides any imperfections in your parting and adds a sparkling focal point.
7 The Faux Hawk Dutch Braid
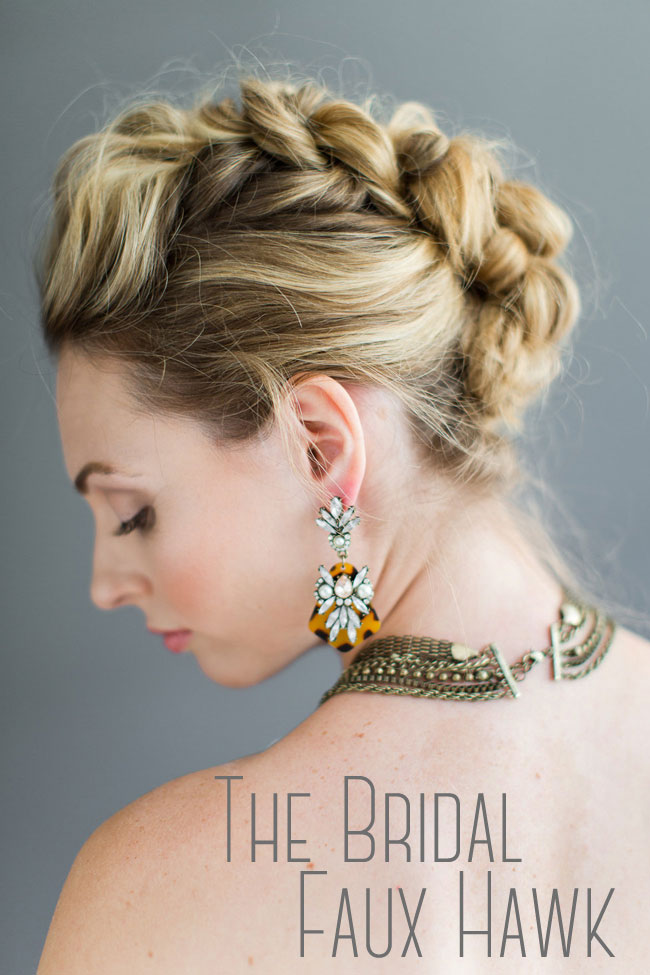
Bring the two Dutch braids very close together toward the center of the head rather than over the ears. This creates a mohawk silhouette that looks edgy and high-fashion.
8 Short Hair Double Dutch

Even with a bob or lob, you can Dutch braid. Start the braids further back or use a heavy-hold pomade to keep the short layers from popping out of the braid. It’s the best way to manage growing-out stages.
9 Ribbon-Intertwined Braids
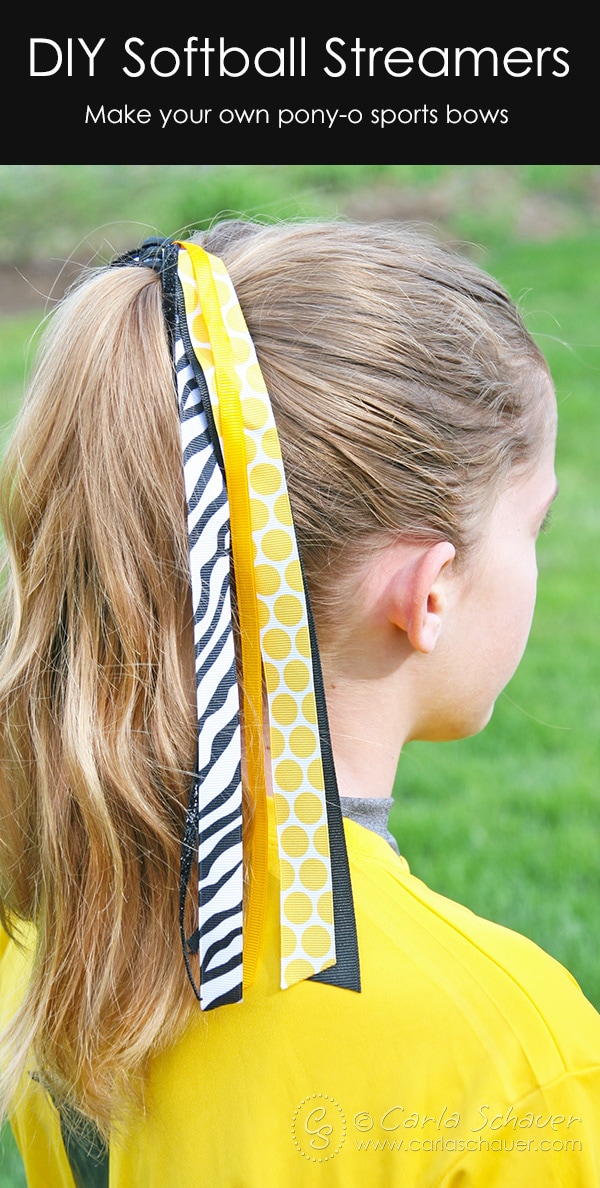
Attach a ribbon to your initial three strands at the forehead. As you braid, the ribbon will weave through the under sections, adding a pop of color and a DIY craft feel to the look.
10 The Wrapped Crown

Take the two long tails of your Double Dutch braids and wrap them around the front of your head, pinning them in place. This creates a milkmaid or crown effect using the Dutch technique for extra volume.
Common Mistakes and How to Fix Them
Loose Braids at the Nape: This usually happens because you tilted your head down while braiding. Keep your head upright or slightly tilted back when you reach the neck to ensure the braid stays tight against the skin.
Uneven Sections: If one braid looks thicker than the other, you are likely picking up more hair on one side. Use your comb to measure the slices of hair you add to ensure symmetry.
Hair Popping Out: If you have layers, they might stick out. Use a light hairspray on your fingers while braiding to glue those ends into the main strand.
Frequently Asked Questions
Q: Can I do Double Dutch braids on wet hair?
A: Yes, braiding wet hair is a great way to create braid waves once the hair dries. However, be careful not to pull too tight, as hair is more fragile and prone to breakage when wet.
Q: How long do Double Dutch braids usually last?
A: If done tightly and secured with product, they can last 2–3 days. Sleep with a silk scarf or on a silk pillowcase to prevent frizz.
Q: My arms get tired halfway through. Any tips?
A: Rest your elbows on a vanity or table while braiding the top sections. As you move to the back, you can also try sitting in a chair with a low back so your arms have more range of motion.
Q: What is the difference between Dutch and French braids?
A: It’s all about the direction. French braids go over the middle strand (creating a flat look); Dutch braids go under the middle strand (creating a raised look).
Conclusion
Mastering the Double Dutch braid is a rite of passage for any DIY beauty enthusiast. While the under-hand motion may feel unnatural at first, muscle memory takes over quickly with practice.
By focusing on clean sectioning, consistent tension, and the right prep products, you can achieve a professional-grade look at home. Whether you’re heading to a workout, a wedding, or a weekend festival, these braids offer the perfect blend of durability and style.
Grab your comb, start practicing the under rhythm, and soon you’ll be able to execute any of the ten variations with ease.
Leave a Reply