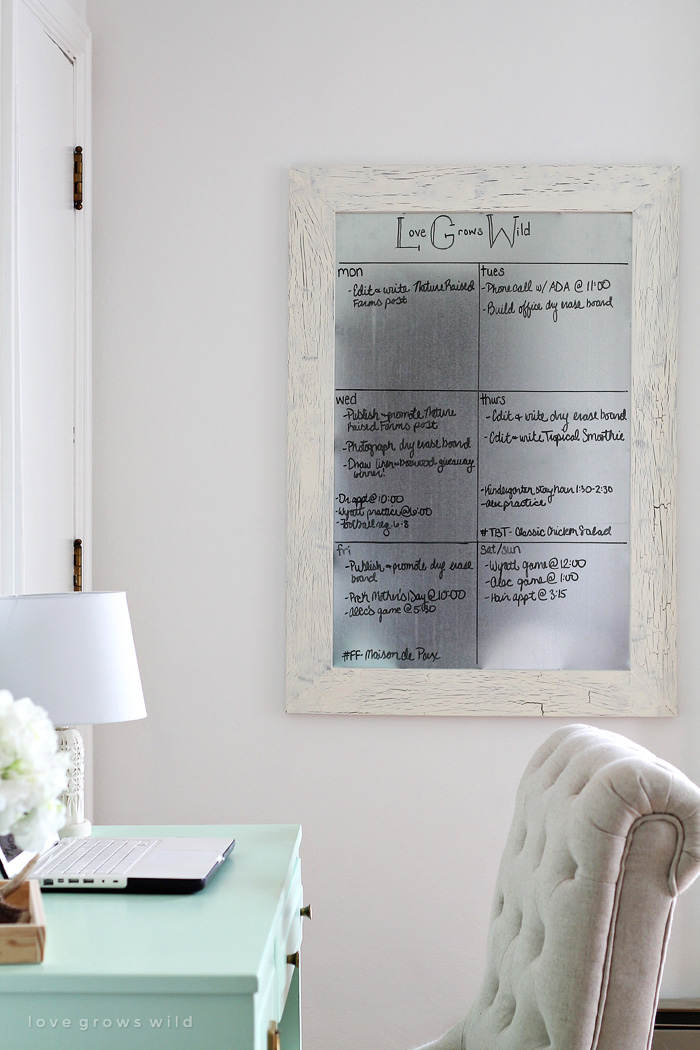
Creating a DIY picture frame whiteboard is one of the most effective ways to upcycle thrift store finds into functional, high-end office decor.
By utilizing the glass surface of a standard picture frame as your writing medium, you can create a non-porous, ghost-free dry-erase board that far outperforms cheap plastic alternatives.
This project is not only budget-friendly—often costing less than $10—but it also allows for complete aesthetic customization to match your home’s interior design.
The Science of Why Glass Works Better Than Plastic
Traditional whiteboards are often made of melamine, a resin-coated particle board. Over time, the porous nature of melamine absorbs marker ink, leading to ghosting—those stubborn grey streaks that won’t wipe away.
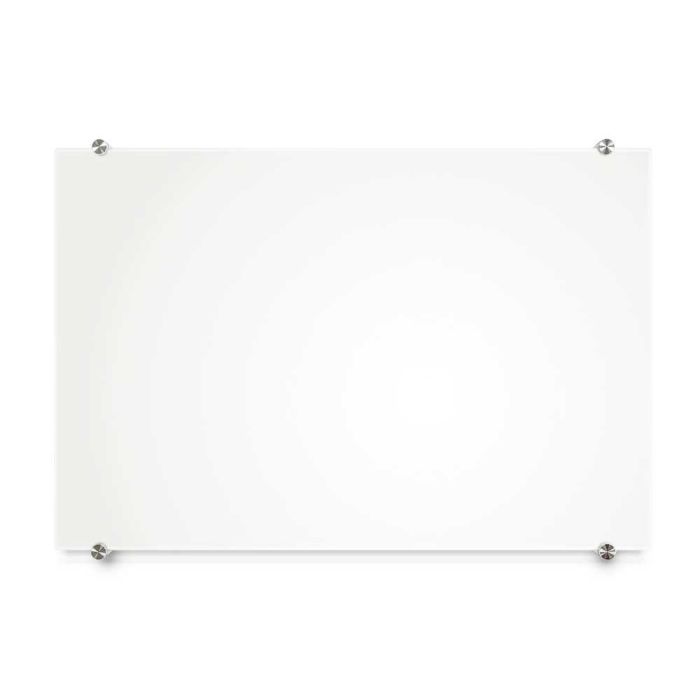
Glass, however, is completely non-porous. When you use a picture frame, you are essentially creating a professional-grade glass dry-erase board.
Whether you are looking to organize your weekly meal plan, track your family’s schedule, or create a stylish to-do list for your home office, the picture frame whiteboard is the gold standard of upcycling projects.
Essential Materials and Tools
Before you begin, gather the following supplies.
Using high-quality backing material is the secret to making the board look professional rather than homemade.
| Item | Purpose | Recommendation |
|---|---|---|
| Picture Frame | The base of the project | Wood or metal with intact glass |
| Backing Paper/Fabric | The white part of the board | Heavy cardstock, wrapping paper, or linen |
| Glass Cleaner | Preparation | Ammonia-based or vinegar solution |
| Dry Erase Markers | Writing tool | High-quality chisel tip markers |
| Microfiber Cloth | Eraser | Lint-free cloth for streak-free cleaning |
| Adhesive/Tape | Security | Acid-free double-sided tape |
Step-by-Step Tutorial: Building Your First Board
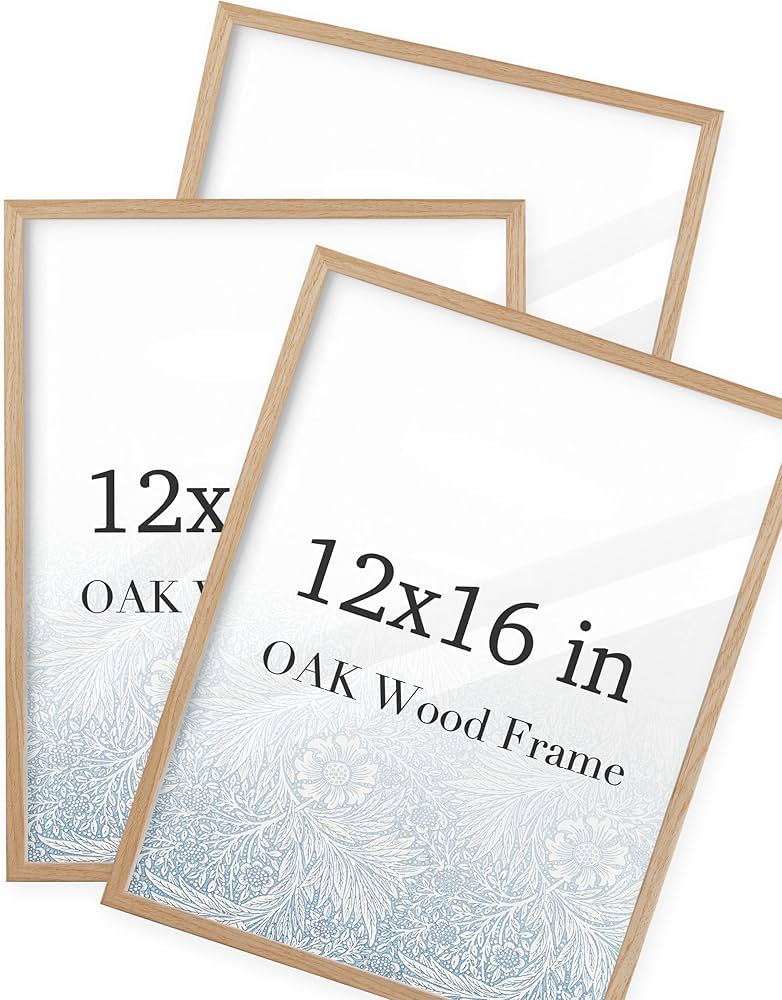
Step 1: Source and Prepare Your Frame
The best frames for this project are those with a flat glass surface. Avoid frames with glare-resistant etched glass, as the texture can make writing difficult to erase.
Clean the frame thoroughly with a damp cloth. If the frame is scuffed, this is the perfect time to apply a coat of spray paint to match your room’s palette.
Step 2: Deep Clean the Glass
Remove the glass from the frame. This is the most critical step for longevity.
Use a high-quality glass cleaner to remove all fingerprints, oils, and dust from both sides. Any debris trapped between the glass and your backing paper will be visible forever once assembled.
Step 3: Prepare the Decorative Backing
Measure the cardboard insert that came with the frame. Cut your decorative paper or fabric to these exact dimensions.
- ✨Pro Tip: If you are using a light-colored fabric, iron it first. Wrinkles will be magnified once pressed against the glass.
- ✨Design Tip: Use a solid light color (white, cream, or pale grey) for maximum visibility of your markers.
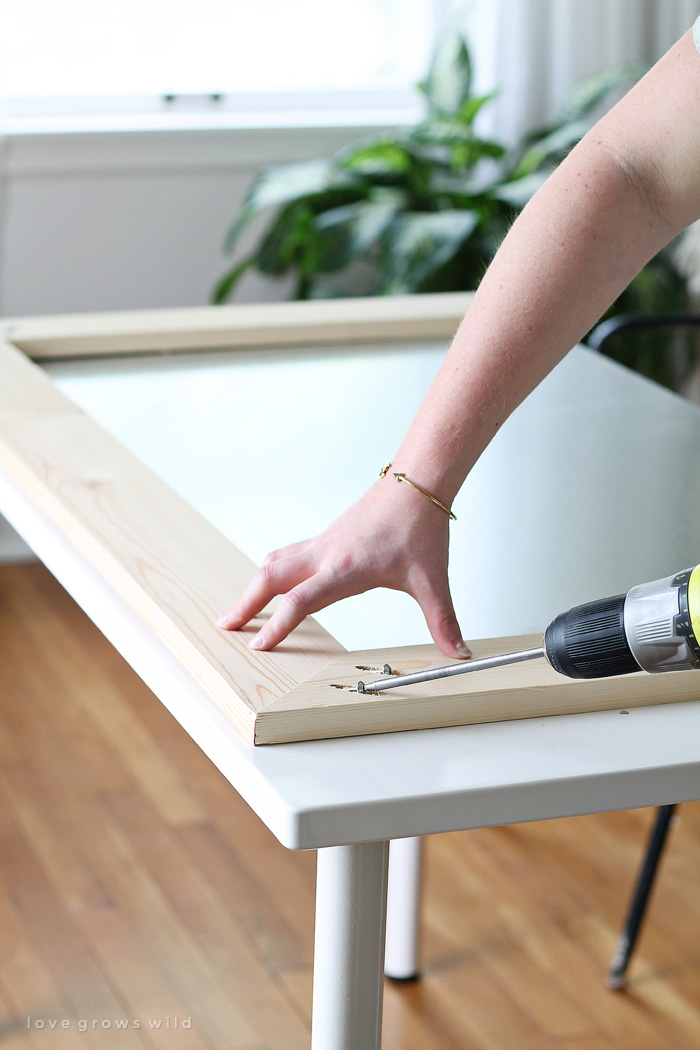
Step 4: Assembly
Place the cleaned glass back into the frame. Lay your decorative backing face-down against the glass. Replace the cardboard backing and secure the tabs.
Ensure the fit is tight; if there is a gap between the glass and the paper, your writing may appear to shadow on the backing.
Step 5: Testing and Curing
Wait about 30 minutes for any residual moisture from cleaning to evaporate before writing.
Test a small corner with a dry-erase marker to ensure it wipes away cleanly.
10 Creative Styles and Variations for Your DIY Whiteboard
To elevate your project from a simple craft to a piece of high-end home decor, consider these ten specific design variations.
1. The Vintage Ornate Gold Command Center
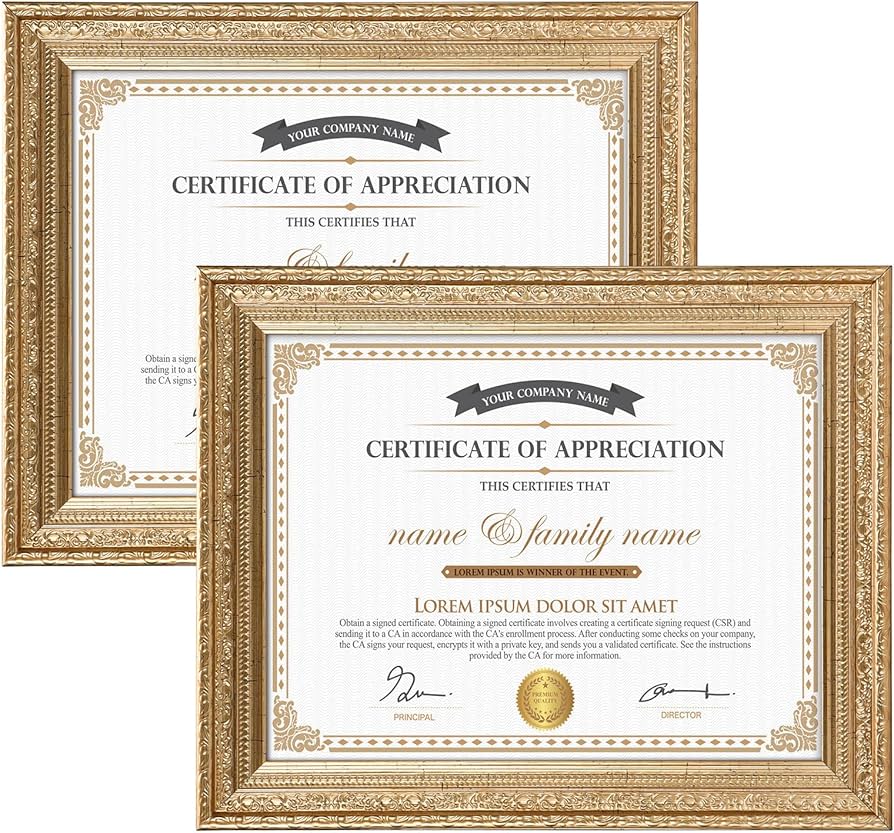
Find a heavy, ornate baroque-style frame at a thrift store. Spray paint it with a metallic gold leaf finish. Use a high-quality cream-colored linen fabric as the backing.
This style works perfectly in traditional or dark academia styled offices, turning a utilitarian tool into a piece of art.
2. The Minimalist Scandi Floating Board
Use a floating frame where the image is sandwiched between two panes of glass. Instead of a full paper backing, leave the glass clear or place a small, centered piece of vellum.
This creates a sleek, modern look where your notes appear to float against the wall color.
3. The Weekly Meal Planner Grid
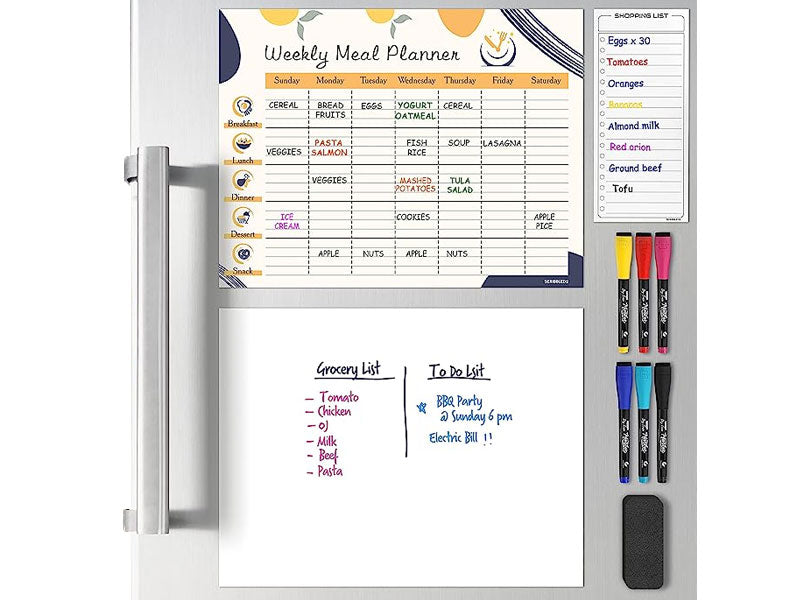
Before assembling your frame, use a ruler and a permanent thin-line marker (like a Sharpie) to draw a 7-column grid on the back of the glass or directly onto the paper backing.
This creates a permanent template that won’t be wiped away when you erase your weekly grocery list.
4. The Rustic Farmhouse Pallet Frame
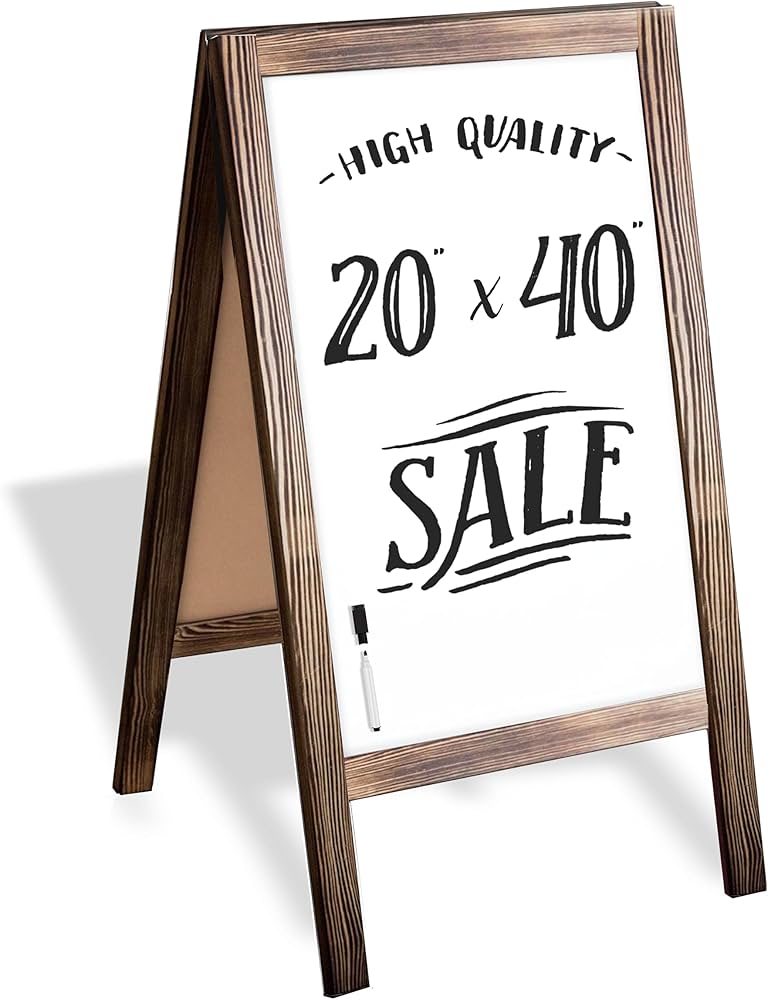
Use a frame made of reclaimed barn wood or distressed pallet timber. For the backing, use a piece of burlap or a shiplap patterned scrapbooking paper.
This fits perfectly in a farmhouse kitchen for tracking chores or Notes for the Family.
5. The Fabric-Backed Floral Boutique Board

Instead of paper, use a vibrant floral cotton fabric. This adds texture and warmth to a room.
Ensure the fabric pattern is not too busy, or it will be difficult to read your handwriting. Pale watercolors or subtle damask patterns work best.
6. The Industrial Metal Grid
Source a brushed nickel or matte black metal frame. For the backing, use a silver metallic cardstock or a printout of a blueprint.
This aesthetic is ideal for maker spaces or modern loft apartments.
7. The Kids’ Double-Sided Activity Station
Use a large, sturdy frame and divide the backing into four quadrants using colorful washi tape. Label them Draw, Write, Math, and Goals.
Because it’s glass, it withstands the heavy-handed use of children better than standard whiteboards.
8. The Desktop Easel Note-Taker

Use a small 5×7 or 8×10 frame with a built-in stand. Place it next to your computer monitor.
This is the perfect eco-friendly replacement for post-it notes, allowing you to jot down quick phone numbers or reminders during meetings.
9. The Gallery Wall Integration
Incorporate your whiteboard into a larger gallery wall of photos. Use a frame that matches your photo frames exactly.
This allows your to-do list to hide in plain sight, maintaining the aesthetic harmony of your living room.
10. The Calendar Perpetual Board
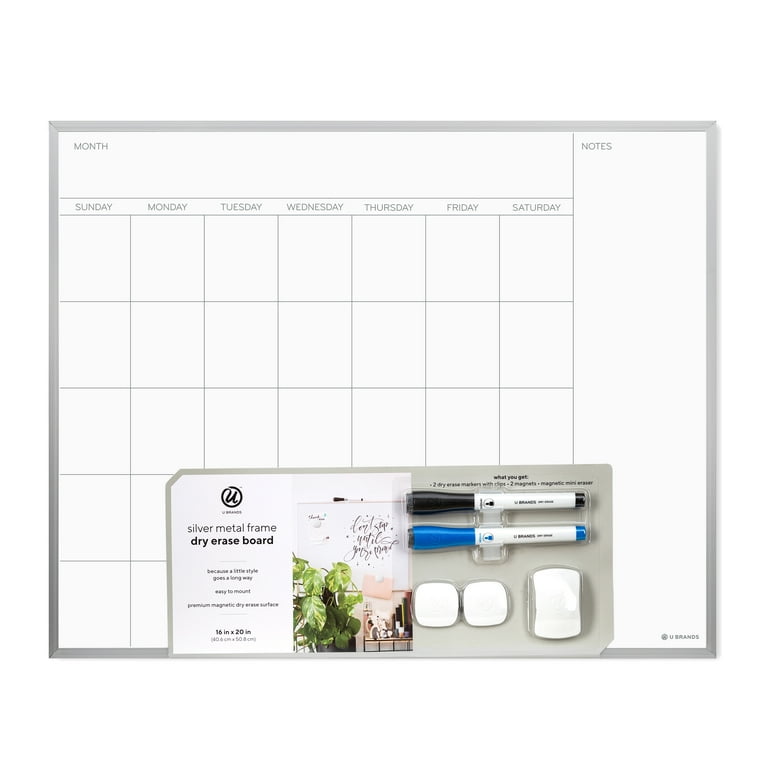
Use a large 18×24 frame. Print a high-resolution monthly calendar template (without dates). Place this behind the glass.
Every month, you can write in the new dates and events. It’s a sustainable way to stay organized year-round.
Maintenance and Care for Longevity
To ensure your DIY glass whiteboard stays pristine for years, follow these professional maintenance tips:
- ✨Avoid Permanent Marker Mistakes: If you accidentally use a permanent marker, simply scribble over the permanent ink with a dry-erase marker and wipe it away immediately. The solvent in the dry-erase ink will lift the permanent pigment.
- ✨Monthly Deep Clean: Even glass can develop a slight film from marker residue. Once a month, take a cloth dampened with rubbing alcohol (70% isopropyl) and wipe the surface to restore its original shine.
- ✨Marker Storage: Always store your dry-erase markers horizontally. This prevents the ink from settling at one end, ensuring a consistent flow of ink for easier erasing.
- ✨Cloth Choice: Avoid using paper towels, which can leave lint behind. A microfiber cloth or even an old clean sock is the best tool for erasing.
Frequently Asked Questions (FAQ)
Can I use a plastic/acrylic frame instead of glass?
While you can, it is not recommended for long-term use. Acrylic (plexiglass) is much softer than glass and will eventually develop micro-scratches from the markers.
These scratches trap ink, leading to permanent staining.
What kind of markers work best?
Standard dry-erase markers work perfectly. If you want a more vibrant, opaque look (especially if you use a dark-colored backing), try Chalk Ink or Liquid Chalk markers.
These look stunning on glass but require a damp cloth to erase.
My glass is sliding inside the frame, how do I fix it?
If the glass feels loose, use a small amount of clear silicone caulk or even hot glue on the back corners (where the glass meets the frame) to hold it in place before adding your paper and backing board.
Can I make this magnetic?
Yes! To make your board magnetic, you need to place a thin sheet of galvanized steel behind your decorative paper but inside the frame.
Keep in mind that you will need rare earth (neodymium) magnets, as regular magnets are often not strong enough to hold through the thickness of the glass.
Conclusion
The DIY picture frame whiteboard is the perfect marriage of form and function.
By upcycling an existing frame, you reduce waste while creating a high-performance organizational tool that fits your specific style. Whether you choose a large-scale calendar for the kitchen or a small minimalist board for your desk, the non-porous surface of the glass ensures a clean, professional look every time you write.
With a few simple materials and an hour of your time, you can transform a thrifted find into a centerpiece of productivity.
Leave a Reply