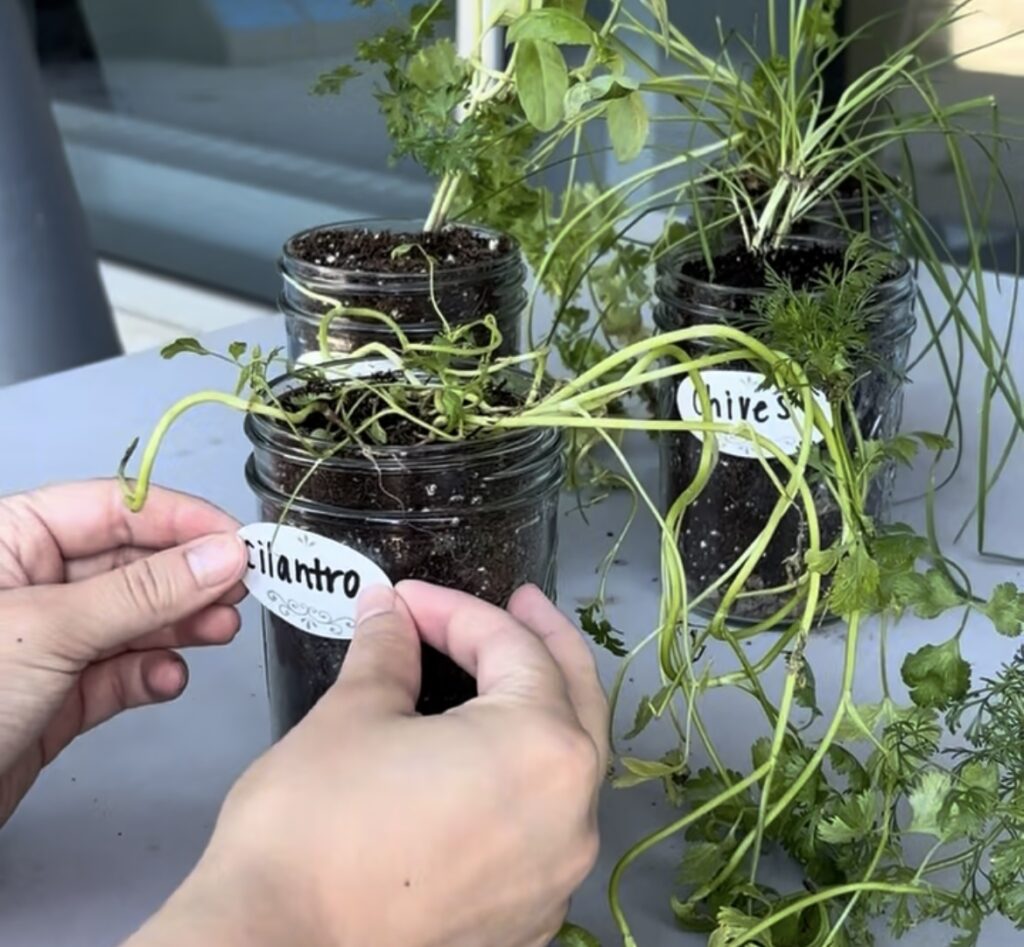
Garden markers keep planting areas organized so you always know which seedlings belong where and avoid accidental mix-ups during weeding or harvesting. They also add visual rhythm to beds while protecting plant identity through changing weather. The fifteen ideas below use common materials that hold up outdoors and fit into existing garden styles without extra expense.
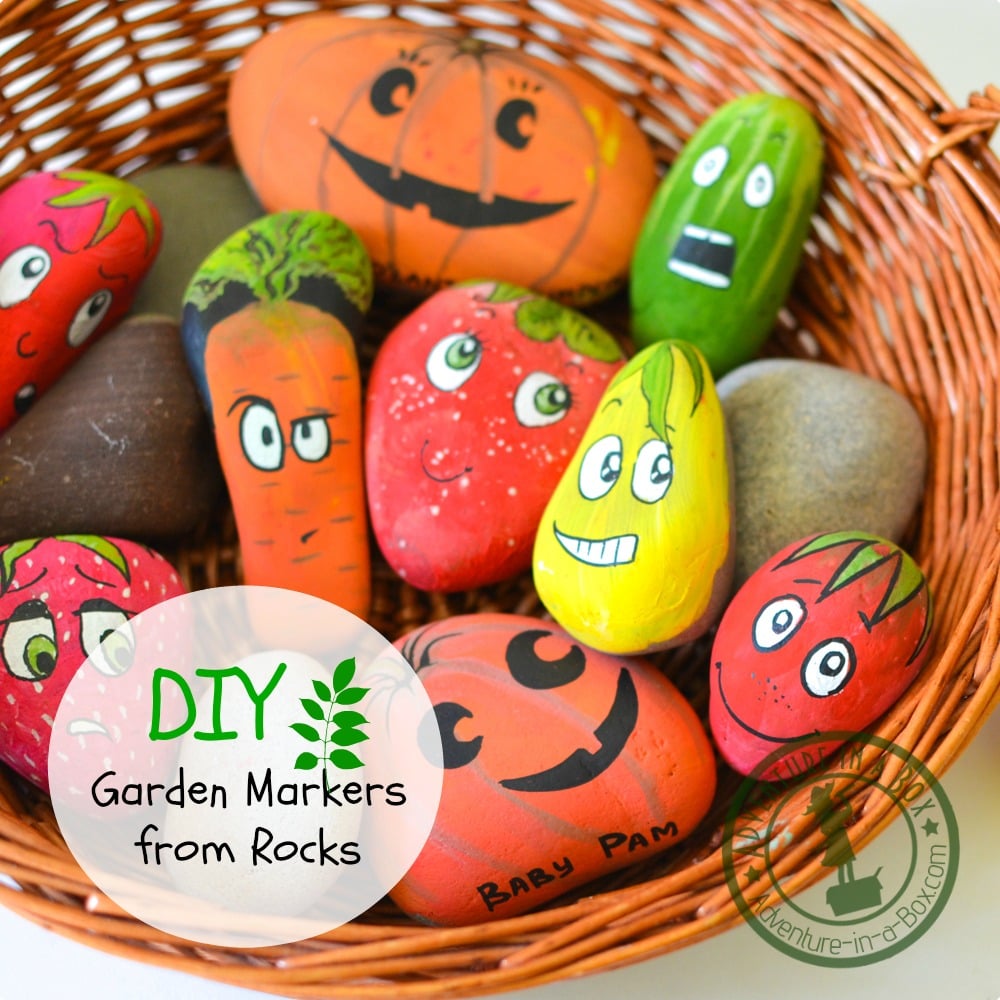
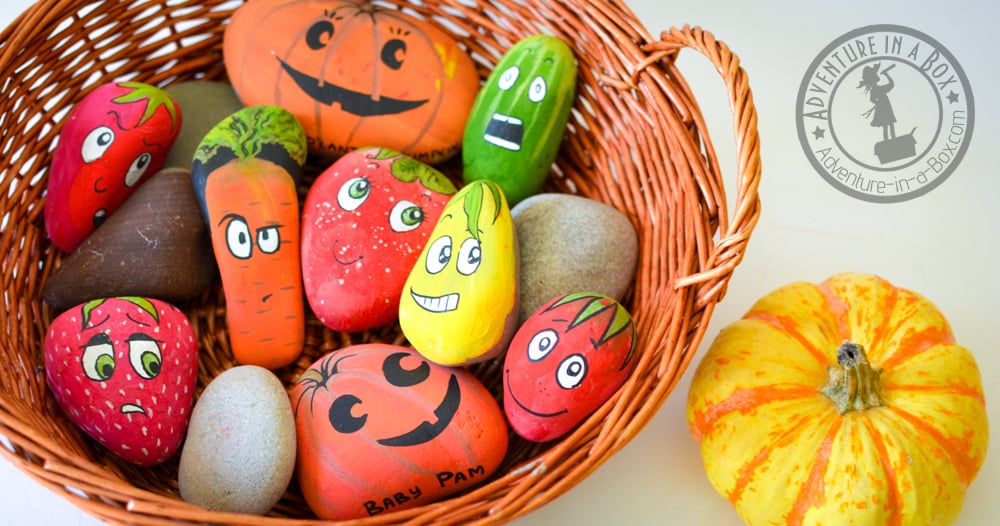
Painted Rock Markers
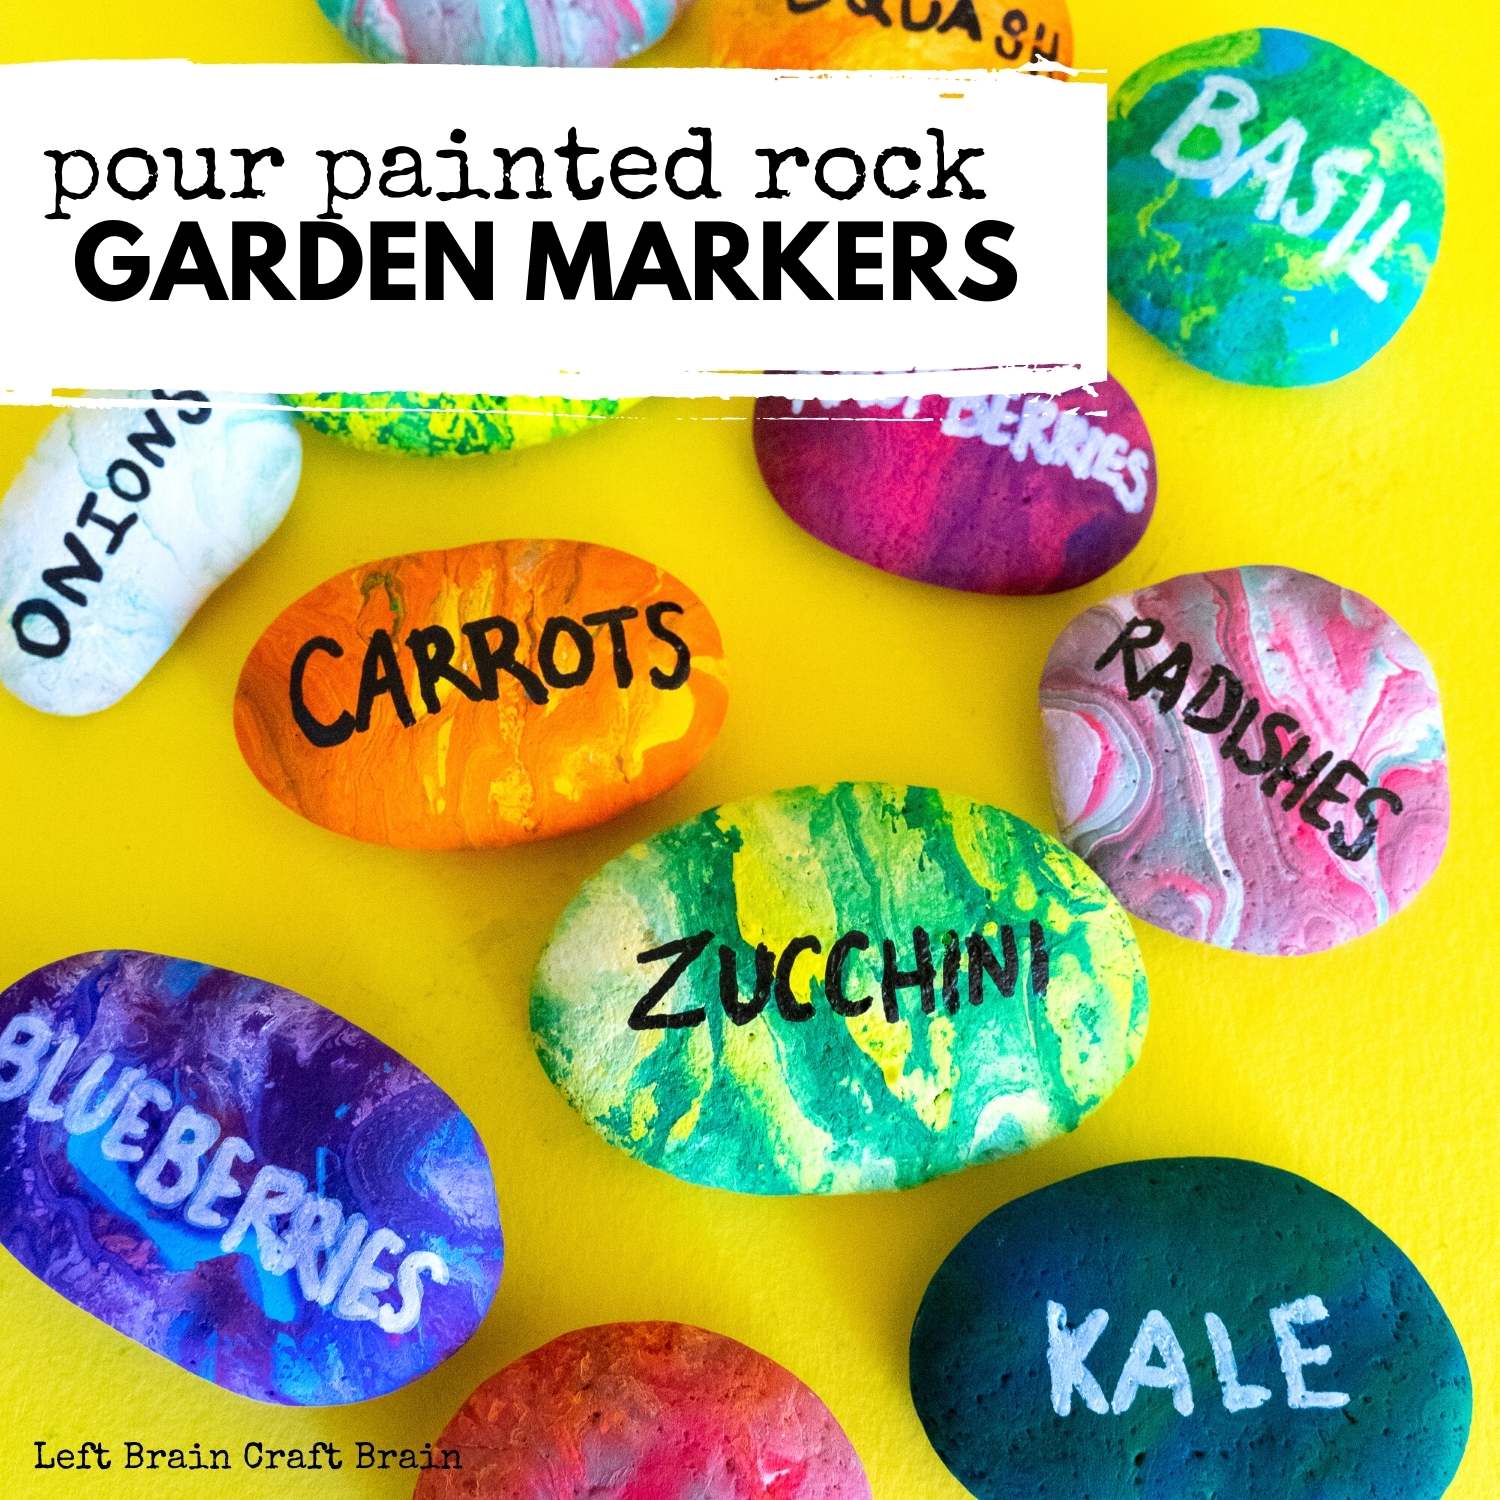
Flat stones offer a stable base that sits directly in soil without tipping. Choose smooth river rocks or pavers so paint adheres evenly and lettering stays legible after rain. Seal the finished surface with an outdoor clear coat to prevent fading from sun exposure.
Rocks work especially well in herb beds where low profiles keep the focus on foliage. Place larger stones at the front of rows and smaller ones toward the back to maintain sight lines. Dark paint colors show up better against light soil while light colors contrast nicely with dark mulch.
Rocks hold paint better when sealed first with a clear coat applied two days before lettering.
Wooden Spoon Labels
Old kitchen spoons provide a ready-made stake shape that slides into the ground with minimal effort. Sand the handles lightly before painting or stamping so the surface accepts ink without bleeding. The bowl of the spoon can face forward as a small shelf for tiny potted starts if needed.
Spoons suit container gardens on patios where metal or plastic alternatives feel out of place. Rotate the spoon angle slightly so the handle catches morning light and remains readable from the path. Replace any spoons that begin to split after a full winter outdoors.
Wine Cork Stakes
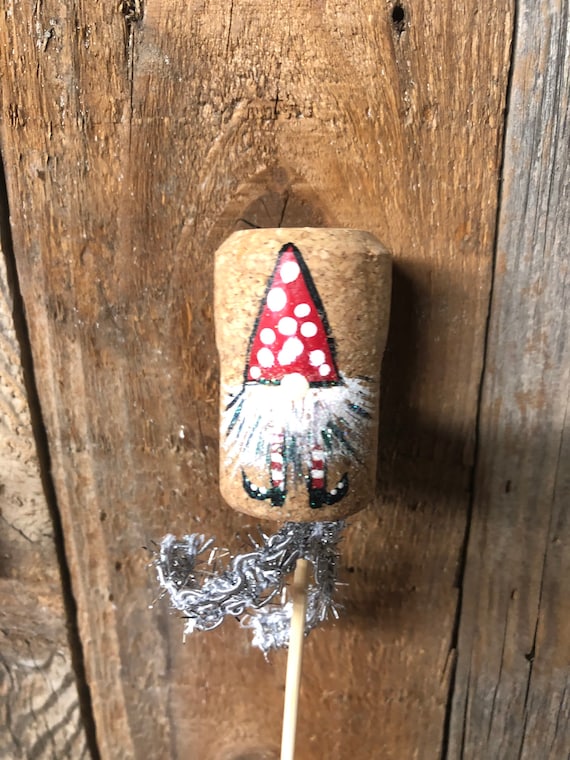
Corks float above damp soil and resist rot better than untreated wood. Push a short bamboo skewer or twig through the center of each cork to create the stake portion. Write directly on the cork with a permanent marker or wood-burning tool for lettering that lasts.
These markers fit neatly between closely spaced seedlings in raised beds. Keep a small jar of extra corks near the potting bench so replacements stay on hand during transplanting season. Avoid pushing corks fully into heavy clay soil where moisture can cause them to swell and split.
Terracotta Pot Shards
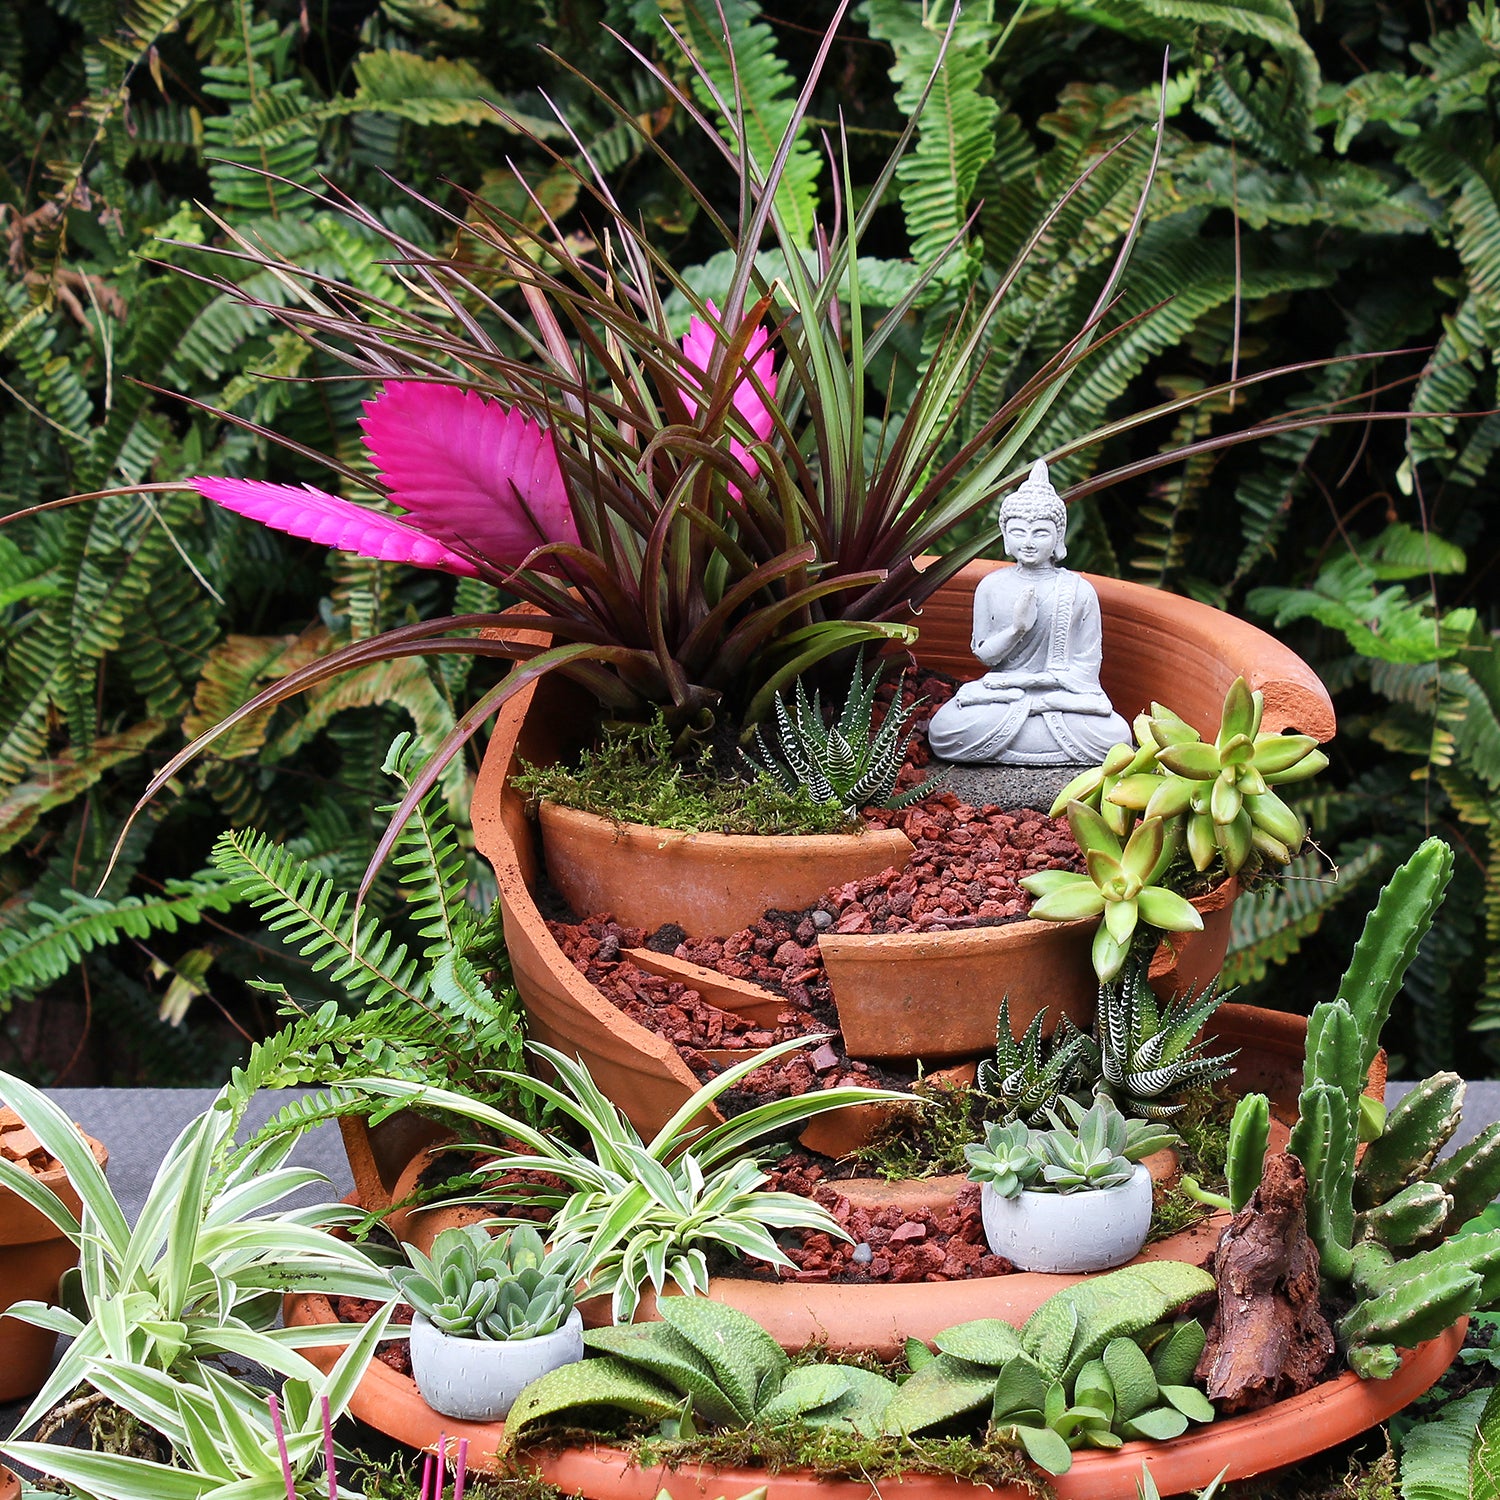
Broken pot pieces give an earthy texture that blends with most garden palettes. Score the curved surface lightly with sandpaper so paint or marker stays in place through watering cycles. The natural porosity of terracotta also lets excess moisture escape instead of pooling behind the label.
Shards work well along the edges of vegetable rows where straight stakes might interfere with root growth. Collect pieces from cracked pots throughout the year and store them in a dry bin until you have enough for a full set. Larger shards can double as mini plant supports for trailing vines.
Clothespin Plant Tags
Wooden clothespins clip onto existing stakes or thin branches already in the bed. Write the plant name on the flat side and clip the pin so the text faces the walkway. The spring mechanism lets you move the tag to a taller stake as the plant grows.
Clothespins keep labels visible even when foliage fills in around the base. Choose unpainted pins so they weather to a soft gray that matches cedar beds. Store extras in a small tin so you can swap names when rotating crops each season.
Popsicle Stick Signs
Popsicle sticks provide a slim profile that disappears among stems yet still carries clear text. Dip the lower third in waterproof sealant before inserting so the wood does not wick moisture upward. Stack two sticks together with a dab of outdoor glue for extra rigidity in windy areas.
These signs suit seed-starting trays before plants move outdoors. Write on both sides so the name remains visible no matter which way the stick turns during transplanting. Replace sticks annually because thin wood eventually softens after repeated soakings.
Repurposed Tin Can Markers
Flattened tin cans create reflective surfaces that catch light and make labels easy to spot. Cut rectangles from clean cans, punch a hole at the top, and wire them to short stakes. Sand rough edges so the metal does not catch on gloves during garden work.
Tin markers stand out in large vegetable plots where many similar green plants grow side by side. The metal also reflects heat, which can help warm soil slightly around the base of heat-loving crops. Rinse cans thoroughly to remove any food residue that might attract pests.
Ceramic Tile Labels
Small leftover tiles from past projects offer a smooth, weatherproof writing surface. Use a permanent outdoor paint pen to letter the tile and attach it to a stake with waterproof adhesive. The glossy finish sheds water quickly after storms.
Tiles add a polished accent in formal herb gardens or near patios. Group several tiles on a single longer stake when labeling perennial clumps that occupy more space. Store unused tiles flat so they do not chip before you need them again.
Driftwood Garden Stakes

Driftwood brings natural texture and gray tones that complement coastal or rustic garden styles. Drill a small pilot hole at the base of each piece and insert a metal rod for stability in soft soil. The irregular shapes create visual interest while still serving a practical purpose.
Driftwood lasts many seasons without treatment because it has already been weathered by water. Position taller pieces toward the back of beds so shorter plants remain visible from the front. Rub a light coat of linseed oil on new pieces to slow further graying if a warmer tone is preferred.
Mini Mason Jar Holders
Small mason jars screwed onto short wooden stakes create a protected pocket for paper labels. Slide a folded index card inside the jar so the name stays dry even during heavy rain. The glass also magnifies the lettering slightly for easier reading at a distance.
Jars work well for marking bulb locations that disappear after foliage dies back. Choose half-pint sizes so the jars do not overwhelm delicate seedlings. Empty the jars each fall and store the labels indoors to reuse the following spring.
Copper Tube Markers
Short lengths of copper pipe develop a soft patina that ages gracefully in the garden. Stamp or engrave plant names directly into the metal with metal stamps for lettering that never fades. The material also conducts heat away from the soil surface on hot days.
Copper suits modern or minimalist garden designs where wood or plastic would look out of place. Sink the pipe one-third of its length into the ground so wind cannot loosen it. Polish occasionally with a soft cloth if you prefer the bright new-copper look over the natural verdigris finish.
Seashell Plant Identifiers
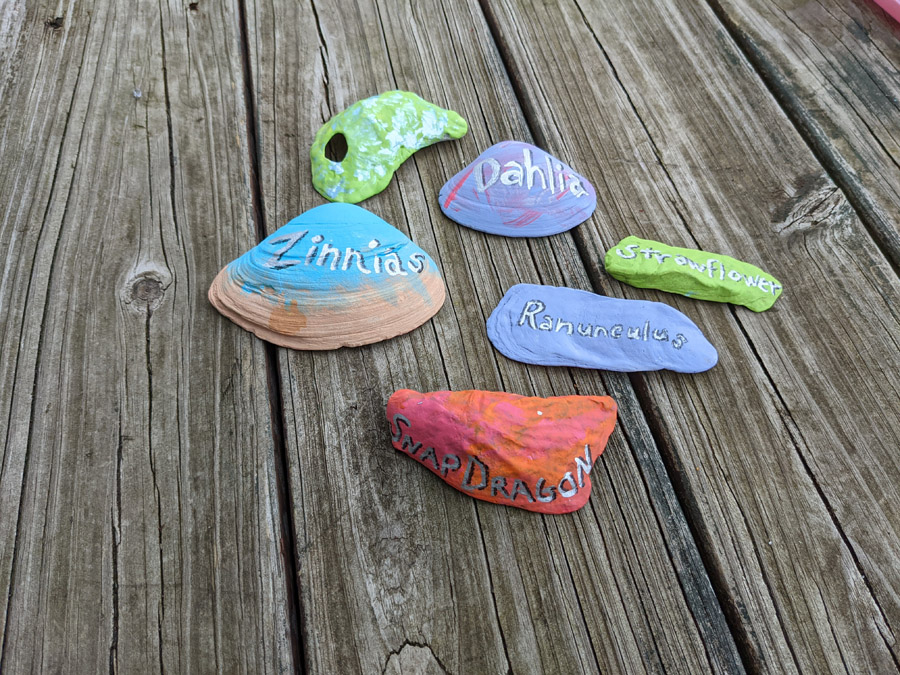
Large shells such as clams or scallops provide a curved surface that sheds water effectively. Glue a small wooden skewer to the back of each shell and push the skewer into the soil. The natural white or cream color contrasts well against dark mulch or soil.
Shells add a subtle coastal note to any garden bed without overpowering the plants. Collect shells during beach visits and keep a few extras on hand for replacements after winter storms. Avoid very thin shells that may crack when pressed into compacted soil.
Slate Stone Tags
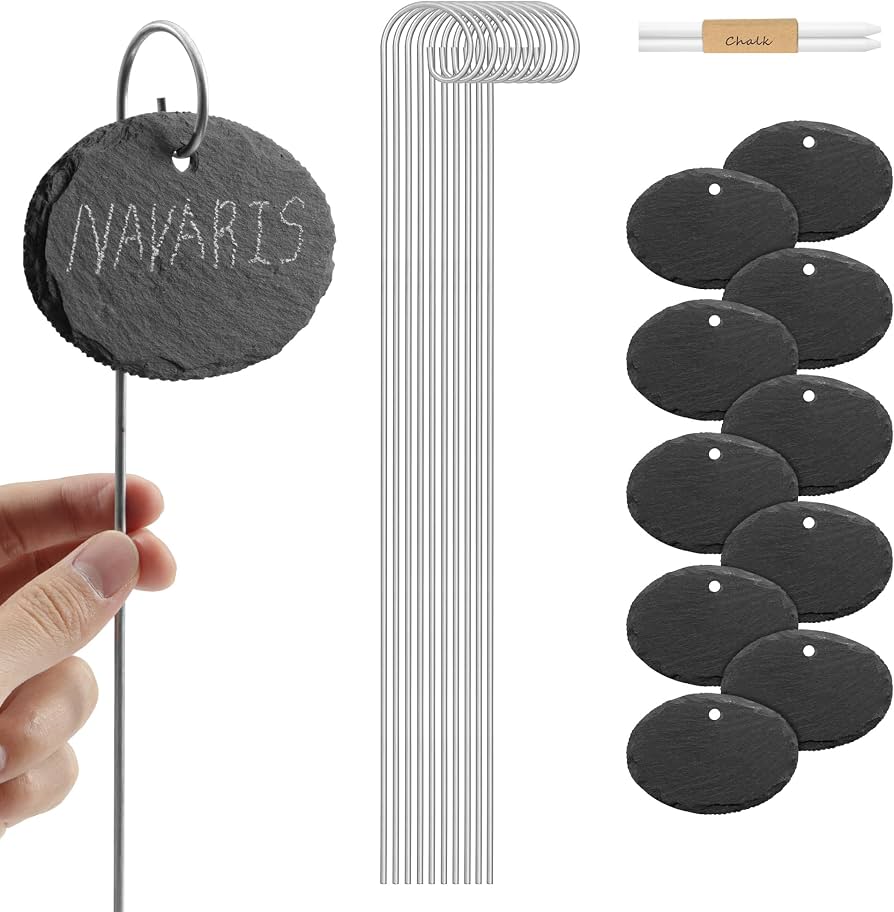
Slate accepts chalk or paint and wipes clean if you decide to change a label mid-season. Cut or break pieces into similar sizes and drill a small hole for wire or twine attachment to stakes. The dark surface makes white or light-colored lettering stand out clearly.
Slate performs well in shaded beds where other materials might grow moss. Keep a small piece of chalk in the garden shed so quick name changes stay simple during crop rotation. Stack unused slate flat to prevent cracking along natural layers.
Glass Bottle Stakes
Small glass bottles turned upside down create a waterproof chamber for a rolled paper label. Insert the neck into the soil or attach it to a stake with garden twine. Sunlight passing through the glass can create gentle reflections that add movement to the bed.
Bottles work best in perennial borders where they remain in place for several years. Choose colored glass if you want to color-code plant families such as blue for vegetables and green for herbs. Rinse bottles well before use to avoid any residue affecting nearby soil.
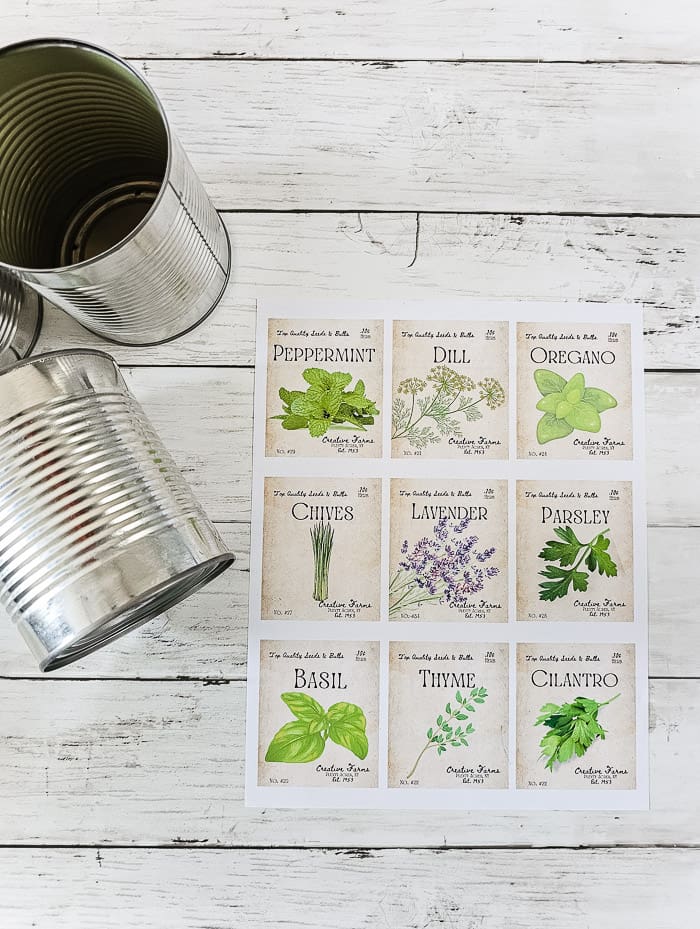
Vintage Seed Packet Displays
Laminated seed packets clipped to stakes give both the plant name and a visual reference of mature growth. Protect the packet with clear packing tape or a small plastic sleeve so rain does not destroy the paper. The packets also serve as a reminder of planting dates for future planning.
Packets suit annual beds that change every year. Replace the packets each spring with new ones from the current season’s seed order. Keep the original packets in a binder indoors as a garden journal that tracks what performed well in your specific conditions.
Quick Material Comparison
| Material | Weather Resistance | Visibility | Cost Level | Best For |
|---|---|---|---|---|
| Painted Rock | High | Medium | Low | Permanent herb beds |
| Copper Pipe | Very High | High | Medium | Modern vegetable plots |
| Slate | High | High | Low | Shaded perennial borders |
| Glass Bottle | Very High | Medium | Low | Coastal-style gardens |
How long do painted rock markers typically last outdoors?
Painted rocks last three to five seasons when sealed with an outdoor clear coat and stored indoors during harsh winters. Reapply sealant every other year if the surface begins to look chalky. Choose flat stones rather than rounded ones so the painted side stays facing upward and out of constant soil contact.
Which wood types hold up best for spoon or stick markers?
Cedar and redwood resist rot longer than pine because their natural oils repel moisture. Avoid pressure-treated lumber near edible plants because chemicals can leach into the soil. Sand any rough edges so the wood does not splinter when pushed into the ground.
Can metal markers like copper or tin affect nearby plants?
Copper actually benefits some plants by suppressing certain fungal issues in the soil. Tin remains neutral and does not alter soil chemistry when rinsed clean before use. Both metals stay cool enough in summer that they do not burn tender stems that brush against them.
How do you store garden markers between seasons?
Clean each marker, remove any soil, and place them in a labeled bin with a desiccant packet to prevent moisture damage. Keep the bin in a dry shed or garage rather than an unheated space that experiences wide temperature swings. Sort markers by material so fragile items like shells or glass sit on top and do not get crushed.
These markers turn everyday scraps into reliable tools that keep your garden beds both productive and attractive year after year. Start with one or two materials you already have on hand and expand the collection as you discover which styles suit your space best.
Leave a Reply