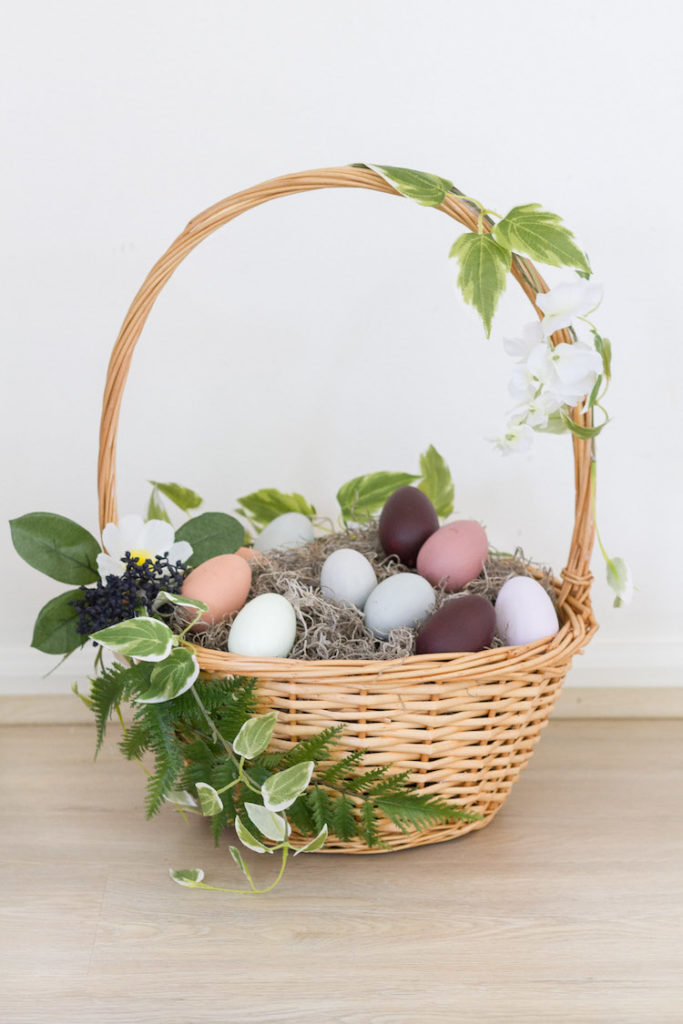
DIY Easter baskets are a sustainable, budget-friendly, and deeply personal alternative to store-bought plastic options.
By using upcycled materials like fabric scraps, old jars, or natural elements from your backyard, you can create a centerpiece for your spring celebrations that doubles as a cherished keepsake.
Whether you are crafting for toddlers, teens, or adults, these 20 creative DIY Easter basket ideas offer something for every skill level, ensuring your holiday is filled with handmade charm.
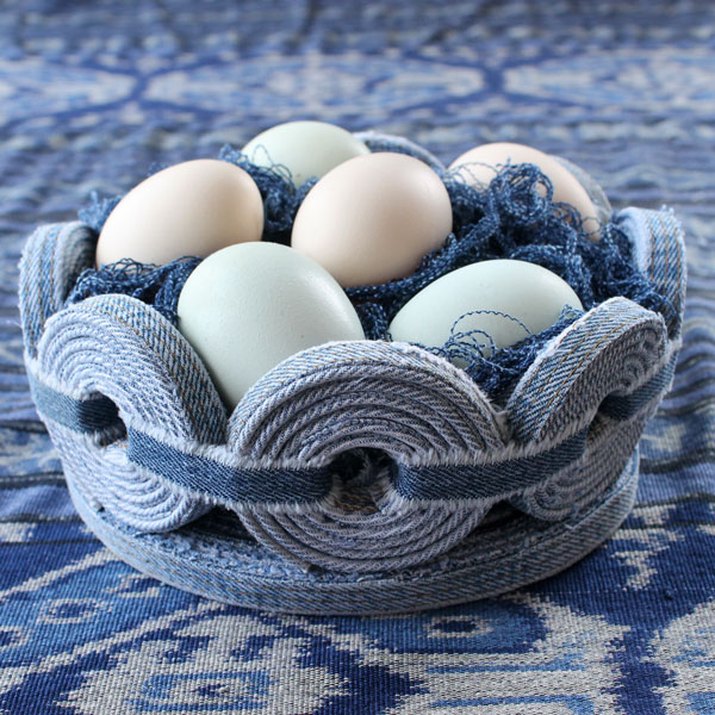
1. Upcycled Cotton Rope Basket
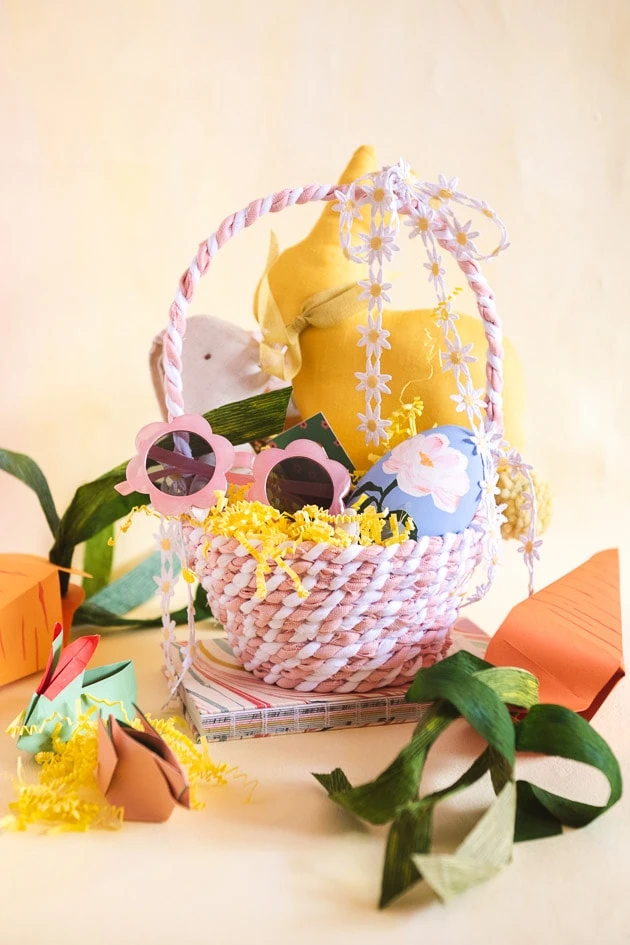
The minimalist aesthetic of a coiled rope basket is perfect for those who love a modern farmhouse look.
Using a simple clothesline and a hot glue gun (or a sewing machine for a more durable finish), you can coil the rope into a sturdy vessel.
You can leave it natural or dip-dye the bottom in a pastel hue for a subtle pop of color. Add a leather handle for a high-end, artisanal touch.
2. Whimsical Tulle Tutu Basket
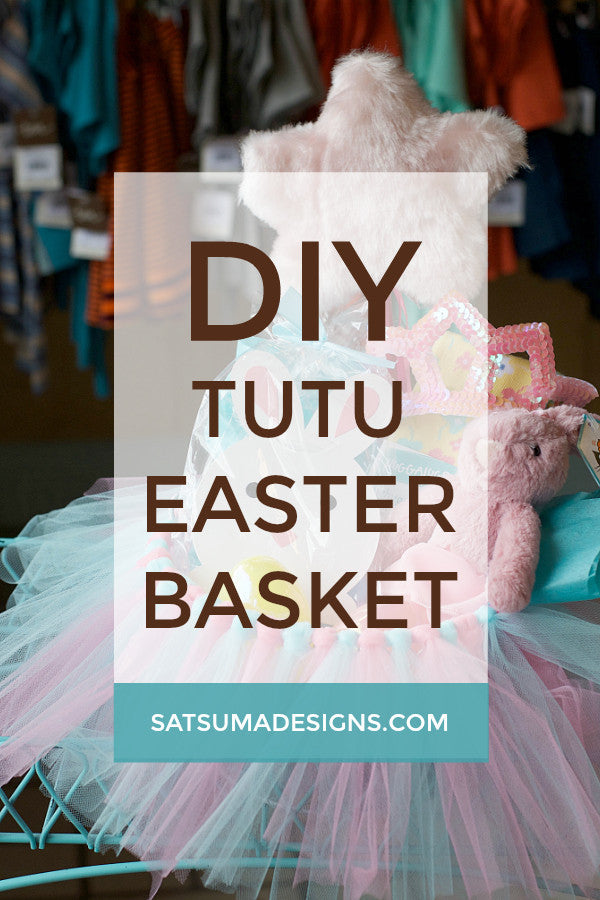
Transform a basic plastic bucket into a ballerina’s dream. By tying strips of pastel tulle around the rim of a basket, you create a fluffy, voluminous skirt.
This is an excellent project for kids to help with, as it requires no sewing. Finish the look with a satin ribbon wrapped around the handle and a few silk flowers glued to the side.
3. Painted Mason Jar Baskets
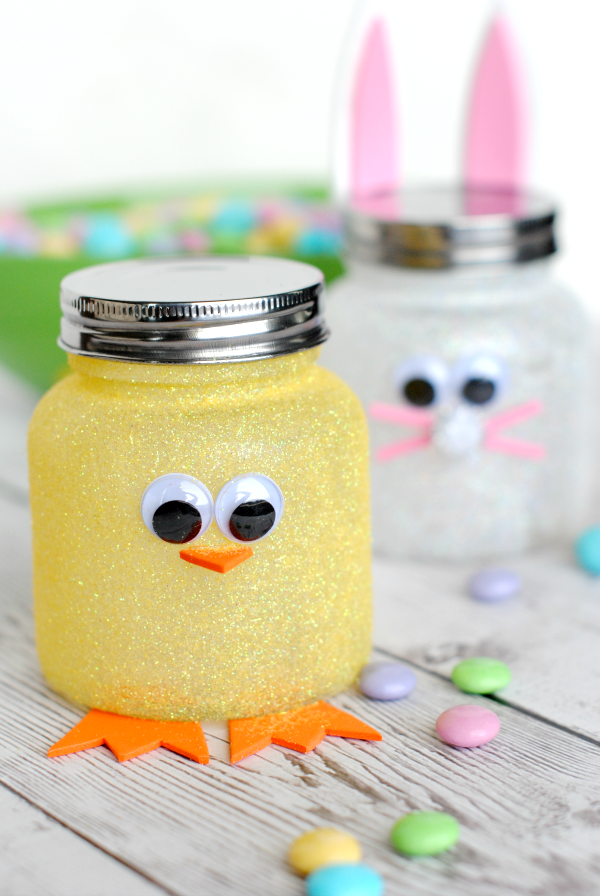
For a smaller, treat-focused gift, painted mason jars are unbeatable. Use chalk paint in shades of mint, lavender, and lemon.
Once dry, lightly sand the edges for a distressed vintage look. You can paint bunny ears on the lid or glue felt ears to the rim.
These are perfect for office gifts or bunny bait trail mix.
4. Recycled Cardboard Box Bunny

Sustainability meets creativity with this project. Take a small shipping box and wrap it in white butcher paper or felt.
Cut out long ear shapes from the remaining cardboard, cover them in matching fabric, and attach them to the back.
Use a large white pom-pom for the tail and pipe cleaners for whiskers. It’s an eco-friendly way to turn trash into a treasure.
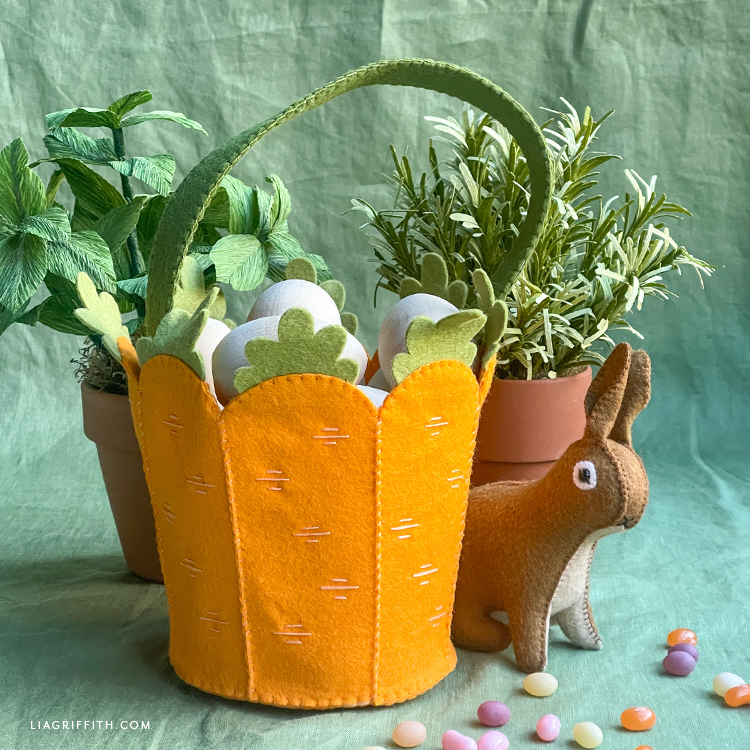
5. Crochet Carrot Pouches

If you are handy with a crochet hook, these cone-shaped pouches are a unique twist on the traditional basket.
Use bright orange yarn for the body and green leafy yarn for the drawstring closure.
These are incredibly durable and can be reused every year as a fun way to hide larger treats during the Easter egg hunt.
6. Woven Paper Plate Basket
This is the ultimate classroom or rainy-day craft. By making vertical cuts around the edge of a paper plate and weaving colorful yarn or ribbon through the slats, you create a functional, lightweight basket.
It’s a fantastic way to teach children the basics of weaving while creating something functional for their chocolate eggs.
7. Vintage Suitcase Display

For a sophisticated adult Easter gift or a stunning home decor piece, use a small vintage vanity case or suitcase.
Line the interior with linen or moss and fill it with sophisticated treats like dark chocolate, a bottle of rosé, and hand-painted eggs.
This basket becomes a permanent part of the recipient’s home decor.
8. Rain Boot Basket
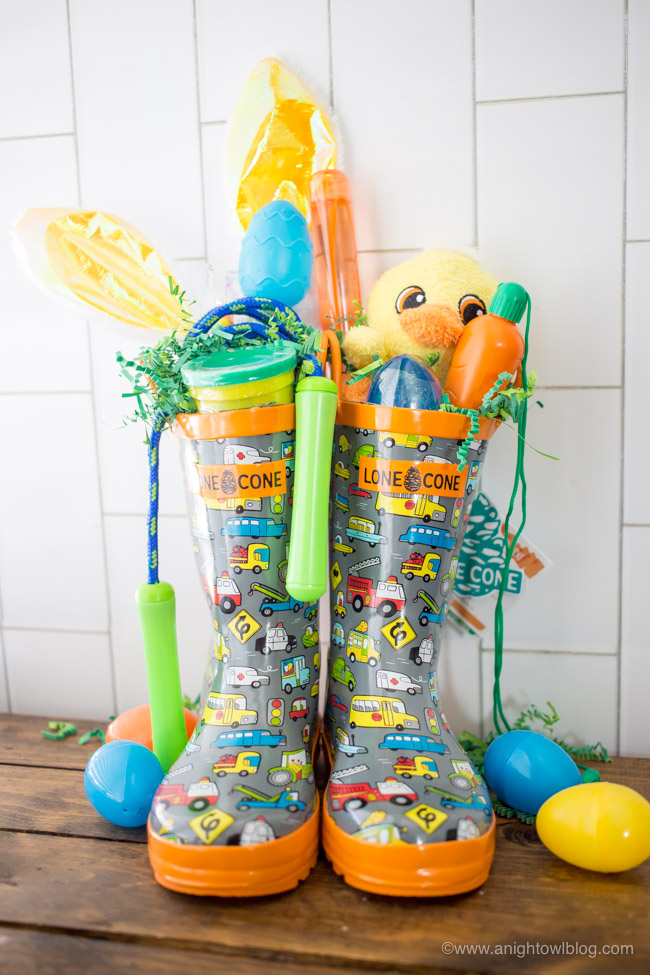
Practicality meets whimsy in this idea. Instead of a traditional basket, use a pair of bright yellow or floral rain boots.
Fill the bottom with crumpled paper to provide height, then nestle toys, seeds, and treats on top.
It’s a two-in-one gift that prepares the little ones for spring puddles while celebrating the holiday.
9. Felt Animal Baskets
Felt is an easy material to work with because it doesn’t fray. Cut out large circles for the base and a long rectangle for the sides.
Stitch them together and add felt facial features to create chicks, bunnies, or lambs.
Because felt is soft, these are the safest options for very young children who are just learning to participate in egg hunts.
10. Natural Driftwood or Twig Nest
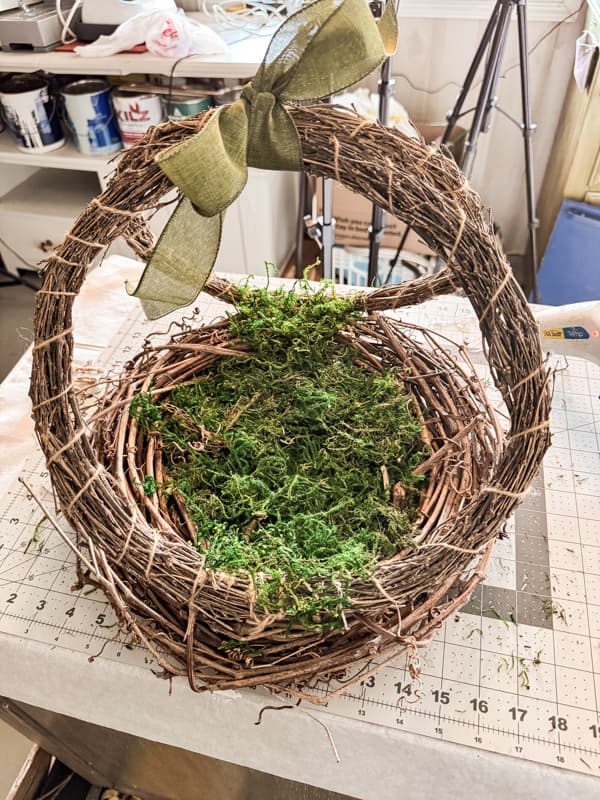
For a rustic, woodland-inspired Easter, gather flexible twigs or grapevine from your garden.
Weave them into a circular nest shape and secure them with thin florist wire. Line the inside with dried moss or hay.
This basket looks beautiful on a dining table and brings a touch of the outdoors inside.
11. Decoupage Tin Cans
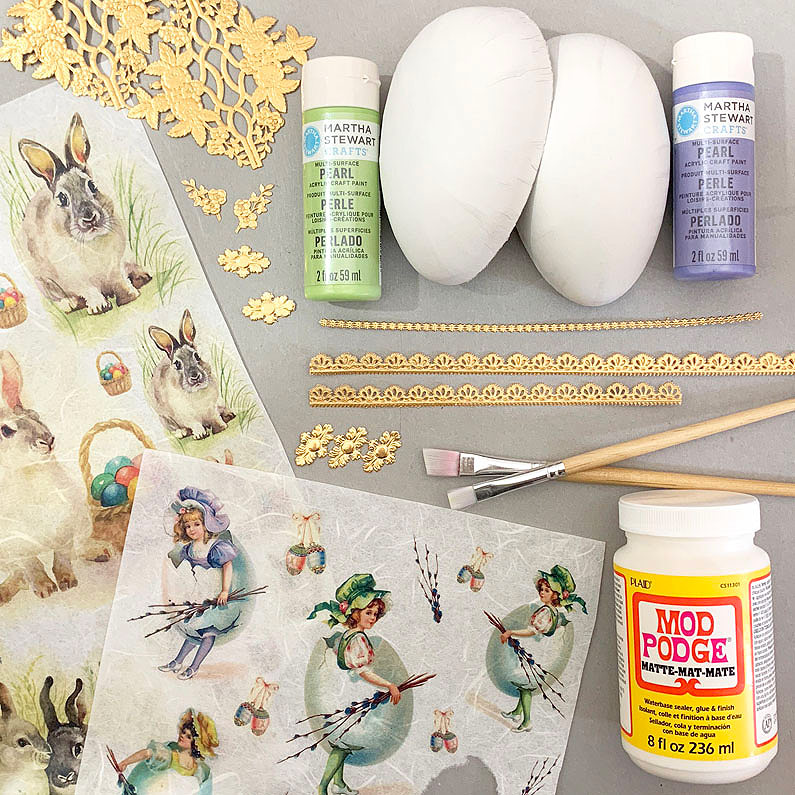
Upcycle large coffee or vegetable tins by cleaning them thoroughly and applying floral napkins or scrapbooking paper using Mod Podge.
Punch two holes near the top rim and attach a wire or ribbon handle.
These are sturdy, water-resistant, and can be used as planters for spring pansies once the candy is gone.
12. Embroidered Burlap Sacks
Burlap offers a wonderful tactile texture. Sew a simple drawstring bag and stencil the child’s name or a bunny silhouette on the front.
For a more detailed look, use embroidery floss to add floral details.
These baskets are easy to store because they fold flat, making them ideal for families with limited storage space.
13. Pom-Pom Trimmed Wicker
Take a plain, thrifted wicker basket and give it a high-fashion makeover. Use a hot glue gun to attach oversized yarn pom-poms around the entire rim.
Choose a monochromatic palette for a chic look or a rainbow of colors for a festive, kid-friendly vibe.
It’s a simple way to elevate an inexpensive find.
14. Wooden Crate Garden Basket

Small wooden slats or a pre-made craft crate can be stained or whitewashed to create a garden basket.
Fill it with dirt (brown shredded paper) and tuck in gardening gloves, seed packets, and a small trowel alongside the traditional Easter candy.
This is an excellent gift for the aspiring young gardener.
15. Origami Paper Baskets
Using heavy-weight cardstock or double-sided scrapbooking paper, fold intricate origami baskets.
While these are smaller and more delicate, they are perfect for holding a single, high-quality chocolate truffle or a hand-painted wooden egg.
They make excellent place settings for an Easter brunch.
16. Upcycled Denim Pockets
Don’t throw away those old jeans! Cut the pockets out and sew them onto a fabric base, or use the legs of the jeans to create a sturdy bucket-style basket.
The denim is incredibly durable and gives a cool, recycled aesthetic that appeals to teenagers who might feel they’ve outgrown traditional baskets.
17. Floral Wire Crown Basket
Use thick florist wire to create a structural frame and wrap it in faux greenery and silk flowers.
This basket is essentially a handheld garden. It’s lightweight and ethereal, making it a favorite for spring photoshoots and Easter Sunday church services.
18. Hand-Painted Terracotta Pots
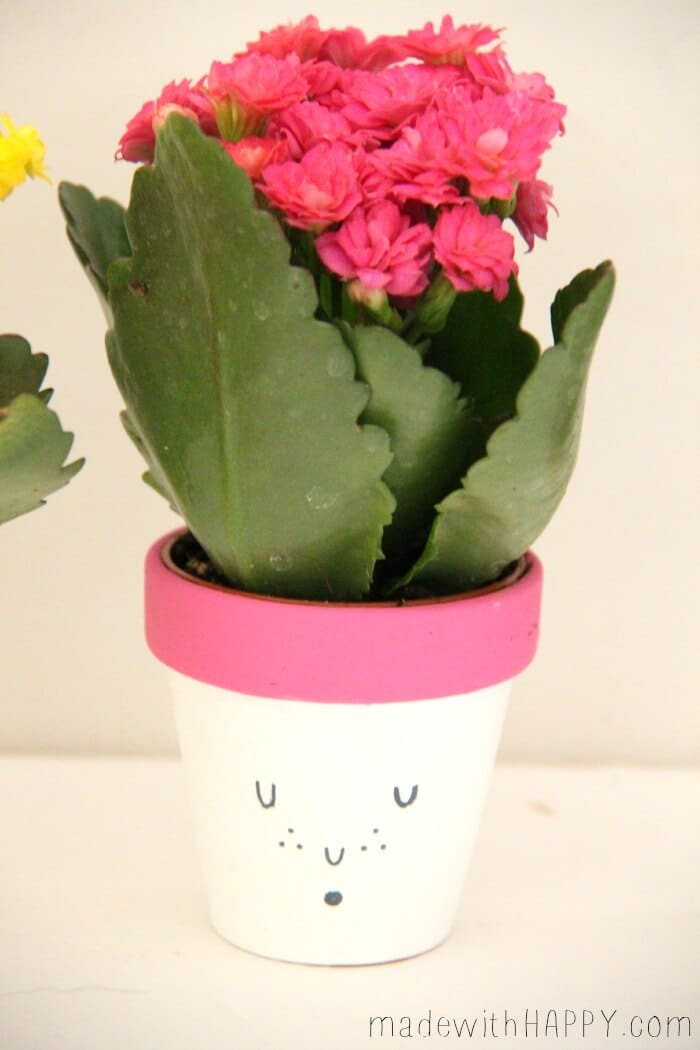
Turn a standard clay pot into a bunny by painting it white and adding pink inner-ear details.
Glue large felt ears to the back. The weight of the terracotta makes this a very stable basket that won’t tip over, even when filled with heavy chocolate bunnies.
Plus, it can be used for actual plants later!
19. T-Shirt Yarn Braided Basket
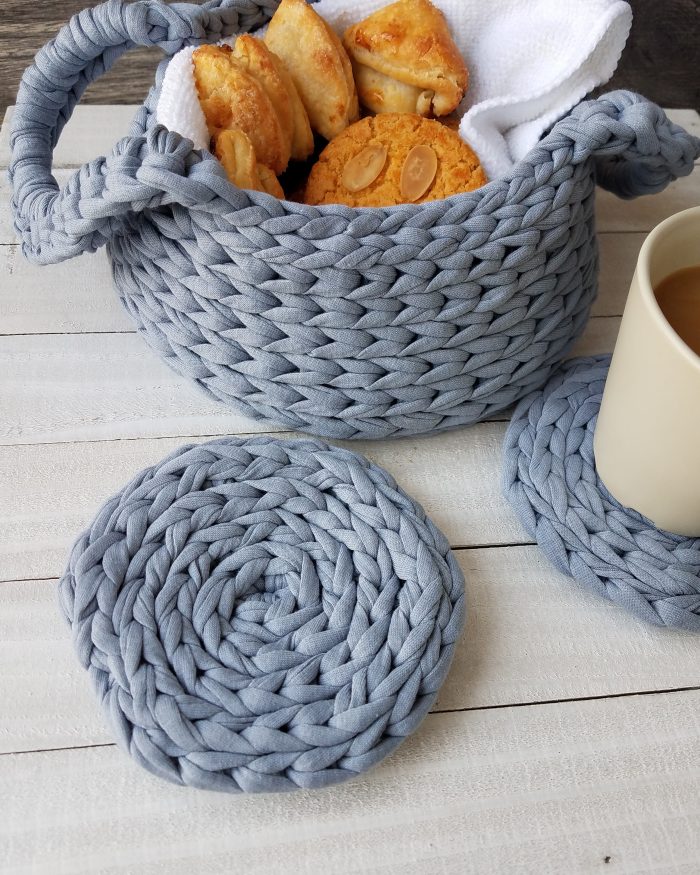
Cut old cotton t-shirts into strips to create yarn. Braid these strips together and then coil and sew the braids into a soft, flexible basket.
This is a great way to repurpose sentimental clothing that no longer fits but you aren’t ready to part with.
20. Recycled Egg Carton Mini Baskets
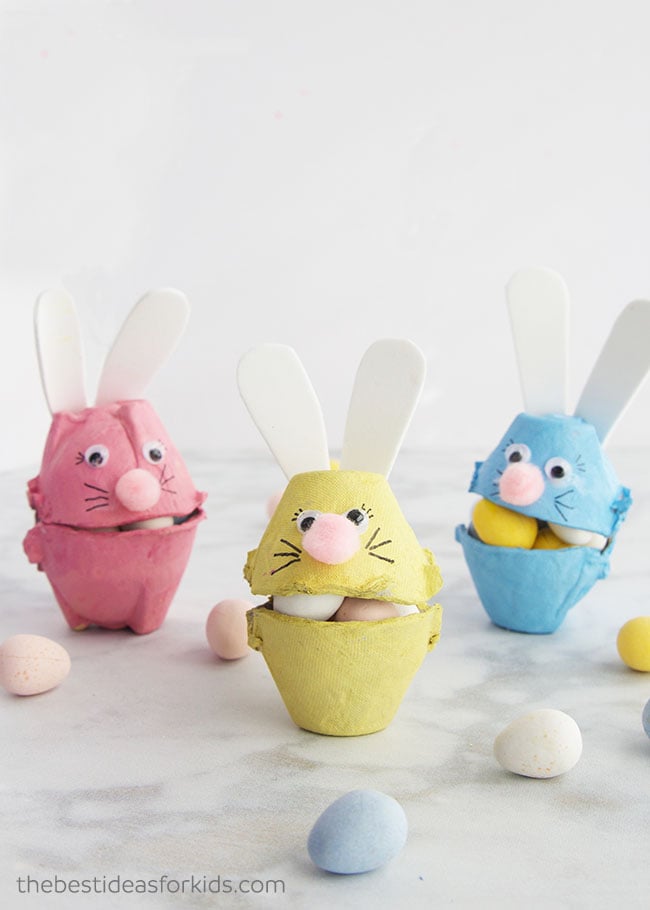
For a tiny, adorable favor, cut individual cells from a cardboard egg carton. Paint them in bright colors and attach a pipe cleaner handle.
These are the perfect size for holding one plastic egg or a few jellybeans. They are a staple for preschool crafts and budget-friendly party favors.
Essential Materials for DIY Easter Baskets
Before you start your project, ensure you have these core supplies on hand.
| Material | Best Used For |
|---|---|
| Hot Glue Gun | Securing rope, fabric, and heavy embellishments. |
| Acrylic Paint | Decorating jars, tins, and wooden crates. |
| Felt & Fabric Scraps | Creating ears, liners, and soft-sided baskets. |
| Floral Wire | Shaping handles and structural frames. |
| Mod Podge | Decoupage and sealing paper designs. |
| Ribbon & Twine | Adding finishing touches and handles. |
Tutorial: How to Make a Simple Upcycled Rope Basket
This project is the perfect entry point for DIY lovers. It’s stylish, sturdy, and requires only three items.
1 Step 1: Prepare Your Base
Start with a 1/4 inch cotton clothesline. Apply a small bead of hot glue to the end of the rope and fold it over on itself to create a tight snail coil.
This will be the center of your basket’s bottom.
2 Step 2: Build the Bottom
Continue coiling the rope around the center, applying a thin line of glue to the side of the rope as you go.
Keep the coil flat on your work surface. Continue until your base is about 6-8 inches in diameter.
3 Step 3: Create the Sides
To start building the walls, begin gluing the next layer of rope slightly on top of the outer edge of the base rather than next to it.
As you continue to wrap, the walls will naturally begin to rise. Continue until the basket is about 5 inches tall.
4 Step 4: Add Handles
Cut two 10-inch pieces of rope. Glue the ends to the inside of the top rim of the basket, spacing them evenly.
For a professional look, wrap the junction point with a bit of colorful embroidery floss or twine.
Frequently Asked Questions
Q: What is the most eco-friendly material for an Easter basket?
Natural fibers like wicker, cotton rope, and bamboo are excellent.
However, the most eco-friendly option is upcycling something you already own, such as a cardboard box, an old tin, or even a pair of outgrown rain boots.
Q: How can I make a DIY basket sturdier for heavy treats?
If you are using fabric or paper, reinforce the bottom with a piece of heavy cardboard or a thin wooden disc.
For rope baskets, using a zig-zag stitch on a sewing machine is much stronger than hot glue.
Q: Can I make these baskets with kids?
Absolutely! The Paper Plate Basket (Idea #6) and the Tulle Tutu Basket (Idea #2) are specifically designed for little hands.
Always supervise children when using hot glue guns or scissors.
Conclusion
Creating your own DIY Easter basket is more than just a craft project; it’s a way to infuse the holiday with intentionality and personal flair.
From the rustic charm of a twig nest to the modern appeal of a painted mason jar, these ideas prove that you don’t need a store-bought plastic bucket to make the morning special.
By choosing to upcycle and create, you’re not only making memories but also crafting a more sustainable celebration. Grab your glue gun, gather your scraps, and start building a new tradition this spring!
Leave a Reply