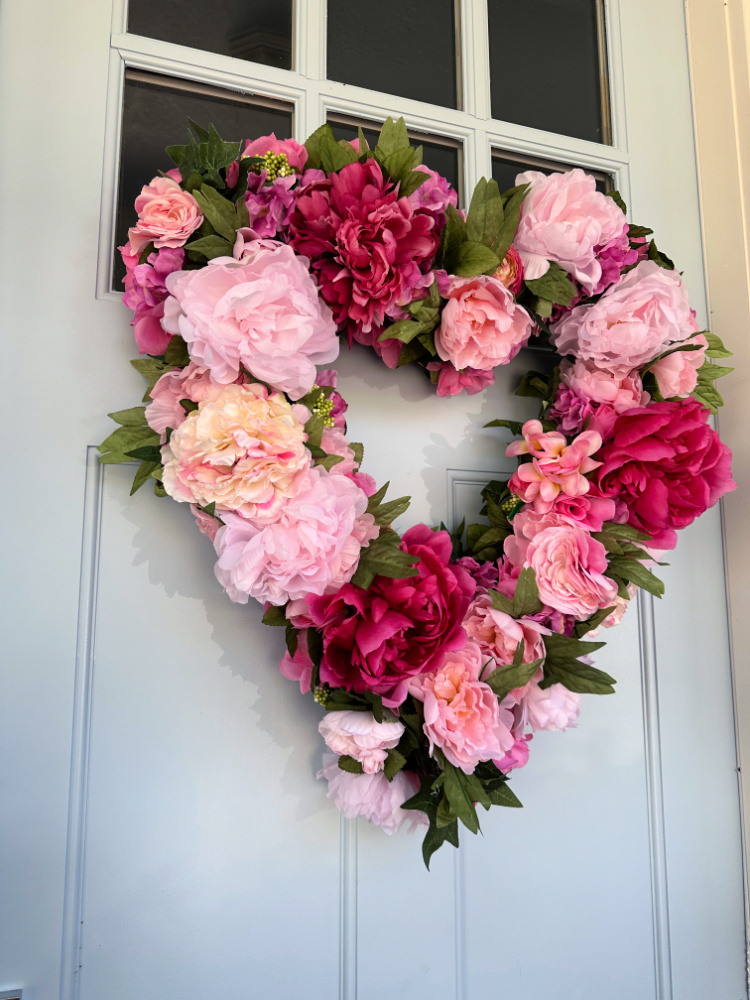
A paper flower wreath is a stunning, budget-friendly, and sustainable way to elevate your home decor.
Unlike fresh floral arrangements that wither within days, a meticulously crafted paper wreath offers a permanent bloom that can be customized to match any season or interior color palette.
By mastering a few basic paper manipulation techniques—such as curling, fringing, and layering—you can transform simple cardstock into a high-end botanical masterpiece that rivals expensive boutique decor.
Essential Materials and Tools for Success
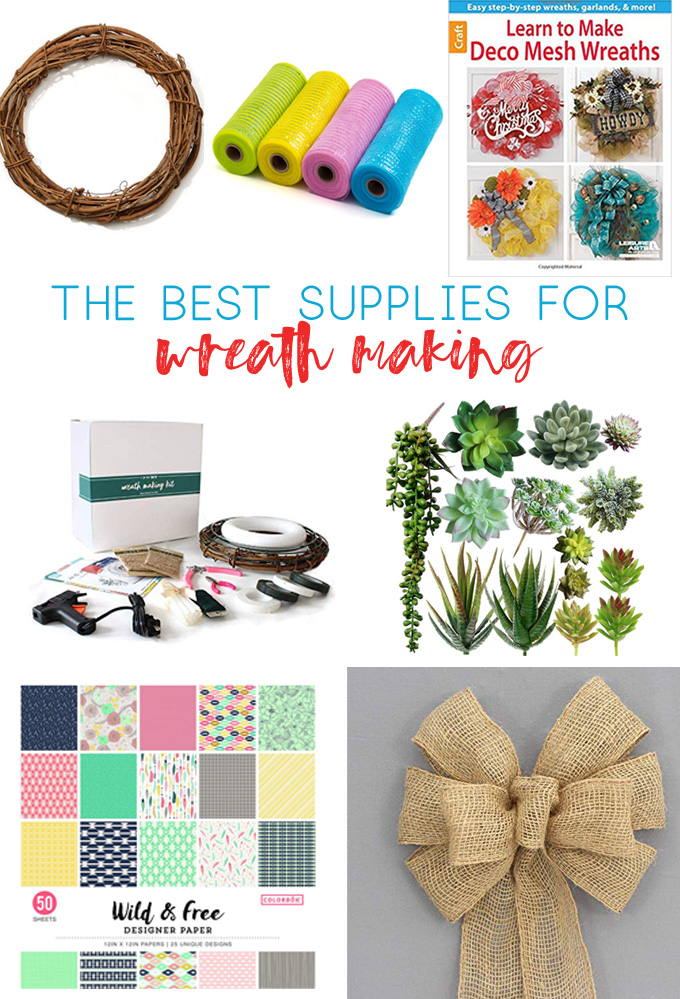
Before diving into the construction process, gathering high-quality materials is crucial for a professional finish.
While you can use standard construction paper, opting for premium cardstock or crepe paper will provide the structural integrity needed for the flowers to hold their shape over time.
| Item | Purpose | Recommendation |
|---|---|---|
| Cardstock | The primary material for petals and leaves. | 65lb (176 GSM) textured cardstock. |
| Wreath Base | The foundation of your arrangement. | Grapevine for rustic looks; foam for modern styles. |
| Hot Glue Gun | To secure flowers and foliage quickly. | High-temp gun with extra-strength glue sticks. |
| Bone Folder/Pencil | For curling and shaping paper edges. | A wooden dowel or a dedicated bone folder tool. |
| Precision Scissors | For intricate petal cutting. | Micro-tip scissors or a craft knife. |
| Floral Wire | To create stems or attach heavier blooms. | 20-22 gauge cloth-covered wire. |
Step 1: Select Your Color Palette and Paper Texture
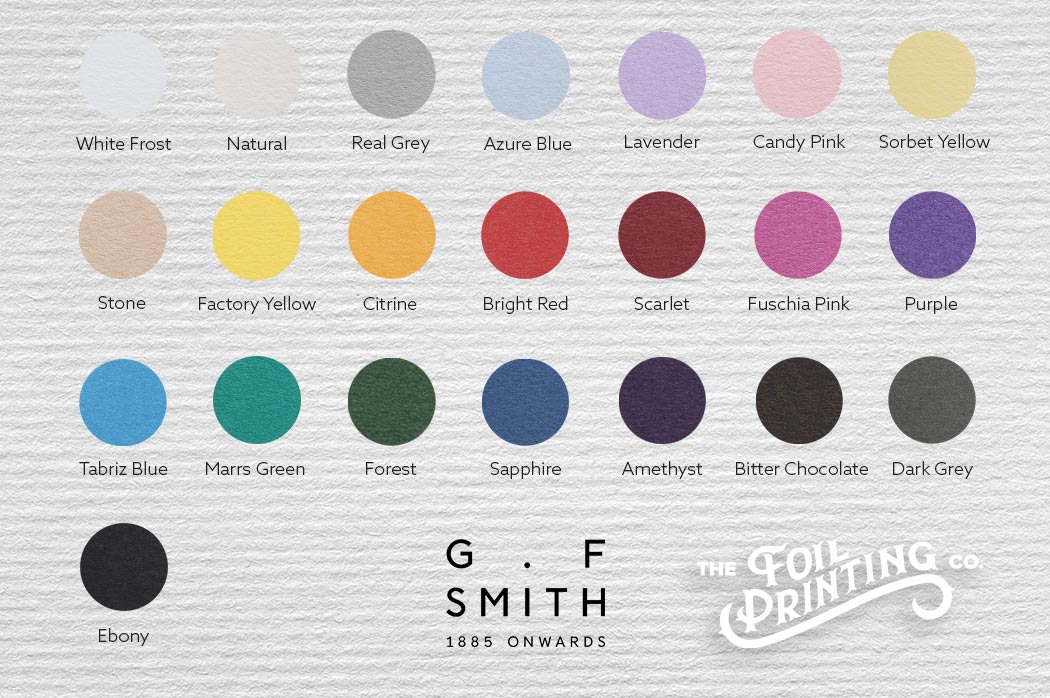
The first step in creating a professional-grade wreath is establishing a cohesive aesthetic.
High-authority DIY projects rely heavily on color theory. For a sophisticated look, consider a monochromatic palette (various shades of one color), an analogous scheme (colors next to each other on the color wheel, like yellow, orange, and red), or a neutral palette using creams, tans, and browns for a farmhouse vibe.
Choosing the Right Paper
-
Textured Cardstock: Best for structured flowers like roses and camellias. The texture adds a realistic vein look to the petals. -
Crepe Paper: Ideal for delicate, fluttery flowers like poppies or peonies. Use extra fine for small details and heavyweight for larger blooms. -
Upcycled Materials: For an eco-friendly or vintage twist, consider using old book pages, sheet music, or even watercolor paper you’ve hand-painted.
Step 2: Design and Cut Your Flower Templates
To achieve a full, lush wreath, you will need a variety of flower shapes and sizes.
Diversity in your botanicals creates visual interest and prevents the wreath from looking flat.
The Three Essential Flower Styles
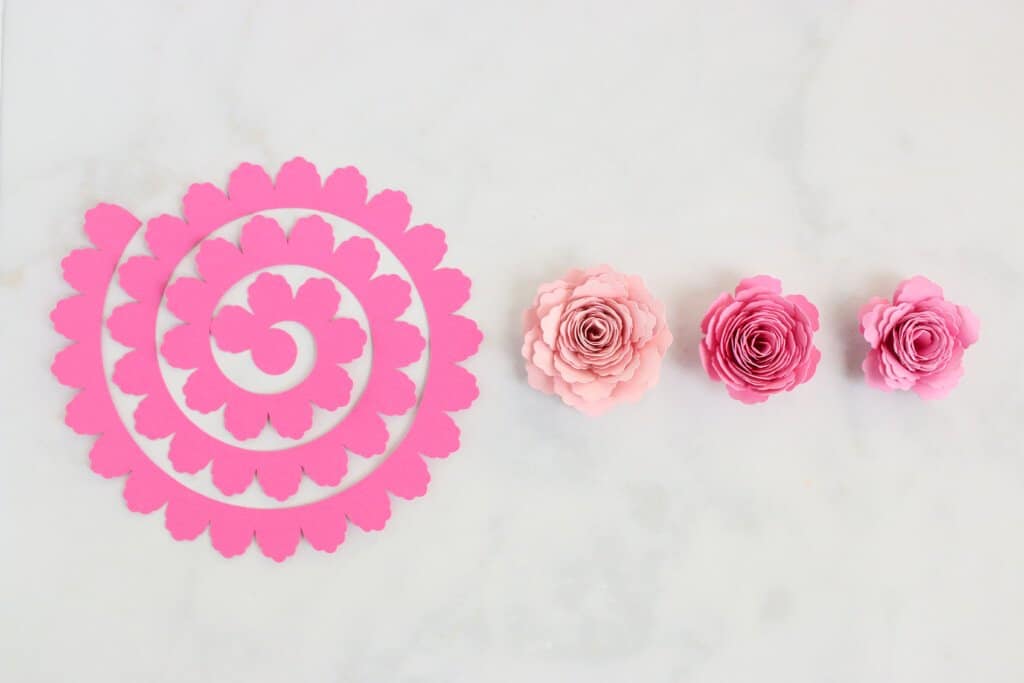
-
The Spiral Rose: Draw a wavy spiral on a square piece of paper. Cut along the line, then roll the paper from the outside in. This is the fastest way to create bulk for your wreath. -
The Layered Daisy: Cut multiple layers of 8-petal shapes, each slightly smaller than the last. Offset the petals when gluing them together to create depth. -
The Fringed Pom-Pom: Cut a long strip of paper, fold it in half lengthwise, and snip small fringes along the edge (being careful not to cut all the way through). Roll the strip tightly to create a fuzzy center or a full marigold-style bloom.
Expert Tip: If you own a digital cutting machine (like a Cricut or Silhouette), use SVG files for perfectly uniform petals. If cutting by hand, create one cardboard master template for each shape to ensure consistency across your project.
Step 3: Sculpting and Shaping for Realism

The difference between a crafty paper flower and a realistic one lies in the shaping.
Flat paper looks artificial; curved paper looks alive.
Techniques for Lifelike Petals
-
The Bone Folder Curl: Hold the paper petal between your thumb and the edge of a bone folder (or the side of a pair of scissors). Pull the paper through with light pressure to create a natural outward curve. -
The Cup and Pinch: For the center of roses, pinch the bottom of the petal to create a V shape. This makes the petal stand upright rather than laying flat. -
The Ball Stylus Method: Place your paper petal on a soft foam mat. Use a ball stylus tool to rub in a circular motion in the center of the petal. This creates a cupped effect, perfect for hydrangeas or cherry blossoms. -
Distressing Edges: Use a sponge dauber and a bit of distress ink (in a slightly darker shade than your paper) to lightly coat the edges of your petals. This mimics the natural color gradients found in real flowers.
Step 4: Assembling the Wreath Base
Now that you have a collection of 15–25 flowers in various sizes, it is time to mount them to your base.
This step requires a layering mindset.
The Layout Strategy
-
The Anchor Blooms: Start by placing your three largest, most complex flowers in a triad formation (forming an invisible triangle). These serve as the focal points of your design. -
The Secondary Flowers: Fill the spaces between the anchor blooms with medium-sized flowers. Vary the heights; some should be tucked deep into the base, while others float slightly higher. -
The Filler: Use your smallest flowers (like the fringed pom-poms or tiny 5-petal blossoms) to cover any visible parts of the wreath base or glue spots. -
Directional Flow: Ensure your flowers generally face the same flow—either all pointing outward from the center or following a clockwise circular path. This creates a sense of movement.
Step 5: Adding Greenery and Final Flourishes
No wreath is complete without foliage.
Greenery provides the negative space that allows the bright colors of the flowers to pop.
Crafting Realistic Leaves
Don’t just cut flat green triangles. Use various shades of green—from deep forest to sage.
Fold each leaf down the center to create a midrib, and use your fingernail or a stylus to score diagonal veins.
Final Assembly Checklist
-
Check for Glue Strings: Use a hair dryer on a low, cool setting to easily blow away and dissolve those pesky hot glue spiderwebs. -
Secure the Hanger: Flip the wreath over and secure a loop of jute twine or a sturdy wire loop to the back of the frame. -
The Shake Test: Gently shake the wreath. If any flowers wobble, add a secondary drop of glue at the point of contact with the frame. -
Protective Coating: If the wreath will be in a high-humidity area (like a kitchen), a quick spray of matte acrylic sealer can help prevent the paper from wilting or absorbing moisture.
Advanced Customization Ideas
To take your paper flower wreath to the next level, consider these stylistic variations:
-
The Ombre Effect: Arrange your flowers in a gradient, starting with deep burgundy at the bottom and transitioning to pale blush at the top. -
The Half-Wreath: Only cover 50% of a grapevine or gold metal hoop with flowers, leaving the other half exposed for a modern, minimalist aesthetic. -
Seasonal Swaps: Use magnetic tape or small Velcro dots to attach your flowers. This allows you to swap out bright summer sunflowers for moody autumn mums without rebuilding the entire base.
Frequently Asked Questions (FAQ)
How do I keep my paper wreath from fading?
Paper is susceptible to UV damage. To prevent fading, hang your wreath away from direct sunlight. You can also use UV-resistant clear spray paint (available at most craft stores) to provide a protective barrier.
Can I hang a paper wreath on my front door?
Only if you have a storm door or a deep porch. Moisture and direct rain will ruin the paper. For outdoor use, it is best to use Power Paper or synthetic waterproof paper, though these are more difficult to shape.
How do I clean dust off the paper flowers?
Avoid using water or damp cloths. Instead, use a soft-bristled makeup brush or a can of compressed air (held at a distance) to gently blow away dust without crushing the delicate petals.
What is the best glue to use?
For speed, hot glue is best. However, for a more permanent bond that won’t become brittle in cold weather, a high-quality tacky glue or a specialized paper adhesive like Art Glitter Glue (which dries clear and strong) is recommended for the flower construction itself.
Conclusion
Creating a beautiful paper flower wreath is a rewarding project that blends precision with artistic flair.
By following these five steps—selecting quality materials, designing diverse templates, shaping for realism, strategic assembly, and adding detailed foliage—you can create a high-authority piece of home decor that looks professionally made.
Whether you are decorating for a wedding, a nursery, or simply refreshing your living room, the versatility of paper allows for endless creativity. Grab your scissors, heat up your glue gun, and start crafting your everlasting garden today.
Leave a Reply