Upcycling old CDs into creative wall messengers is a brilliant way to merge sustainable living with whimsical home decor. These DIY projects transform obsolete technology into functional art pieces that can hold notes, mail, or reminders while adding a touch of personality to your walls.
By using the circular shape of the CD as the owl’s body and layering different textures like fabric, paint, or metal, you can create a customized organizational tool that is both eco-friendly and stylish.
The Essential Toolkit for CD Upcycling
Before diving into the specific designs, you will need a basic set of tools and materials that apply to almost every CD owl project.
- ✦ Old CDs/DVDs: At least two per owl (one for the body, one cut in half for wings).
- ✦ Adhesives: A high-quality hot glue gun or E6000 industrial strength glue.
- ✦ Cutting Tools: Heavy-duty scissors or a utility knife (be careful when cutting CDs as they can splinter).
- ✦ The Messenger Component: Small sticky note pads, mini clothespins, or felt pockets.
- ✦ Decorative Elements: Buttons, bottle caps, felt scraps, and acrylic paints.
1. The Bohemian Burlap Owl
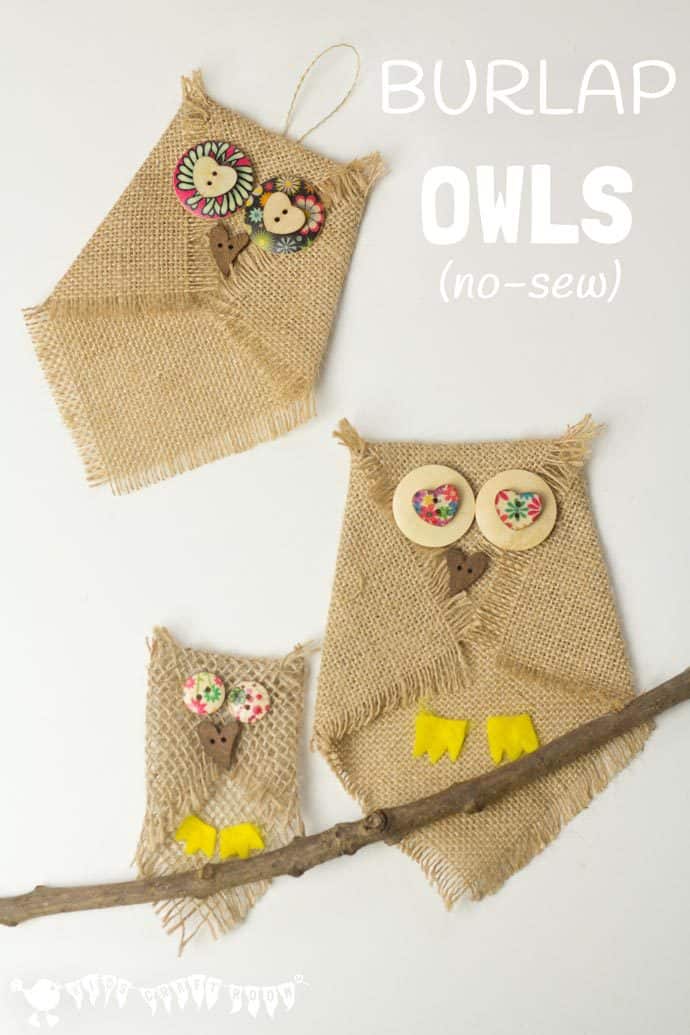
The Bohemian Burlap Owl is perfect for those who love rustic, farmhouse-style decor. This design uses the natural texture of jute and burlap to create a warm, earthy look that masks the shiny surface of the CD.
Materials Needed:
- ✦ Scrap burlap fabric
- ✦ Twine or jute rope
- ✦ Two large wooden buttons (for eyes)
- ✦ A small piece of orange felt (for the beak)
How to Create It:
To start, trace the CD onto a piece of burlap and cut out a circle slightly larger than the disc. Glue the burlap to the shiny side of the CD. For the wings, cut a second CD in half, wrap each half in twine, and glue them to the sides of the main body.
The messenger part of this owl is a small burlap pocket glued to the bottom half of the owl’s belly, perfect for tucking in folded notes or receipts. Finish by gluing the wooden buttons for eyes and a triangular felt beak.
2. The Glitter & Glam Night Owl
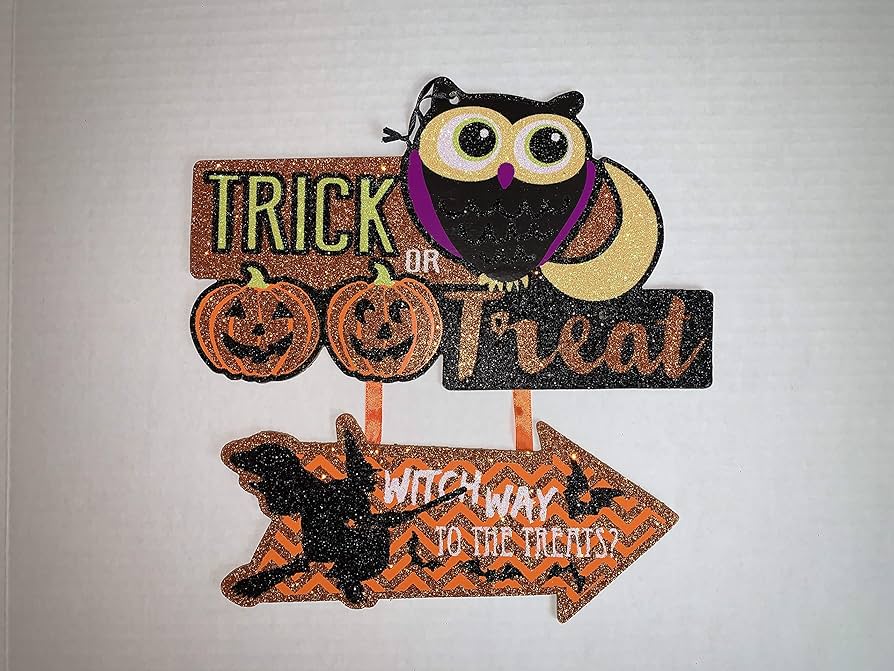
If your style leans more toward maximalism or glam, the Glitter & Glam Night Owl is the perfect choice. This project utilizes the reflective properties of the CD to enhance the sparkle of added glitter.
Materials Needed:
- ✦ Fine-grade glitter (Gold, Silver, or Iridescent)
- ✦ Mod Podge
- ✦ Large rhinestones or gem stickers
- ✦ Miniature glittered clothespin
How to Create It:
Apply a thick layer of Mod Podge to the CD and sprinkle glitter generously over the surface. Once dry, seal it with another layer of Mod Podge to prevent shedding. Use large rhinestones for the pupils of the eyes to catch the light.
For the messenger functionality, glue a small, glittered clothespin to the owl’s feet. This allows you to clip important reminders or photos directly to the owl.
3. The Classroom Chalkboard Owl
The Chalkboard Owl is the ultimate functional messenger. Instead of holding paper, the owl’s body becomes the note-taking surface, making it ideal for kitchens or kids’ study areas.
Materials Needed:
- ✦ Chalkboard paint (spray or brush-on)
- ✦ White paint pen (for decorative outlines)
- ✦ Small piece of chalk
- ✦ A small loop of string (to hold the chalk)
How to Create It:
Sand the surface of the CD lightly to help the paint adhere. Apply two to three coats of chalkboard paint. Once cured, use a white paint pen to draw feather patterns around the edges, leaving the center clear for writing.
Glue a small loop of twine to the side of the CD to act as a chalk holder. This owl acts as a reusable to-do list that you can wipe clean every day.
4. Vintage Fabric Scraps Owl
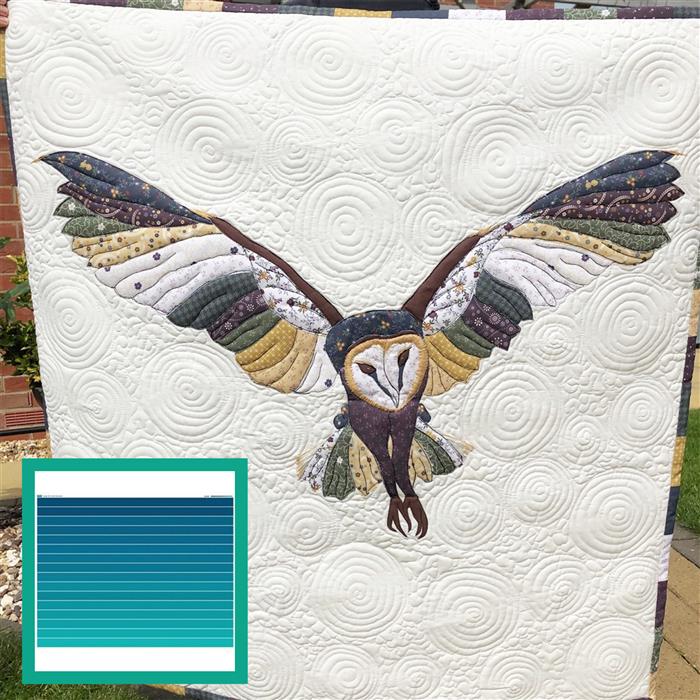
For a Shabby Chic or cottagecore vibe, the Vintage Fabric Scraps Owl uses floral prints and lace to create a soft, nostalgic piece of wall art.
Materials Needed:
- ✦ Cotton fabric scraps (florals, polka dots, or ginghams)
- ✦ Lace trim or doilies
- ✦ Large vintage buttons
- ✦ Fabric glue
How to Create It:
Layer different fabric patterns to create feathers. You can cut small U-shaped pieces of fabric and layer them from the bottom up on the CD to mimic an owl’s chest. Use a piece of a paper doily to create the eye mask area before gluing down your vintage buttons.
The messenger element here is a small fabric envelope glued to the back or bottom, where you can store stamps or small envelopes.
5. Steampunk Metallic Owl
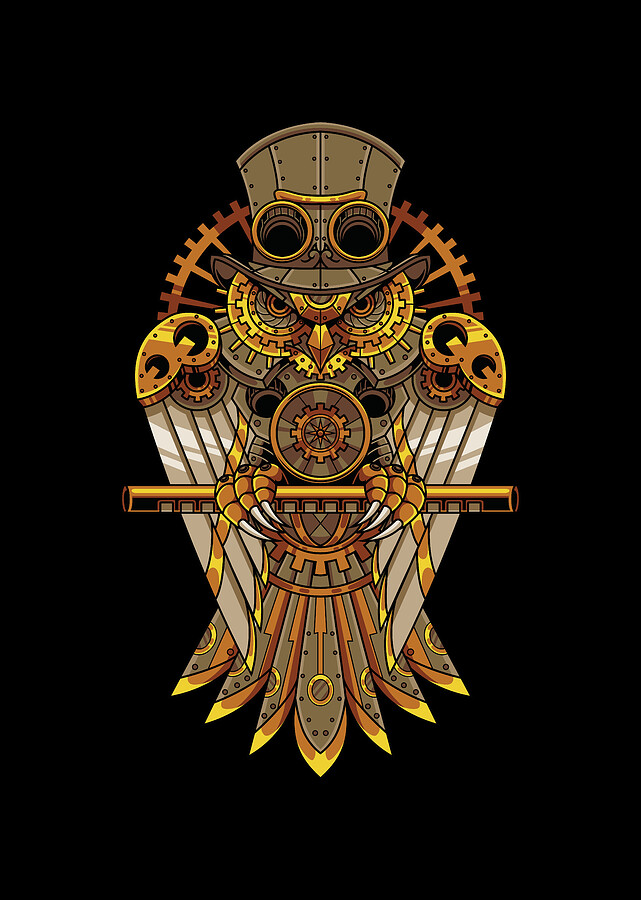
The Steampunk Metallic Owl is an industrial take on the craft. It’s perfect for a home office or a man cave setting, utilizing metallic textures and mechanical-looking parts.
Materials Needed:
- ✦ Copper or Bronze spray paint
- ✦ Old watch gears or small hardware (nuts, bolts, washers)
- ✦ Metallic 3D puff paint
- ✦ Metal binder clip
How to Create It:
Spray the entire CD (and the wing pieces) with a metallic copper finish. Once dry, use 3D puff paint to create rivet dots around the perimeter. Use large washers and gears to create the eyes, giving it a robotic, Victorian-era look.
Attach a heavy-duty metal binder clip to the bottom to hold mail or thick cardstock notes.
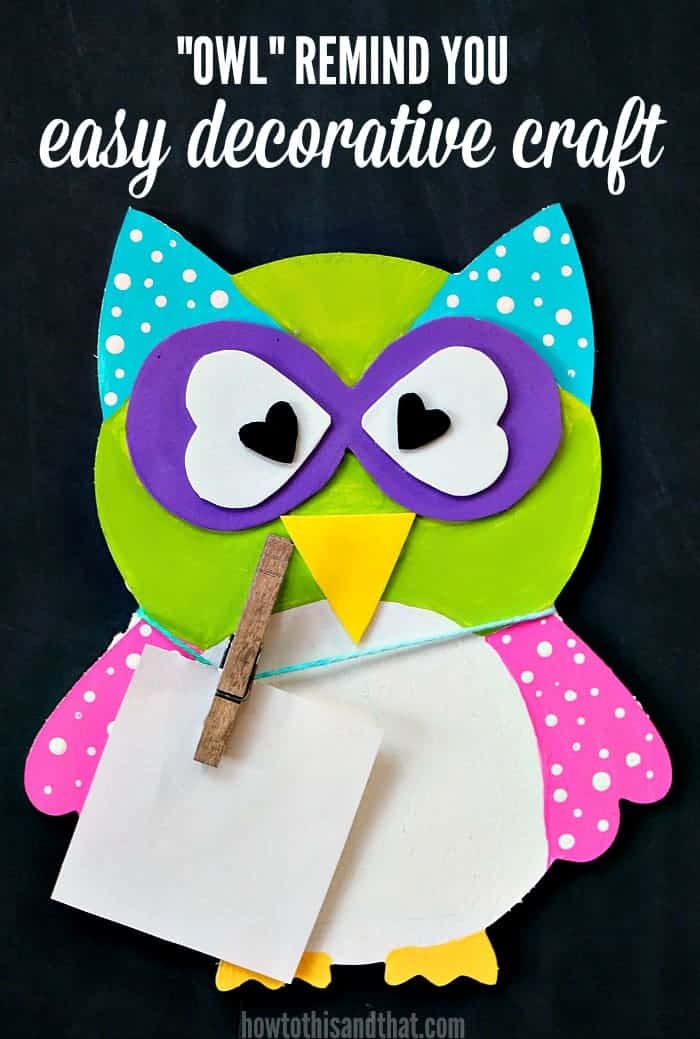
6. Kids’ Felt & Googly Eye Owl
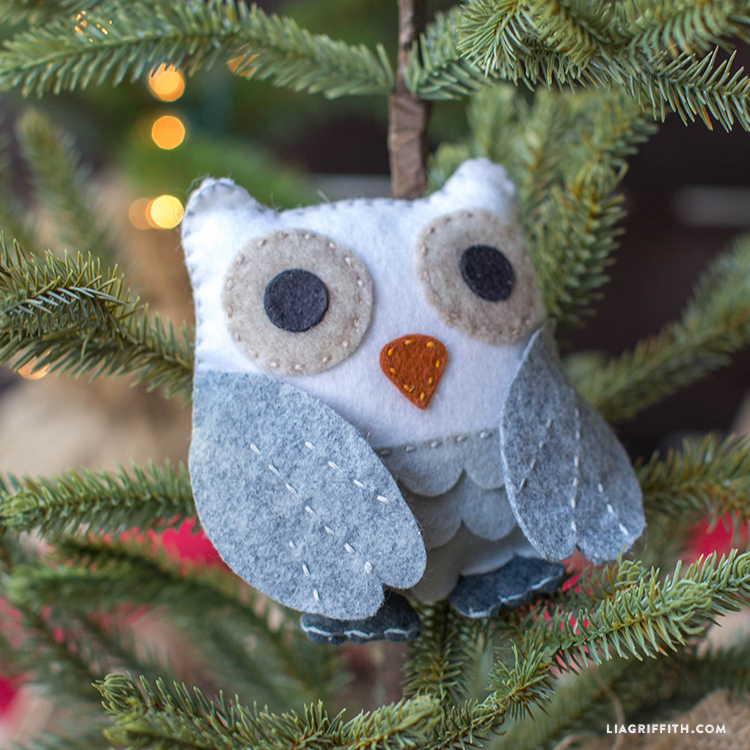
This version is designed specifically for children to make. It’s colorful, tactile, and focuses on bold shapes rather than intricate details.
Materials Needed:
- ✦ Brightly colored felt (Neon pink, blue, green)
- ✦ Oversized googly eyes
- ✦ White school glue
- ✦ Small notepad
How to Create It:
Let the kids cut out simple wing shapes and ear tufts from the felt. Because the CD is shiny, the felt provides a great contrast. Glue the oversized googly eyes to the top center.
To make it a messenger, glue the cardboard backing of a small 3×3 notepad to the bottom half of the CD. Kids can use this to write down their chores or secret messages.
7. The Eco-Friendly Newspaper Owl
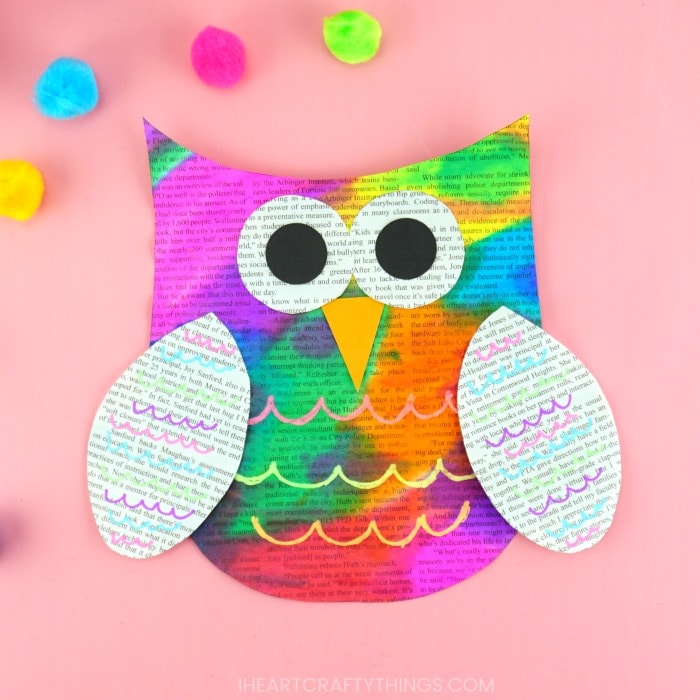
Embrace the minimalist, monochrome aesthetic with the Newspaper Owl. This project is almost entirely made from recycled materials, making it the most sustainable option on the list.
Materials Needed:
- ✦ Old newspapers or magazines
- ✦ Black marker
- ✦ Cardboard scraps
- ✦ Flour and water paste (for a true DIY experience)
How to Create It:
Use the decoupage technique to cover the CD in strips of newsprint. Try to find sections of the paper with interesting typography or weather maps. Use a black marker to draw stylized feathers and large, circular eyes directly onto the newsprint.
Fold a piece of cardboard into a small triangular beak that also functions as a hook for hanging keys or a lanyard.
8. Painted Mandala Owl
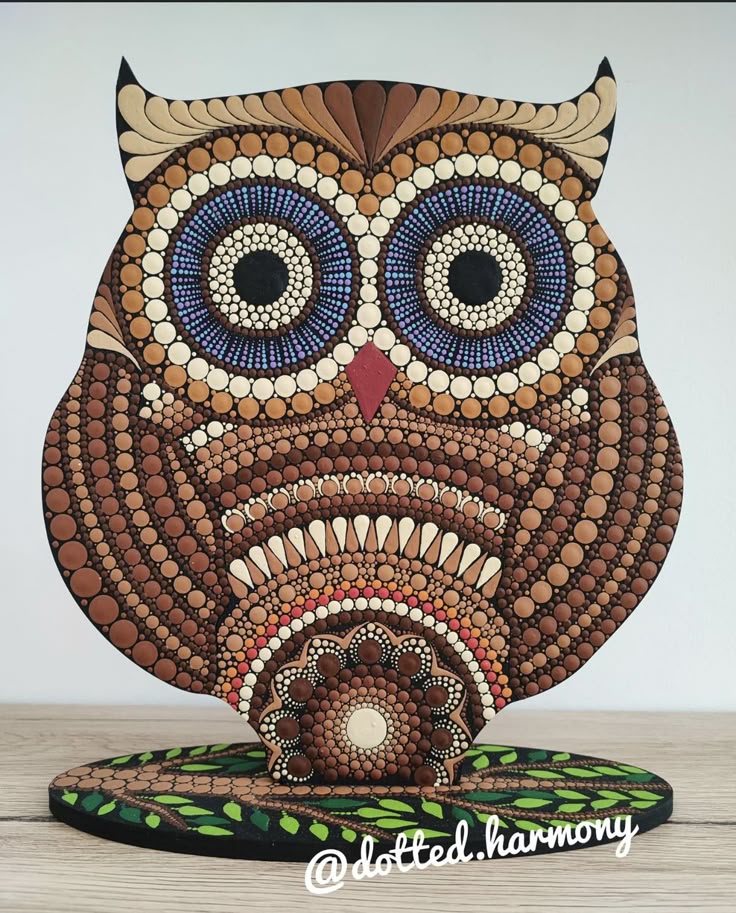
The Painted Mandala Owl is a meditative project that results in a stunning piece of art. This design focuses on symmetry and intricate dot work.
Materials Needed:
- ✦ Acrylic paint markers (Posca pens work best)
- ✦ Black primer
- ✦ Compass or stencil (optional)
- ✦ Sticky-back magnet (for the messenger part)
How to Create It:
Prime the CD with black paint to make the colors pop. Starting from the center hole of the CD, create a mandala pattern using dots and lines that eventually forms the shape of an owl’s face.
The hole in the middle of the CD can be used to hang the owl on a nail. For the messenger function, attach a magnet to the back so it can live on the fridge, holding up important coupons or grocery lists.
9. Magnetic Kitchen Owl
The Magnetic Kitchen Owl is all about utility. It is designed to withstand the hustle and bustle of a busy kitchen environment.
Materials Needed:
- ✦ Kitchen twine
- ✦ Bottle caps (for eyes)
- ✦ Strong neodymium magnets
- ✦ Miniature pen holder (a simple plastic tube or loop of elastic)
How to Create It:
Cover the CD in a durable material like vinyl or heavy-duty contact paper. Use bottle caps for the eyes to give it a recycled kitchen feel. Glue strong magnets to the back so it stays securely on the refrigerator.
Attach a small elastic loop to the side to hold a pen, ensuring you always have a writing utensil ready when you need to jot down something on the attached notepad.
Comparison of DIY CD Owl Styles
| Style | Difficulty | Best Placement | Key Feature |
|---|---|---|---|
| Bohemian | Easy | Living Room | Rustic Burlap Texture |
| Glitter & Glam | Medium | Bedroom/Vanity | High-Shine Sparkle |
| Chalkboard | Medium | Kitchen/Office | Reusable Writing Surface |
| Steampunk | Hard | Study/Library | Industrial Hardware Eyes |
| Kids’ Felt | Very Easy | Playroom | Large Googly Eyes |
| Mandala | Hard | Entryway | Intricate Hand-Painted Art |
Step-by-Step Construction Guide: The Base Owl
While the styles differ, the structural assembly remains consistent. Follow these steps to ensure your owl messenger is sturdy.
Step 1: Preparing the CD
If you are painting the CD, lightly sand the surface with fine-grit sandpaper. This removes the slick coating and allows glue and paint to bite into the plastic.
Step 2: Cutting the Wings
You will need a second CD for the wings. To prevent the CD from shattering while cutting, soak it in warm water for 5 minutes or use a hair dryer to soften the plastic. Cut the CD exactly in half using heavy-duty shears.
Step 3: Attaching the Components
Glue the two wing halves to the back of your main body CD. They should poke out at the 4 o’clock and 8 o’clock positions. If you want ear tufts, cut small triangles from the leftover CD scraps and glue them to the top.
Step 4: Adding the Messenger Element
This is what makes it a messenger. Decide if you want a pocket (best for mail), a clip (best for photos), or a notepad (best for lists). Secure this element to the bottom center of the owl’s body using a generous amount of hot glue.
Frequently Asked Questions
Can I use a DVD instead of a CD?
Yes! DVDs and CDs are essentially the same size and shape. However, DVDs are often made of two layers of plastic, which can sometimes peel apart when cut. If this happens, simply glue the layers back together before decorating.
What is the best glue for sticking things to a CD?
For most decorative elements, a hot glue gun is sufficient. However, if you are attaching heavy items like metal gears or large magnets, E6000 or a similar industrial-strength adhesive is recommended for long-term durability.
How do I hang my CD owl on the wall?
There are three easy ways:
- ✦ The Center Hole: Use the existing hole in the middle of the CD to hang it on a small nail.
- ✦ Twine Loop: Glue a loop of twine to the back of the owl.
- ✦ Command Strips: Use a small adhesive strip for a damage-free wall hanging.
Is it safe for kids to cut the CDs?
No. Cutting CDs can result in sharp edges and small flying plastic shards. An adult should always handle the cutting portion of the project. Once the edges are sanded or covered in tape/fabric, kids can safely handle the decoration process.
Conclusion
Creating a DIY CD owl wall messenger is a rewarding project that combines creativity with organizational functionality. Whether you prefer the rugged look of the Steampunk Owl or the soft textures of the Vintage Fabric Owl, these nine ideas provide a starting point for anyone looking to reduce waste and add a personal touch to their home.
By upcycling these shiny relics of the past, you’re not just making a craft; you’re giving new life to materials that would otherwise end up in a landfill. Grab your glue gun, find those old discs, and start building your own parliament of owl messengers today!
Leave a Reply