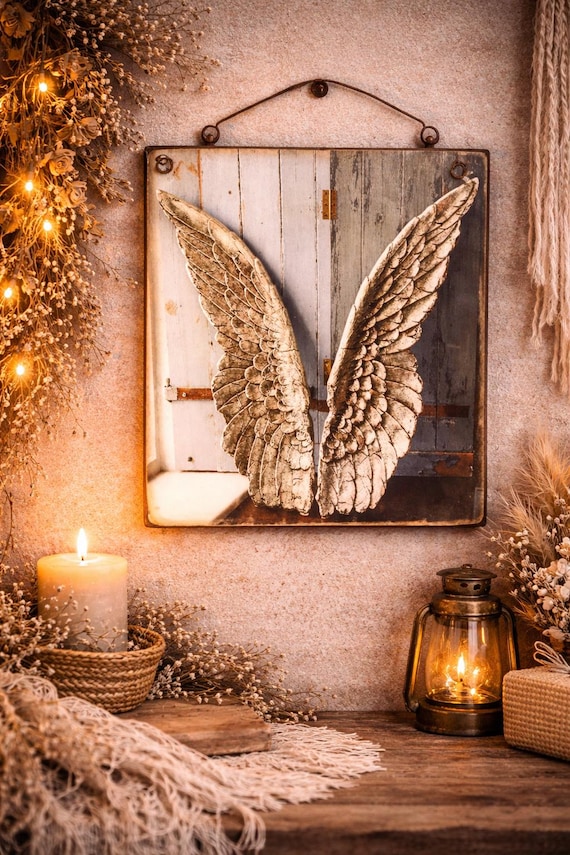
DIY angel wings are more than just seasonal holiday decorations; they have evolved into a sophisticated staple of interior design, symbolising peace, protection, and ethereal beauty. From rustic farmhouse wall art made of reclaimed wood to delicate, bohemian macramé hangings, these projects offer a versatile way to upcycle everyday materials into high-end decor. Whether you are looking to create a focal point for a nursery, a whimsical photography prop, or a statement piece for your living room, crafting your own wings allows for complete customization of size, texture, and style.
In this guide, we explore nine distinct DIY angel wing projects that cater to various skill levels, ranging from beginner-friendly paper crafts to intermediate woodworking and textile arts. Each project focuses on accessibility and professional finishes, ensuring your handmade creation looks like a curated boutique find.
1. Coffee Filter Angel Wings
One of the most budget-friendly yet visually stunning projects involves the humble coffee filter. When layered correctly, these paper filters mimic the soft, ruffled appearance of real down feathers.
Materials Needed:
- •200–300 white basket-style coffee filters
- •Large cardboard sheet (recycled shipping boxes work best)
- •Hot glue gun and plenty of glue sticks
- •Scissors and a pencil
- •Ribbon for hanging
The Process:
- •Draft the Base: Draw a large set of wings on your cardboard. Ensure the “bridge” between the wings is sturdy enough to hold the weight of the glue. Cut it out.
- •Prepare the “Feathers”: Take a coffee filter, fold it in half, then in half again. Scrunch the bottom point to create a ruffled, cone-like shape.
- •Layering: Starting from the bottom tip of each wing, glue the scrunched filters in horizontal rows. Overlap each new row by about 2 inches to hide the cardboard and the glue points of the previous row.
- •Finishing the Top: For the top edge, fold the filters flatter to create a smooth “shoulder” look.
2. Boho Macramé Angel Wings
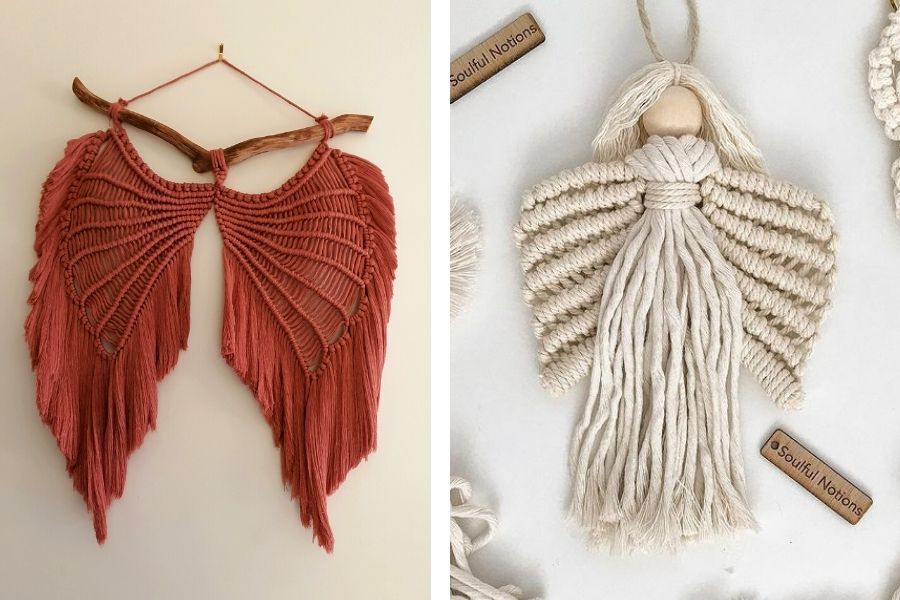
For lovers of the bohemian aesthetic, macramé wings offer a soft, textural alternative to traditional feathered versions. This project relies on basic knotting techniques and high-quality cotton cord.
Materials Needed:
- •Two metal heart-shaped or wing-shaped frames (or thick wire to DIY the shape)
- •3mm or 4mm single-strand cotton macramé cord
- •Fabric stiffener (optional)
- •Fine-tooth comb or pet brush
The Process:
- •The Foundation: Attach your cord to the top of the frame using “Lark’s Head” knots.
- •The Body: Use a series of double half-hitch knots to follow the contour of the frame, filling in the center with a mesh pattern or simple vertical strands.
- •The Fringe: Cut long strands of cord and attach them to the outer edge of the frame.
- •Brushing: This is the most important step. Use a fine-tooth comb to brush out the cotton strands until they become soft and feathery.
- •Trimming: Use sharp fabric scissors to trim the brushed fringe into a tiered, wing-like shape.
3. Ethereal Tulle & Wire Wings

If you want a look that is light, airy, and slightly translucent, tulle is the ideal medium. These are perfect for nursery wall decor or as part of an elegant costume.
Materials Needed:
- •Heavy-gauge galvanized wire or sturdy coat hangers
- •6–10 yards of tulle (white, champagne, or soft pink)
- •Floral wire
- •Pliers
The Process:
- •Frame Construction: Bend your heavy wire into two symmetrical wing shapes. Join them in the center by wrapping them tightly with floral wire.
- •Wrapping: Wrap the entire wire frame in a thin strip of tulle to hide the metal and provide a “grip” for the next layer.
- •The “Skin”: Stretch a large piece of tulle over the frame and tie it tightly at the center.
- •The Texture: Instead of keeping the tulle flat, tie 6-inch strips of tulle around the frame using simple overhand knots. The more strips you add, the “fluffier” the wings will appear.
4. Vintage Book Page Wings
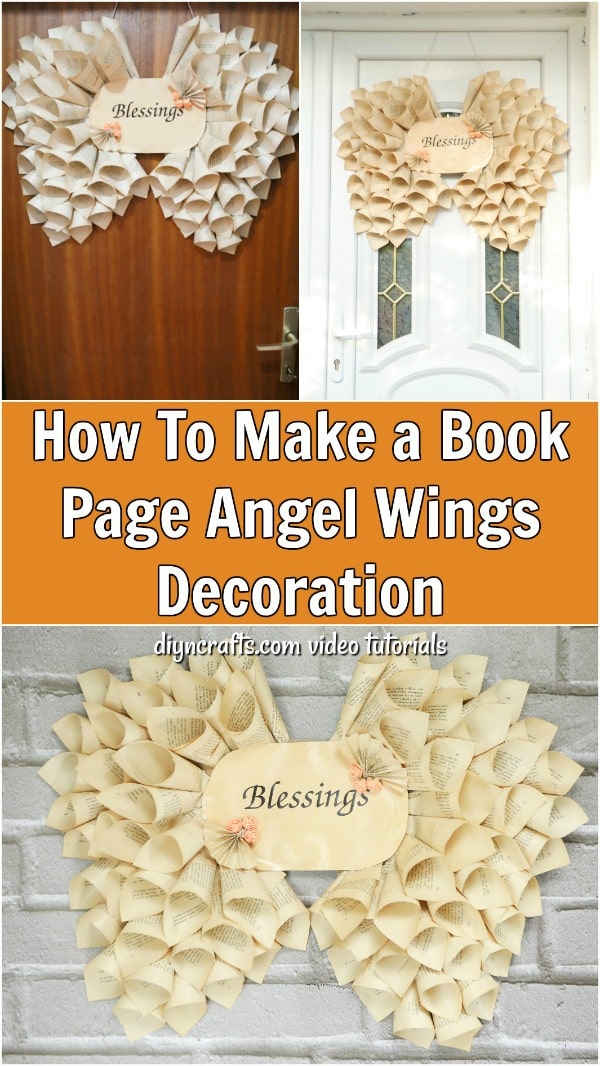
Upcycling old, yellowed books into wall art is a favorite for bibliophiles. This project creates a structured, architectural look that fits perfectly in a study or home library.
Materials Needed:
- •An old book (look for one with interesting typography or yellowed edges)
- •Foam core board
- •Matte Mod Podge
- •Distress ink (optional, for aged edges)
The Process:
- •The Base: Cut your wing shapes out of foam core board for a lightweight but rigid foundation.
- •Cutting Feathers: Cut book pages into long, pointed oval shapes (the “feathers”).
- •Detailing: Lightly run a brown ink pad along the edges of each paper feather to give them depth and a vintage feel.
- •Assembly: Glue the paper feathers in overlapping rows, starting from the bottom. To add dimension, slightly curl the tips of the paper feathers upward using a pencil.
5. Rustic Reclaimed Wood Wings
For a farmhouse or industrial vibe, wood is the superior choice. This project requires some basic power tools but results in a high-value heirloom piece.
Project Comparison Table: Difficulty and Time
The Process for Wood Wings:
- •Source Wood: Use pallet wood or thin cedar slats.
- •Stencil: Draw a large wing template on a piece of paper and trace it onto your wood planks.
- •Cutting: Use a jigsaw to cut out the individual “feathers” or the wing as a whole.
- •Finishing: Sand the edges heavily to give them a weathered look. Apply a white wash or a dark wax to highlight the wood grain.
- •Assembly: Screw the wooden slats onto a backer board in a staggered, wing-like formation.
6. Shabby Chic Burlap Wings
Burlap provides a wonderful organic texture. When paired with lace, it creates a shabby chic look that is both rustic and feminine.
Materials Needed:
- •Natural burlap
- •White lace trim
- •Fabric stiffener spray
- •Cardboard base
The Process:
- •Stiffening: Spray your burlap with fabric stiffener and let it dry. This prevents the edges from fraying too much while you work.
- •Layering: Cut the burlap into “petal” shapes.
- •Lace Accents: Glue a strip of lace to the center of every third burlap feather.
- •Attachment: Glue the burlap and lace feathers to a cardboard base, alternating the textures to create visual interest.
7. Realistic Feathered Angel Wings
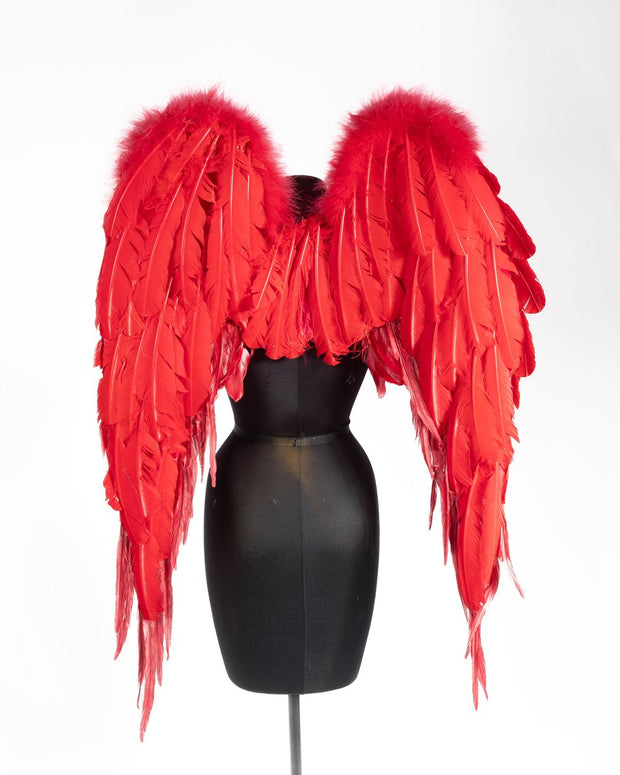
If you are looking for the most traditional and realistic look, using actual goose or turkey feathers is the way to go. These are often used for high-end photography props.
Materials Needed:
- •Large “turkey quill” feathers (for the outer edge)
- •Small “marabou” feathers (for the inner body)
- •Poster board base
- •Spray adhesive
The Process:
- •The Perimeter: Glue the long quill feathers along the outer bottom edge of your base. These should point downward and outward.
- •The Mid-Section: Use medium-sized feathers to cover the middle portion of the wings.
- •The Downy Top: Use the soft, fluffy marabou feathers to cover the top “shoulders” of the wings. This hides all the quills and glue marks from the lower layers, giving it a professional, seamless finish.
8. Industrial Chicken Wire Wings
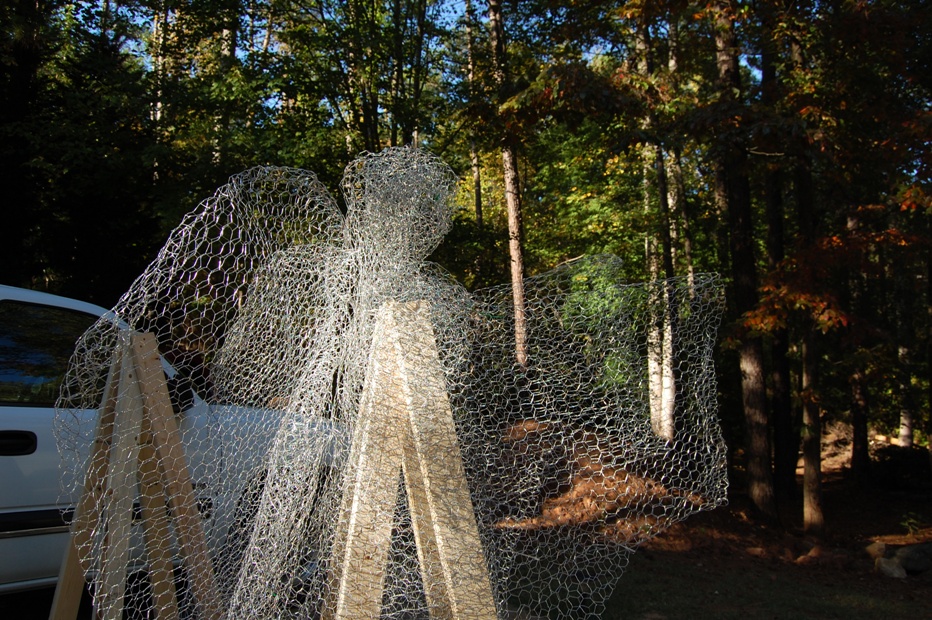
This project is for those who appreciate sculptural, transparent art. Chicken wire wings look incredible when backlit or hung in a garden setting.
Materials Needed:
- •1-inch hex chicken wire
- •Wire snips
- •Work gloves (essential!)
- •Silver or white spray paint
The Process:
- •Sculpting: Cut two large rectangles of chicken wire. Fold and “sculpt” them by hand to create the curves of the wings.
- •Joining: Use small pieces of wire to “stitch” the two wings together.
- •Double Layering: To make the wings look less flat, add a smaller second layer of chicken wire over the top half of the wings to represent the shorter covert feathers.
- •Paint: Spray with a metallic or matte white finish to prevent rusting and enhance the silhouette.
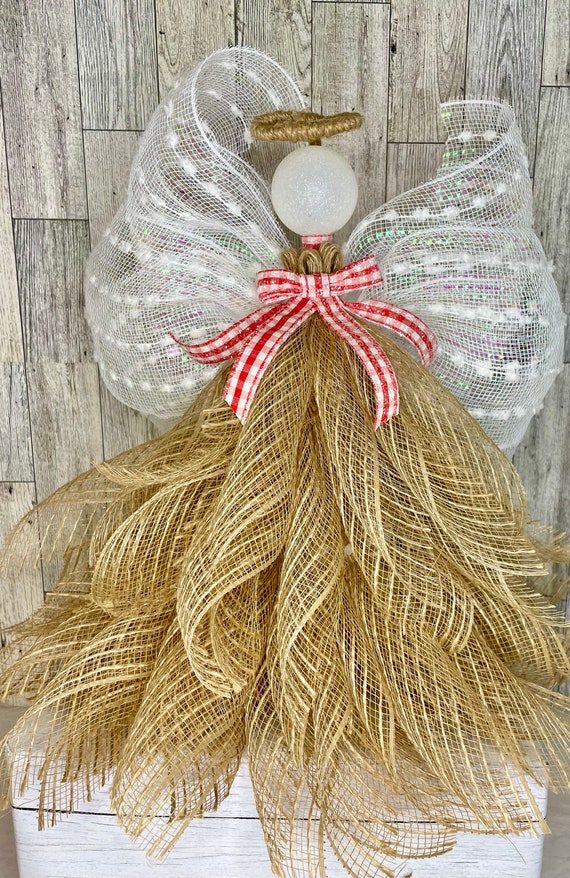
9. Scrappy Fabric Strip Wings
This is the ultimate upcycling project. Use leftover scraps from other sewing projects to create a colorful, textured piece of wall art.
Materials Needed:
- •Wire wreath frame (cut into wing shapes) or a simple wire frame
- •Fabric scraps (muslin, cotton, silk, or linen)
- •Fabric scissors
The Process:
- •Strip Cutting: Cut your fabric scraps into strips approximately 1 inch wide and 6 inches long.
- •The “Tie” Method: Simply tie the strips onto the wire frame using a double knot.
- •Density: Pack the strips as tightly as possible. As you add more, they will stand up and create a voluminous, “shaggy” wing effect.
- •Color Grading: For an advanced look, use an “ombre” effect by placing darker fabric scraps at the bottom and lighter ones at the top.
Frequently Asked Questions
How do I hang heavy DIY angel wings?
For cardboard or foam-based wings, a simple command hook or a looped ribbon glued to the back works well. For heavier wood or metal wings, you should use D-rings and wall anchors to ensure they are securely fastened to the studs.
Can I make these wings for outdoor use?
Yes, but you must choose materials wisely. The Chicken Wire (Project 8) and Reclaimed Wood (Project 5) are best for outdoors, provided the wood is sealed with a weatherproof poly-crylic. Avoid paper or coffee filter wings outside, as humidity will cause them to wilt.
What is the best glue for feather wings?
Hot glue is the industry standard because it sets instantly. However, for a more permanent bond on fabric-to-fabric projects, a specialized fabric glue or E6000 is recommended, though they require longer drying times.
How do I clean my DIY wings?
Feather and paper wings are best cleaned with a blow dryer on a cool, low setting to blast away dust. Macramé wings can be lightly misted with a mixture of water and a drop of fabric softener to keep them smelling fresh and looking soft.
Conclusion
Creating DIY angel wings is a rewarding project that combines structural crafting with artistic flair. Whether you choose the delicate ruffles of coffee filters or the rugged charm of reclaimed wood, the key to a professional-looking result lies in the layering.
By taking the time to overlap your materials and hide your structural base, you can create a high-authority decor piece that rivals expensive retail versions. Choose the project that best fits your home’s current style, gather your materials, and begin crafting a symbol of peace for your space today.
Leave a Reply