Refreshing your living space doesn’t require a complete furniture overhaul or an expensive interior designer. Often, the most impactful changes come from the smallest details.
DIY throw pillows are the ultimate low-effort, high-reward project for home decor enthusiasts.
By creating your own pillows, you gain full control over the texture, color palette, and size, ensuring your sofa reflects your personal style rather than a generic showroom floor.
Whether you are an expert sewist or someone who hasn’t touched a needle since middle school, these eight projects offer a range of techniques from upcycling old textiles to intricate ribbon work.
1. The No-Sew Fabric Glue Pillow
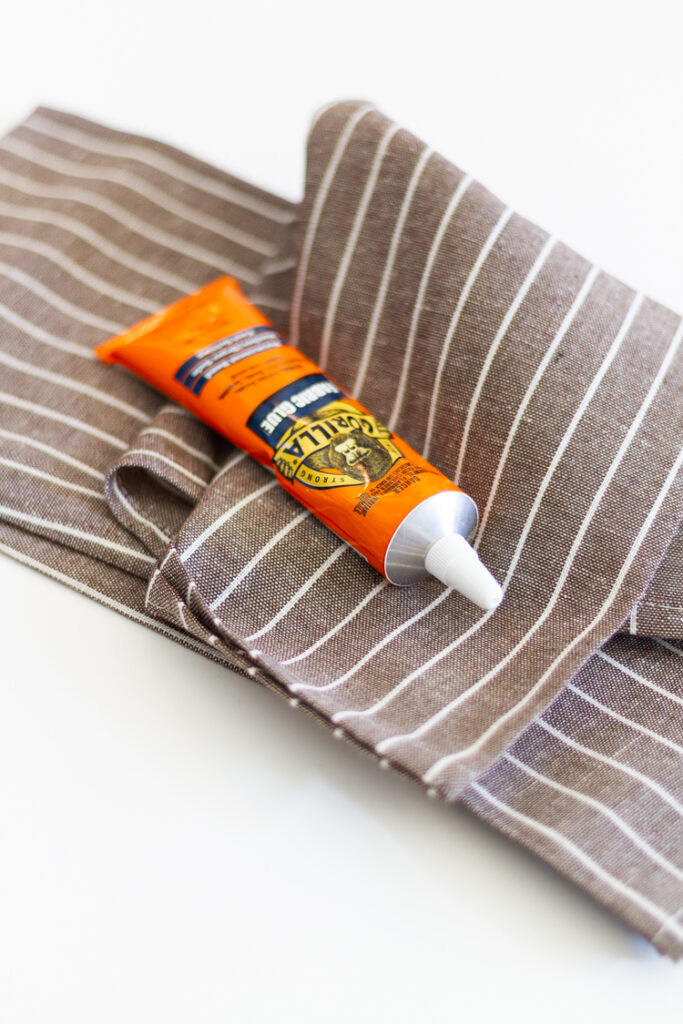
For those who want instant gratification without the learning curve of a sewing machine, the no-sew fabric glue pillow is a game-changer.
This method utilizes high-strength fabric adhesives or iron-on hem tape to create clean, crisp edges.
Materials Needed
- ✓Two squares of heavy-duty cotton or linen fabric
- ✓Fabric glue (like Beacon Fabri-Tac) or iron-on adhesive tape
- ✓Iron (if using tape)
- ✓Poly-fill or a pillow insert
The Process
To create this, lay your two fabric pieces with the right sides (the patterned sides) facing each other. Apply a thin, consistent line of fabric glue along three of the four edges, leaving a half-inch margin.
If using iron-on tape, place the tape between the layers and press with a hot iron according to the package instructions.
Once the glue is fully cured or the tape has cooled, turn the cover right-side out through the unsealed fourth side. Stuff the pillow firmly and seal the final edge with a small amount of glue, holding it in place with binder clips until dry.
2. Upcycled Oversized Sweater Pillows
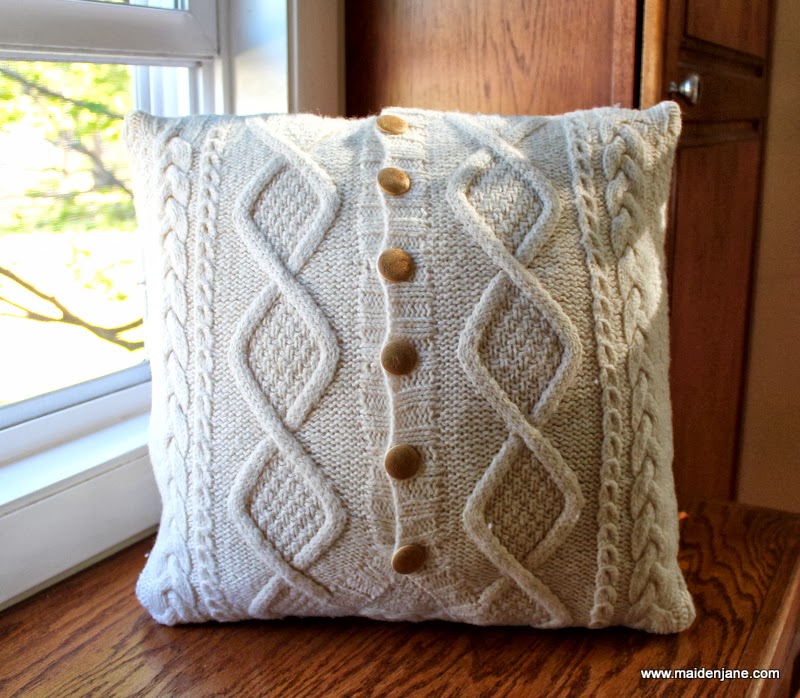
Upcycling is at the heart of sustainable DIY. An old, moth-eaten, or shrunk wool sweater can be transformed into a cozy, high-end textured pillow that looks like it came from a luxury boutique.
Why It Works
Sweaters provide built-in texture that is difficult to replicate with flat fabric. Cables, ribs, and knit patterns add a hygge feel to any sofa, especially during the colder months.
Pro Tip for Cutting: When cutting your sweater, always cut about an inch wider than your pillow insert. Because knit fabric stretches, you want the cover to be slightly smaller than the insert to ensure a plump, professional look. Use a zigzag stitch on your sewing machine to prevent the knit edges from unraveling.
3. Hand-Painted Minimalist Abstract Pillows
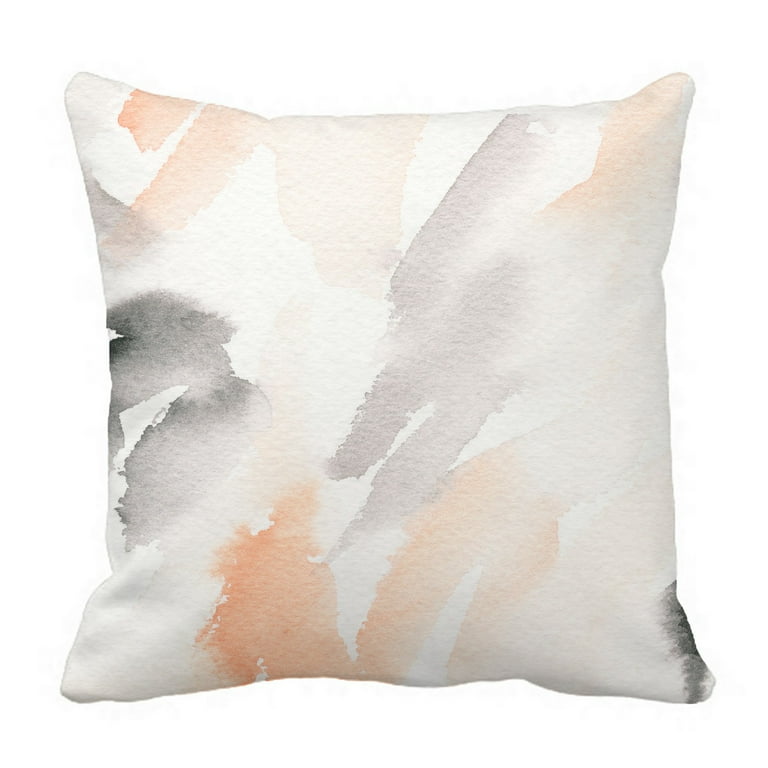
If you can’t find the perfect pattern in the fabric store, create it yourself. Hand-painted pillows allow you to match the exact accent colors in your room.
Designing Your Pattern
- ●Organic Shapes: Use a sponge to dab muted earth tones (terracotta, sage, ochre) in overlapping circles.
- ●Linear Minimalist: Use painter’s tape to create sharp, geometric lines or a grid pattern.
- ●Splatter Art: For a modern, edgy look, flick a brush loaded with diluted fabric paint across a canvas pillow cover.
Setting the Paint
Once your design is dry, it is crucial to heat set the paint. Place a thin cloth over the design and run a dry iron over it for 3-5 minutes.
This ensures the pillow remains washable and the colors stay vibrant over time.
4. Boho Tassel and Pom-Pom Trim Pillows
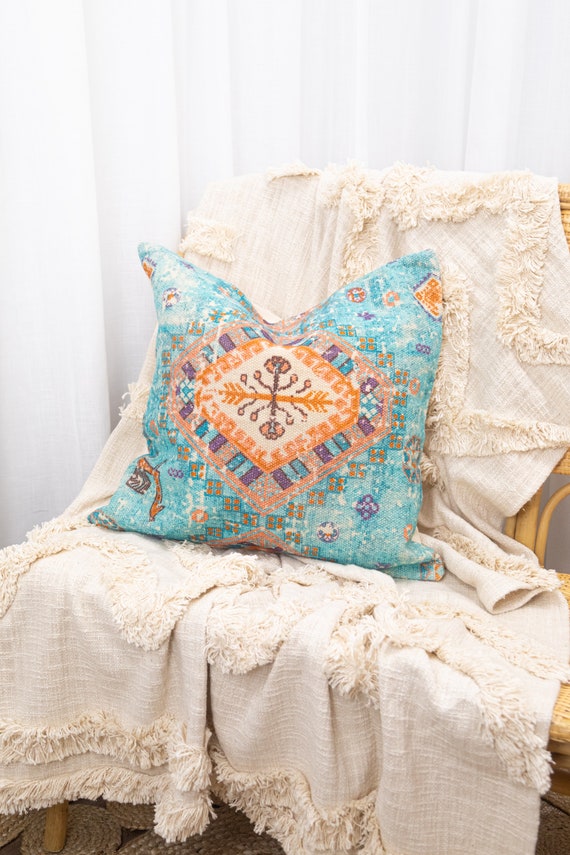
The Bohemian style is all about texture and more is more. You can take a basic, store-bought pillow or a simple DIY cover and elevate it by adding trim.
Customization Options
| Trim Type | Best For | Vibe |
|---|---|---|
| Large Tassels | Corner accents | Sophisticated / Global |
| Pom-Pom Fringe | Full perimeter | Playful / Eclectic |
| Macrame Cord | Center stripes | Neutral / Texture-heavy |
To attach these, you can either sew them into the seam as you create the pillow or use a hot glue gun for a quick decorative fix on a pre-existing pillow.
For a professional finish, match the thread color exactly to the trim rather than the pillow fabric.
5. Mudcloth-Inspired Sharpie Pillows
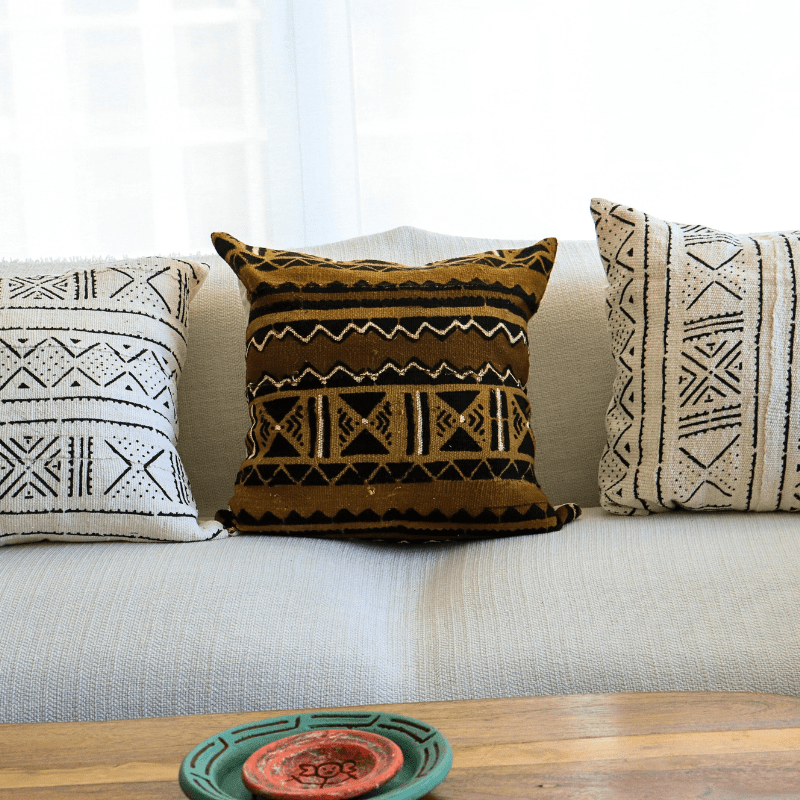
Authentic African Mudcloth is beautiful but can be expensive. You can mimic this graphic, tribal look using a heavy white or cream canvas and a black permanent fabric marker.
The Technique
Mudcloth patterns are traditionally imperfect and hand-drawn. Common motifs include zig-zags, dots, short dashes, and small crosses.
Start from the center of the pillow and work your way out to ensure the pattern remains symmetrical. The beauty of this project is that perfect isn’t the goal—the slight variations in the lines give it an authentic, artisanal feel.
6. Repurposed Vintage Tea Towel Pillows
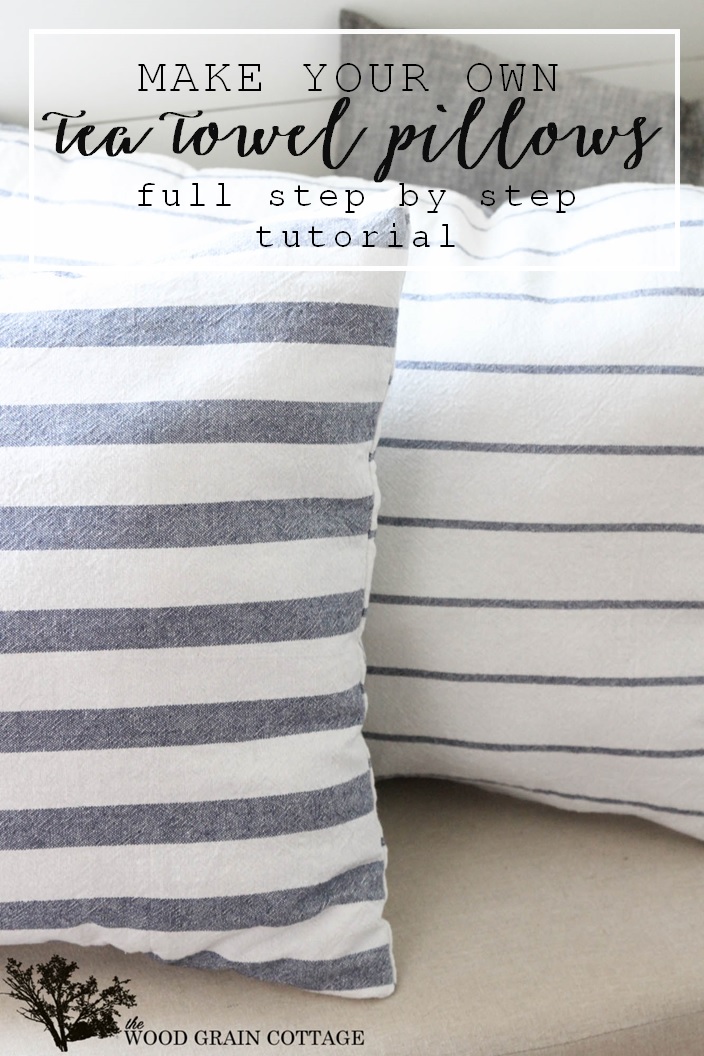
Tea towels are often made of high-quality linen or decorative cotton and come with finished hemmed edges.
This makes them perfect for quick pillows because half the work is already done for you.
Step-by-Step Tutorial
- 1.Selection: Choose two matching tea towels or one long towel that can be folded in half.
- 2.Alignment: Place the towels with the right sides together.
- 3.Stitching: Since the edges are already hemmed, you can simply stitch around three sides.
- 4.The Envelope Method: If the towel is long enough, you can create an envelope closure on the back, allowing you to easily remove the cover for washing without needing a zipper.
7. Patchwork Quilt Scrap Pillows
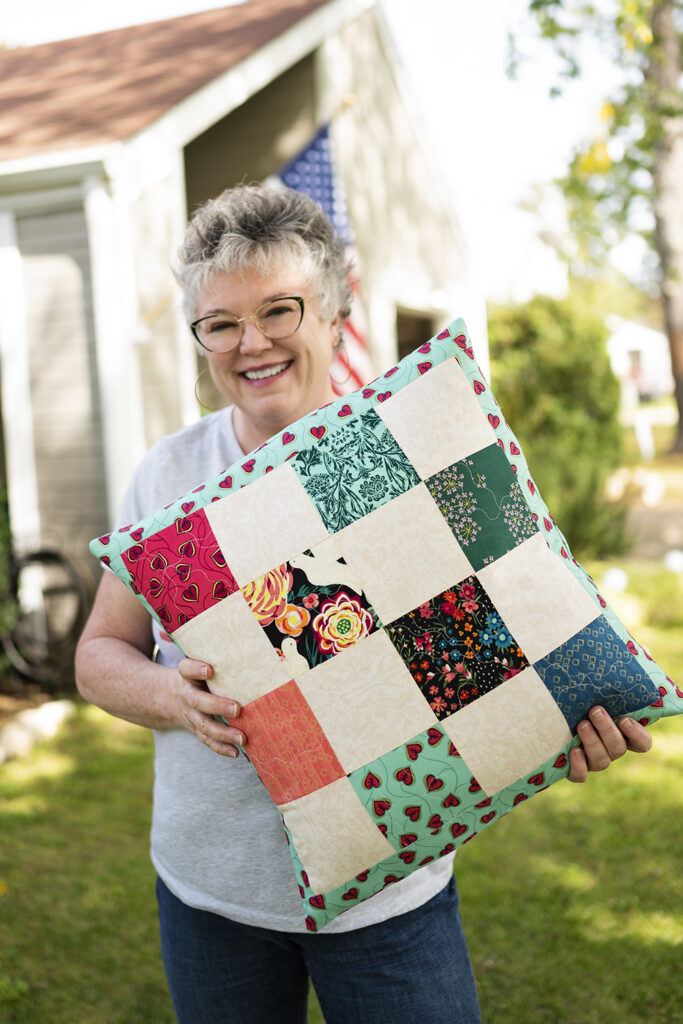
Don’t throw away those small scraps of fabric from previous projects. Patchwork pillows are a fantastic way to incorporate multiple colors and patterns into one piece.
Creating the Block
The most popular DIY patchwork style is the Log Cabin or simple Square Grid. Sew 4-inch or 5-inch squares together until you have a large enough piece for the pillow front.
For the back, use a solid neutral fabric to keep the focus on the intricate patchwork. This style works exceptionally well in farmhouse or cottage-core themed interiors.
8. Velvet Ribbon Lattice Pillows
For a touch of luxury, velvet ribbon can be woven into a lattice pattern across the front of a plain pillow cover.
This adds a three-dimensional element that catches the light beautifully.
How to Weave
Pin vertical strips of ribbon across your fabric, spacing them about an inch apart. Then, weave horizontal strips over and under the vertical ones.
Once the grid is complete, sew a stay stitch around the entire perimeter of the fabric to lock the ribbons in place before assembling the rest of the pillow.
Choosing the Right Pillow Insert
The exterior is the beauty, but the insert is the soul of the pillow.
Your choice of filling determines how the pillow sits on the sofa and how comfortable it is for lounging.
Comparison of Filling Materials
| Material | Support Level | Maintenance | Best For |
|---|---|---|---|
| Down/Feather | High (Squishy) | Needs frequent fluffing | High-end, choppable look |
| Polyester Fiberfill | Medium (Firm) | Holds shape well | Decorative pillows |
| Memory Foam Scraps | Very High | Heavy | Floor pillows or lumbar support |
| Down Alternative | High | Machine washable | Allergy-prone households |
Frequently Asked Questions (FAQ)
What is the best fabric for DIY throw pillows?
For beginners, cotton canvas, duck cloth, or linen are the best choices. They are sturdy, don’t slip while sewing, and hold their shape well.
If you are looking for luxury, velvet is excellent but can be slippery and difficult for novices to handle.
How much bigger should the pillow cover be than the insert?
Actually, the rule is the opposite! For a professional, plump look, your pillow cover should be 1 to 2 inches smaller than your insert.
For example, if you have a 20×20 inch insert, make your cover 18×18 or 19×19 inches.
Can I make these without a sewing machine?
Absolutely. As mentioned in Idea #1 and Idea #4, you can use fabric glue, iron-on hem tape, or even a basic hand-stitch (the running stitch or backstitch) to complete these projects.
How do I wash my DIY pillows?
If you used fabric glue or paint, it is best to spot clean or hand wash in cold water and air dry.
If you used a sewing machine and pre-washed your fabric, you can usually machine wash on a delicate cycle. Always check the care instructions for the specific trim or paint you added.
What is a pillow chop?
The karate chop is a styling technique used by interior designers where you hit the top center of a feather-filled pillow to create a crease.
This only works with down or feather inserts; polyester inserts will simply spring back.
Conclusion
Creating your own DIY throw pillows is more than just a craft project; it’s an exercise in intentional home design.
By selecting your own fabrics, textures, and embellishments, you move away from mass-produced decor and toward a home that tells a story.
From the tactile warmth of an upcycled sweater to the sophisticated geometry of a velvet ribbon lattice, these eight ideas provide a foundation for any skill level.
Remember, the key to a professional-looking sofa is a mix of sizes, textures, and patterns. Don’t be afraid to combine a hand-painted minimalist pillow with a chunky boho tassel design. Happy crafting!
Leave a Reply