If you’re anything like me, your jewelry collection has a way of multiplying overnight. One day you have a few pairs of studs, and the next, your dresser is a chaotic sea of tangled gold chains and rogue earrings.
A two-tiered jewelry stand is the ultimate solution for reclaiming your space while turning your favorite pieces into a curated display. By utilizing vertical space, you double your storage capacity without taking up extra real estate on your vanity.
In this guide, I’m sharing eight of my favorite DIY two-tiered jewelry stand designs that range from bohemian chic to industrial modern. Whether you’re a seasoned woodworker or a beginner, there’s a project here for you.
We’ll look at budget-friendly hacks, material weaknesses to watch out for, and how to ensure your stand doesn’t tip over. Let’s get crafting and organize those treasures!
Essential Materials for DIY Jewelry Stands
Before we dive into the designs, let’s look at the common supplies you’ll likely need. Having these on hand will make your crafting sessions much smoother and more professional.
| Material | Best Use Case | Pro Tip |
|---|---|---|
| E6000 Industrial Glue | Glass, Ceramic, Metal | The gold standard. It takes 24 hours to cure! |
| Wooden Dowels | T-bar stands, earring racks | Sand the ends to prevent snagging chains. |
| Thrifted Plates | Tiered tray designs | Look for mismatched sets for an eclectic look. |
| Copper Piping | Modern designs | Use a pipe cutter for clean edges. |
1. The Vintage Thrifted China Tiered Tray
There is something incredibly romantic about using old, mismatched china to hold your modern jewelry. This is probably the easiest project on the list, but it requires a steady hand.
I love hitting up local thrift stores on half-price days to find a large dinner plate and a matching salad plate. It creates a whimsical, feminine aesthetic that looks expensive.
How to Build It:
-
✦
Selection: Choose one large plate for the base and one smaller plate for the top tier. -
✦
Cleaning: Scrub your ceramics with rubbing alcohol to ensure the glue bonds properly. -
✦
The Glue Up: Apply E6000 to the top and bottom of a sturdy glass candlestick holder.
2. The Minimalist Copper T-Bar Stand
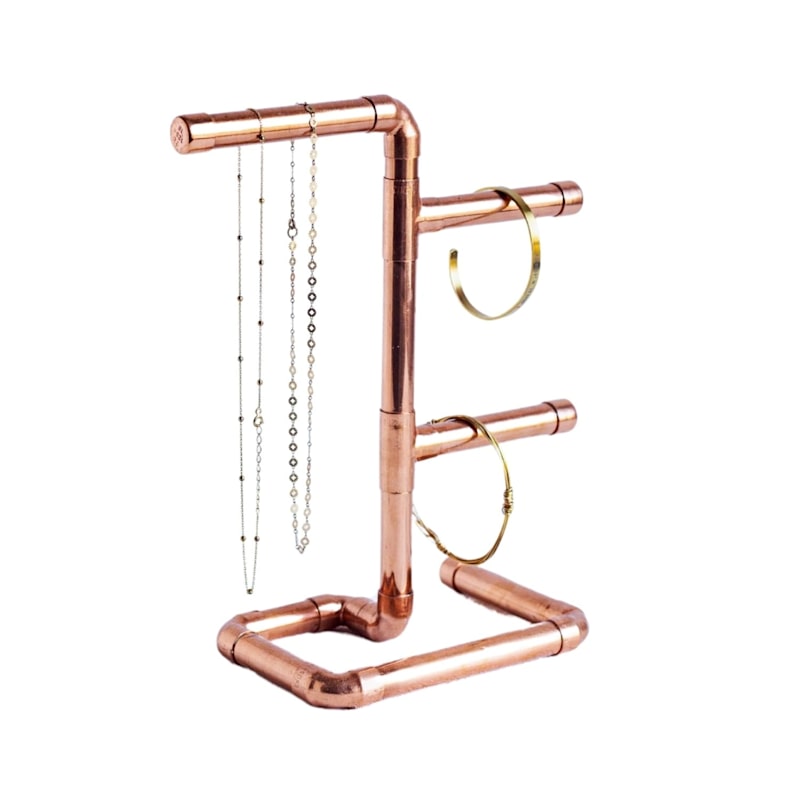
If your style leans more toward urban loft than shabby chic, copper piping is your best friend. Copper has a stunning warm glow that complements gold jewelry beautifully.
However, be warned: copper tarnishes over time. If you want it to stay shiny, you’ll need to spray it with a clear coat of lacquer before hanging your items.
Stability Tip: Since copper is top-heavy once loaded, make sure your base is at least 2 inches thick. A heavy wooden block works best for a friction fit.
3. The Natural Wood Slice & Branch Display
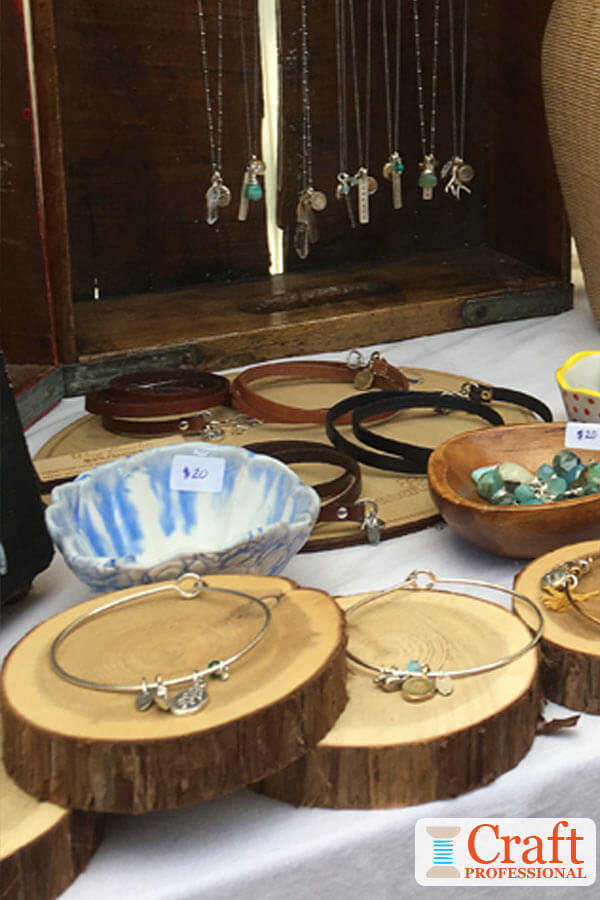
For my fellow nature lovers, this design brings the outdoors in. It’s incredibly budget-friendly because you can literally find the materials in your own backyard.
The weakness here is the organic shape; branches aren’t perfectly straight. This can make balancing two tiers tricky, so test your balance before applying any wood glue.
4. The Boho Terracotta Pot Stand
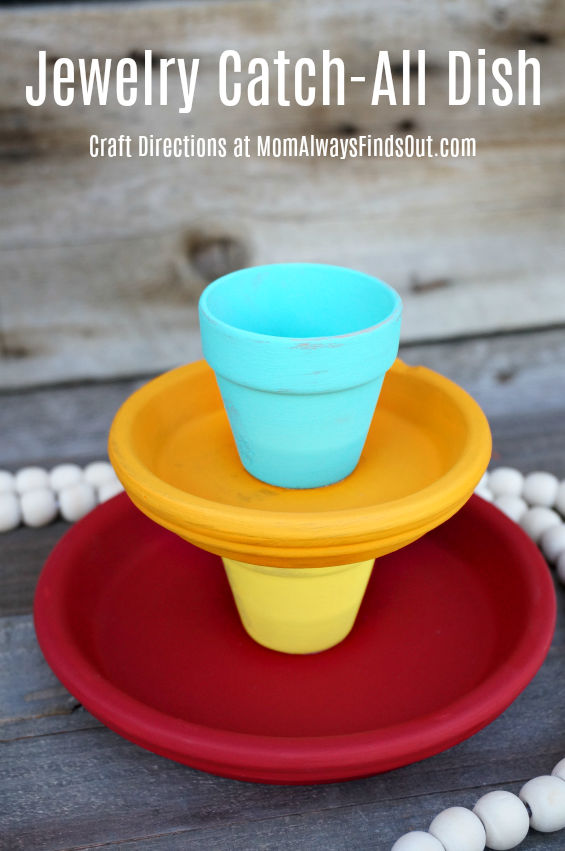
This is a genius upcycling project for those extra garden pots sitting in your shed. Terracotta is porous, which makes it an absolute dream to paint with chalk or acrylics.
This design uses the pots as the tiers and the saucers as the trays. It creates a sturdy, architectural look that fits perfectly in a bohemian-themed bedroom.
5. The Embroidery Hoop & Lace Earring Rack
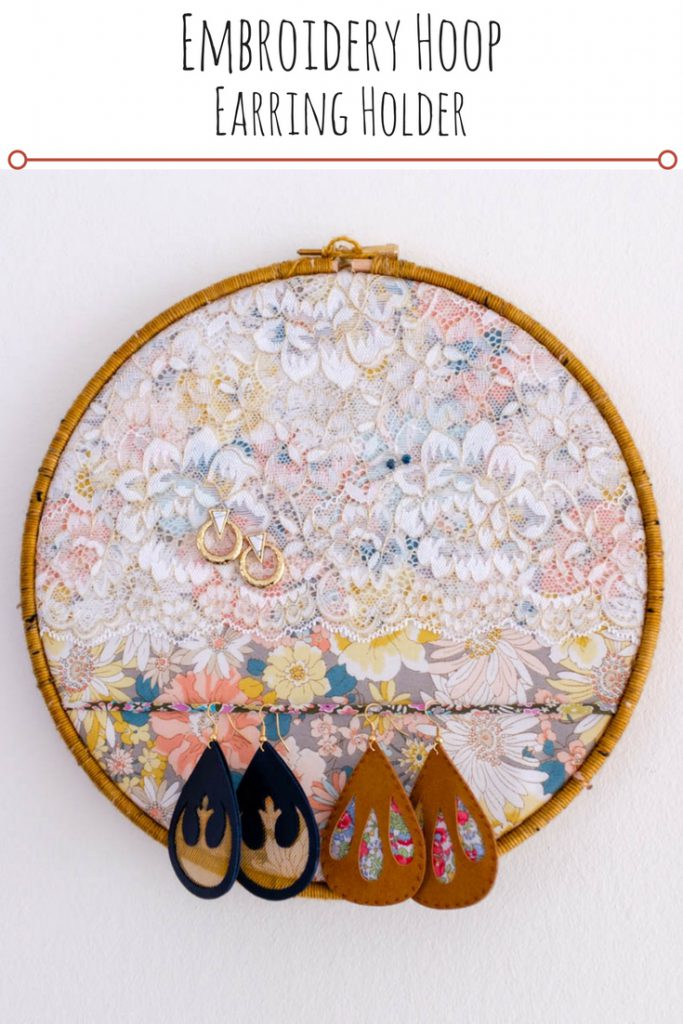
If your jewelry collection is 90% earrings, a flat tray won’t do you much good. You need something with a mesh or fabric backing to hold those hooks and studs.
This two-tiered hoop design is lightweight and can be hung on the wall. Use delicate lace or burlap to create a surface that is both functional and decorative.
6. The Glam Acrylic & Gold Leaf Stand
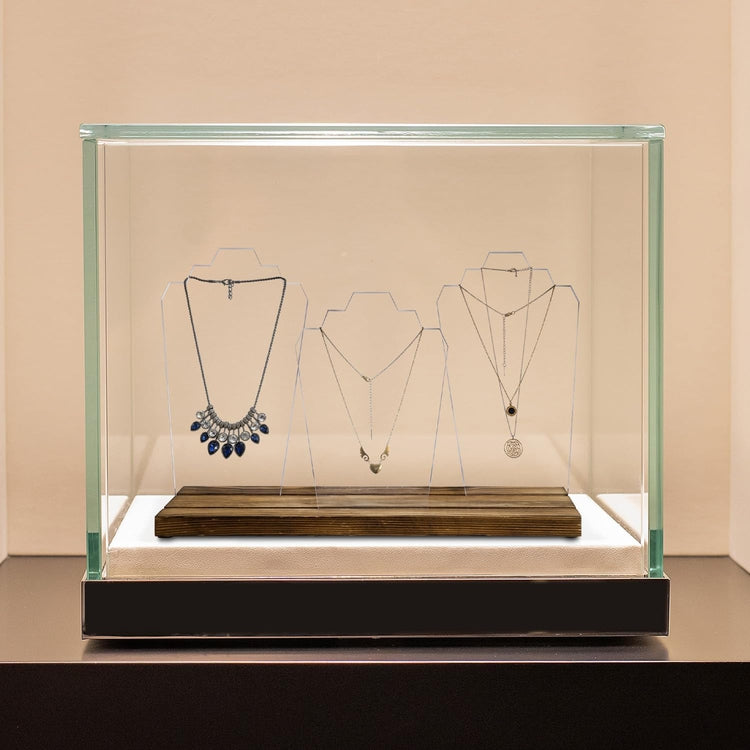
Want that boutique look without the $80 price tag? Acrylic is the answer. This design looks like a floating sculpture on your vanity and lets your jewelry take center stage.
The trick here is using the right adhesive. Hot glue will show through the clear plastic and look messy, so always use a dedicated clear-dry acrylic cement.
7. The Repurposed Picture Frame Stand
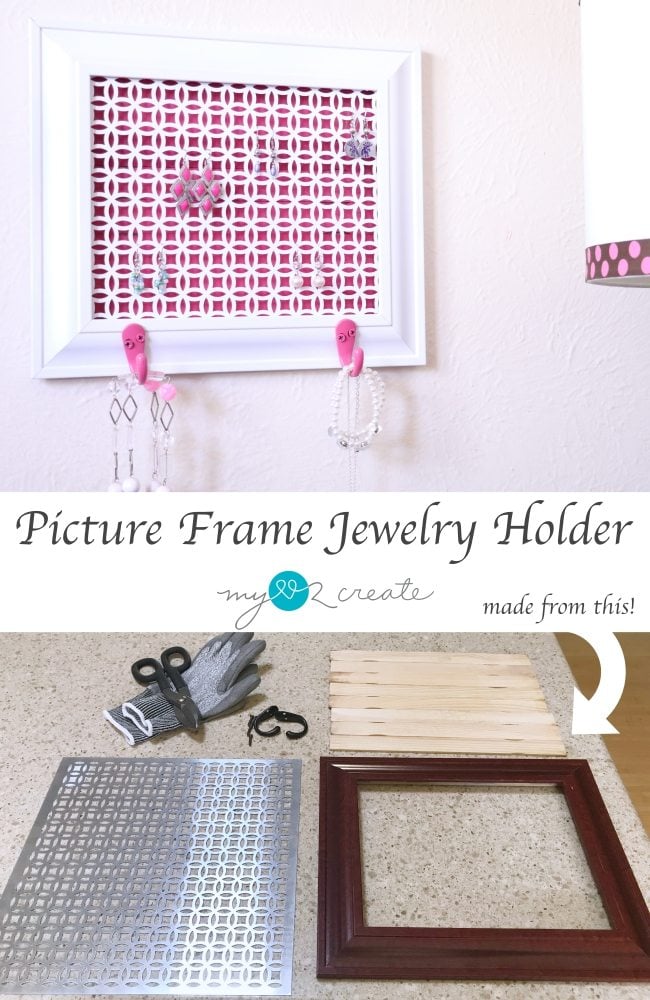
This is a fantastic way to use those old frames that have broken glass. We’re going to turn the frame into a vertical ladder for your jewelry collection.
Measure the width of the frame and cut two wooden dowels to fit horizontally. This turns a simple frame into a multi-functional powerhouse for necklaces and bracelets.
8. The Industrial Concrete & Brass Stand
Concrete is incredibly trendy right now because it’s heavy, which means this stand will never tip over. It combines brutalist textures with the elegance of brass rods.
Use a plastic food container as your mold and a fine finish concrete mix. While wet, insert your brass rods and use painter’s tape to hold them upright until cured.
Troubleshooting & Stability Tips
1. The Top-Heavy Rule: Always ensure your bottom tier is at least 30% wider than your top tier to maintain a stable center of gravity.
2. Glue Failures: If you’re gluing metal, sand the contact points first. Smooth surfaces don’t give the glue anything to grab onto.
3. Leveling: Use a leveling app on your phone before the glue sets. A leaning stand is a DIY disaster!
FAQ: DIY Jewelry Stands
Q: What is the best glue for jewelry stands?
A: For most materials like ceramic or metal, E6000 is the best. For wood-to-wood, use a high-quality wood glue like Titebond.
Q: How do I prevent my jewelry from tarnishing?
A: Keep your stand away from the bathroom! Humidity is the enemy. You can also spray metal components with a clear protective sealant.
Q: Can I make these without power tools?
A: Absolutely! The Thrifted China Stand and the Terracotta Pot Stand require zero tools—just glue and your own creativity.
Creating your own two-tiered jewelry stand is more than just an organization project; it’s a way to showcase your personal style. From rustic wood to sleek copper, there is a solution for every aesthetic.
Don’t be afraid to experiment! Mix and match these ideas to create something unique. Grab your glue, head to the thrift store, and start building a home for your favorite treasures. Happy crafting!
Leave a Reply