Transform your garden into a whimsical wonderland with 8 creative DIY garden treasure jars!
These upcycled projects use everyday jars to create magical storage for seeds, tools, fairy lights, and more.
They blend functionality with enchanting decor. Perfect for DIY enthusiasts, they’re budget-friendly, customizable, and elevate any outdoor space.
1. Fairy Garden Treasure Jar

Kick off your garden treasures with this enchanting fairy garden jar.
It’s a miniature world-in-a-jar that captures the magic of hidden realms. Ideal for patios or balconies, it serves as both decor and a conversation starter.
Materials Needed:
- ✨ Large glass jar with lid (mason jar or recycled food jar)
- ✨ Small pebbles, moss, and tiny succulents
- ✨ Fairy figurines, LED string lights, and craft twigs
- ✨ Hot glue gun, acrylic paint, and twine
Step-by-Step Instructions:
- Clean and dry the jar thoroughly.
- Layer the bottom with pebbles for drainage, add soil, and plant mini succulents.
- Glue fairy houses from popsicle sticks and arrange figurines inside.
- Wrap the exterior with twine and paint delicate patterns like vines.
- Thread fairy lights through the lid holes (drill small ones if needed) for nighttime glow.
- Seal and place on a garden shelf—watch pollinators flock!
This jar not only stores tiny treasures like seed packets but also boosts biodiversity.
Estimated time: 45 minutes. Cost: Under $10.
2. Seed Saving Sanctuary Jar
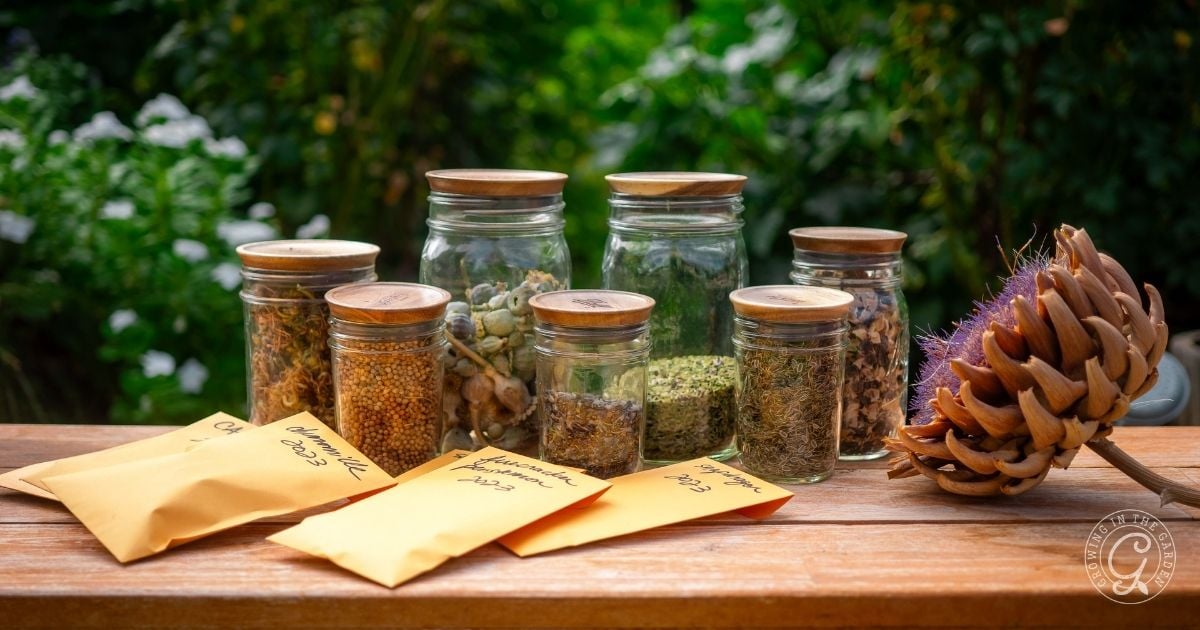
Preserve your garden’s future with a rustic seed saving jar.
It turns harvested seeds into organized, labeled treasures. It’s an eco-friendly way to upcycle last season’s bounty.
Materials Needed:
Step-by-Step Instructions:
- Sterilize jars by boiling them for 10 minutes.
- Fill each with a different seed type (e.g., tomatoes, herbs), adding silica for dryness.
- Paint lids with chalkboard paint for reusable labeling.
- Wrap burlap around the neck, tie with ribbon, and write seed names/varieties.
- Stack in a sunny garden shed spot.
Pro tip: Include harvest dates on labels for crop rotation planning.
This project saves money on store-bought seeds and promotes sustainable gardening. Time: 30 minutes. Cost: $5.
3. Herb Drying Delight Jar
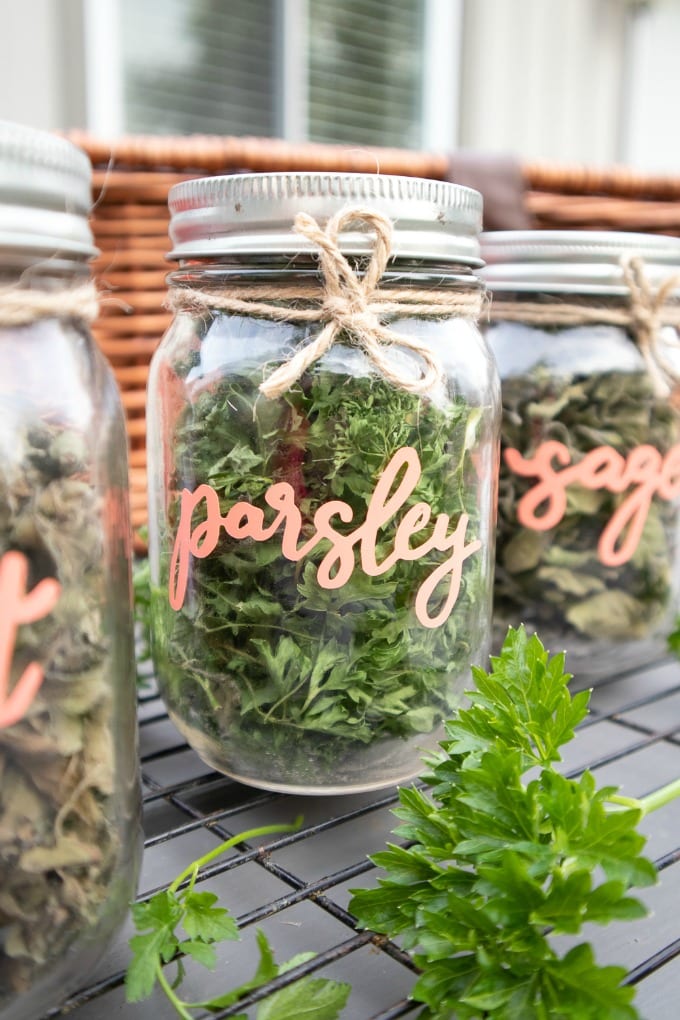
Capture summer’s flavors year-round in a herb drying treasure jar.
It’s a functional upcycle that turns fresh clippings into aromatic storage. Hang it in your kitchen garden for easy access.
Materials Needed:
- 🌿 Tall apothecary-style jar
- 🌿 Fresh herbs (basil, rosemary, lavender)
- 🌿 Cheesecloth, rubber bands, and essential oil
- 🌿 Decorative wire and dried flowers
Step-by-Step Instructions:
- Bundle herbs with twine and suspend upside-down inside the jar using wire hooks.
- Cover the mouth with cheesecloth to allow airflow while keeping dust out.
- Add a drop of matching essential oil to the bundle base.
- Embellish the exterior with glued dried flowers and a personalized tag.
- Once dry (1-2 weeks), crumble and store.
This jar doubles as decor, infusing your space with natural scents.
Pair with matching spice jars for a cohesive look. Time: 20 minutes active + drying. Cost: $8.
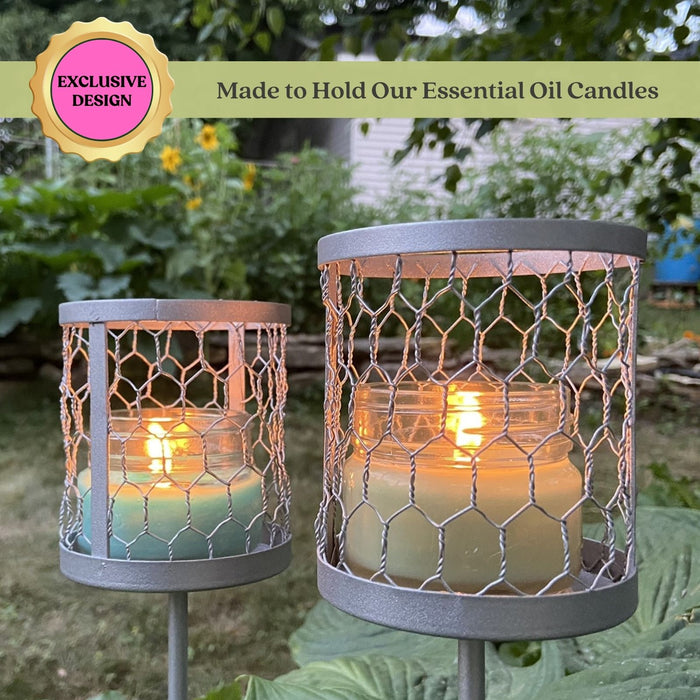
4. Glowing Lantern Treasure Jar
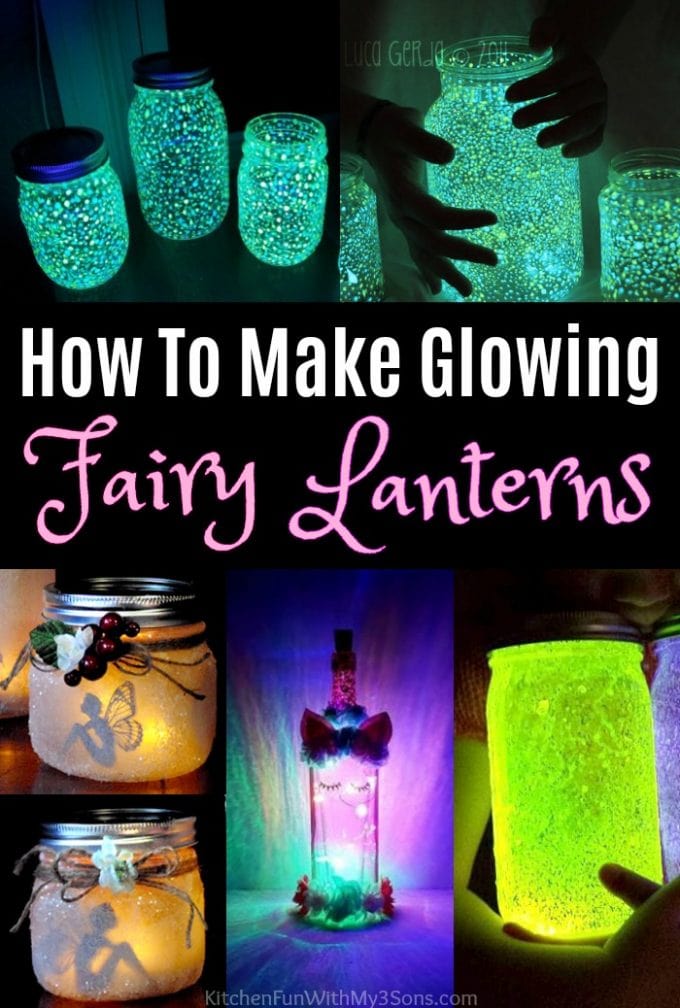
Illuminate evening gatherings with a solar-powered glowing lantern jar.
It stores candles or tea lights while providing ambient light. Upcycle old jars for instant garden magic.
Materials Needed:
- 💫 Clear glass jar with handle (or add wire handle)
- 💫 Solar fairy lights, tea lights
- 💫 Frosted spray paint, sea glass
- 💫 Epoxy glue and metallic accents
Step-by-Step Instructions:
- Spray the jar’s lower half frosted for a soft glow.
- Glue sea glass and metallic shapes around the base for texture.
- Coil fairy lights inside, securing the solar lid.
- Add tealight holders at the bottom.
- Hang from a shepherd’s hook or tree branch.
Safe, energy-free lighting that’s weather-resistant. Customize colors for holidays. Time: 40 minutes. Cost: $12.
5. Pollinator Nectar Feeder Jar
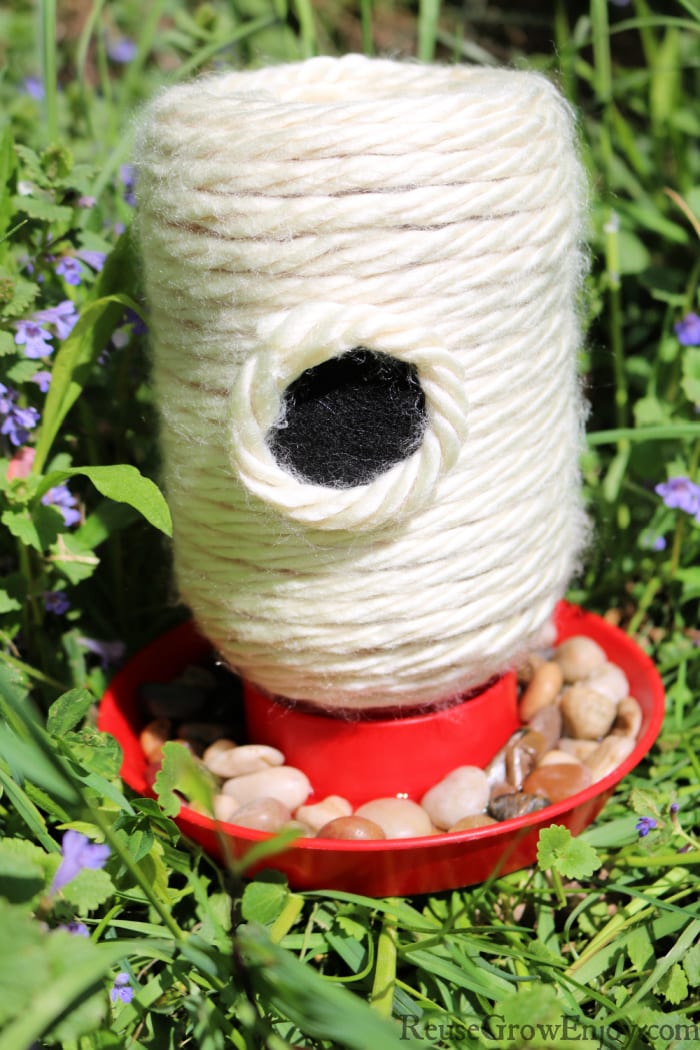
Support bees and butterflies with a DIY nectar feeder treasure jar.
It stores sugar water while attracting vital pollinators. A simple upcycle that aids your garden’s ecosystem.
Materials Needed:
- 🐝 Plastic-lined jar (avoid glass for safety)
- 🐝 Wooden skewer or wick, cotton string
- 🐝 Sugar water mix (4:1 water-sugar)
- 🐝 Flower stickers, acrylic paints
Step-by-Step Instructions:
- Punch holes in the lid for string/wick.
- Mix and fill jar with nectar; thread wick through.
- Paint the jar with pollinator-friendly motifs like bees.
- Decorate with stickers and hang upside-down in a tree.
- Refill weekly.
This jar stores extra nectar batches too.
Evidence from gardening studies shows such feeders boost local pollinator populations by 20-30%. Time: 25 minutes. Cost: $6.
6. Rustic Tool Caddy Jar
Organize small tools in a rustic tool caddy jar.
Upcycle paint cans or jars into sturdy garden holders. Keep trowels, pruners, and gloves at your fingertips.
Materials Needed:
Step-by-Step Instructions:
- Prime and fill base with sand for stability.
- Insert tool handles upright.
- Attach rope handles with screws or glue.
- Add aged labels for a farmhouse vibe.
- Place near raised beds.
Durable for outdoor use; prevents tool loss. Time: 35 minutes. Cost: $10.
7. Memory Keepsake Jar
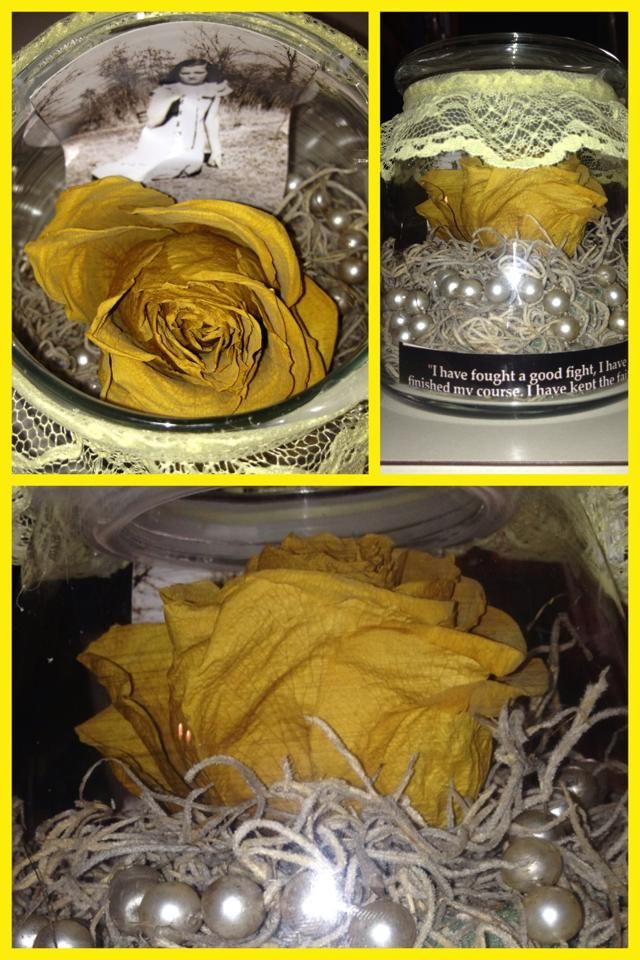
Cherish garden milestones in a memory keepsake jar.
It stores pressed flowers, notes, and photos from your growing journey. A sentimental upcycle for reflective gardeners.
Materials Needed:
- 💖 Decorative glass jar
- 💖 Pressed flowers/leaves, photos
- 💖 Mod Podge, glitter, ribbon
- 💖 Ephemera like seed packets
Step-by-Step Instructions:
- Press and dry garden items between books.
- Collage the jar’s exterior with Mod Podge-sealed pieces.
- Layer memories inside with dividers from cardstock.
- Tie a ribbon bow and add a heartfelt tag.
- Display on a potting bench.
Therapeutic and shareable with family. Time: 50 minutes + drying. Cost: $7.
8. Upcycled Candle Holder Jar
Create moody ambiance with an upcycled candle holder treasure jar.
It stores pillar candles amid layered gems. Perfect for pathways or patios.
Materials Needed:
- 🕯️ Short, wide jars
- 🕯️ Pillar candles, colored sand/gems
- 🕯️ Votive holders, wire for accents
Step-by-Step Instructions:
- Layer colored sand and gems inside.
- Nestle candle in the center.
- Wrap wire vines around the neck.
- Cluster multiples for a luminous display.
- Light up at dusk.
Wind-resistant and reusable. Time: 30 minutes. Cost: $9.
These projects use common recyclables, reducing waste while enhancing your garden’s charm.
FAQ
Q: What jars work best for these projects?
A: Mason jars, pasta sauce jars, or tins—ensure they’re clean and airtight for storage.
Q: Are these weatherproof?
A: Most are; seal with Mod Podge or use plastic liners for outdoors.
Q: Can I customize for kids?
A: Yes! Add stickers, colors, or themes like dinosaurs in the fairy jar.
Q: How do I source materials cheaply?
A: Thrift stores, dollar shops, and your recycling bin—total cost per project under $15.
Q: Maintenance tips?
A: Wipe dust weekly; refresh herbs/seeds seasonally.
Conclusion
Dive into these 8 creative DIY garden treasure jars to infuse your outdoor oasis with personality and purpose.
From fairy havens to practical tool holders, they’ve transformed countless gardens into treasured spaces.
Grab your jars, unleash your creativity, and share your makes online—happy crafting!
Leave a Reply