Orange is a color of warmth, energy, and creativity, making it a premier choice for home decor accents that pop.
Decorative DIY orange flowers offer a sustainable and cost-effective way to infuse life into your living space without the fleeting lifespan of fresh botanicals.
Whether you are aiming for the rustic charm of a farmhouse autumn or a vibrant, modern bohemian aesthetic, crafting your own blooms allows for complete customization of shade, texture, and size.
From upcycled fabric to delicate crepe paper, these seven projects provide a comprehensive guide to mastering the art of the everlasting orange bloom.
1. Vibrant Crepe Paper Marigolds
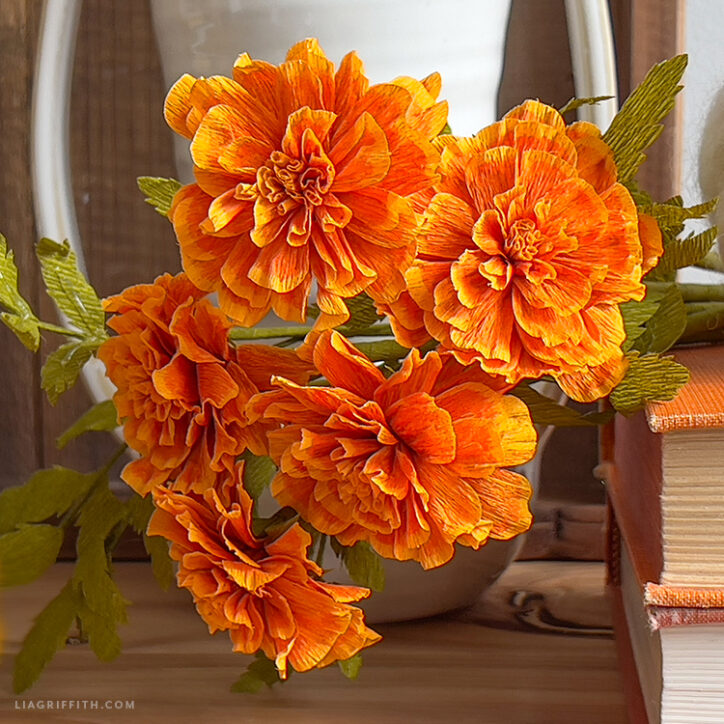
Marigolds are iconic for their dense, ruffled petals and saturated orange hues.
In many cultures, they symbolize passion and creativity. Using heavy-weight crepe paper allows you to mimic the natural pom-pom shape of a real marigold while ensuring the flower holds its form for years.
Materials Needed
-
Heavy-weight orange crepe paper (180g is ideal)
-
Floral wire (18-22 gauge)
-
Floral tape (green)
-
Sharp scissors and a circle template
The Step-by-Step Process
To begin, cut several circles of crepe paper—about 8 to 10 layers for a full bloom. Use a scalloped edge scissor for a more organic look.
Stack the circles and poke the floral wire through the center, creating a small hook at the top to secure it.
The secret to a realistic marigold is the scrunch. Start with the top layer, pulling it upward toward the center and squeezing it tightly at the base.
Repeat this layer by layer. Once all layers are scrunched, gently ruffle them outward.
The result is a dense, multi-dimensional orange flower that looks stunning in a traditional terracotta pot.
2. Upcycled Silk or Cotton Orange Poppies
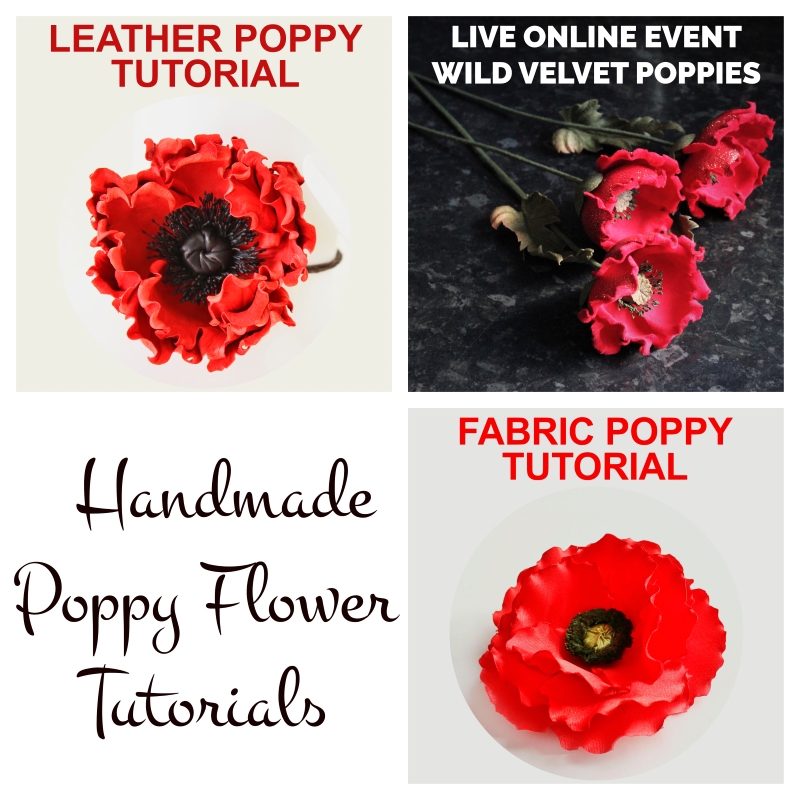
Upcycling is at the heart of modern DIY. If you have an old orange silk scarf or a cotton shirt that is past its prime, you can transform it into elegant, ethereal poppies.
Poppies are characterized by their delicate, tissue-like petals and dark, contrasting centers.
Crafting the Petals
For silk or synthetic fabrics, you can use a heat-sealing technique. Cut four to five teardrop-shaped petals.
Using a candle flame (carefully!), hold the edges of the fabric near the heat. The heat will cause the edges to curl and slightly singe, preventing fraying and giving the petal a natural, wind-swept curve.
Creating the Signature Center
Poppies usually have a dark green or black center. You can use a large black button, a cluster of black seed beads, or even a small ball of black felt.
Sew or glue the petals around this center in a staggered formation. These fabric flowers work exceptionally well as brooch pins, curtain tie-backs, or as a permanent floral arrangement in a glass bud vase.
3. Rustic Painted Pinecone Zinnias
Nature provides some of the best skeletons for DIY crafts. Pinecones, when viewed from the bottom, bear a striking resemblance to the layered petals of a zinnia.
This project is perfect for those who love a rustic, woodland-inspired decor style.
Preparation and Painting
First, ensure your pinecones are clean and dry. If you’ve gathered them from outdoors, bake them at 200°F for 30 minutes to remove any moisture or pests.
Once cooled, use garden shears to trim the top half of the pinecone off, leaving the bottom rosette shape.
Apply a base coat of deep burnt orange acrylic paint. Once dry, use a lighter tangerine shade to highlight the tips of the petals.
This gradient effect adds depth and realism. Because these are made of wood, they are incredibly durable.
Glue a small yellow pom-pom or a cluster of yellow paint dots in the center to complete the zinnia look. These are ideal for filling decorative bowls or creating a stunning autumn wreath.
4. Sculpted Orange Felt Ranunculus
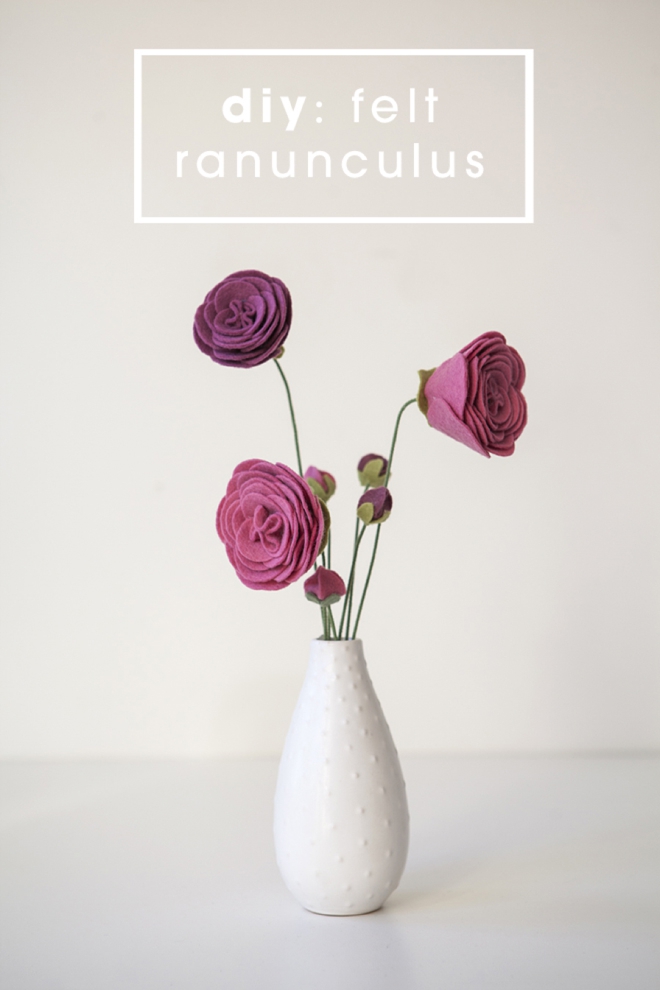
Felt is a favorite among crafters because it doesn’t fray and provides a soft, matte texture that absorbs light beautifully.
A ranunculus is known for its hundreds of thin petals, and felt is the perfect medium to replicate this layered look.
The Rolling Technique
To create a felt ranunculus, cut a long strip of orange felt about 1.5 inches wide. Cut a fringe or a series of small scallops along one edge.
Starting at one end, roll the felt tightly, securing it with hot glue every few inches. As you roll, the flower will begin to expand.
Customizing the Bloom
For a more realistic look, use two different shades of orange felt—a darker shade for the inner core and a lighter, brighter shade for the outer layers.
This creates a glow from within the flower. These felt blooms are sturdy enough to be glued onto headbands, throw pillows, or used as a colorful filler in a larger felt flower bouquet.
5. Hand-Dyed Coffee Filter Roses
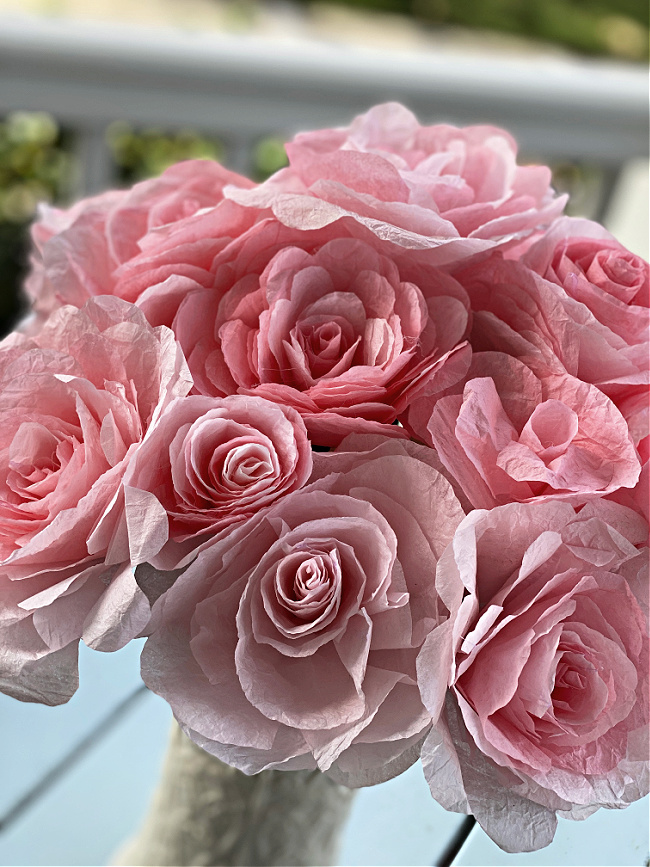
Coffee filters are an incredibly inexpensive material that, when dyed, take on a translucent quality similar to real rose petals.
This project allows you to play with Ombre effects, creating a range of orange tones from soft apricot to fiery vermillion.
The Dyeing Process
Dip white coffee filters into a mixture of water and orange food coloring or liquid watercolor. For a variegated look, dip the edges into a darker concentration of dye.
Let them dry completely on a wire rack.
Assembly Table: Material Comparison
| Feature | Coffee Filter Rose | Crepe Paper Marigold |
|---|---|---|
| Texture | Soft, translucent | Crisp, textured |
| Difficulty | Medium (requires drying time) | Easy |
| Best Use | Wedding decor, vintage vases | Garlands, festive altars |
| Durability | Delicate | Moderate |
Once dry, cut the filters into petal shapes of varying sizes. Wrap the smallest petals around a floral wire to form the bud, and gradually add larger petals around the outside, securing them with floral tape at the base.
The thinness of the paper allows you to curl the edges of the petals with a pencil, giving the rose a blooming appearance.
6. Textured Orange Burlap Sunflowers
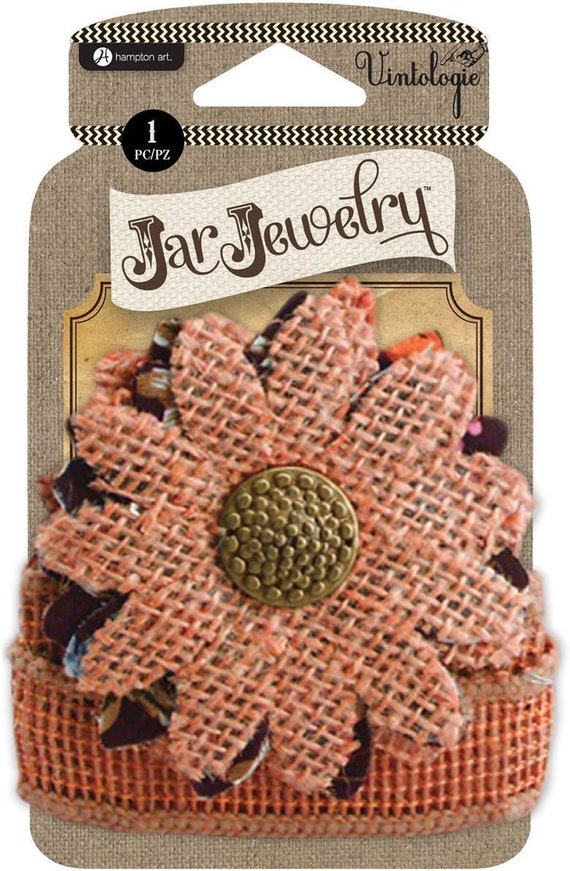
While we often think of sunflowers as yellow, the Autumn Beauty variety features stunning burnt orange and mahogany tones.
Burlap is the go-to material for achieving a high-texture, farmhouse-style flower.
Structuring the Petals
Burlap can be messy to work with, so it is recommended to use stiffened burlap or apply a layer of fabric stiffener before cutting.
Cut pointed, leaf-shaped petals from orange burlap. To give them structure, you can glue a thin piece of copper wire down the center of each petal, allowing you to bend and shape them.
The Centerpiece
Use a dark brown burlap or a circle of brown felt covered in coffee grounds (glued down) to mimic the seedy center of a sunflower.
Arrange the orange burlap petals in two overlapping rows around the center. These large, sturdy flowers make excellent wall decor or focal points for an outdoor porch arrangement.
7. Miniature Polymer Clay Gerbera Daisies
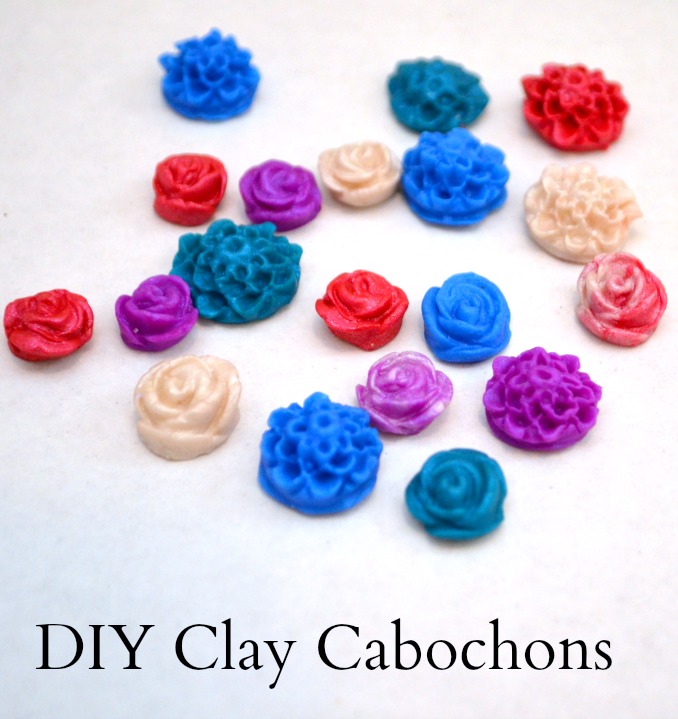
For those who enjoy fine detail and want a flower that feels more like a piece of art, polymer clay is the answer.
Gerbera daisies are famous for their perfect symmetry and bold colors.
Sculpting the Daisy
Condition a block of orange polymer clay until it is soft. Roll out small, uniform balls and flatten them into teardrops to create petals.
Use a needle tool or a toothpick to press a line down the center of each petal for texture. Arrange the petals in a circle on a ceramic tile.
Finishing Touches
Add a textured yellow or brown center using a small ball of clay poked repeatedly with a needle.
Bake the clay according to the package instructions (usually 275°F for 15-30 minutes). Once baked and cooled, these orange daisies are waterproof and permanent.
They are perfect for making magnets, jewelry, or even decorative garden stakes for indoor potted plants.
Styling Your DIY Orange Flowers
Once you have crafted your collection of orange blooms, the way you display them is key to their impact.
-
Monochromatic Arrangements: Mix different textures (felt, paper, and fabric) all in shades of orange for a sophisticated, high-design look.
-
Complementary Colors: Pair your orange flowers with blue or teal vases. Since blue is opposite orange on the color wheel, it will make the orange appear even more vibrant.
-
Seasonal Transitions: Orange flowers aren’t just for Halloween. Pair them with greens in the spring for a citrus vibe, or with dried wheat and husks in the fall for a harvest theme.
FAQ
What is the best glue for DIY flowers?
For most paper and felt projects, a high-temperature hot glue gun is the most efficient. However, for delicate silk or thin fabrics, a clear-drying fabric glue or even a needle and thread is preferred to avoid bulk at the base of the flower.
How do I keep my paper flowers from fading?
Paper, especially crepe paper, can fade if left in direct sunlight. To extend the life of your DIY orange flowers, keep them away from windows or spray them with a UV-resistant clear matte acrylic sealer.
Can I make these flowers scented?
Yes! You can add a drop of essential oil (like orange or neroli) to the center of felt or fabric flowers. For paper flowers, it is better to scent the room or the vase, as oils can sometimes stain the paper.
Which orange flower idea is best for beginners?
The Painted Pinecone Zinnia is the most beginner-friendly. It requires no complex folding or cutting patterns—just a bit of nature-gathering and a steady hand with a paintbrush.
Conclusion
Creating your own decorative DIY orange flowers is more than just a craft project; it is a way to bring permanent warmth and personality into your home.
Whether you choose the delicate transparency of coffee filters or the rugged charm of burlap, each of these seven ideas offers a unique texture and style.
By mastering these techniques, you can curate a floral display that never wilts, perfectly matches your decor, and serves as a testament to your creative skill.
Grab your orange materials and start blooming!
Leave a Reply