Paper button flowers are a versatile and eco-friendly way to add a touch of handmade charm to your home decor, greeting cards, or gift wrapping.
By combining simple paper-cutting techniques with the tactile appeal of vintage or modern buttons, you can create everlasting blooms that require no watering and never fade.
Whether you are upcycling old book pages or using vibrant cardstock, these projects offer a high-impact aesthetic with minimal financial investment.
To succeed in these projects, you will primarily need high-quality adhesives (like hot glue or tacky glue), floral wire, various paper types, and, of course, a collection of buttons in different sizes and colors.
Below, we explore seven distinct projects that range from rustic vintage styles to modern, colorful arrangements.
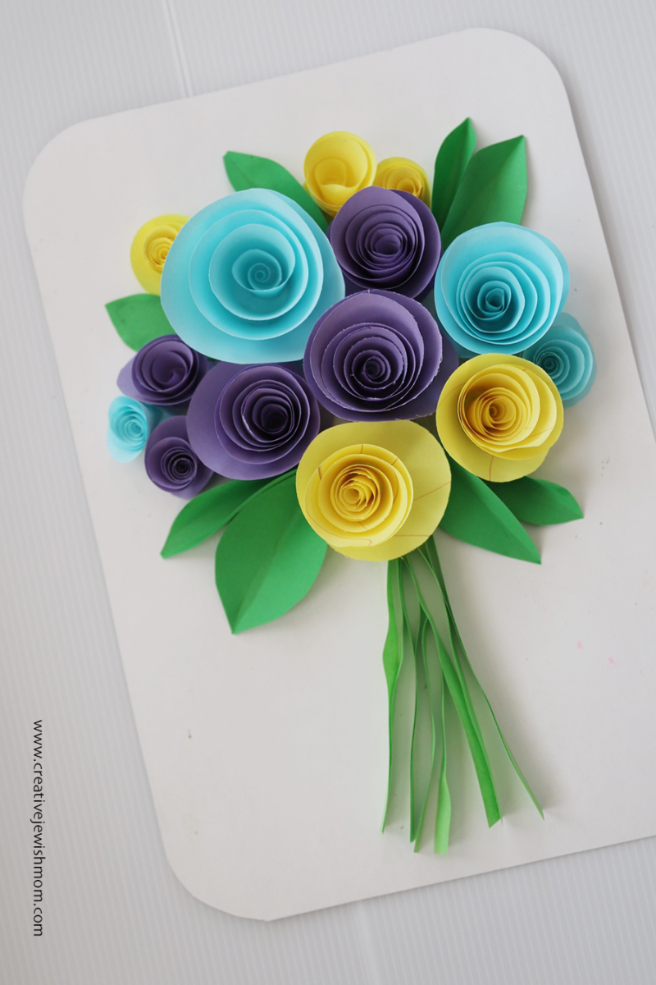
1. The Classic Layered Cardstock Bouquet
The layered cardstock flower is the foundation of paper floral crafting.
This project relies on the contrast between different shades of the same color family and the structural integrity of heavy-weight paper.
Materials Needed
- ✦ 65lb to 80lb cardstock in three coordinating colors.
- ✦ Scalloped circle punches (2-inch, 1.5-inch, and 1-inch sizes).
- ✦ Large plastic or wooden buttons.
- ✦ 20-gauge floral wire.
- ✦ Hot glue gun.
Step-by-Step Instructions
- ✦ Punch Your Shapes: For each flower, punch out one large, one medium, and one small scalloped circle.
- ✦ Add Texture: Use the edge of a bone folder or a pencil to gently curl the edges of the petals upward. This gives the flower a 3D, realistic look rather than a flat appearance.
- ✦ Layering: Apply a small dab of glue to the center of the largest circle. Place the medium circle on top, followed by the smallest circle.
- ✦ The Button Center: Select a button that fits comfortably within the smallest circle. Glue it firmly into the center.
- ✦ Stemming: Flip the flower over. Create a small loop at the end of your floral wire, apply a generous amount of hot glue to the back of the flower, and press the wire loop into the glue. Let it set completely before arranging.
2. Vintage Book Page & Wooden Button Blooms
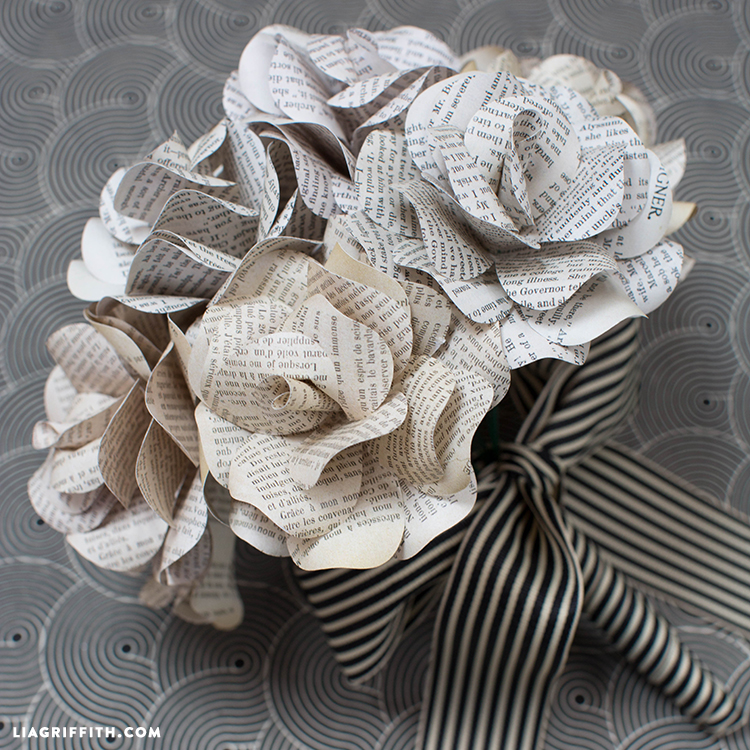
This project is perfect for those who love the shabby chic or farmhouse aesthetic.
Using aged paper from old books or sheet music adds a layer of history and texture to your crafts.
Materials Needed
- ✦ Old book pages or vintage sheet music.
- ✦ Distress ink (Tea Dye or Walnut Stain).
- ✦ Natural wooden buttons.
- ✦ Brown floral tape.
- ✦ Scissors.
Step-by-Step Instructions
- ✦ Cut Petal Strips: Cut five to six strips of book paper, each about 4 inches long and 1 inch wide.
- ✦ Create Loops: Fold each strip into a loop and glue the ends together.
- ✦ Assemble the Base: Glue the ends of the loops together in a starburst pattern to create the flower head.
- ✦ Distressing: Lightly rub distress ink along the edges of the paper loops to give them an antique, charred look.
- ✦ The Button Finish: Use a large, rustic wooden button for the center. If the button has large holes, thread a bit of twine through them for extra detail before gluing it to the paper.
3. Watercolor Tissue Paper Poppies
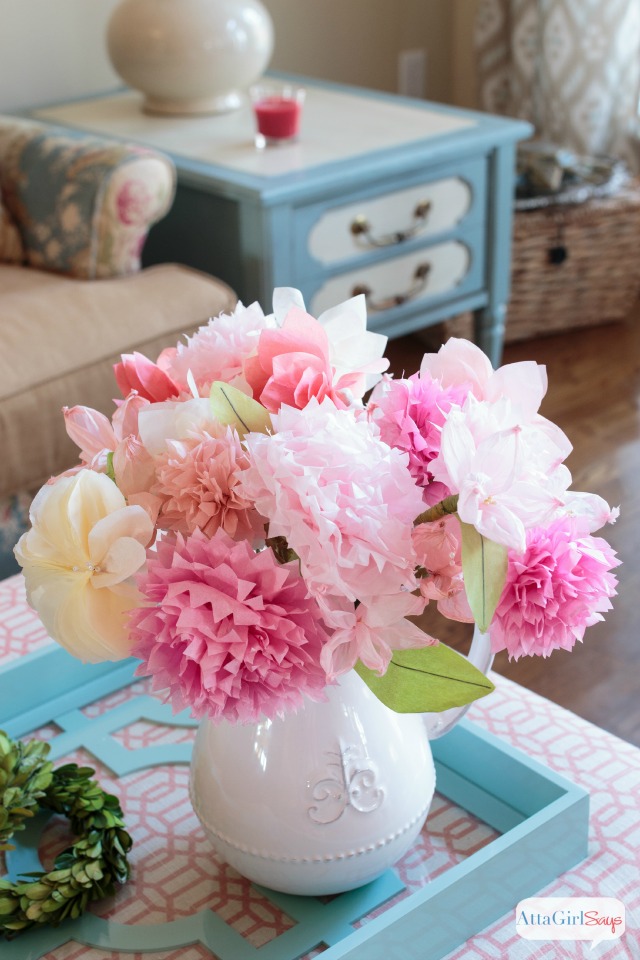
Tissue paper offers a delicacy that cardstock cannot match.
By using a watercolor technique, you can create soft, bleeding color gradients that mimic real poppy petals.
Materials Needed
- ✦ White tissue paper.
- ✦ Watercolor paints and a spray bottle of water.
- ✦ Small black buttons (to mimic poppy seeds).
- ✦ Green floral wire.
Step-by-Step Instructions
- ✦ Paint the Tissue: Lay out sheets of tissue paper and paint them with vibrant reds and oranges. Spray with water to let the colors bleed. Allow to dry completely.
- ✦ Cut Circles: Cut 4-5 circles of varying sizes from the dried tissue. They don’t need to be perfect; irregular edges look more natural.
- ✦ Crinkle: Gently crumple the tissue circles in your hand, then flatten them out. This creates the crinkled texture typical of poppies.
- ✦ Layer and Button: Stack the circles and glue a black button in the center. The black button provides a sharp contrast to the bright tissue paper.
- ✦ Support: Because tissue paper is fragile, use a small piece of cardstock on the back of the flower to reinforce the area where the wire stem attaches.
4. Quilled Paper Button Daisies
Quilling, or paper rolling, creates a sophisticated, intricate look.
Combining the tight coils of quilling with a solid button center provides a beautiful structural balance.
Materials Needed
- ✦ 1/8 inch quilling paper strips (white and yellow).
- ✦ Quilling tool (slotted).
- ✦ Small yellow or white buttons.
- ✦ Clear-drying craft glue.
Step-by-Step Instructions
- ✦ Roll the Petals: Use the quilling tool to roll white strips into loose coils. Pinch one end of the coil to create a teardrop shape. Repeat this for 8-10 petals.
- ✦ Form the Flower: Arrange the teardrop petals in a circle on a piece of wax paper, with the points facing inward. Glue the points together.
- ✦ The Button Core: Once the paper base is dry, glue a bright yellow button over the center where the points meet.
- ✦ The Stem: For quilled flowers, it is often best to glue them onto a flat surface (like a card) or use a very thin wire that can be hidden behind one of the petals.
5. Crepe Paper Button Peonies
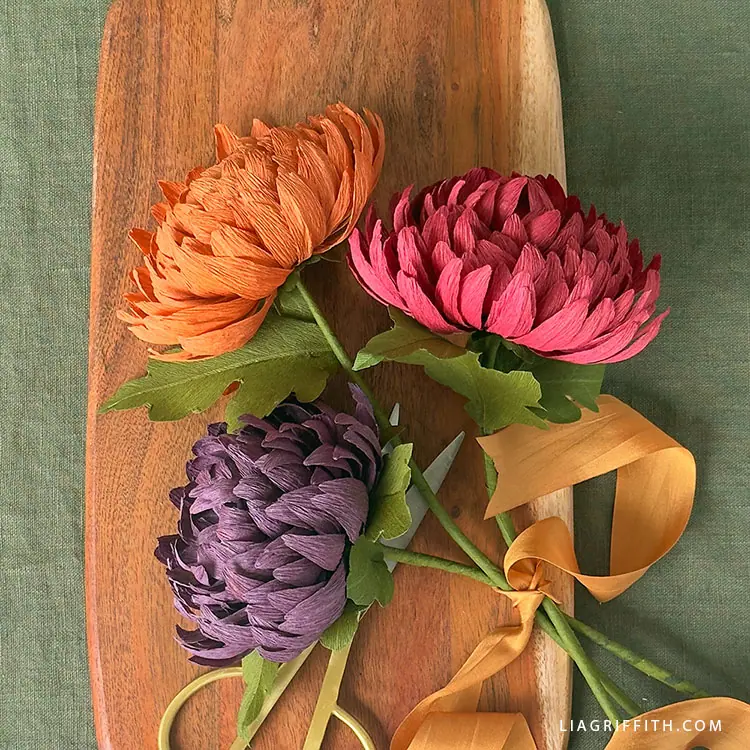
Crepe paper is prized for its stretch and ability to hold shape.
This project creates a full bloom that looks stunning in a vase.
Materials Needed
- ✦ Heavy-duty crepe paper (pink or white).
- ✦ Large, decorative pearl buttons.
- ✦ Floral tape.
- ✦ Scissors and glue.
Step-by-Step Instructions
- ✦ Fringe Cutting: Cut a long strip of crepe paper (about 12 inches). Fold it several times and cut a rounded petal shape into the top, leaving the bottom edge intact.
- ✦ Stretch: Gently pull the center of each petal to create a cup shape.
- ✦ Roll: Apply glue along the bottom edge and roll the strip around the end of a floral wire.
- ✦ The Centerpiece: As you roll, the flower will become quite thick. Once finished, pull the center petals apart slightly and glue a large pearl button deep into the heart of the peony.
- ✦ Finish: Wrap the base of the flower and the wire with green floral tape to hide the glue and paper edges.
6. Scrappy Fabric-Paper Hybrid Blooms
If you have scraps of fabric left over from sewing projects, this hybrid approach adds a unique tactile element.
The fabric adds softness, while the paper provides structure.
Materials Needed
- ✦ Fabric scraps (cotton or linen).
- ✦ Patterned scrapbook paper.
- ✦ Fabric stiffener (optional).
- ✦ Mismatched colorful buttons.
Step-by-Step Instructions
- ✦ Stiffen the Fabric: If your fabric is too floppy, brush it with a little fabric stiffener and let it dry.
- ✦ Alternating Layers: Cut a large circle from the scrapbook paper and a slightly smaller flower shape from the fabric.
- ✦ Stacking: Place the fabric layer on top of the paper layer. This prevents the fabric from fraying too much at the edges.
- ✦ Double Buttoning: Use two buttons for this project. Glue a large button down first, then glue a smaller, contrasting button on top of it.
- ✦ Usage: These are particularly effective when glued onto clothespins to create decorative magnets or bag clips.
7. Origami Button Lilies
For those who enjoy precision, the origami lily is a classic.
Adding a button center transforms a traditional fold into a contemporary piece of decor.
Materials Needed
- ✦ Square origami paper (6×6 inches).
- ✦ Small, shank-style buttons.
- ✦ Thin wire.
Step-by-Step Instructions
- ✦ The Fold: Fold a traditional origami lily (also known as a water lily or iris). There are many diagrams available for this 12-step fold.
- ✦ Opening the Petals: Once folded, use a pencil to curl the four petals outward.
- ✦ The Button Stamen: If using a shank button (a button with a loop on the back instead of holes), thread your wire through the shank first.
- ✦ Assembly: Poke the wire through the center point of the origami lily. The button will sit perfectly in the cup of the flower, acting as the reproductive center of the bloom.
- ✦ Secure: Twist the wire at the base of the paper to ensure the button doesn’t wobble.
Project Comparison Table
| Project Style | Difficulty | Best Use Case | Key Material |
|---|---|---|---|
| Classic Layered | Easy | Kids’ crafts / Bouquets | Cardstock |
| Vintage Book | Medium | Home Decor / Shabby Chic | Old Books |
| Watercolor Poppy | Medium | Art Journals / Gifts | Tissue Paper |
| Quilled Daisy | Hard | Greeting Cards | Quilling Strips |
| Crepe Peony | Medium | Wedding Decor | Crepe Paper |
| Hybrid Scrappy | Easy | Magnets / Clips | Fabric Scraps |
| Origami Lily | Hard | Table Scatter / Wreaths | Origami Paper |
Expert Tips for Professional Results
- ✦ Button Selection: Don’t just stick to flat buttons. Shank buttons, glitter buttons, and even vintage metal buttons can change the entire mood of the flower.
- ✦ Adhesive Choice: While hot glue is fast, it can leave strings. For delicate projects like quilling or tissue paper, a clear-drying liquid glue with a fine-tip applicator is superior.
- ✦ Paper Weight: Always consider the weight. If your paper is too thin (like standard printer paper), the weight of the button will cause the flower to droop. Stick to 65lb cardstock or higher for structural projects.
- ✦ Color Theory: Use a color wheel to find complementary colors. A purple paper flower with a yellow button center will pop much more than monochromatic versions.
FAQ
Q: What is the best glue for attaching buttons to paper?
A: For most projects, a high-temperature hot glue gun is best because it creates an instant, strong bond. However, for intricate work, Tacky Glue or E6000 (in a well-ventilated area) provides a more permanent, professional finish.
Q: Can I make these flowers waterproof?
A: You can spray the finished paper flowers with a clear acrylic sealer or a UV-resistant fixative. This won’t make them waterproof enough to leave in the rain, but it will protect them from humidity and fading in sunlight.
Q: Where can I find bulk buttons for cheap?
A: Thrift stores often sell jars of button soup. You can also find bulk bags at craft supply stores or search for vintage button lots on auction sites like eBay or Etsy.
Q: How do I clean dust off paper flowers?
A: Do not use water. The best way to clean them is using a soft-bristled makeup brush or a can of compressed air (held at a distance) to gently blow away dust.
Conclusion
Creating paper button flowers is a rewarding hobby that bridges the gap between simple paper folding and high-end floral design.
By varying your paper choices—from the rugged texture of vintage book pages to the ethereal softness of watercolor tissue—and pairing them with the right buttons, you can create a personalized garden that lasts forever.
These seven projects provide a roadmap for crafters of all skill levels to begin their journey into the world of everlasting botanical art.
Grab your scissors, heat up your glue gun, and start blooming!
Leave a Reply