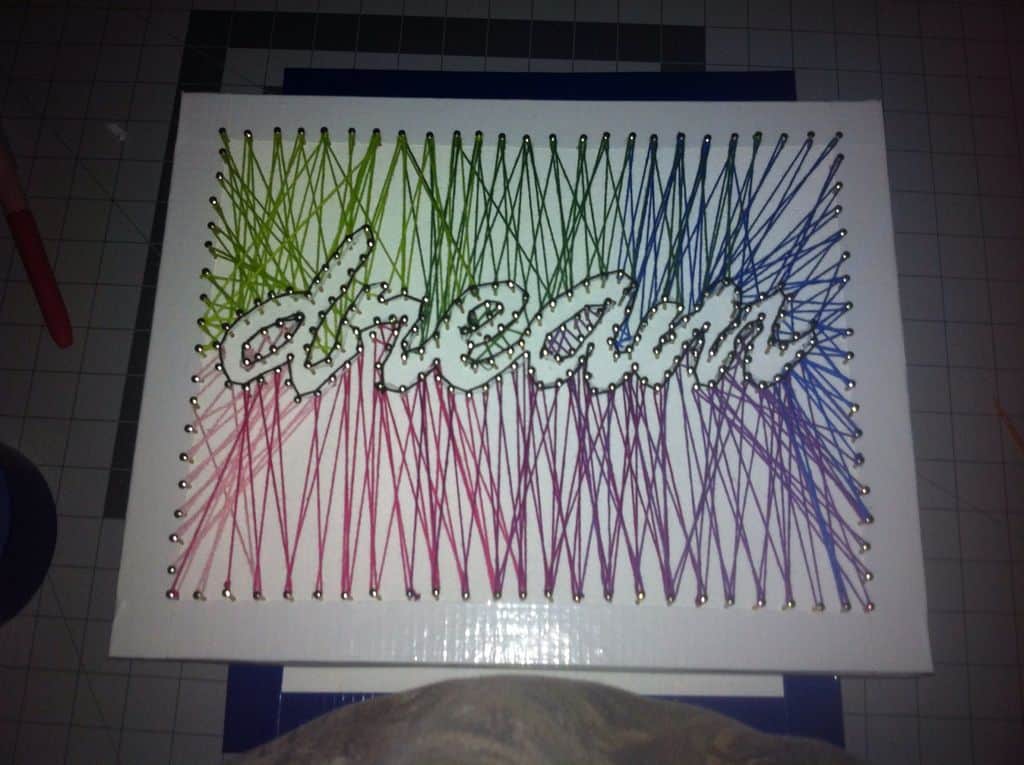
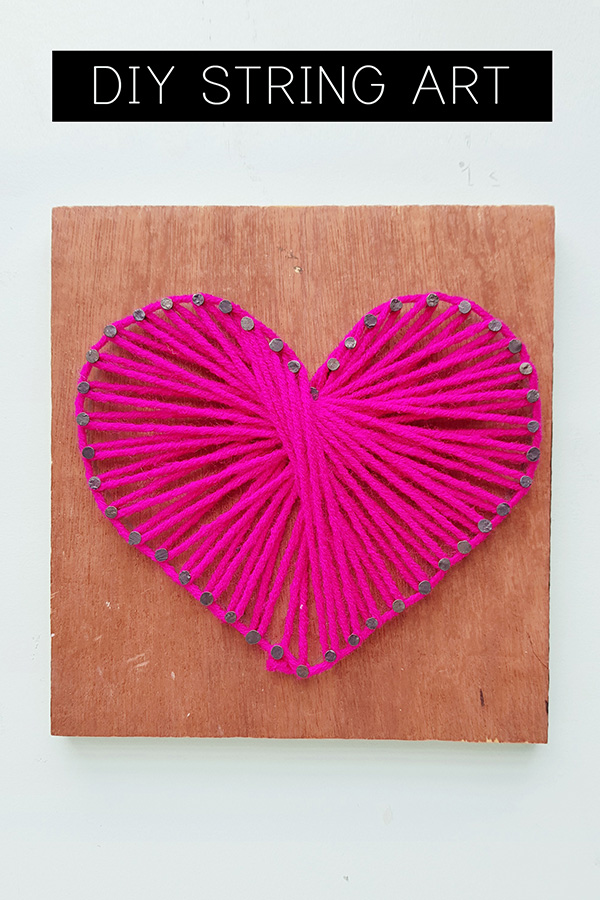
Heart string art is a timeless DIY craft that combines the rustic appeal of wood with the soft, intricate textures of embroidery floss or yarn.
By using a series of nails driven into a wooden base and weaving colorful strings between them, you can create stunning 3D wall art that adds a personal, handmade touch to any room.
Whether you are looking for a romantic gift, a nursery accent, or a modern gallery wall piece, these seven creative heart string art ideas offer a range of styles from minimalist geometric patterns to lush, mixed-media designs.
Essential Materials for Heart String Art
Before diving into the specific projects, it is important to have your workstation ready. Most string art projects require a foundational set of tools.
Using the right materials ensures that your nails stay secure and your string doesn’t snap under tension.
| Material | Best Type for Beginners | Purpose |
|---|---|---|
| Wood Base | Pine, plywood, or reclaimed pallet wood | Provides a sturdy foundation for the nails. |
| Nails | 1-inch linoleum nails or wire brads | Small heads prevent string from slipping off. |
| String | Embroidery floss or crochet thread | Offers a smooth finish and comes in endless colors. |
| Hammer | Lightweight tack hammer | Easier to control for precise nail placement. |
| Template | Paper heart cutout | Ensures your heart shape is symmetrical. |
| Finish | Wood stain or acrylic paint | Prepares the background to contrast with the string. |
1. The Classic Rustic Reclaimed Wood Heart
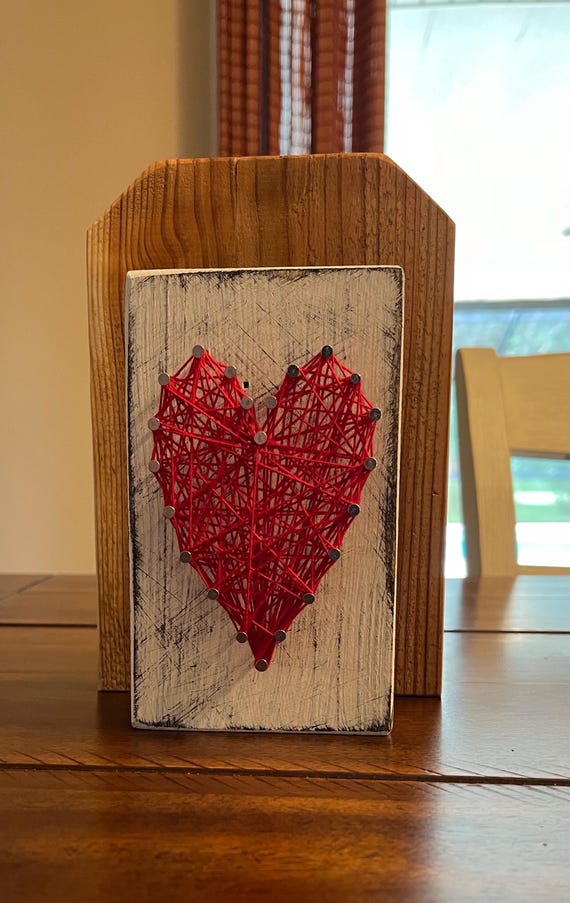
The classic rustic heart is the perfect entry point for beginners. This design relies on the high contrast between a dark-stained wood base and bright white or cream-colored string.
It celebrates the “shabby chic” aesthetic, making it an ideal choice for farmhouse-style living rooms or entryways.
How to Create It
To achieve this look, source a piece of reclaimed wood or a pallet slat. Sand it down to prevent splinters but leave some of the natural imperfections.
Apply a dark walnut stain and let it dry completely. Once dry, tape your heart template to the center. Space your nails approximately 1/2 inch apart along the perimeter of the heart.
When stringing, start by tying a double knot around one nail. Instead of following a strict pattern, use a “random” weaving technique.
Criss-cross the string back and forth across the heart, ensuring you hit every nail at least twice. This creates a dense, filled-in look that makes the heart pop against the dark background.
2. Negative Space Heart Design
Unlike traditional string art where you fill the inside of the heart, negative space art involves filling the background and leaving the heart shape empty.
This creates a sophisticated, modern look that is often seen in high-end boutiques and minimalist home decor.
The Technique
For this project, you will need two sets of nails. First, outline the heart shape in the center of your board.
Second, create a rectangular or circular border of nails around the edge of the entire board.
Instead of weaving inside the heart, you will connect the nails from the outer border to the nails on the heart’s perimeter.
The result is a “void” in the shape of a heart, surrounded by a dense web of string. This style looks particularly striking when using metallic thread or a single, bold color like navy blue or forest green.
3. Ombre Gradient Heart
The ombre heart is a visually stunning project that uses color theory to create depth and movement.
By transitioning from a dark shade at the bottom to a light shade at the top (or vice versa), you give the heart a 3D, glowing effect.
Choosing Your Colors
To successfully execute an ombre heart, you need at least three shades of the same color family (e.g., dark red, medium pink, and blush).
-
1
Bottom Section: Fill the bottom third of the heart with your darkest color.
-
2
Middle Section: Use the medium shade for the center. Overlap slightly with the dark section to blend the colors.
-
3
Top Section: Finish with the lightest shade at the top, again overlapping with the middle section to ensure a smooth transition.
This technique works best on a white or light grey painted board, which allows the subtle color shifts to be the main focus.
4. Multi-Heart “Family” Plaque

If you are looking for a project that carries sentimental value, the multi-heart plaque is an excellent choice.
This design features several smaller hearts on a single long board, often representing family members, children, or significant dates.
Customization Ideas
You can assign a different color to each heart based on each family member’s favorite color.
For an added touch of personalization, use a permanent marker or a vinyl cutter to add names or birthdates beneath each heart.
Because the hearts are smaller, use thinner string (like sewing thread or single-strand embroidery floss) and space your nails closer together (about 1/4 inch).
This ensures that the heart shape remains crisp and recognizable even at a smaller size.
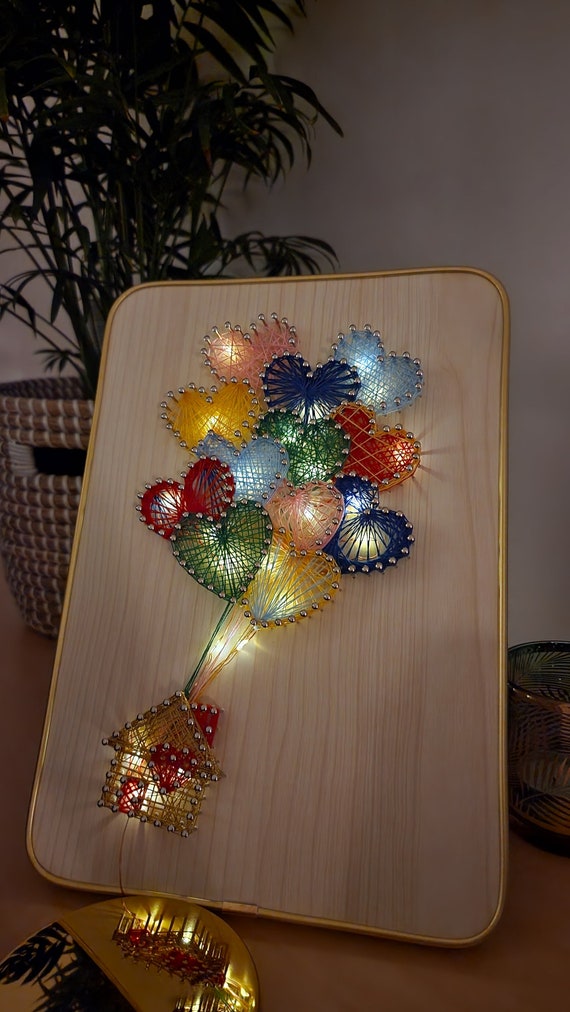
5. Mixed Media Floral Heart
Why stop at just string? Mixed media heart art incorporates other textures like dried flowers, fairy lights, or even small photographs.
This is a popular choice for wedding decor or “save the date” announcements.
Integrating Elements
To create a floral heart, string the heart with a loose, open pattern. This leaves “pockets” within the string web.
Once the stringing is complete, tuck the stems of dried lavender, eucalyptus, or small silk flowers into the string.
If you want to add lights, weave a thin strand of battery-operated LED fairy lights through the nails before you start the stringing process.
The string will help hide the wires while allowing the lights to glow through the heart, creating a magical nighttime accent piece.
6. Geometric Faceted Heart
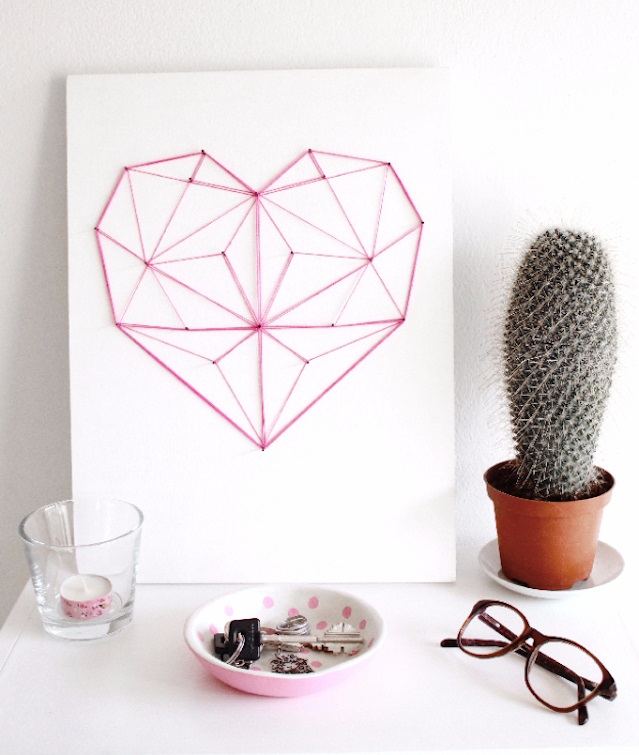
For those who prefer a more masculine or industrial look, the geometric faceted heart moves away from “random” filling and toward mathematical precision.
This design mimics the look of a cut gemstone.
The Pattern
Instead of filling the heart entirely, you only connect specific nails to create internal triangles and polygons.
-
1
Step 1: Outline the heart with nails.
-
2
Step 2: Place a few “anchor” nails inside the heart at key points (the top curves and the bottom point).
-
3
Step 3: Use a single color of string to draw straight lines between the perimeter nails and the internal anchor nails.
The result is a clean, architectural piece that looks great in modern offices or urban lofts. Using black string on a natural wood base emphasizes the sharp lines and geometric “facets.”
7. Mini Cork Heart for Desks
Not every DIY project needs to be a massive wall hanging. Mini cork hearts are perfect for office desks, tiered trays, or as handmade magnets.
Because they use cork instead of wood, they are also much quieter and faster to make.
Assembly
Use a thick cork coaster or a sheet of craft cork as your base. Since cork is soft, you can often push the nails in by hand or with a very light tap of a hammer.
Use colorful baker’s twine or even vibrant neon yarn to make these small pieces stand out.
These make excellent “rainy day” crafts for kids because they don’t require heavy tools or power equipment.
Pro Tips for Perfect String Art
To elevate your project from a basic craft to a professional-looking piece of home decor, keep these expert tips in mind:
-
❤
Nailing Consistency: The most common mistake in string art is uneven nail height. Use a “spacer”—like a small piece of 1/2-inch thick scrap wood—to rest next to the nail as you hammer. When the hammer hits the spacer, you know the nail is at the perfect depth.
-
❤
Maintaining Tension: Keep the string taut at all times. If the string goes slack, the pattern will look messy. If you need to take a break or change colors, wrap the string around a nail several times and secure it with a tiny drop of clear-drying glue (like Super Glue or E6000) on the knot.
-
❤
Outlining for Definition: Once you have finished filling in your heart, always finish by “outlining.” Take your string and go around the perimeter nails in a “back-and-forth” or “figure-eight” motion. This creates a solid border that defines the heart shape and hides any messy knots at the edges.
FAQ: Frequently Asked Questions
- Q: What is the best wood for string art?
- A: Pine is the most popular choice because it is soft enough to hammer nails into easily but strong enough to hold them under tension. Avoid MDF or particle board, as they tend to crumble when nails are placed close together.
- Q: Can I use regular sewing thread?
- A: You can, but it is very thin and will require many more passes to fill the heart. Embroidery floss is the “gold standard” because it is thick, vibrant, and has a slight sheen.
- Q: How do I clean string art?
- A: String art can collect dust over time. Use a canned air duster (the kind used for keyboards) to blow away dust without touching or snagging the delicate strings.
- Q: My wood is splitting when I hammer the nails. How do I fix this?
- A: This usually happens if the nails are too close together or if the wood is too dry. Try pre-drilling tiny pilot holes with a very small drill bit, or choose a wood with a straighter grain.
Conclusion
Heart string art is a versatile and rewarding DIY project that allows for endless creativity.
From the rugged charm of reclaimed wood to the sleek lines of geometric designs, there is a heart string art style for every home.
By mastering the basics of nail placement and tension control, you can create high-quality decor that rivals anything found in a retail store.
Grab your hammer, choose your favorite color palette, and start weaving your own masterpiece today. These seven ideas are just the beginning—once you understand the technique, the possibilities for customization are as infinite as your imagination.
Leave a Reply