Hosting a memorable kid’s party doesn’t require a massive budget or a professional event planner.
In fact, some of the most engaging and high-energy activities come from simple household items like cardboard boxes, tin cans, and pool noodles.
DIY party games offer a unique opportunity to upcycle everyday materials into interactive experiences that keep children entertained for hours.
By focusing on creativity and physical movement, you can create a personalized celebration that feels far more special than anything bought at a big-box store.
1. Giant Backyard Scrabble
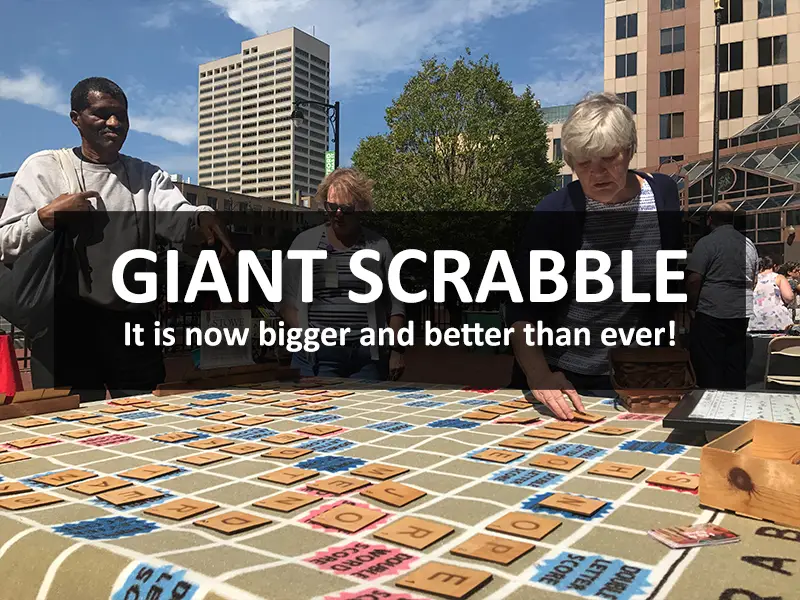
Giant Scrabble is a fantastic way to combine learning with outdoor play.
By upcycling shipping boxes, you can create a life-sized version of the classic board game that encourages kids to run around while they build words.
Materials Needed:
- Large sheets of cardboard (cut into 12″ x 12″ squares)
- Black permanent markers or acrylic paint
- A “letter distribution” list from a standard Scrabble game
- Outdoor space (lawn or driveway)
How to Make and Play:
- 1. Prep the Tiles: Cut your cardboard into equal-sized squares. You will need about 100 tiles for a full game, but 50-60 is usually enough for a party.
- 2. Lettering: Paint a large letter on each square and include the point value in the bottom right corner.
- 3. The Game: Divide the kids into two teams. Instead of a board, use the lawn as the playing field. Each team “draws” seven tiles. They must work together to place words on the grass, interlocking them just like the tabletop version.
2. Upcycled Tin Can Bowling
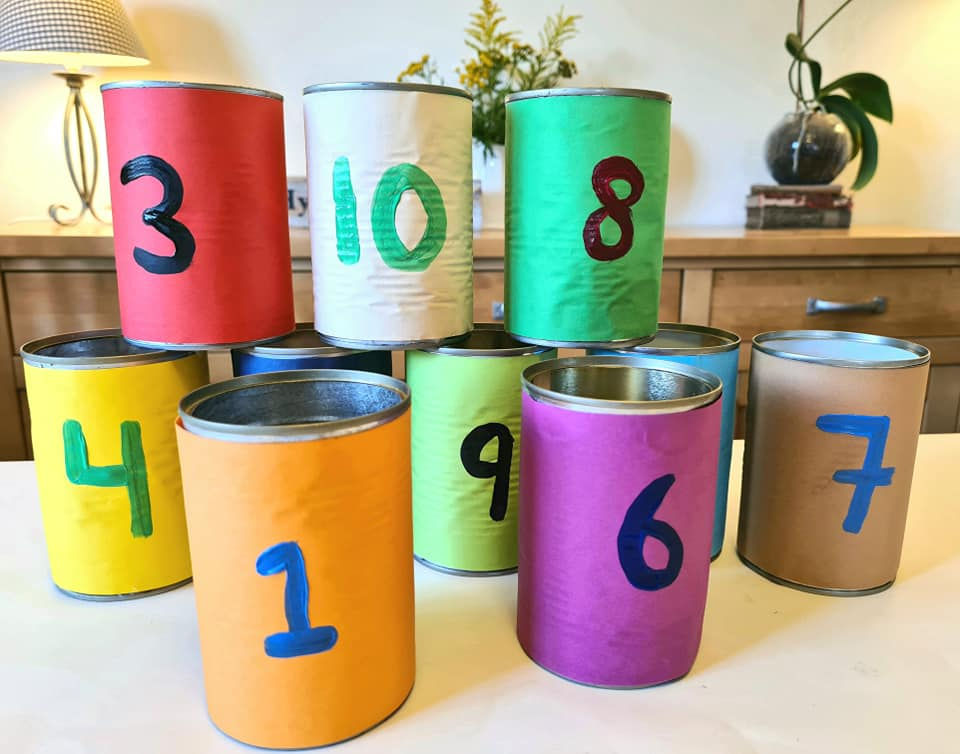
Tin can bowling is a classic carnival game that is incredibly easy to customize to your party’s theme.
It’s a great way to reuse soup or vegetable cans that would otherwise end up in the recycling bin.
Materials Needed:
- 10 empty, clean tin cans (edges sanded smooth)
- Acrylic paint or colorful construction paper
- Mod Podge (for sealing)
- A tennis ball or small rubber ball
Instructions:
- 1. Decorate: Paint each can a different color or wrap them in themed paper. For a Monster theme, add googly eyes; for a Superhero theme, use comic book colors.
- 2. Setup: Stack the cans in a pyramid (4 on the bottom, then 3, 2, and 1 on top).
- 3. Play: Mark a “throw line” with masking tape. Each child gets two tries to knock down as many cans as possible.
3. Pool Noodle Obstacle Course
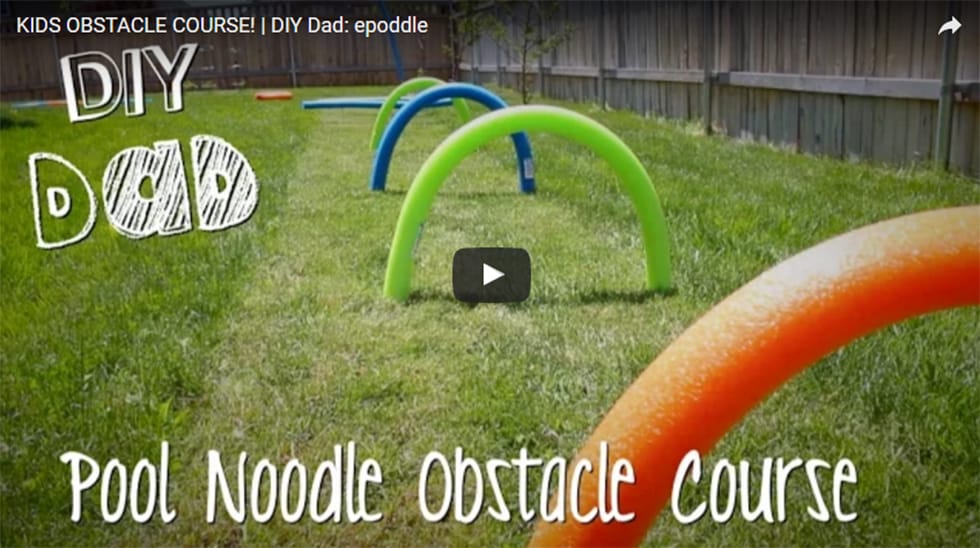
Pool noodles are the ultimate DIY craft material because they are flexible, safe, and inexpensive.
You can transform a backyard into a high-intensity ninja warrior course in under 30 minutes.
Materials Needed:
- 10–15 pool noodles
- Duct tape
- Garden stakes (to hold noodles in the ground)
- Hula hoops
Setup Guide:
| Obstacle Type | Construction Method |
|---|---|
| The Archway | Push two garden stakes into the ground and slide the ends of a noodle over them to create a tunnel. |
| The Hurdles | Tape one noodle horizontally across two vertical noodles. |
| The Ring Run | Tape noodles into circles and lay them on the ground for kids to hop through. |
4. Balloon Pop Dart Board
This game provides a satisfying “pop” and a bit of a challenge.
To make it kid-friendly, you can use soft-tip darts or even weighted bean bags if you prefer not to use sharp objects.
Materials Needed:
- Large plywood board or thick cardboard
- Small balloons
- Darts
- Small prizes or slips of paper (to put inside balloons)
How to Assemble:
- 1. Fill the Balloons: Before inflating, slip a small piece of paper inside each balloon with a “prize number” written on it.
- 2. Attach: Staple or tape the tied ends of the balloons to the board in a grid pattern.
- 3. Play: Kids take turns throwing darts. When a balloon pops, they win the prize corresponding to the number inside.
5. Paper Plate Ring Toss
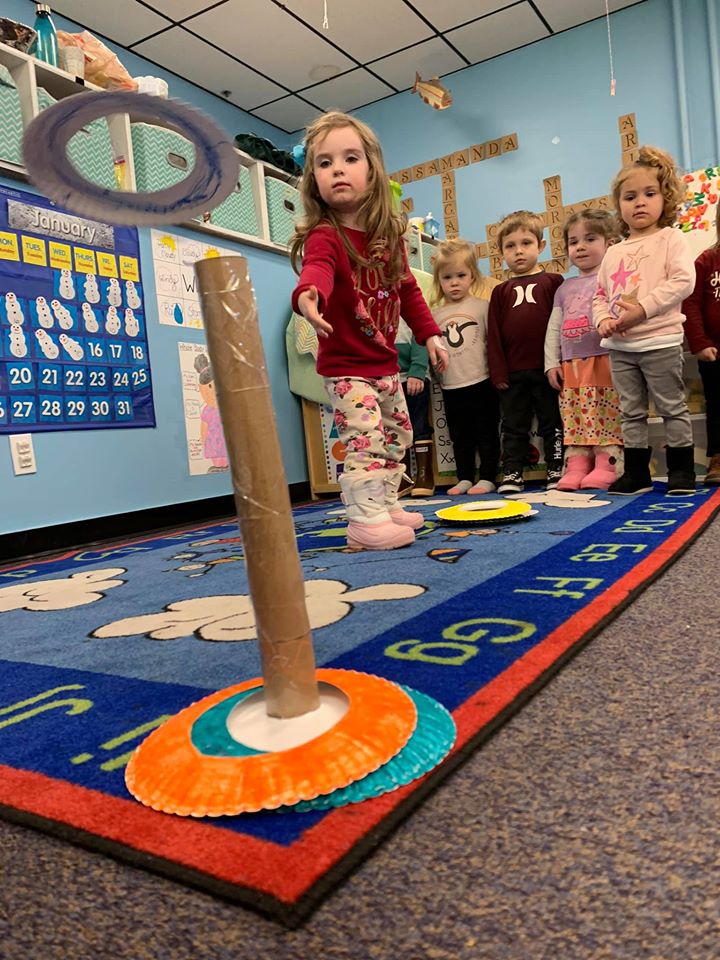
This is an excellent indoor game for younger children.
It uses basic craft supplies and helps develop hand-eye coordination.
Materials Needed:
- Paper plates
- Cardboard paper towel rolls
- Acrylic paint
- Heavy tape or hot glue
Instructions:
- 1. The Rings: Cut the center out of several paper plates, leaving only the outer rim. Decorate these with bright colors.
- 2. The Base: Tape a paper towel roll vertically to the center of an uncut paper plate. This acts as the “peg.”
- 3. Play: Set the peg on the floor and have children try to toss the plate rings over the roll from a distance.
6. Glow-in-the-Dark Ring Toss
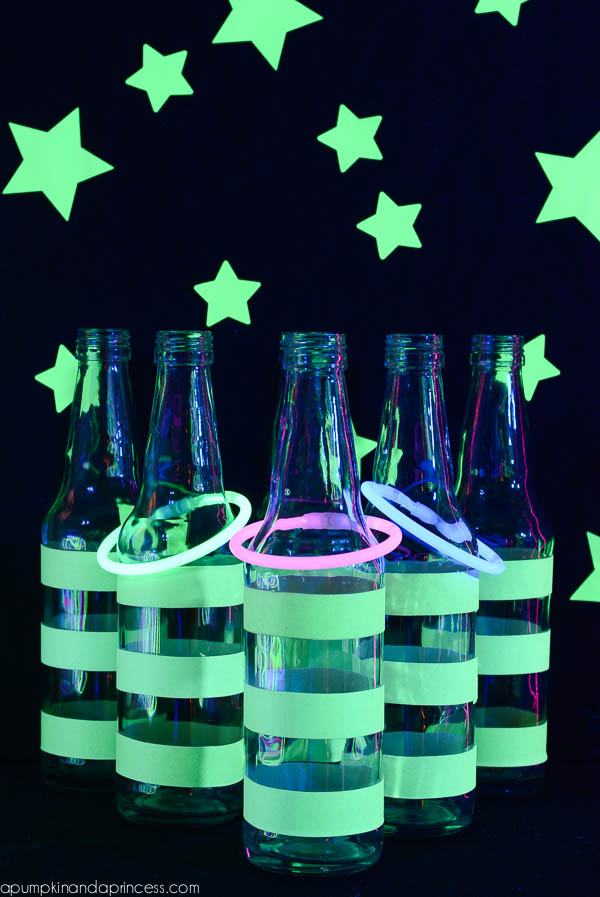
If your party extends into the evening, this glowing version of ring toss is a guaranteed hit.
It’s perfect for sleepovers or backyard campouts.
Materials Needed:
- 6–8 clear water bottles
- Glow sticks (necklaces and bracelets)
- Water
Setup:
- 1. Prepare Bottles: Fill the water bottles with water to give them weight.
- 2. Light it Up: Activate a glow stick and drop it into each bottle. They will glow through the water.
- 3. The Rings: Use glow stick necklaces (connected into circles) as the rings.
- 4. Play: Turn off the lights and let the kids toss the glowing rings onto the glowing bottles.
7. Cardboard Box Cornhole
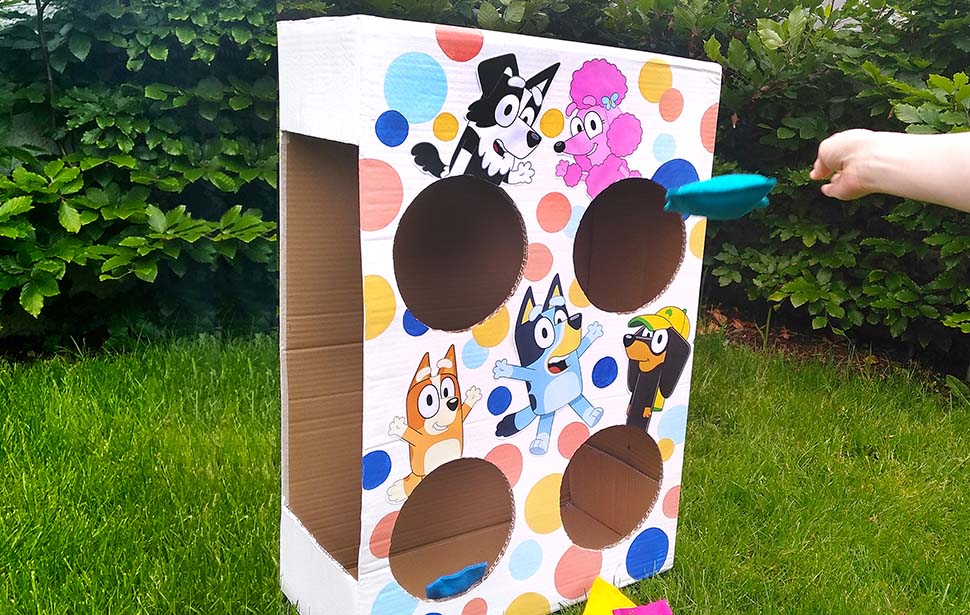
Professional cornhole boards can be expensive, but a DIY cardboard version works just as well for a one-day event.
Materials Needed:
- Two large, flat cardboard boxes
- Box cutter
- Bean bags (or socks filled with dried beans/rice)
Instructions:
- 1. Cut the Hole: Draw a 6-inch circle on the upper half of the box and cut it out.
- 2. Angle the Board: Prop the back of the box up using a smaller box or a stack of books so it sits at an incline.
- 3. Decorate: Let the birthday child paint the “boards” to match the party theme.
8. Salt Dough Dinosaur Egg Hunt
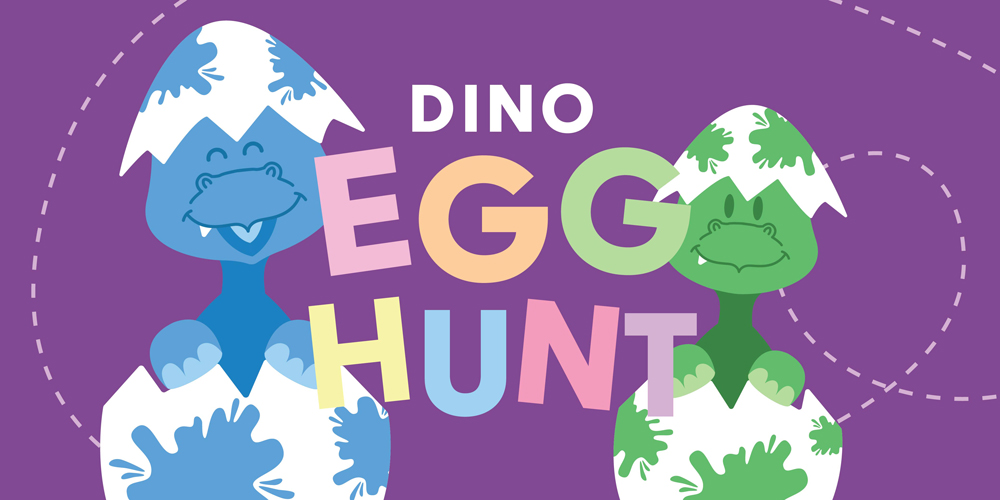
Instead of a standard candy hunt, create a paleontology dig.
This involves a bit of prep but offers a high “wow” factor for kids.
Materials Needed:
- 2 cups flour, 1 cup salt, 1 cup water
- Small plastic dinosaur toys
- Coffee grounds (for a “dirt” look)
How to Make:
- 1. Mix: Combine flour, salt, and water (and coffee grounds for texture).
- 2. Form: Mold the dough around a plastic dinosaur to form an “egg.”
- 3. Dry: Bake at 200°F for 2–3 hours or air dry for two days.
- 4. Play: Hide the eggs in the garden. Give kids small hammers or spoons to “excavate” their dinosaur.
9. Epic Cardboard Box Maze
If you have access to large appliance boxes, you can build a sprawling maze.
This is an incredible sensory experience for younger children.
Materials Needed:
- 5–10 large cardboard boxes
- Packing tape
- Box cutter (adult use only)
Instructions:
- 1. Connect: Open the ends of the boxes and tape them together to form long tunnels.
- 2. Create Turns: Arrange the tunnels in a “U” or “Z” shape.
- 3. Windows: Cut small “windows” in the sides so parents can peek in and the maze doesn’t get too dark.
10. Custom “Pin the Tail”
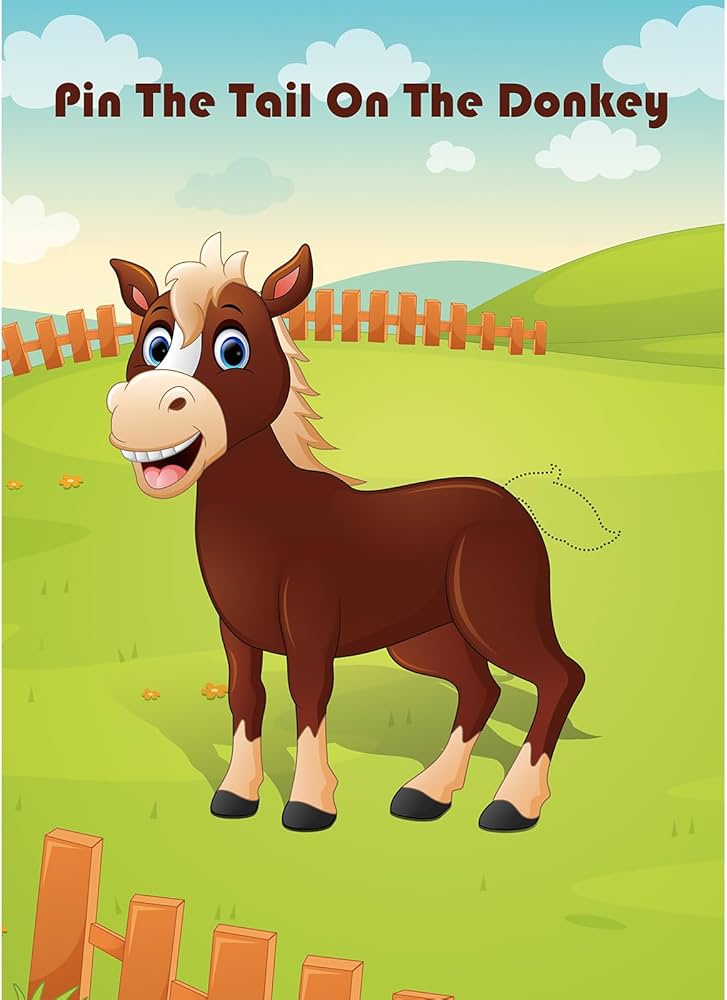
The classic “Pin the Tail on the Donkey” can be adapted to any theme.
If it’s a Frozen party, “Pin the Nose on Olaf.” If it’s a space party, “Pin the Astronaut on the Moon.”
Materials Needed:
- Large poster board
- Markers or printed images
- Blindfold
- Double-sided tape
Customization Ideas:
- Pirate Theme: Pin the X on the Treasure Map.
- Unicorn Theme: Pin the Horn on the Unicorn.
- Superhero Theme: Pin the Emblem on the Shield.
11. Frozen T-Shirt Race
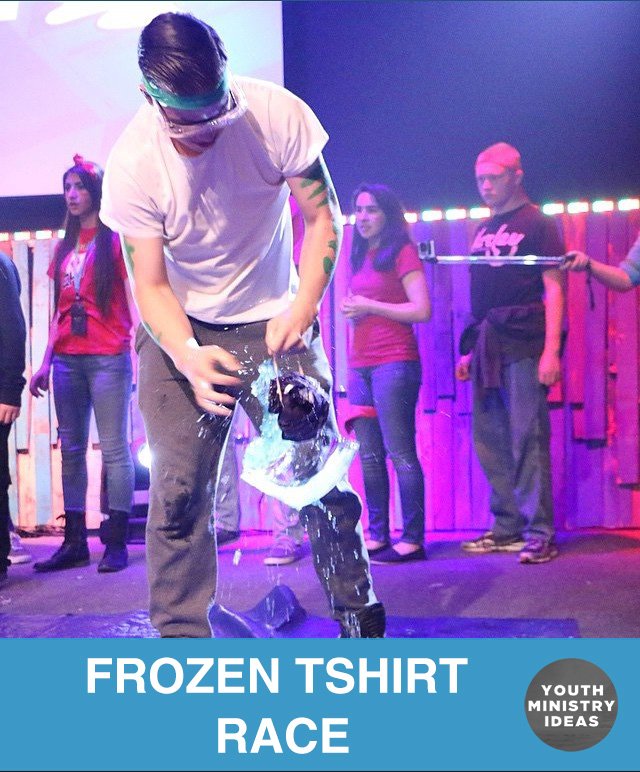
This is a hilarious game for hot summer days.
It requires some advance preparation but very few materials.
Materials Needed:
- One T-shirt per player
- Water
- Gallon-sized Ziploc bags
- Freezer space
Setup:
- 1. Freeze: Soak the T-shirts in water, fold them, place them in bags, and freeze them overnight.
- 2. Play: Hand each child a frozen, “brick-like” T-shirt. The first person to successfully unfold the shirt and put it on wins. (Expect lots of shivering and laughing!)
12. Donut on a String
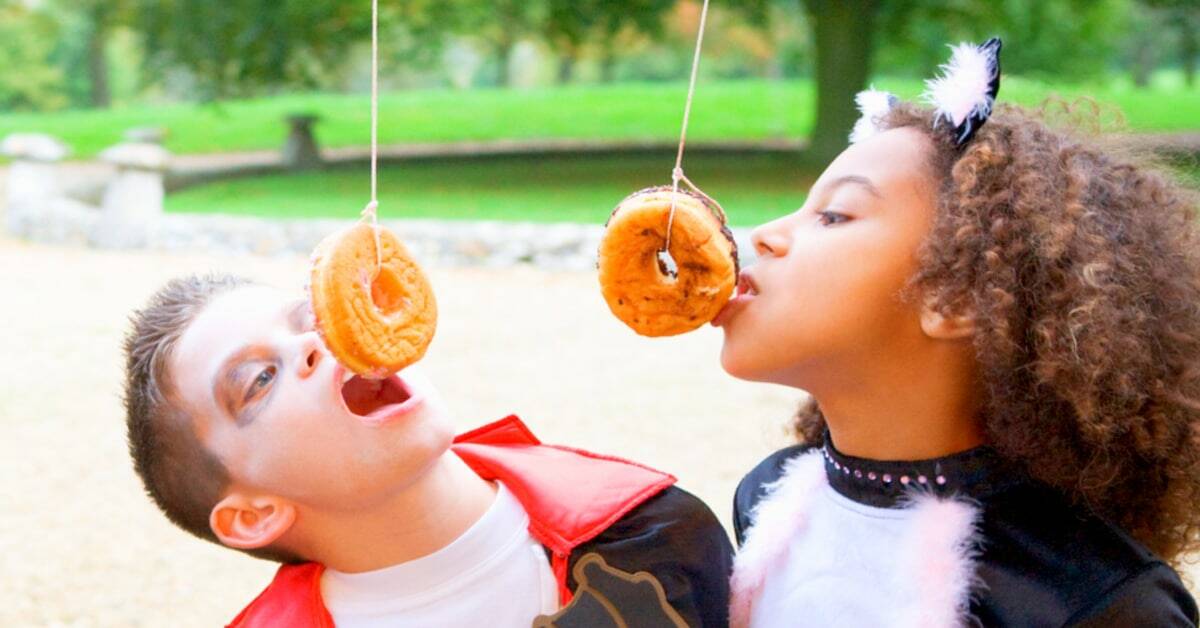
This is a “no-mess” (mostly) eating game that is visually hilarious and requires zero crafting skills—just some string and treats.
Materials Needed:
- Glazed donuts
- String or twine
- A sturdy horizontal pole or tree branch
Instructions:
- 1. Hang: Tie a string through the center of each donut and hang them from a branch so they are at the children’s mouth level.
- 2. Rules: Players must keep their hands behind their backs. On “Go,” they try to eat the entire donut. The first one finished wins.
13. DIY Photo Booth Station
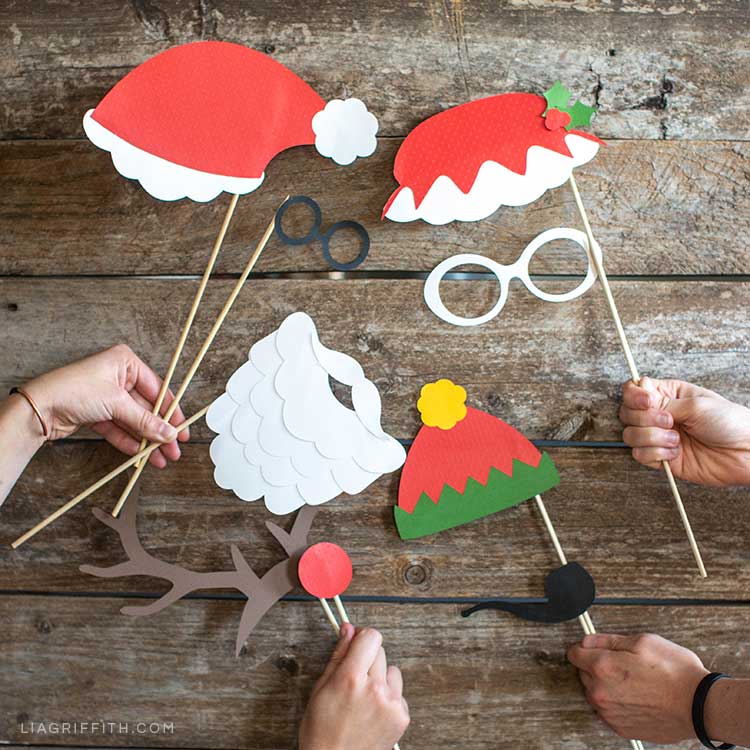
While not a “game” in the traditional sense, a DIY photo booth provides an activity that doubles as a party favor.
Materials Needed:
- A blank wall or a hanging sheet
- Cardstock, wooden skewers, and hot glue
- Old hats, glasses, and boas from thrift stores
How to Make Props:
- 1. Print/Draw: Create mustaches, crowns, and speech bubbles on cardstock.
- 2. Attach: Glue a wooden skewer to the side of each cutout.
- 3. Action: Set up a tripod or designated “photographer” and let the kids go wild with poses.
14. Musical Statues with DIY Wands
Elevate the standard “freeze dance” by having the kids craft their own “magic wands” first.
Materials Needed:
- Wooden dowels or sticks
- Ribbons and glitter
- Music player
Instructions:
- 1. The Craft: Have a 10-minute session where kids decorate their wands.
- 2. The Game: Play music. When the music stops, the kids must freeze in a “magical” pose with their wands. Anyone who moves is out!
15. Nature Scavenger Hunt
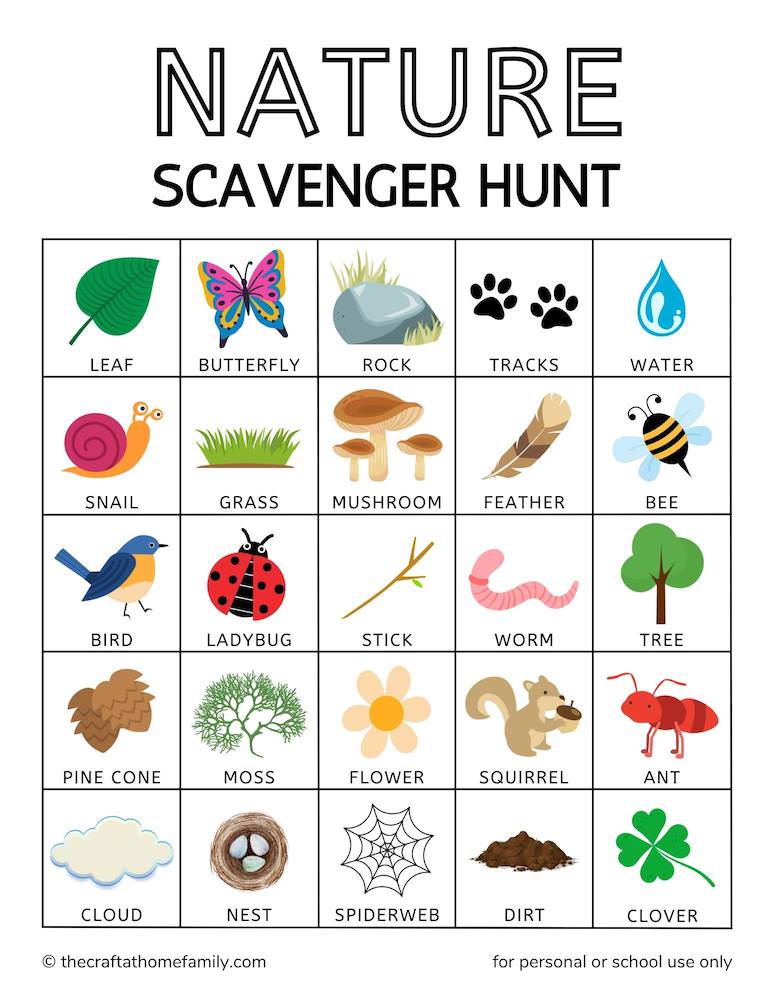
For outdoor parties, a nature scavenger hunt encourages exploration and appreciation for the environment.
Materials Needed:
- Brown paper bags
- Printed checklists
- Crayons
The Checklist:
- A flat stone
- A yellow leaf
- A piece of clover
- Something round
- A feather (if lucky!)
| Game Feature | Best For | Prep Time |
|---|---|---|
| Scavenger Hunt | Outdoors | 10 Mins |
| Frozen T-Shirt | Summer/Heat | 24 Hours |
| Tin Can Bowling | All Ages | 30 Mins |
Frequently Asked Questions
How do I choose the right game for different age groups?
For toddlers (ages 2-4), focus on sensory games like the Cardboard Maze or Paper Plate Ring Toss.
For school-aged kids (5-9), competitive games like Tin Can Bowling and the Obstacle Course are better.
For older kids (10+), try the Frozen T-Shirt Race or Giant Scrabble.
What are some budget-friendly prize ideas?
Instead of expensive toys, consider “privilege” prizes like choose the next song or first in line for cake.
Physical prizes can include stickers, DIY friendship bracelets, or temporary tattoos.
How many games should I plan for a 2-hour party?
A good rule of thumb is 3 to 4 planned games.
This allows for transition time, eating, and free play without the schedule feeling too rushed.
What if it rains on the day of the party?
Always have an indoor backup.
Games like Paper Plate Ring Toss, the Photo Booth, and the Cardboard Maze can easily be moved into a garage or living room.
Conclusion
DIY party games are more than just a way to save money; they are a way to infuse your child’s celebration with personality and creativity.
By upcycling materials like cardboard and tin cans, you’re teaching kids the value of resourcefulness while providing them with high-energy fun.
Whether they are navigating a pool-noodle obstacle course or “excavating” salt-dough dinosaur eggs, these games create lasting memories that store-bought entertainment simply can’t match.
Grab your glue gun, gather some boxes, and get ready to host the best party on the block!
Leave a Reply