Paper flower baskets are a sustainable, cost-effective, and stunning alternative to fresh floral arrangements.
Unlike real blooms that wither within days, paper flowers offer a permanent burst of color and texture to your home decor.
By combining various paper-crafting techniques—such as quilling, origami, and crepe paper sculpting—with creative basket choices, you can create bespoke centerpieces for weddings, holidays, or everyday styling.
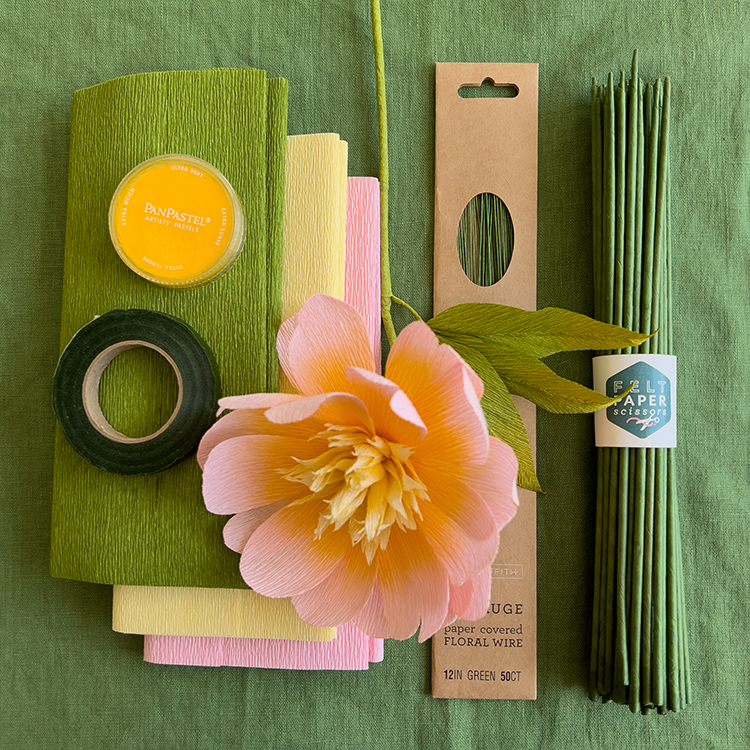
Essential Tools and Materials for Paper Floristry
Before diving into the specific projects, ensure your craft room is stocked with these fundamentals.
| Material Type | Recommended Use | Best For |
|---|---|---|
| Crepe Paper | High-stretch paper (180g is ideal) | Realistic petals, peonies, and roses |
| Cardstock | Heavyweight (65lb – 80lb) | Structural flowers, succulents, and 3D shapes |
| Tissue Paper | Thin, translucent sheets | Fluffy pom-poms, carnations, and fillers |
| Floral Wire | 18 to 22 gauge | Stems and structural support |
| Adhesives | Hot glue gun and Tacky glue | Securing petals and mounting to baskets |
| Precision Tools | Detail scissors or cutting machines | Intricate leaf designs and fringe |
● 1. Italian Crepe Paper Peonies in Woven Baskets
Crepe paper is the gold standard for realistic DIY flowers. Italian crepe paper, known for its high elasticity, allows you to cup and stretch the petals to mimic the lush, ruffled look of a real peony.
To create this basket, focus on soft pastels like blush pink and cream. Place a block of floral foam at the bottom of a traditional wicker basket and insert the wired stems at varying heights to create a natural, garden-plucked appearance.
● 2. Geometric Origami Tulips in Minimalist Cardboard Totes
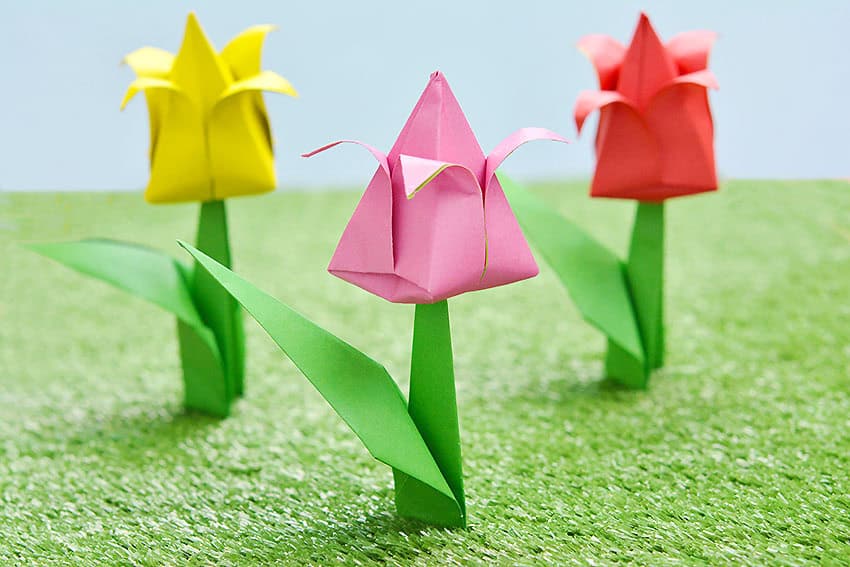
For those who enjoy precision, origami tulips offer a clean, modern aesthetic. Using vibrant square origami paper, fold several balloon style tulip heads.
Instead of a traditional basket, use an upcycled cardboard tote or a small kraft paper bag. This look is perfect for Scandinavian-style decor or as a sophisticated teacher’s gift.
● 3. Classic Cardstock Roses in Mini Picket Fence Baskets
Cardstock roses are incredibly durable and hold their shape indefinitely. You can use a spiral-cut method: cut a circle of cardstock into a spiral, then roll it from the outside in.
Glue these into a mini white picket fence basket for a cottagecore vibe. This arrangement works exceptionally well as a windowsill accent or a nursery decoration.
● 4. Vibrant Tissue Paper Pom-Poms in Hanging Cones
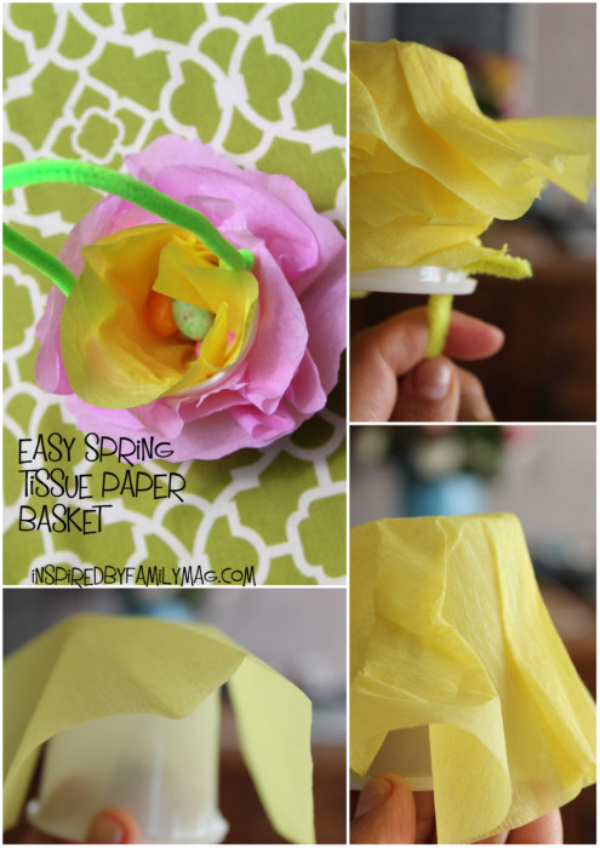
Tissue paper is the most affordable medium for high-volume arrangements. By accordion-folding layers of tissue paper and rounding the edges, you can create massive, fluffy blooms.
Instead of a flat basket, use a cone-shaped wicker basket designed for wall hanging. This creates a spilling over effect that adds vertical interest to a hallway or entryway.
● 5. Intricate Quilled Floral Miniature Baskets
Quilling involves rolling thin strips of paper into decorative shapes. While time-consuming, the result is high-art.
Create tiny quilled daisies, lavender, and bluebells, and arrange them in a miniature woven basket no larger than 3 inches. These are perfect for tiered tray decor or as highly detailed handmade gifts.
● 6. Giant Paper Sunflowers in Rustic Galvanized Buckets
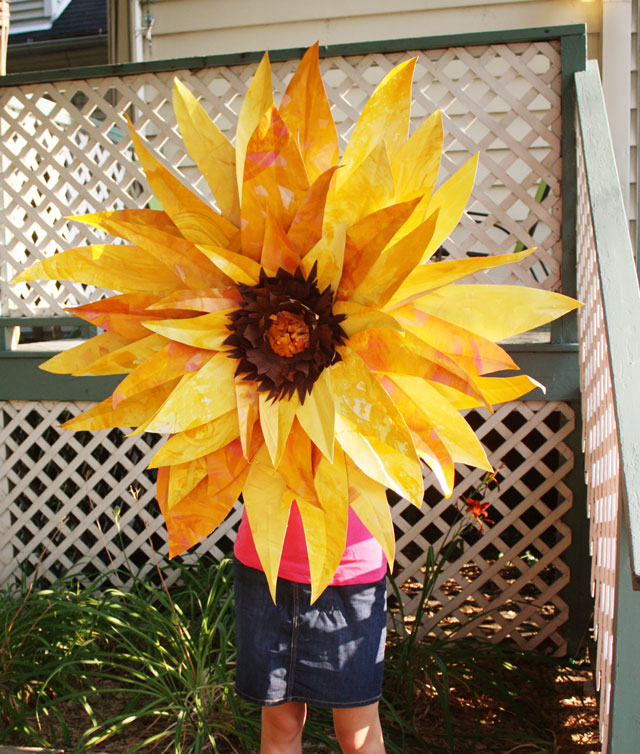
Sunflowers bring instant warmth to a room. Use heavy yellow cardstock for the petals and brown crepe paper for the textured center.
Because sunflowers are large, they require a sturdy basket. A galvanized metal bucket provides the perfect rustic contrast. Use thick 14-gauge wire for the stems to ensure the heavy heads don’t droop.
● 7. Coffee Filter Poppies in Vintage Teacup Baskets
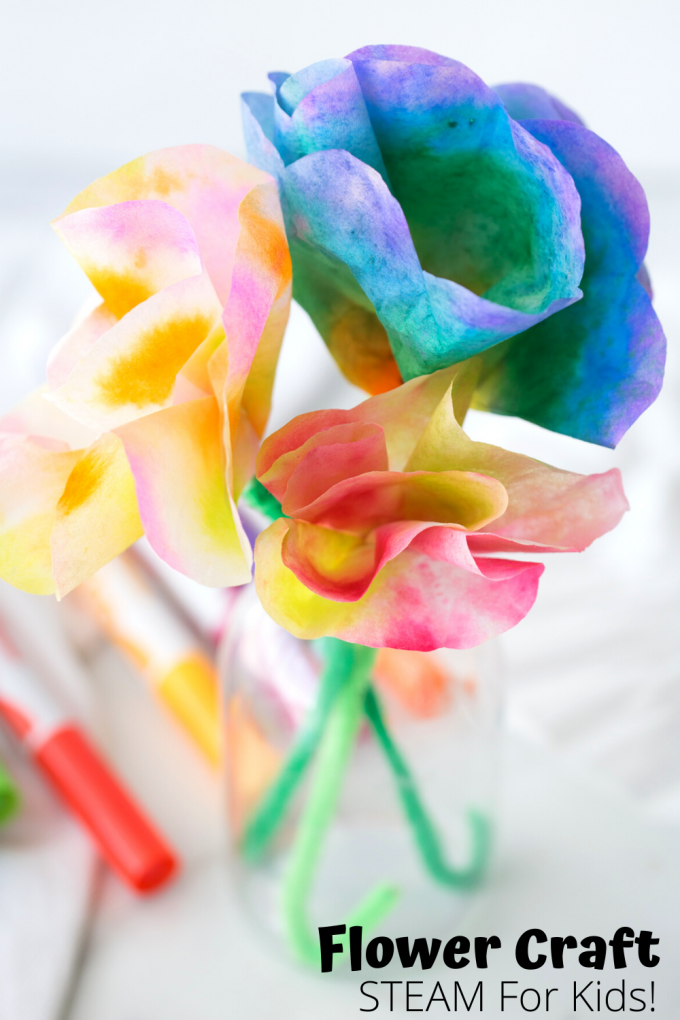
Coffee filters are surprisingly versatile. When dipped in diluted food coloring or watercolors, they take on a delicate, organic hue.
Create poppies by layering four or five dyed filters and securing them with a black bead in the center. Arrange these in a teacup-style wire basket for a dainty, vintage-inspired centerpiece.
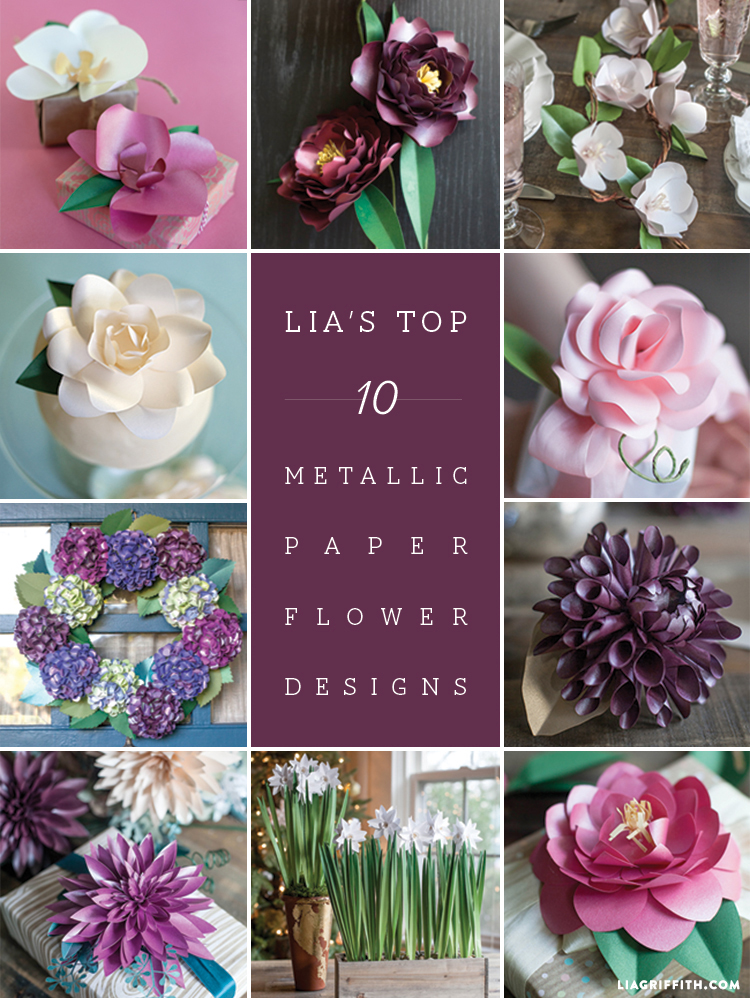
● 8. Upcycled Book Page Dahlias in Wire Baskets
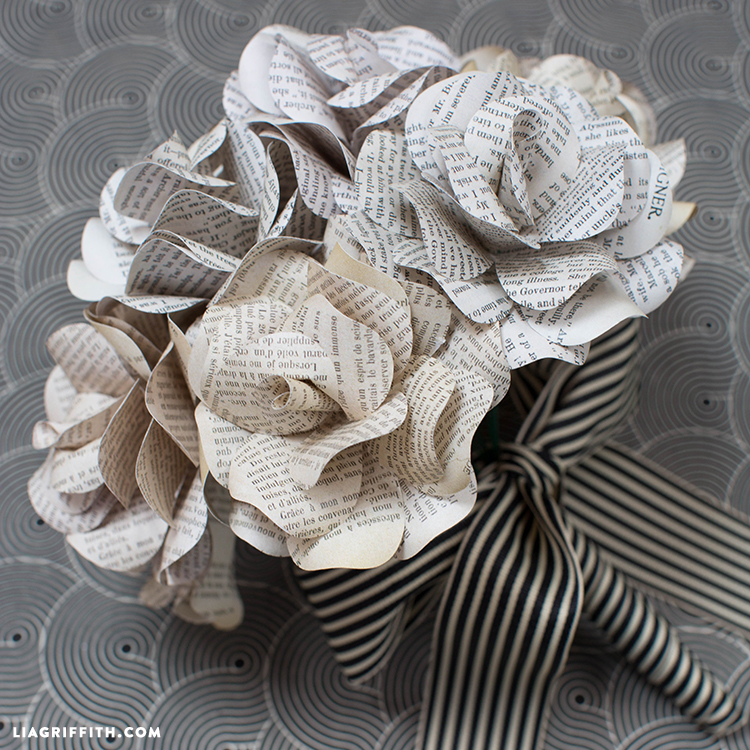
For bibliophiles, there is nothing more beautiful than flowers made from the pages of an old, damaged book. Dahlias, with their many pointed petals, look striking when made from text-heavy paper.
Use a black wire basket to provide a sharp, industrial contrast to the cream-colored paper petals. This is an excellent choice for an office or library.
● 9. Watercolor Ranunculus in Pastel Wooden Boxes
Ranunculus are known for their hundreds of thin, tissue-like petals. Use watercolor paper to paint soft gradients of orange, yellow, and pink before cutting your petals.
The slight stiffness of watercolor paper gives these flowers a premium feel. Arrange them in a whitewashed wooden crate or box for a farmhouse-chic look.
● 10. Mixed Media Felt and Paper Wildflowers
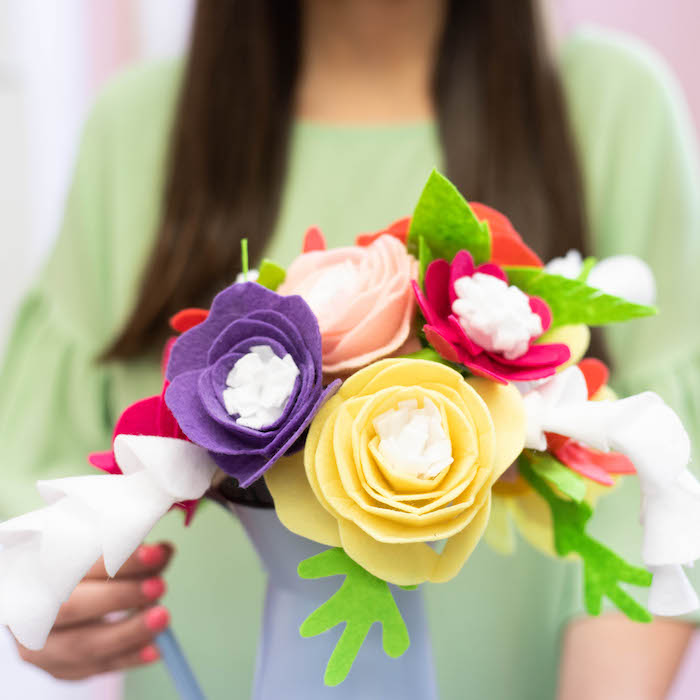
Mixing textures adds depth to your craft. Use felt for the leaves and centers, and cardstock for the delicate wildflower petals like Cosmos or Queen Anne’s Lace.
The softness of the felt balances the sharpness of the paper. A simple seagrass basket complements the earthy, natural feel of this mixed-media project.
● 11. Metallic Foil Lotus in Geometric Wire Baskets
If you want a modern, luxurious look, use metallic foil paper. The reflective surface catches the light beautifully.
Fold large lotus blossoms and place them in a gold or copper geometric wire basket. This style works best as a dining table centerpiece for formal occasions or holiday parties.
● 12. Newspaper Hyacinths in Upcycled Tin Baskets
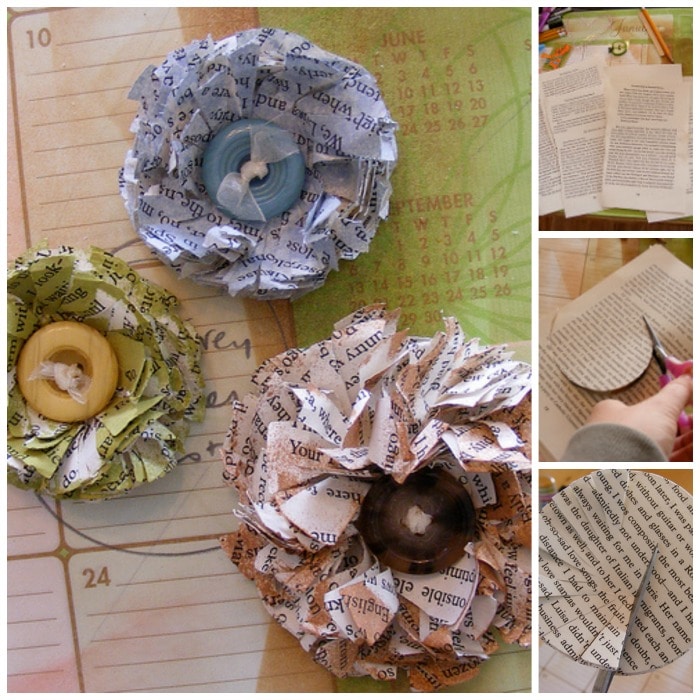
Hyacinths are created by curling small strips of paper around a central stem. Using newspaper or old sheet music gives these flowers a unique, textured appearance.
Upcycle a large tomato tin by painting it a matte sage green and adding a twine handle to turn it into a basket. This is a fantastic eco-friendly project.
● 13. 3D Cardstock Succulents in Wicker Trays
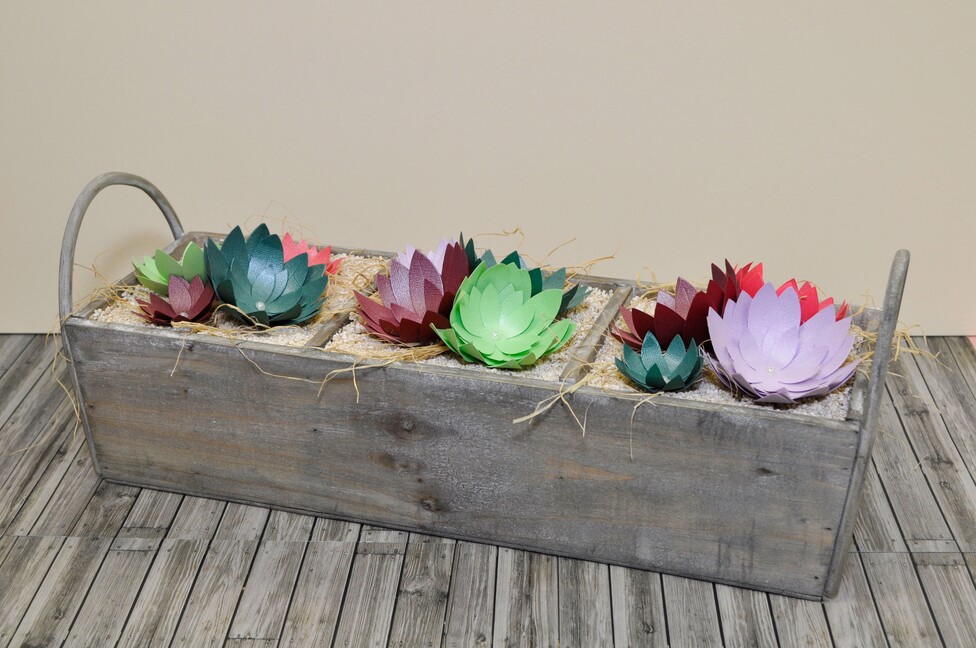
Succulents are a staple of modern decor. Using various shades of green, purple, and burgundy cardstock, you can create echeveria and agave shapes.
Instead of a deep basket, use a shallow wicker tray filled with decorative pebbles. Plant your paper succulents among the stones for a realistic, low-maintenance indoor garden.
● 14. Cupcake Liner Carnations in Picnic Baskets
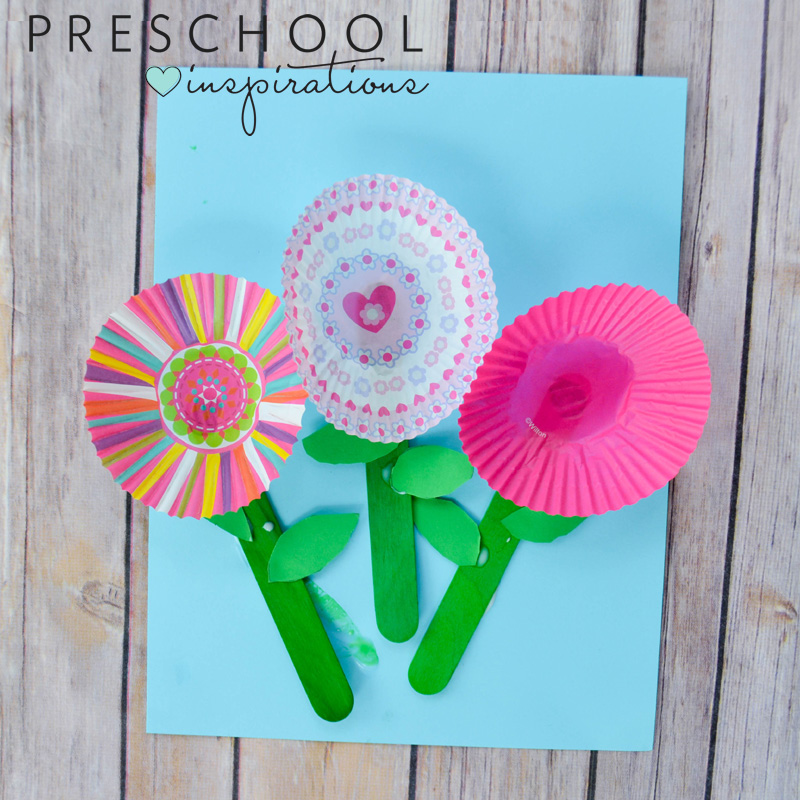
Cupcake liners come pre-pleated, which makes them perfect for creating ruffled carnations. Simply stack 4-6 liners, staple the center, and scrunch the layers upward.
Use a variety of patterns—polka dots, stripes, and solids. Arrange these in a small picnic-style basket with a lid for a whimsical, retro-themed decoration.
● 15. Spiral Paper Roses in Shadow Box Baskets
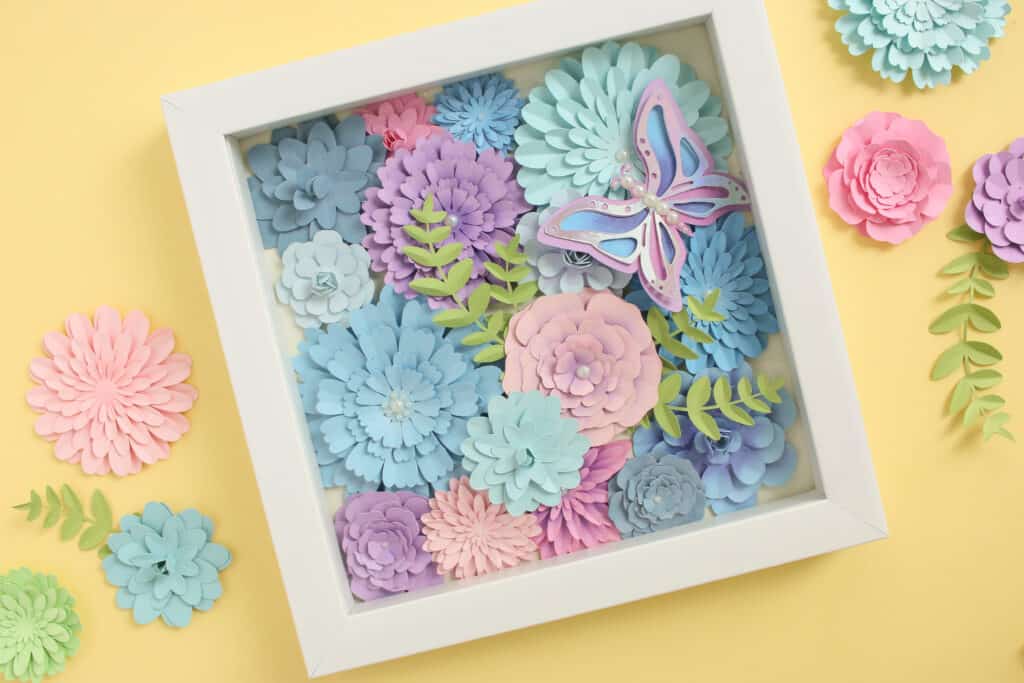
This is a twist on the traditional basket. Use a shadow box frame that features a basket decal or a small 3D basket attached to the interior.
Fill the basket area with dozens of tiny, colorful spiral roses. This creates a 3D piece of wall art that serves as a permanent floral basket display.
Step-by-Step: Assembling Your Paper Flower Basket
Regardless of the flower type you choose, the assembly process is what makes the arrangement look professional.
- 1. Prepare the Base: Cut a piece of dry floral foam to fit snugly inside your basket. If the basket has large gaps, line it with moss or tissue paper first.
- 2. Establish the Focal Point: Start by placing your largest, most impressive blooms in the center. These should be at the height you want the peak of your arrangement to be.
- 3. Add Secondary Flowers: Place medium-sized flowers around the focal point, angling them slightly outward.
- 4. Incorporate Greenery: Paper leaves are essential. Use different shades of green cardstock to create eucalyptus sprigs or fern fronds to fill the gaps.
- 5. Check for Holes: Look at the basket from all angles. If you see foam, insert small filler flowers (like baby’s breath made from white tissue paper) to cover the spots.
Expert Tips for Longevity and Realism
- UV Protection: Paper flowers can fade in direct sunlight. Spray your finished arrangement with a UV-resistant clear matte acrylic sealer to preserve the colors.
- Edge Distressing: For a more realistic look, use a sponge and a bit of ink (distress ink) on the edges of your paper petals to mimic the natural color variations found in real flowers.
- Vary the Heights: Never cut all your stems the same length. A dome shape looks artificial; a staggered shape looks organic.
Frequently Asked Questions
What is the best paper for beginners?
Cardstock is the easiest for beginners because it is sturdy and holds its shape well. Tissue paper is also great for quick, high-impact results, though it is more delicate.
How do I clean paper flower baskets?
Do not use water. Use a soft-bristled paintbrush or a hair dryer on the cool and low settings to gently blow away dust.
Can I use these for outdoor events?
Paper flowers are best for indoor use. If you use them outdoors, ensure it is a dry day, as humidity will cause the paper to limp and rain will ruin them instantly.
Conclusion
Creating a paper flower basket is a rewarding DIY project that merges the art of sculpture with interior design.
Whether you prefer the hyper-realism of crepe paper peonies or the vintage charm of book-page dahlias, there is a style to suit every home.
By following the techniques outlined above—focusing on texture, layering, and proper assembly—you can create a stunning floral display that remains in bloom all year round. Start with one of the 15 ideas today and transform a simple basket into a timeless piece of art.
Leave a Reply