Knitting your first beanie is a rite of passage for every fiber artist. Unlike complex sweaters or intricate lace shawls, a beanie offers immediate gratification, requiring only a few hours of focused work and a basic understanding of stitches.
For beginners, the beanie is the perfect project to practice tension, learn how to work in the round (or flat), and master the essential knit and purl duo.
These 12 trendy patterns are curated specifically for those who are just starting their journey, focusing on modern aesthetics like chunky textures, slouchy silhouettes, and minimalist ribs that look like they came straight from a high-end boutique.
Essential Materials for Beginner Beanie Knitting
Before diving into the patterns, you need the right tools. For beginners, I recommend starting with a size US 8 (5mm) or US 10 (6mm) needle and matching worsted or bulky weight yarn.
| Tool | Purpose | Beginner Tip |
|---|---|---|
| Circular Needles | Knitting in the round (no seams) | 16-inch length is standard for hats. |
| Double Pointed Needles (DPNs) | Closing the top of the hat | Use these when the stitches get too tight for circulars. |
| Stitch Markers | Marking the start of a round | Use a bright color so you don’t miss it. |
| Tapestry Needle | Weaving in ends | Choose one with a large eye for thick yarn. |
| Measuring Tape | Checking hat height | Vital for ensuring the slouch is just right. |
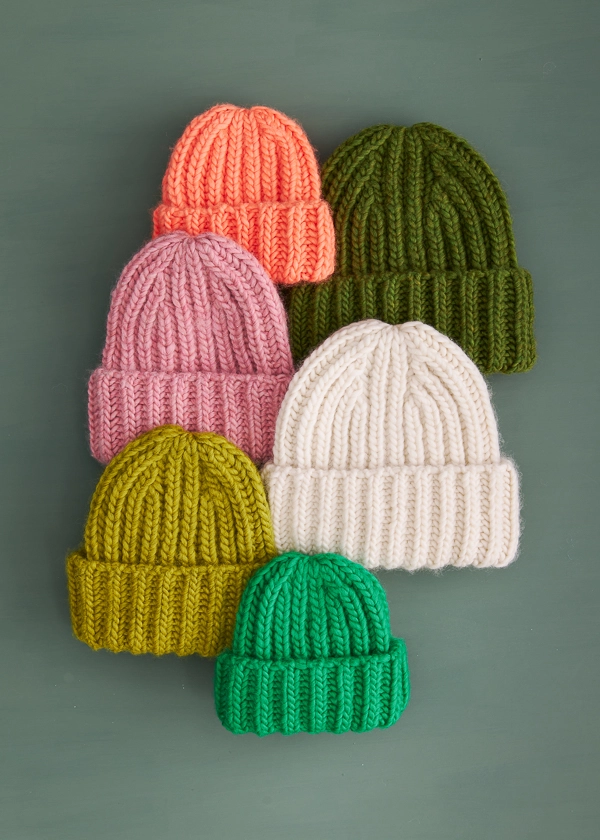
1. The Classic 2×2 Ribbed Beanie
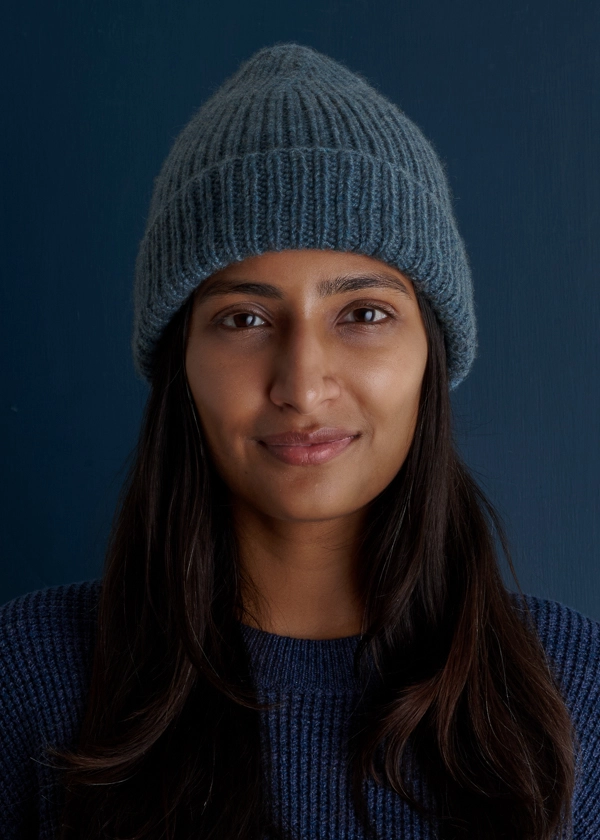
The ribbed beanie is the gold standard of trendy headwear. It’s stretchy, forgiving of inconsistent tension, and fits almost any head size. The 2×2 refers to the rhythm: Knit 2 stitches, then Purl 2 stitches.
Why it’s great for beginners
This pattern teaches you how to switch between knitting and purling within the same row. This ribbing creates a fabric that is highly elastic.
If you make the hat extra long, you can fold the brim over for that classic fisherman look.
Quick Instructions
- Cast on: A multiple of 4 stitches.
- The Body: *K2, P2* repeat until the hat measures 8–10 inches.
- The Crown: Decrease by knitting two stitches together (K2tog) across the round to cinch the top.
2. The Ultra-Chunky Quickie Beanie
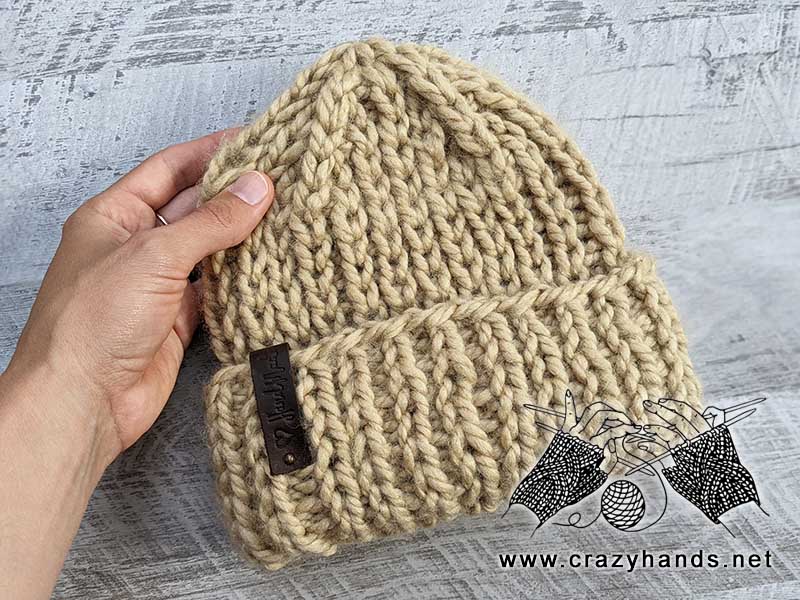
If you want a finished project in under two hours, the ultra-chunky beanie is your best friend. Using super bulky yarn (Weight 6), this hat looks modern, cozy, and intentional.
Styling Tip
Because the yarn is so thick, the stitches are very visible. This makes it a great pattern for practicing your V shaped knit stitches. It’s a high-authority look that dominates winter fashion trends.
How to Knit It
Use US 13 or 15 needles. Because the yarn is so thick, you only need to cast on about 32–40 stitches. Use a simple Stockinette stitch (knit every stitch) for a smooth, professional finish.
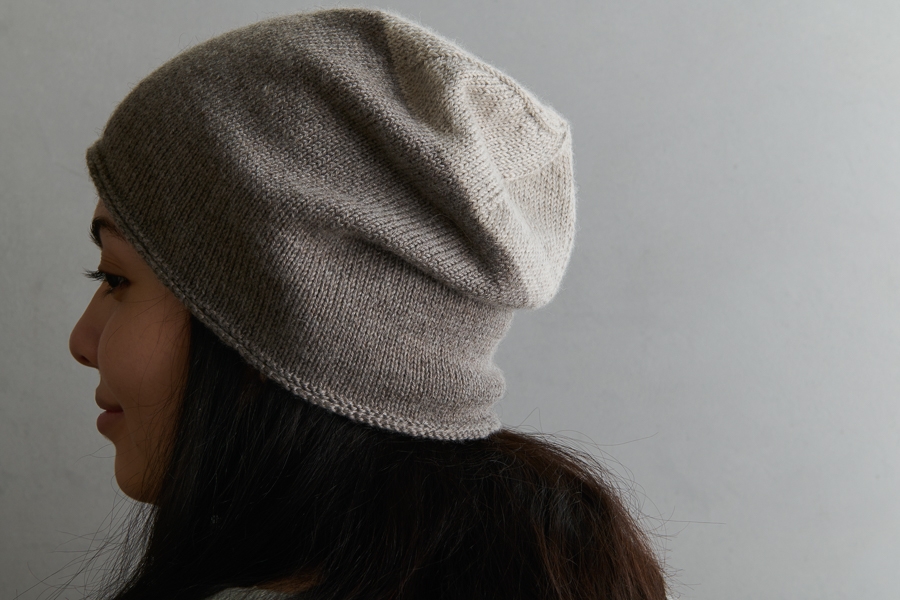
3. The Simple Slouchy Stockinette
The slouchy beanie is the cool girl of the knitting world. It features a relaxed fit at the back of the head. The secret to this pattern is simply knitting more length before you start decreasing for the crown.
Achieving the Slouch
For a standard beanie, you usually stop knitting the body at 7 inches. For a slouchy version, keep going until the piece reaches 10 or 11 inches.
Beginner Technique: Stockinette in the Round
When knitting on circular needles, Stockinette is achieved by simply knitting every single stitch. There is no purling required for the body of the hat, making this the easiest pattern on this list.
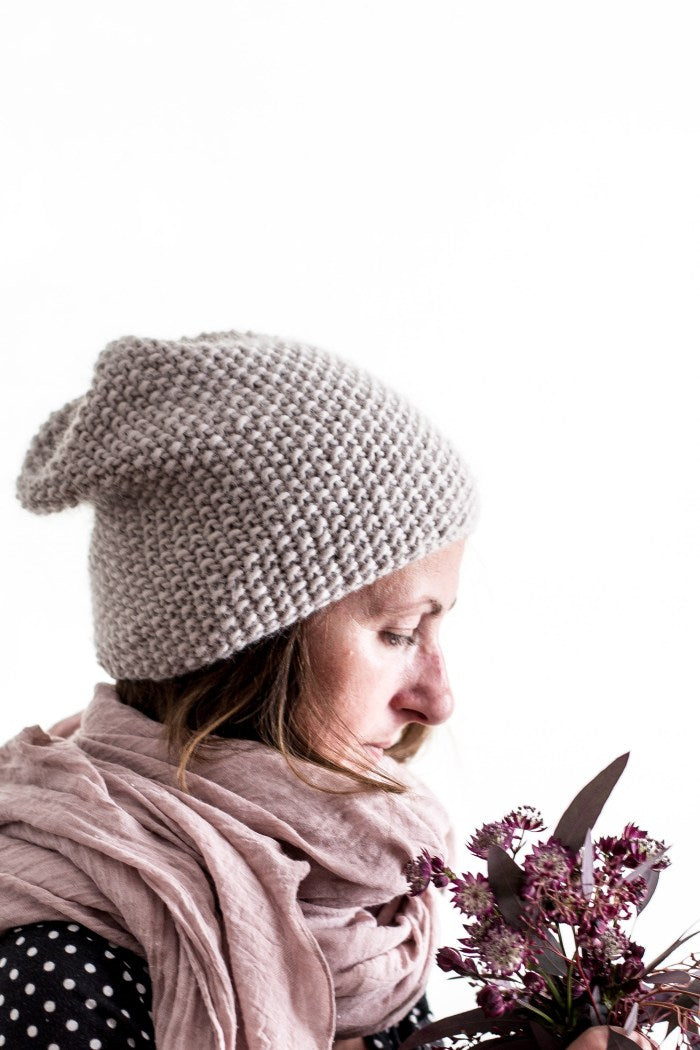
4. The Garter Stitch Flat-Knit Beanie
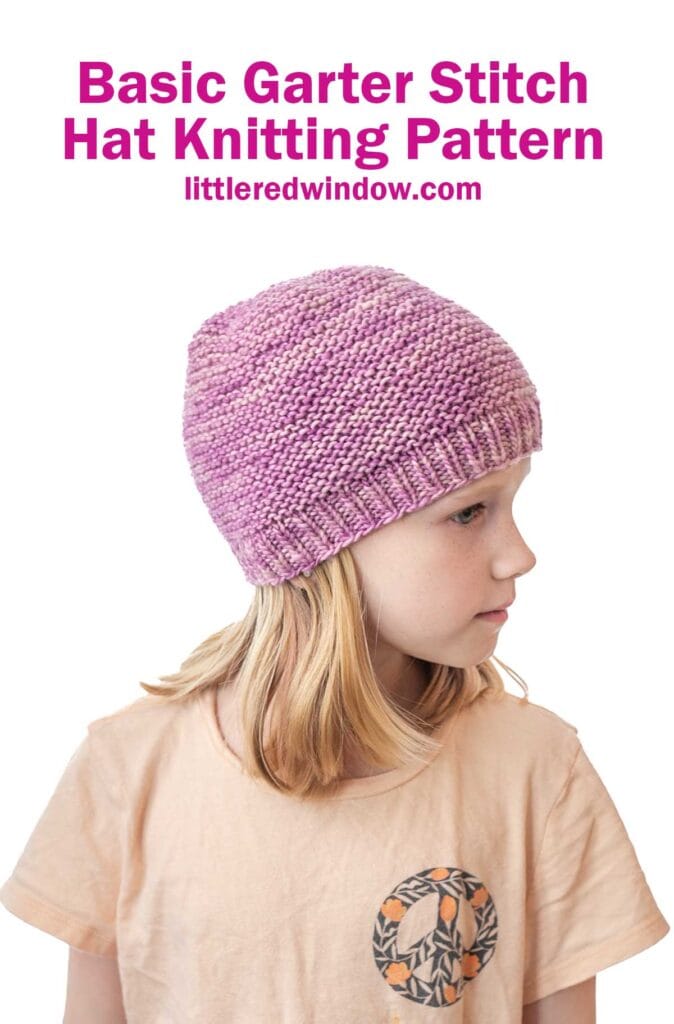
Are you intimidated by circular needles? This pattern is for you. The Garter Stitch Beanie is knit flat on two straight needles and then seamed up the back with a tapestry needle.
The Texture
Garter stitch is created by knitting every row. It produces a bumpy, squishy texture that is very trendy for hygge inspired decor and apparel. It’s incredibly warm because the ridges trap heat.
Finishing
Once you have a rectangular piece of fabric that fits around your head, you simply sew the short sides together and thread the yarn through the top loops to pull it shut.
5. The Minimalist Rolled Brim Beanie
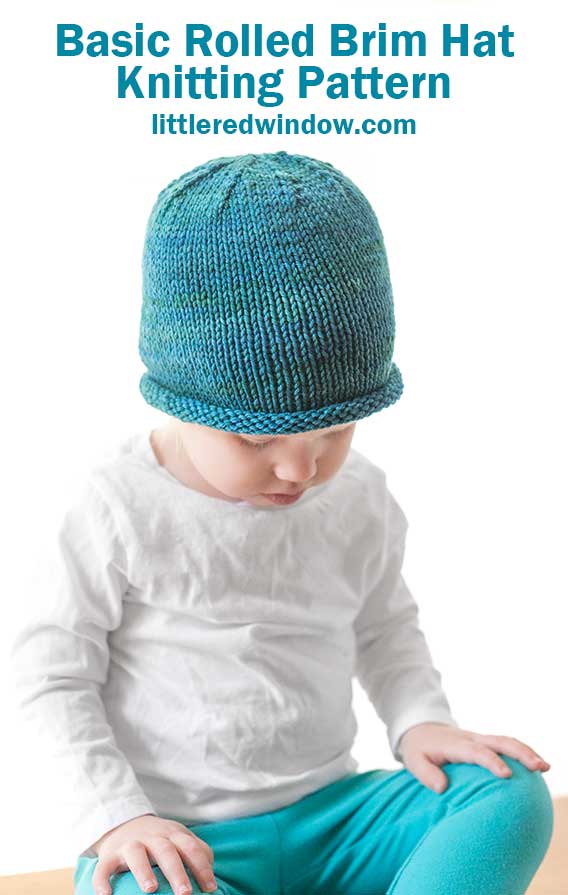
Many beginners struggle with the transition from the brim to the body. The rolled brim beanie eliminates the need for a traditional ribbed brim.
The Natural Roll
In Stockinette stitch, the edges of the fabric naturally want to curl. In this pattern, we lean into that! By starting with a knit stitch immediately, the bottom 1-2 inches will roll up on its own, creating a casual, effortless look.
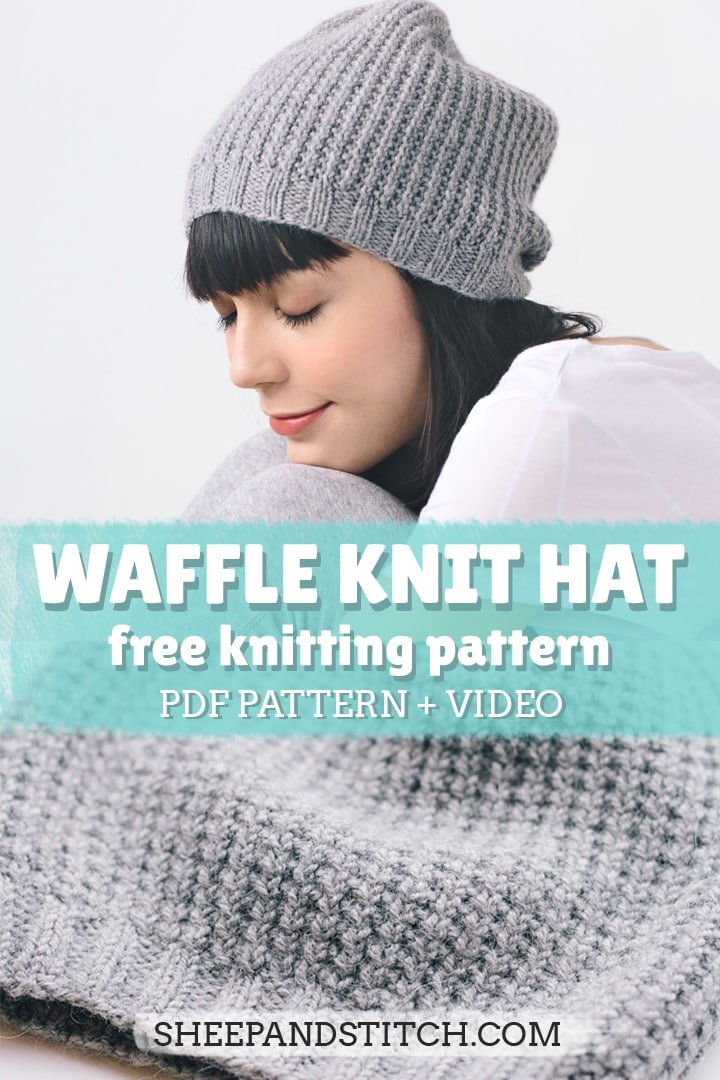
6. The Seed Stitch Textured Beanie
Once you’ve mastered the 2×2 rib, the Seed Stitch is your next challenge. It creates a beautiful, pebbled texture that looks much more complicated than it actually is.
The Pattern Logic
To create Seed Stitch, you Knit the Purl stitches and Purl the Knit stitches from the previous row. This staggering of stitches prevents a rib from forming and instead creates a textured seed look. It’s a great way to hide minor mistakes in your yarn.
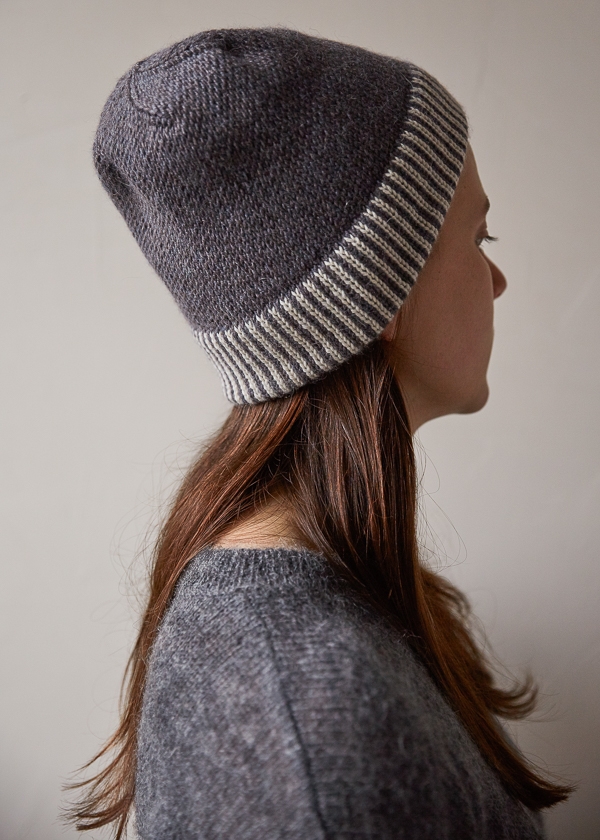
7. The Two-Tone Color Block Beanie
Color blocking is a major trend in streetwear. You don’t need to know complex fair isle or intarsia techniques to do this. You simply knit half the hat in one color and then tie on a new color for the second half.
Pro Tip for Beginners
When switching colors, always start the new color at the beginning of a new round. This ensures a clean line. This is a fantastic way to use up leftover yarn from other projects.
8. The Faux-Cable (Mistake Rib) Beanie
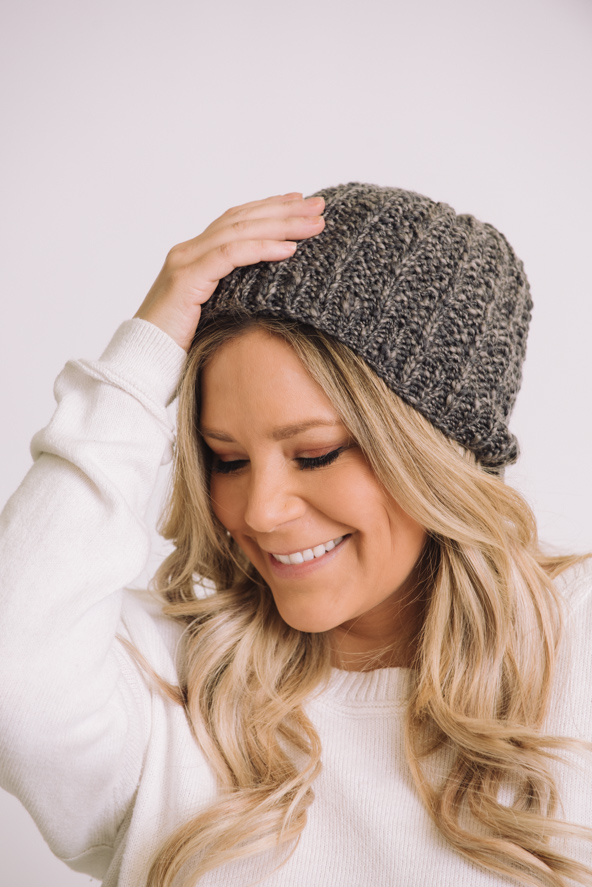
Cables usually require a cable needle and can be stressful for beginners. The Mistake Rib gives you a deep, textured look that mimics cables without the extra tools.
Why it’s Trendy
It creates a very thick, squishy fabric that looks like expensive store-bought knitwear.
- The Pattern: Cast on a multiple of 4 plus 3.
- The Row: *K2, P2* until the last 3 stitches, then K2, P1. This slight mistake in the count shifts the ribbing every row to create a complex texture.
9. The Pom-Pom Topped Beanie
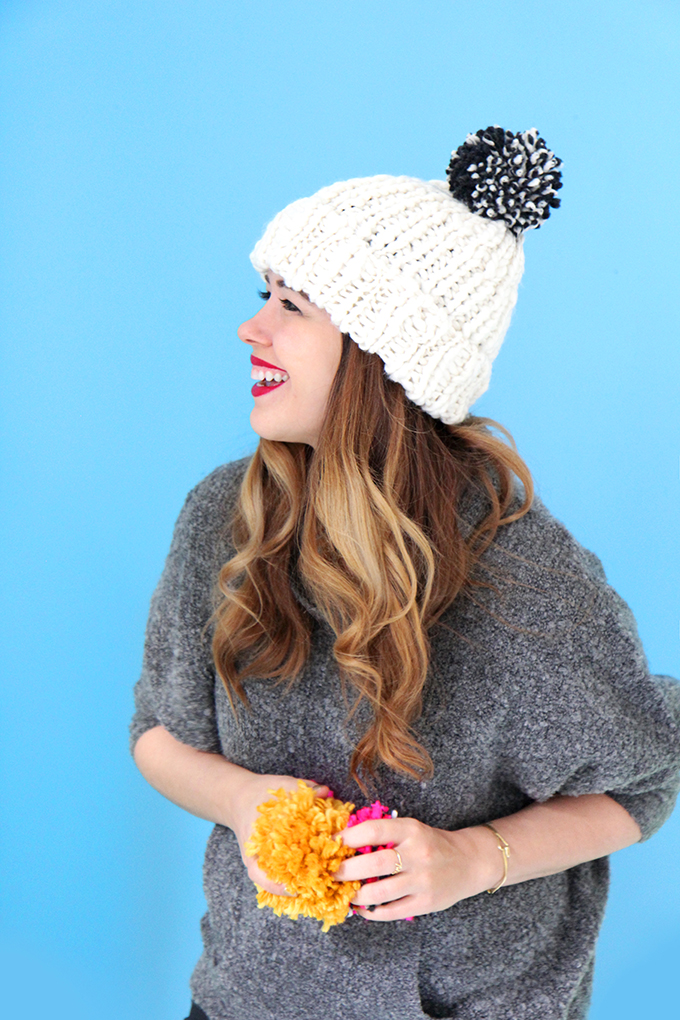
Sometimes, the pattern is all about the accessories. A simple beanie is instantly elevated by a massive faux-fur or yarn pom-pom.
How to Level Up
Knit a basic Stockinette beanie in a neutral color (grey, cream, or tan). Then, attach a contrasting pom-pom.
If you’re using a yarn pom-pom, make it extra-large—about 4-5 inches in diameter—to stay on-trend.
10. The Fisherman’s Rib (Half-Brioche) Beanie
The Fisherman’s Rib is the ultimate high-authority texture. It is incredibly thick and looks like a professional designer piece. While Full Brioche is hard, Half-Brioche or Fisherman’s Rib is very beginner-friendly.
The Technique: Knit One Below
Instead of knitting into the loop on your needle, you knit into the V of the stitch directly below it. This creates a double-thick fabric that is exceptionally warm and stylish.
11. The Messy Bun Beanie
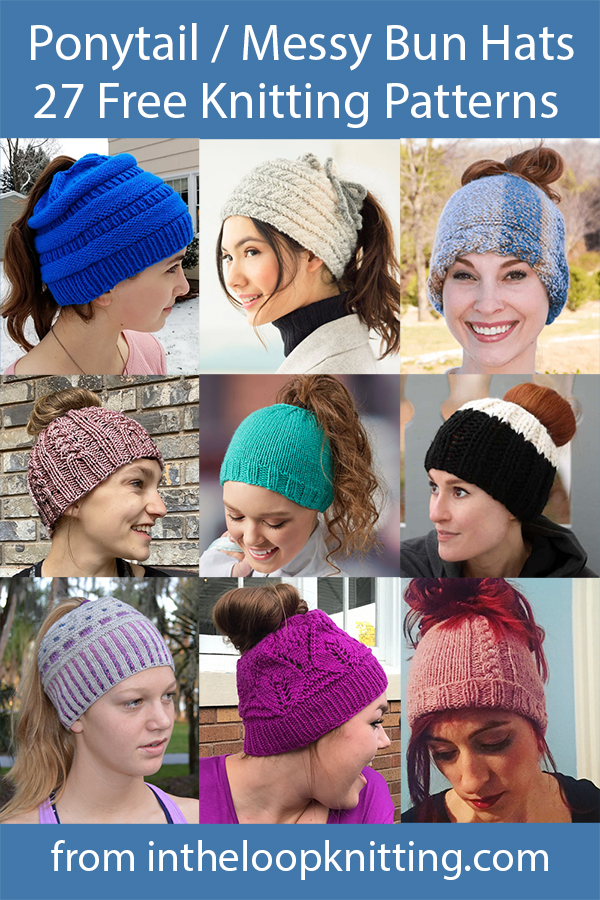
Functional and trendy, the Messy Bun beanie (or ponytail hat) is a variation of the classic beanie with a hole at the top.
The Modification
Follow any standard beanie pattern. When you get to the crown decreases, instead of closing the hole completely, bind off your stitches when the hole is about 2 inches wide. This allows you to pull a ponytail or bun through the top.
12. The Striped Scrappy Beanie
Stripes never go out of style. For a beginner, knitting stripes is the easiest way to practice carrying yarn or joining new strands.
Trend Alert
Use three different colors that are in the same color family (e.g., light blue, navy, and teal) for a sophisticated ombre effect. Or, go bold with high-contrast stripes like black and white.
Master Tips for Beginner Knitters
- Check Your Gauge: Before starting, knit a small 4×4 inch square. If you have more stitches per inch than the pattern suggests, your hat will be too small. Switch to larger needles!
- Use Bamboo Needles: Metal needles are slippery. Bamboo or wooden needles grip the yarn, preventing your stitches from sliding off—a common frustration for beginners.
- The Magic Loop Method: If you don’t want to buy double-pointed needles for the top of the hat, learn the Magic Loop technique using a long (32-inch or more) circular needle.
FAQ: Beginner Beanie Knitting
Q: How many stitches should I cast on for an average adult head?
A: For worsted weight yarn (Weight 4), 72–84 stitches is standard. For bulky yarn (Weight 5), 48–60 stitches usually works best.
Q: My brim is too loose. How do I fix this?
A: Many knitters use a needle one size smaller for the brim (the first 1-2 inches) and then switch to their main needles for the body. This keeps the hat snug on your forehead.
Q: How do I know when to start decreasing?
A: For a standard fit, start decreasing when the hat is about 2 inches shorter than your desired total length (usually around 6.5 or 7 inches from the cast-on edge).
Q: What is the best yarn for a beginner?
A: Look for a Wool-Ease or acrylic-wool blend. 100% acrylic can be slippery, and 100% wool can be toothy and hard to slide. A blend offers the best of both worlds.
Conclusion
Knitting a beanie is more than just a craft project; it’s a gateway to a lifetime of handmade fashion. By starting with these 12 patterns, you’re not just making a hat—you’re mastering the foundational skills of knitting that will eventually allow you to tackle sweaters, blankets, and complex textures.
Whether you choose the chunky Quickie for instant gratification or the Seed Stitch for a textured challenge, remember that every stitch is progress. Grab your needles, find a cozy corner, and start your first trendy beanie today!
Leave a Reply